Next week is Thanksgiving – EEK! Where has Fall gone? This morning, my email was flooded with “Black Friday Starts NOW!” ads and suddenly the fact that the holidays are here hit me.
I love the holidays, but I love actually enjoying them, so I try to get things done early. A habit I started a few years ago is to start buying gifts early, and I wrap them the same day I get them. Now I never have the last minute wrapping frenzy! This habit caused some problems the first year… I would forget what I bought and wrapped – oops! Now I keep a spreadsheet of all the gifts we buy. The bonus benefit of this spreadsheet is that I don’t forget what I gave people last year. 🙂
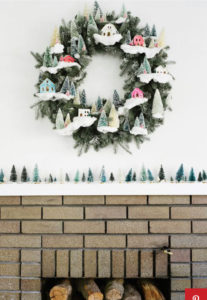
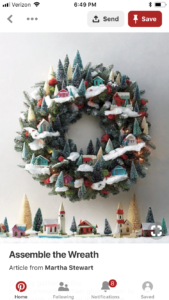
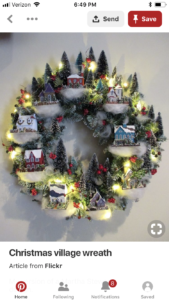
After a cold dog walk this morning, during which we saw people hanging Christmas lights in their trees, I wanted to make something for the holidays today. I have some red and green velvet, but nothing was really coming to mind… I’m thinking some sort of holiday dress is in the future… Today, though, I took to Pinterest for inspiration. I don’t know about you, but Christmas village wreaths have been popping up in my Pinterest feed fro a few months now… and I love them!
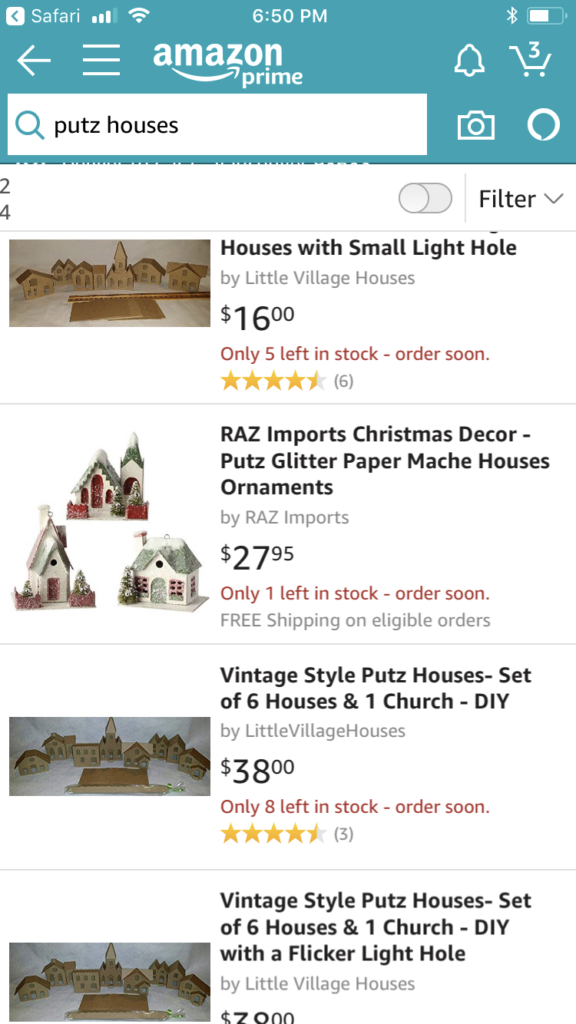
In reality… most Christmas village buildings are too big and too heavy to wire to a wreath. Martha Stewart suggests using putz houses – these are small cardboard houses/buildings that you can purchase in a variety of states of finished. Some you can get plain cardboard, some decorated. I even saw a printable template for printing your own houses that you’d have to cut an assemble. These putz houses are fairly expenses for something I’m going to glue to a wreath.
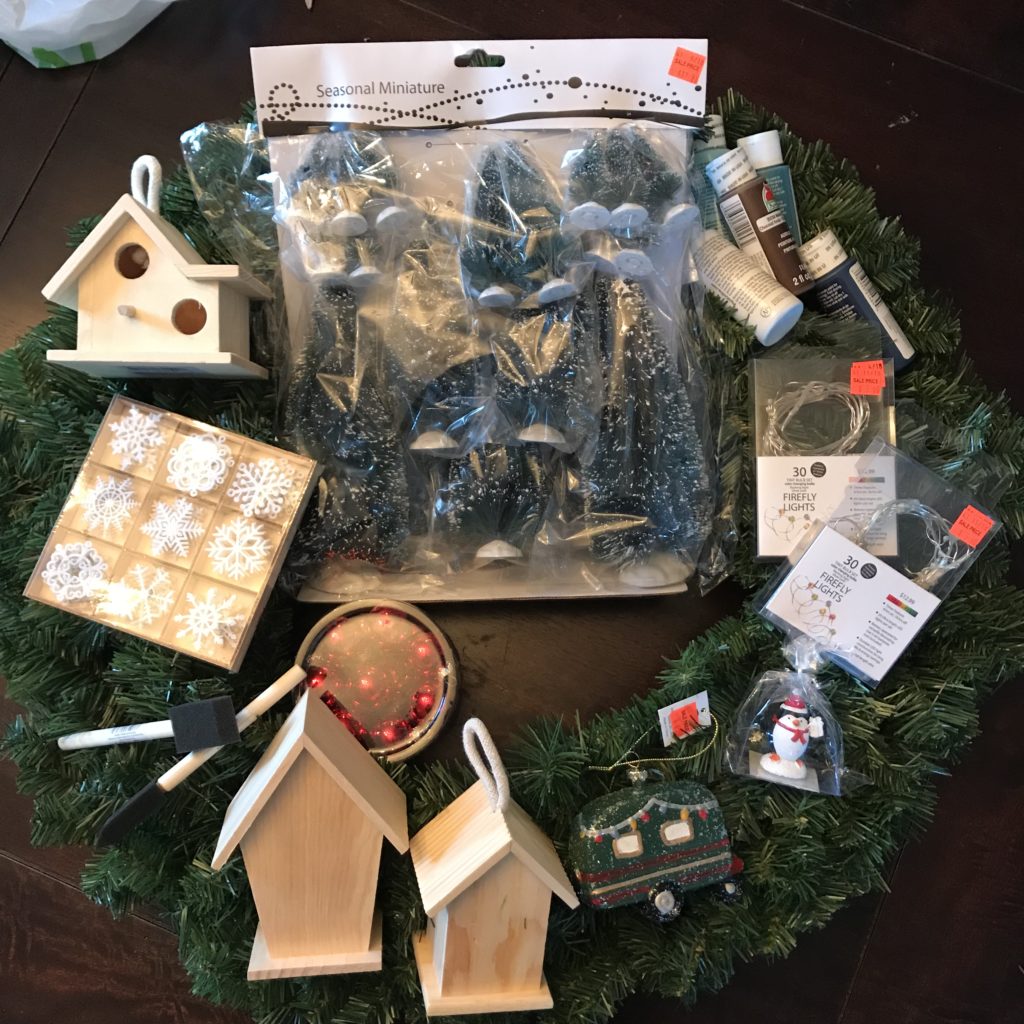
I did A LOT of shopping (darn!) at all the local craft stores. And came up with this cast of characters:
Large wreath $12
Bottle brushes variety sizes pack $12.95
Tailer ornament $2
Penguin figure $1.50
Felt snowflakes $2.99
Wooden bird houses $1/each (much cheaper than the putz houses)
Paint $0.69/each
Paint brushes from my stash
(Also pictured in the photo are ball ornaments I decided not to use and lights that I also couldn’t use because they didn’t work – I’ll have to take them back.)
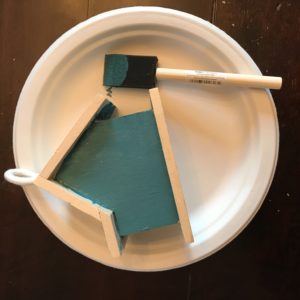
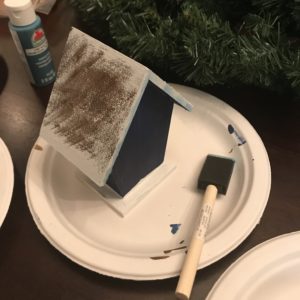
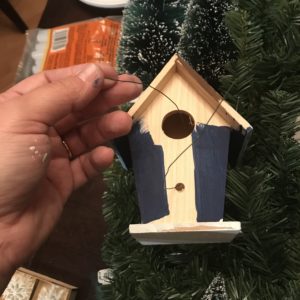
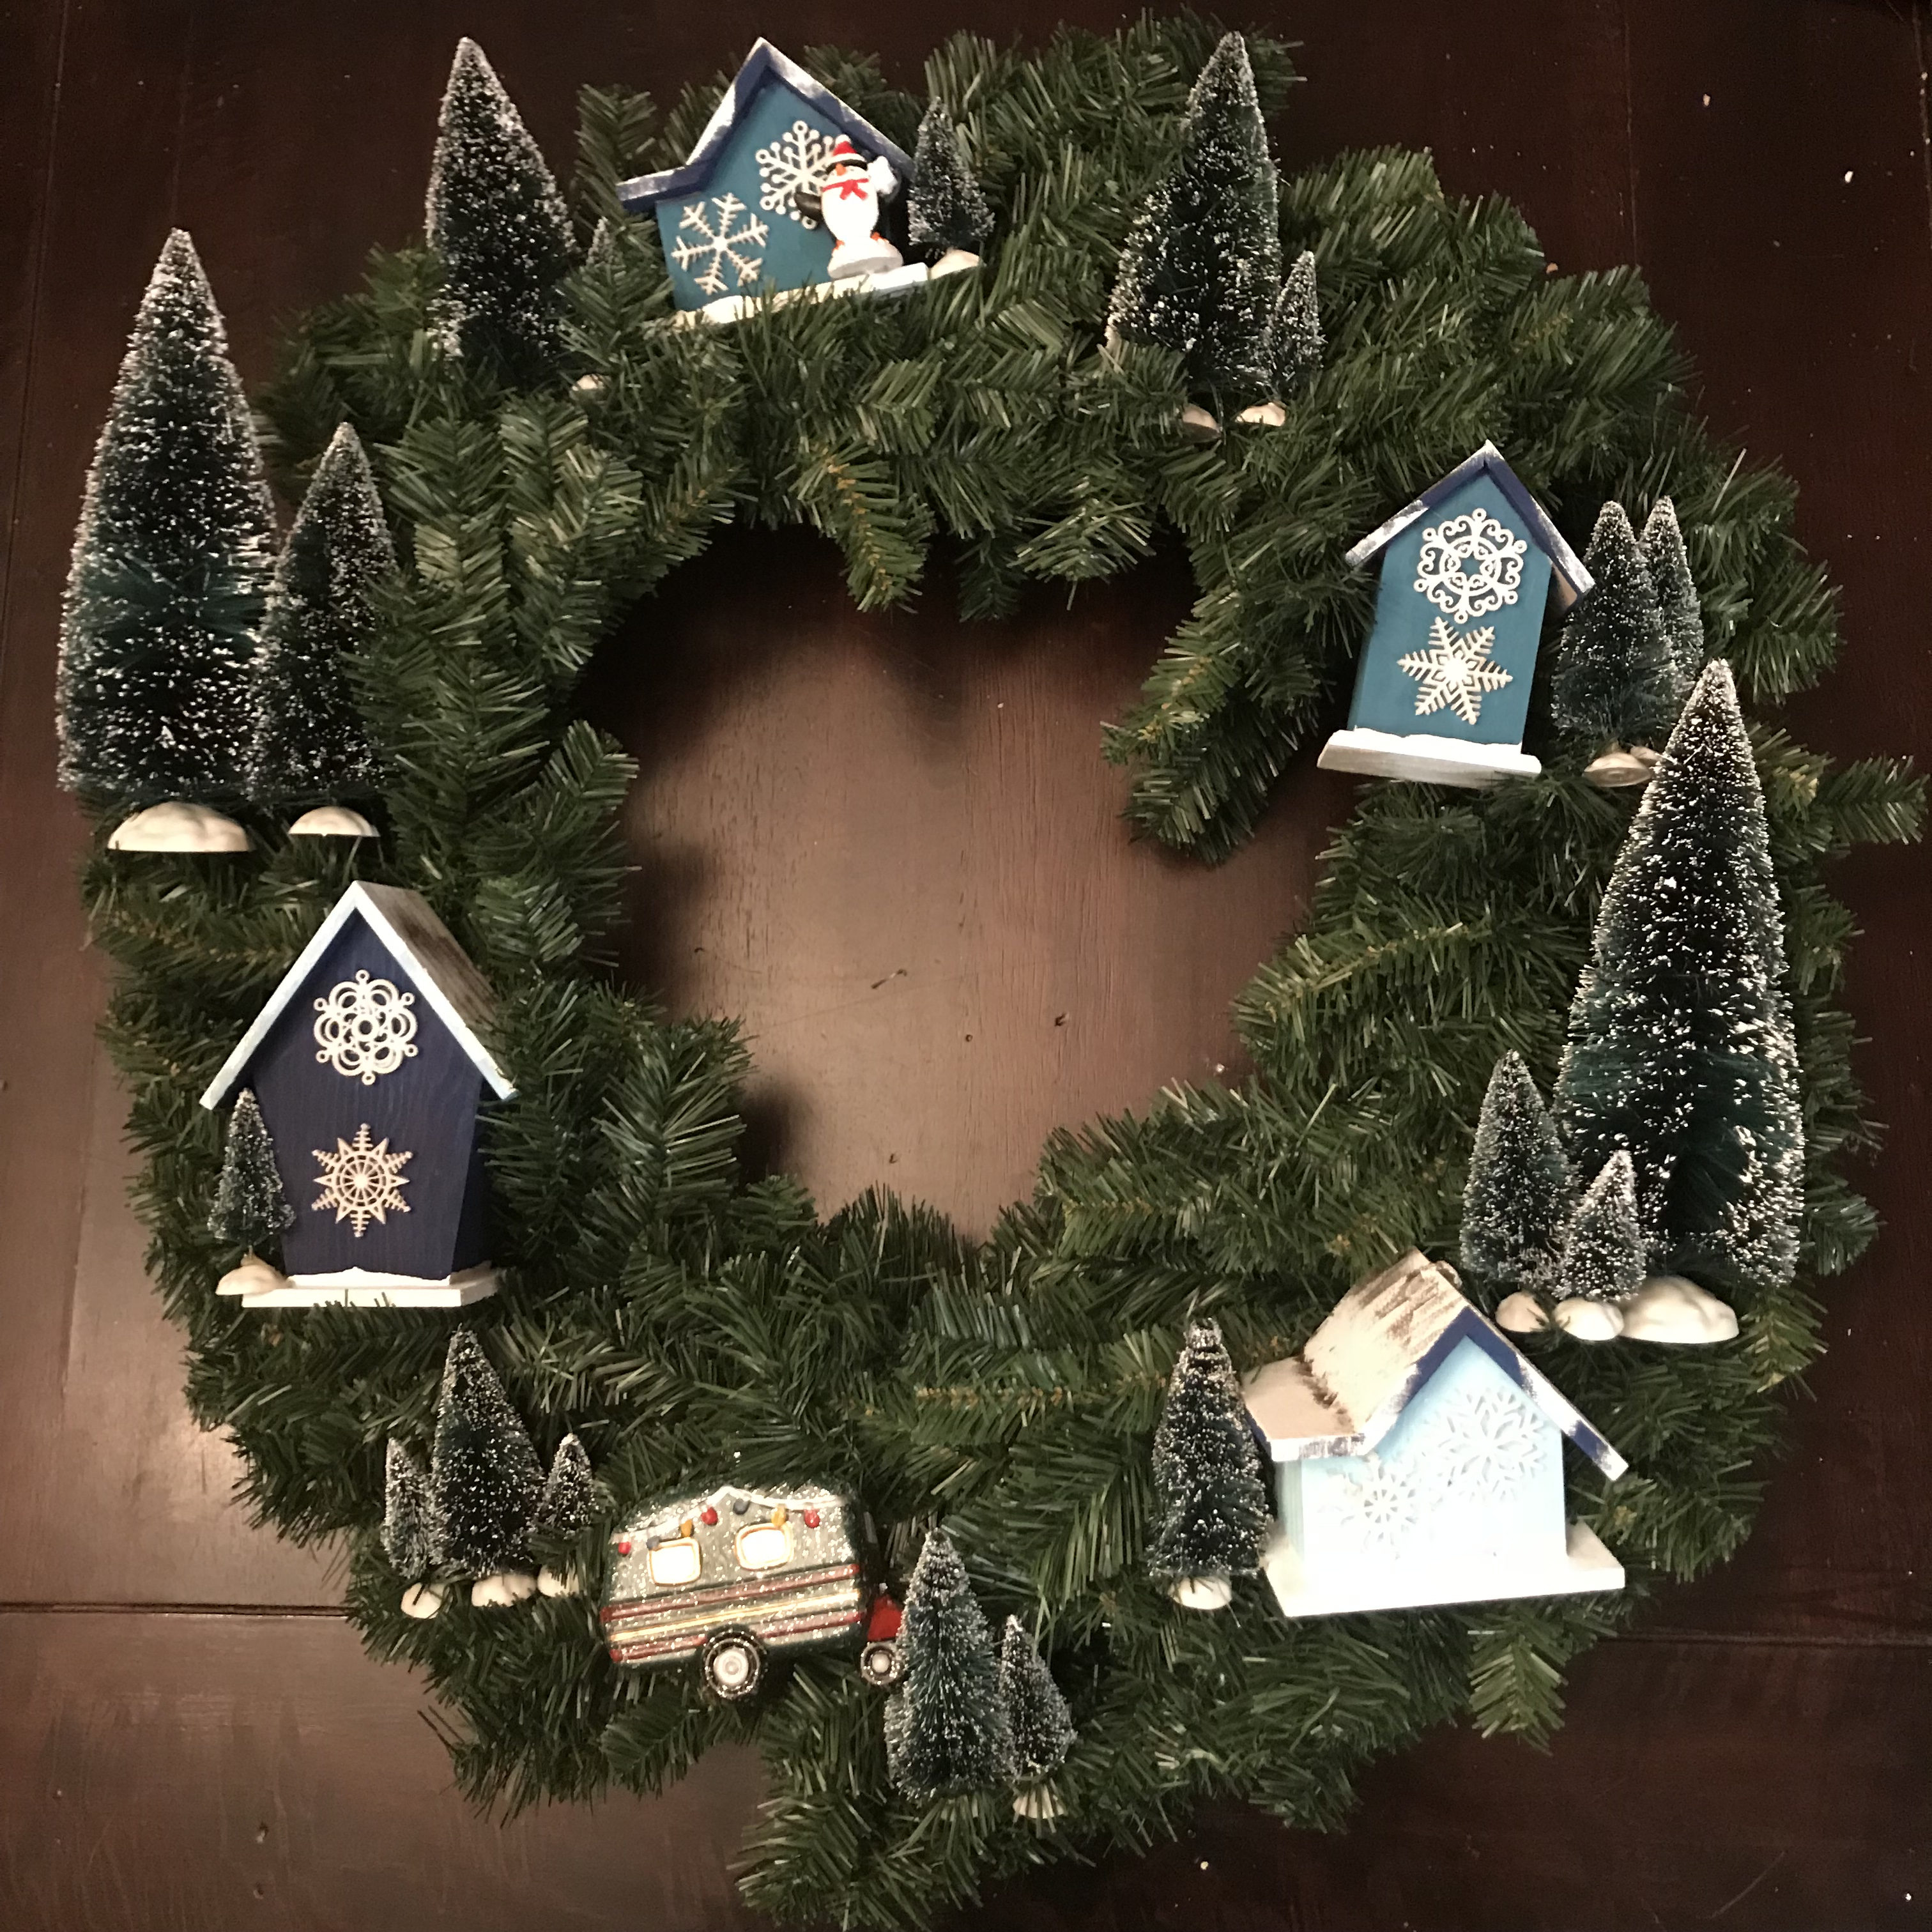
 The process of making the wreath was pretty simple. Aside from the time needed for the paint to dry, it didn’t take much time to create. Step one: Paint the houses! Get creative and paint them however you envision. I chose to turn the houses around, so that they didn’t look like birdhouses – and I used the birdhouse holes to thread craft wire through to attach them to the wreath. I also used hot glue to attach the felt snowflakes to the fronts of the houses.
Step two: Lay out all the trees and houses onto the wreath to make sure you have them arranged the way you like best. (Scott did this task for me while I made dinner, so I forgot to take a picture.)
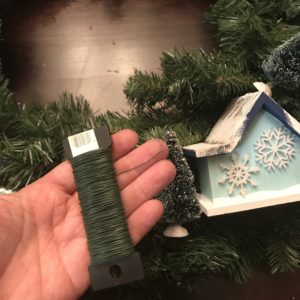
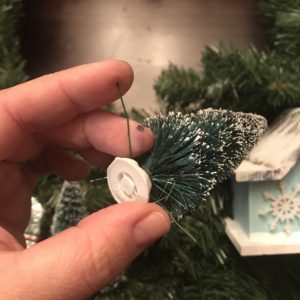
Step three: Use craft wire to attach all the trees and houses to the wreath. I used hot glue to attach the penguin and some of the small trees to houses.
It is that simple! Now you have a beautiful wreath for the holidays!
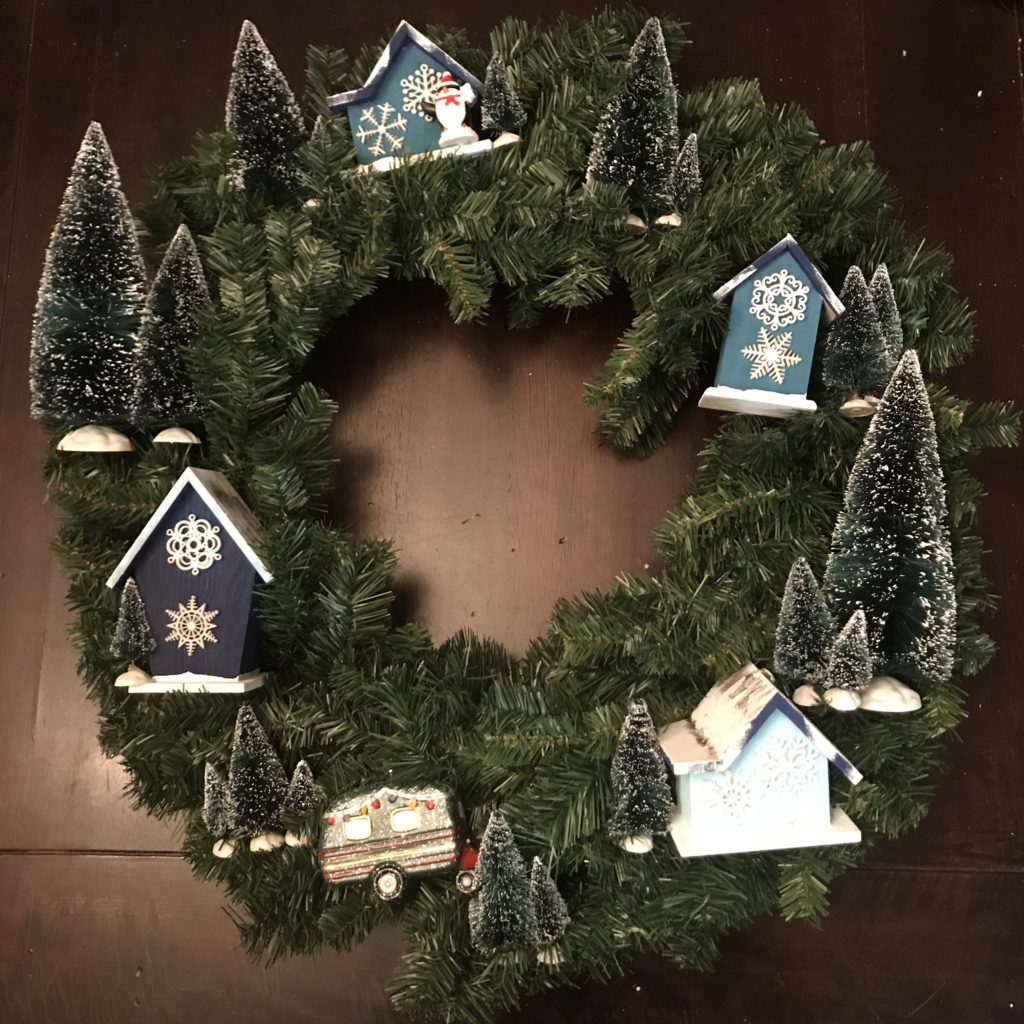 Options: Add lights – attach them first if you are going to do this. Since the lights I had bought were broken and need to be returned, I omitted this option. Another option is to add some batting, fleece or cotton to the bases of the houses and tress to make it look more snowy. Since it isn’t quite winter yet, and I wasn’t in love with how my white fleece was looking when I tried it, I omitted this option. I really like the simplicity right now, but I might add some cotton snow later… maybe 🙂
Have fun and enjoy making a fun wreath this holiday season – this is a great project to do with kiddos too!
Happy Friday Friends!

