
Life just keeps getting busier and busier doesn’t it? As I think I’ve mentioned before, I naively thought I’d have more time this year with both kiddos in school all day… well, I quickly filled up that “extra” time somehow. LOL.
We love the library. I try to take the boys there often, but I realized recently (as I searched the house for the boys’ missing library books) that we need a better system for our library trips. We all need our own library bags that we can keep our books in so they don’t get lost in the house (and so I don’t waste my precious time searching for missing books)!
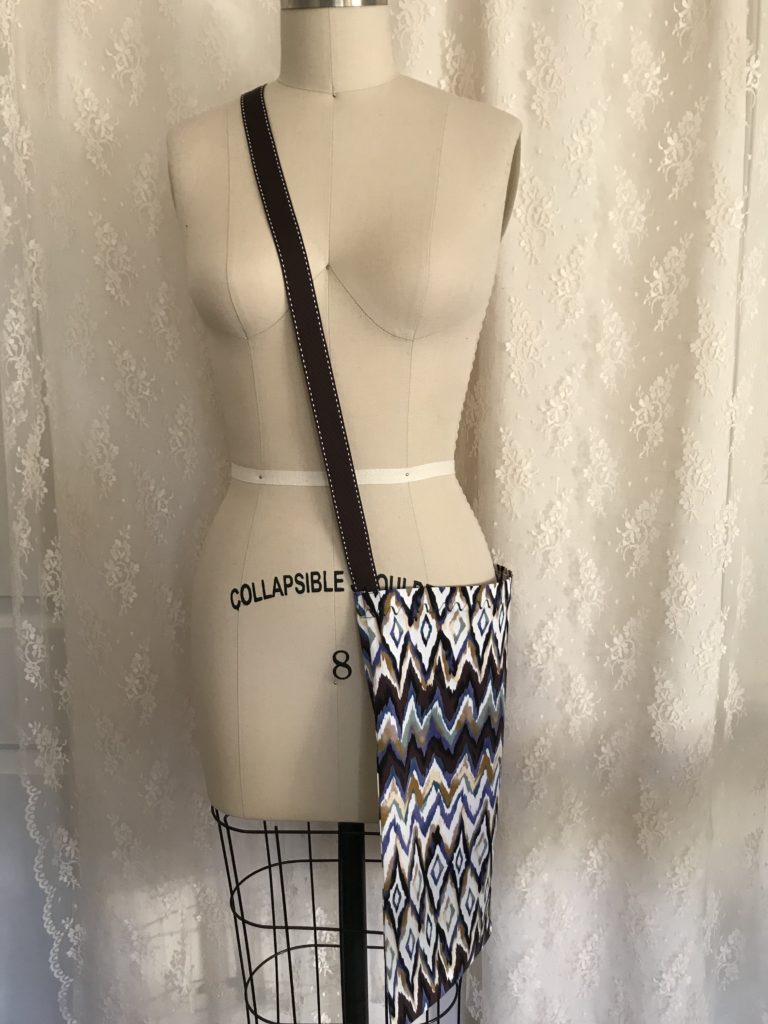
So today I grabbed a nice size piece of fabric from my stash and made myself a book bag. I’m calling this a pillowcase tote, because it is basically a simple pillowcase with a strap. It really could not be easier!
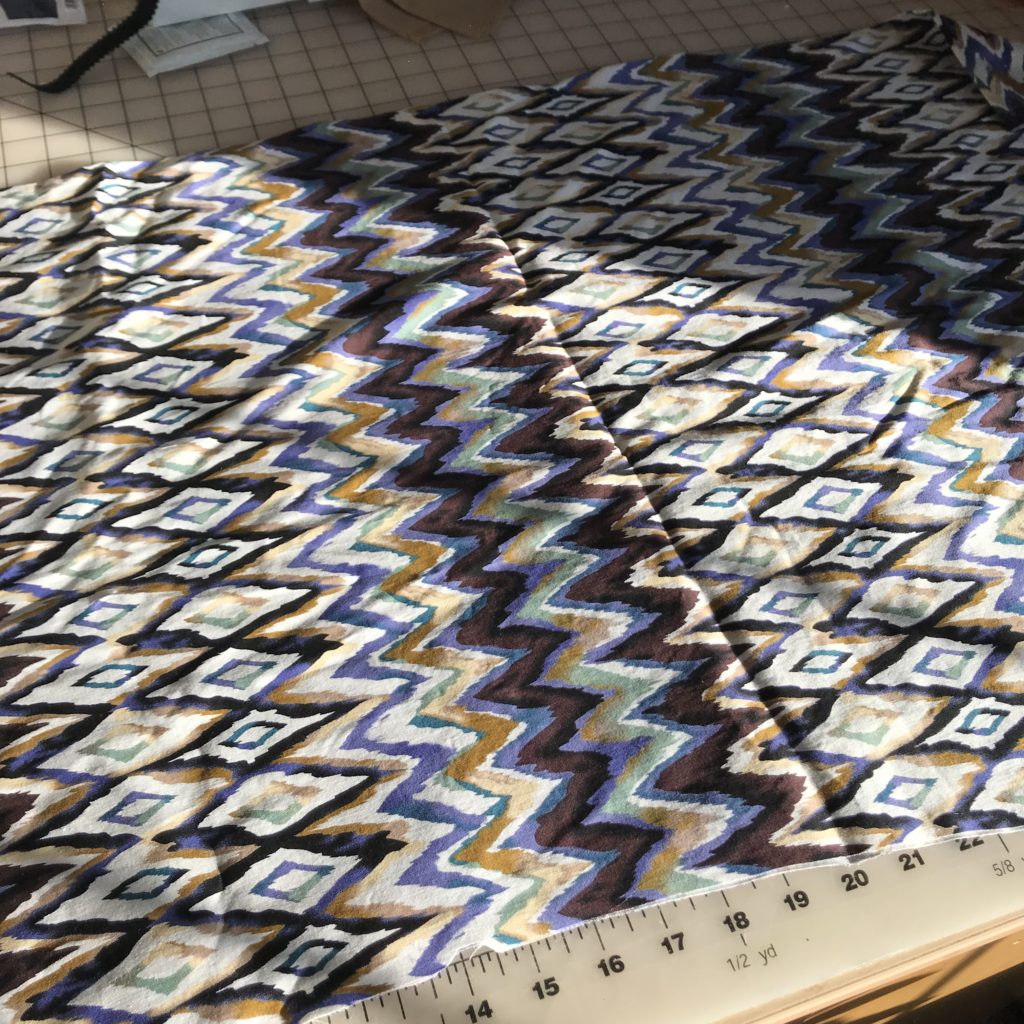
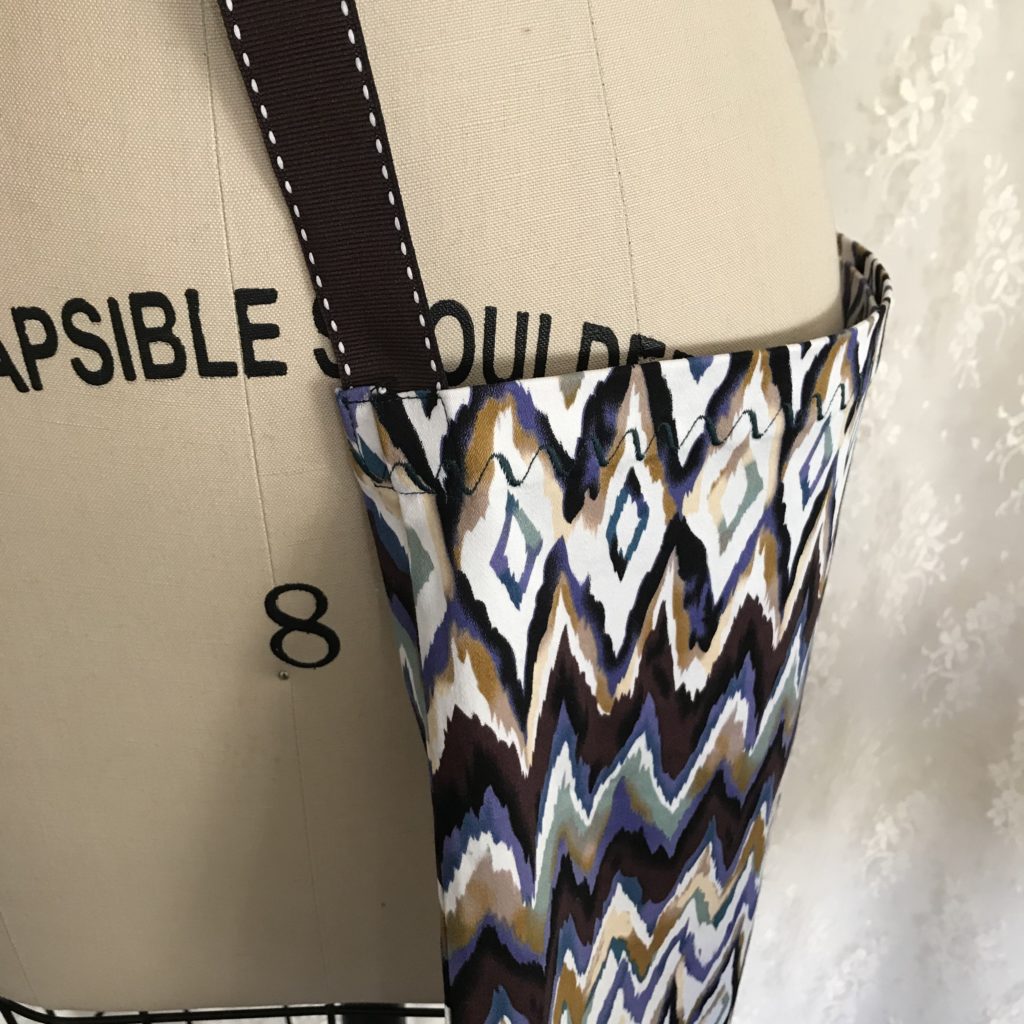
I love this fun colorful fabric! I often carry practical bags made to coordinate with any outfit, but for a project like this, I love using fun patterns and colors that are playful.
Step one: CUT the fabric to the size you want. Really doesn’t matter what the size is, as long as it will fit the things you need. I used another bag that I have as a rough gauge of how big I wanted to book bag. The trick to this having a fold at the bottom, so you’ll only have to stitch two sides. (I told you it was super easy.)
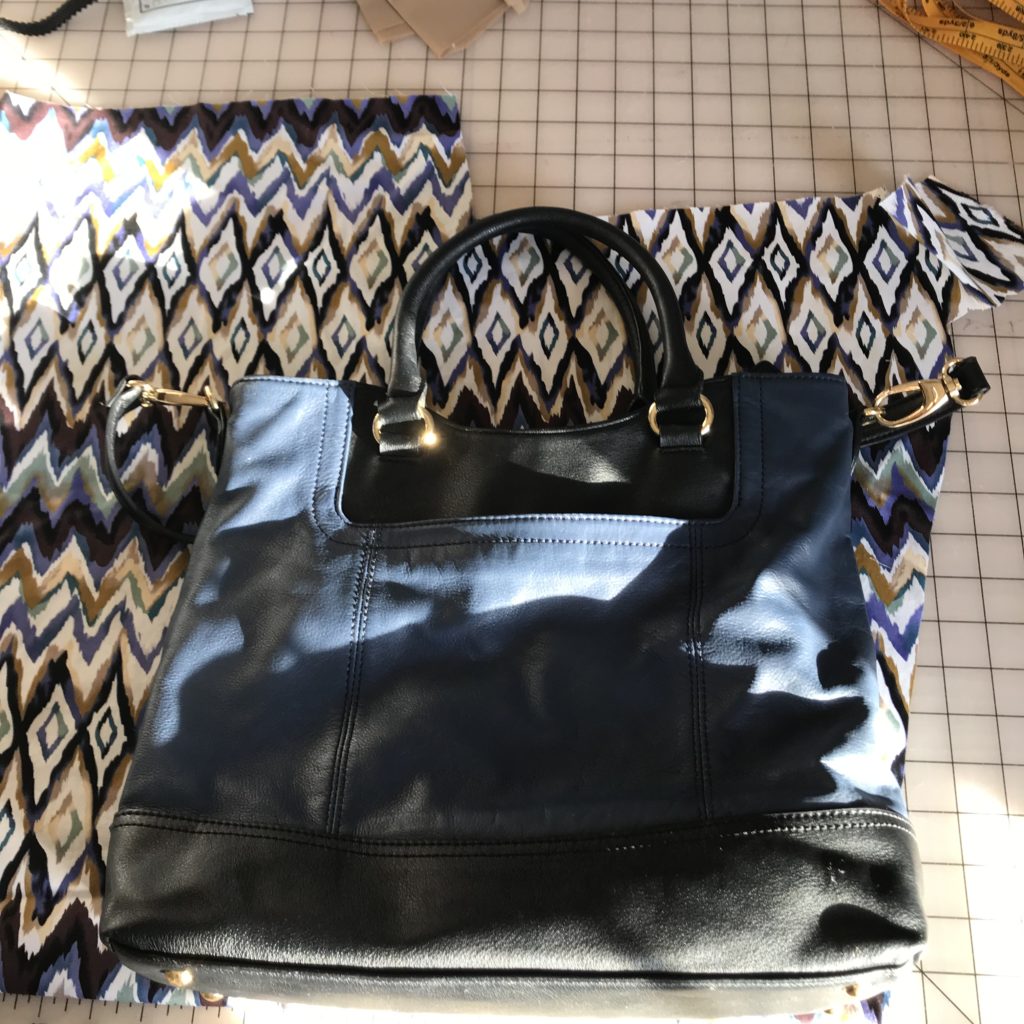
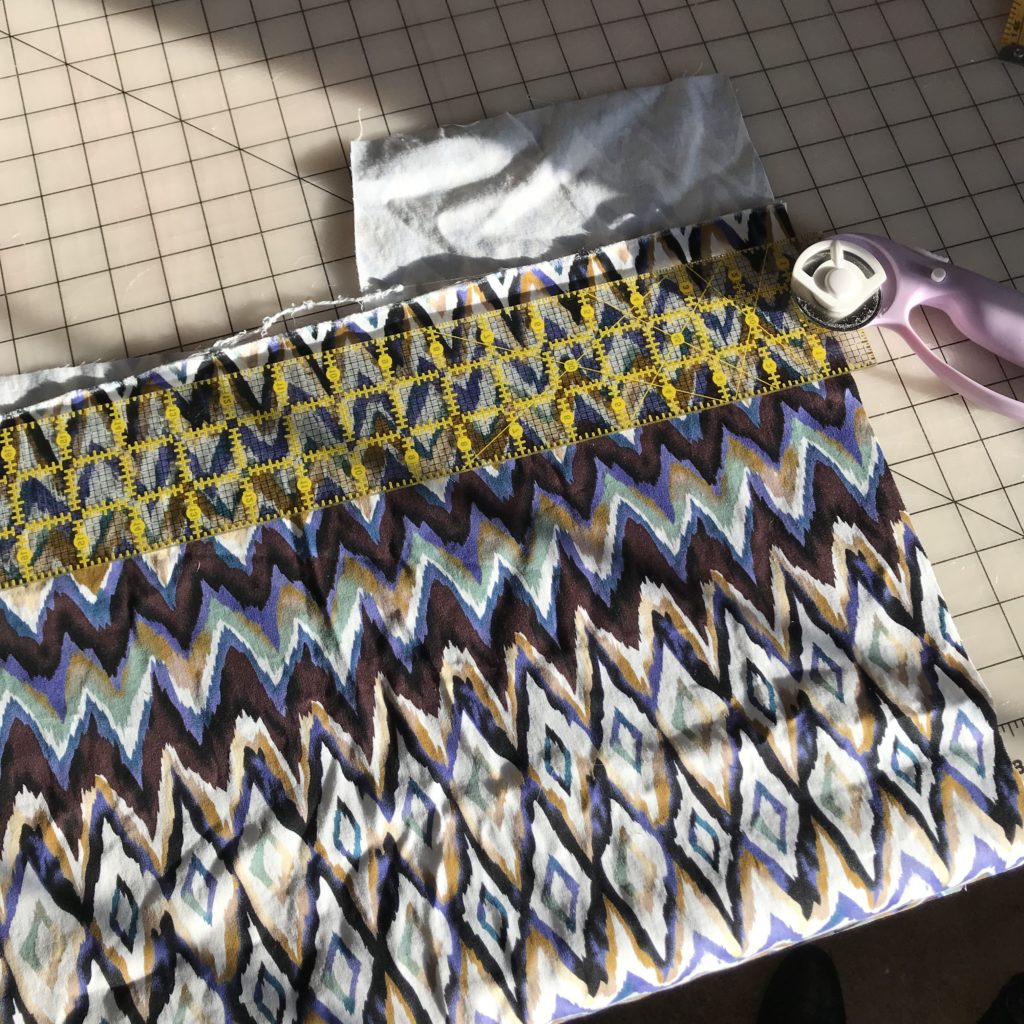
Can we pause for a moment to just admire the gorgeous late afternoon sunlight that came into my sewing room? My Meyer lemon tree is LOVING the sun in this room today.
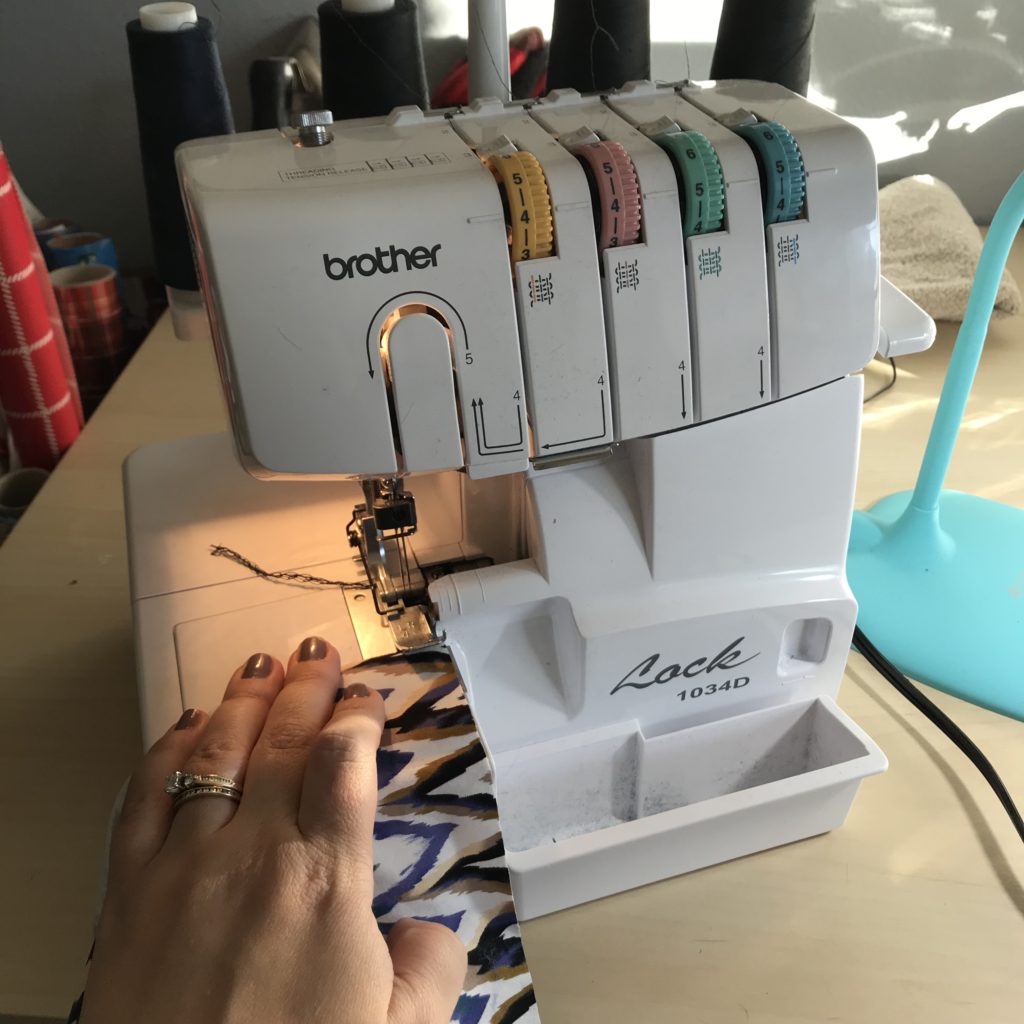
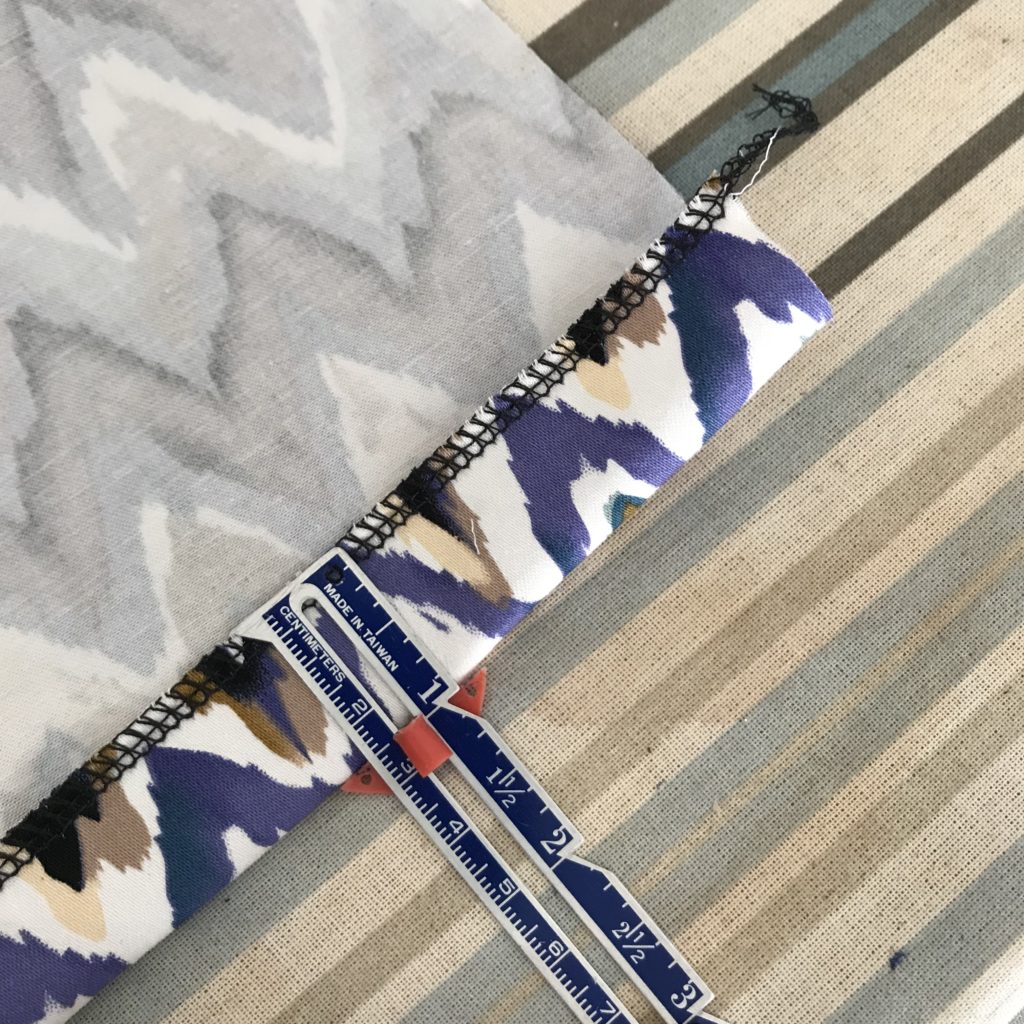
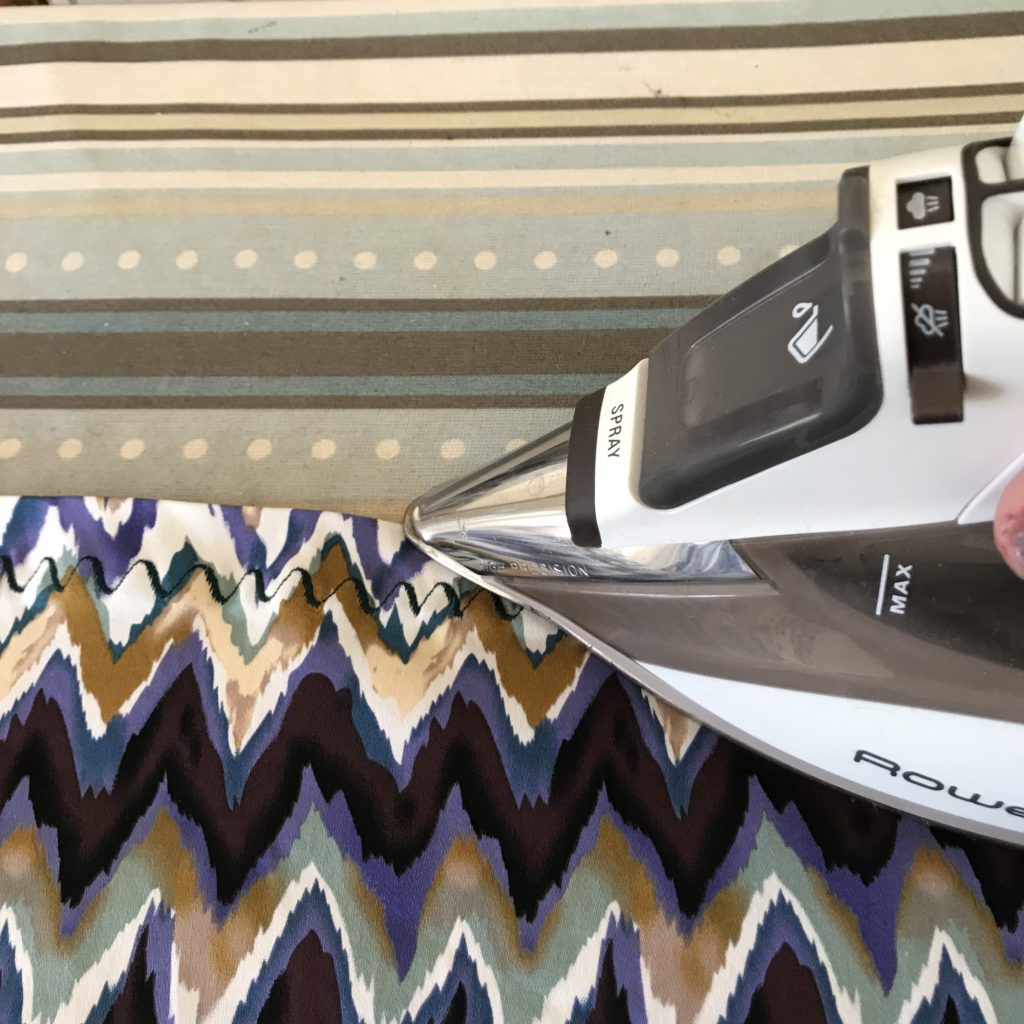
Ok back to the project! Step two: SERGE the two top edges to give them a finished edge and PRESS them to the inside. (If you don’t have a serger, just press the raw edge under once.) I pressed them so that there was a 1″ fold at the top, but it really doesn’t matter too much what the specific fold is – just as long as both sides are the same.
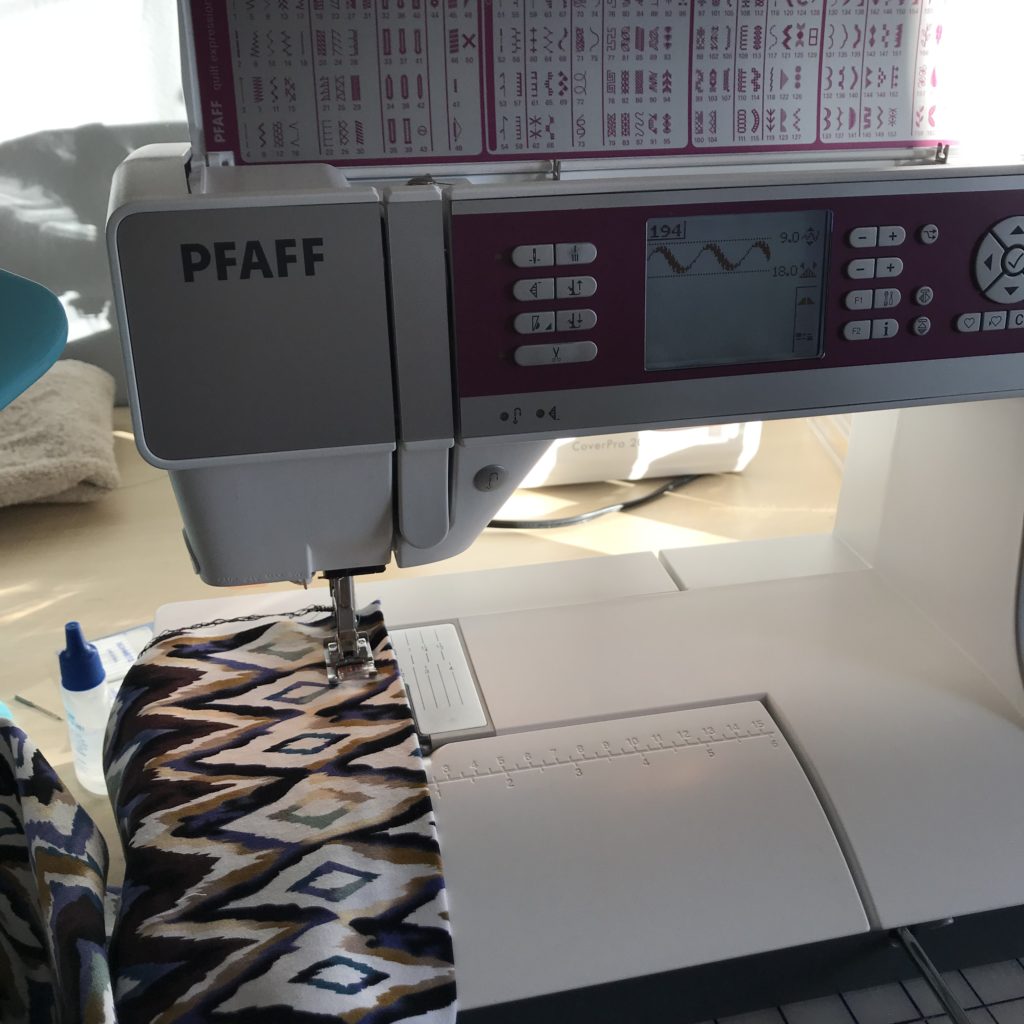
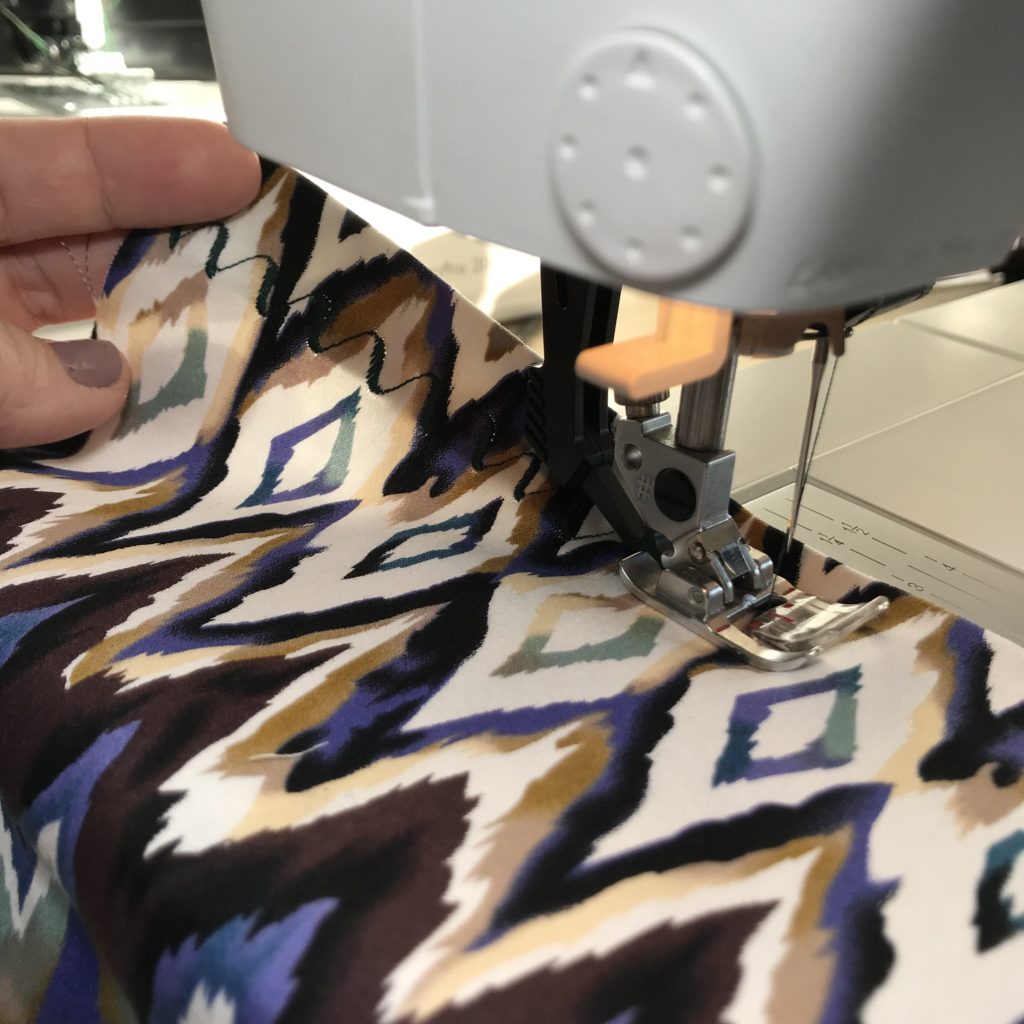
Step three: STITCH across the top on both sides. ANY kind of stitch will work, but for this project I chose a decorative stitch and I used a teal thread to bring out the teal in the fabric. PRESS after stitching to make sure it all lays nice and flat.
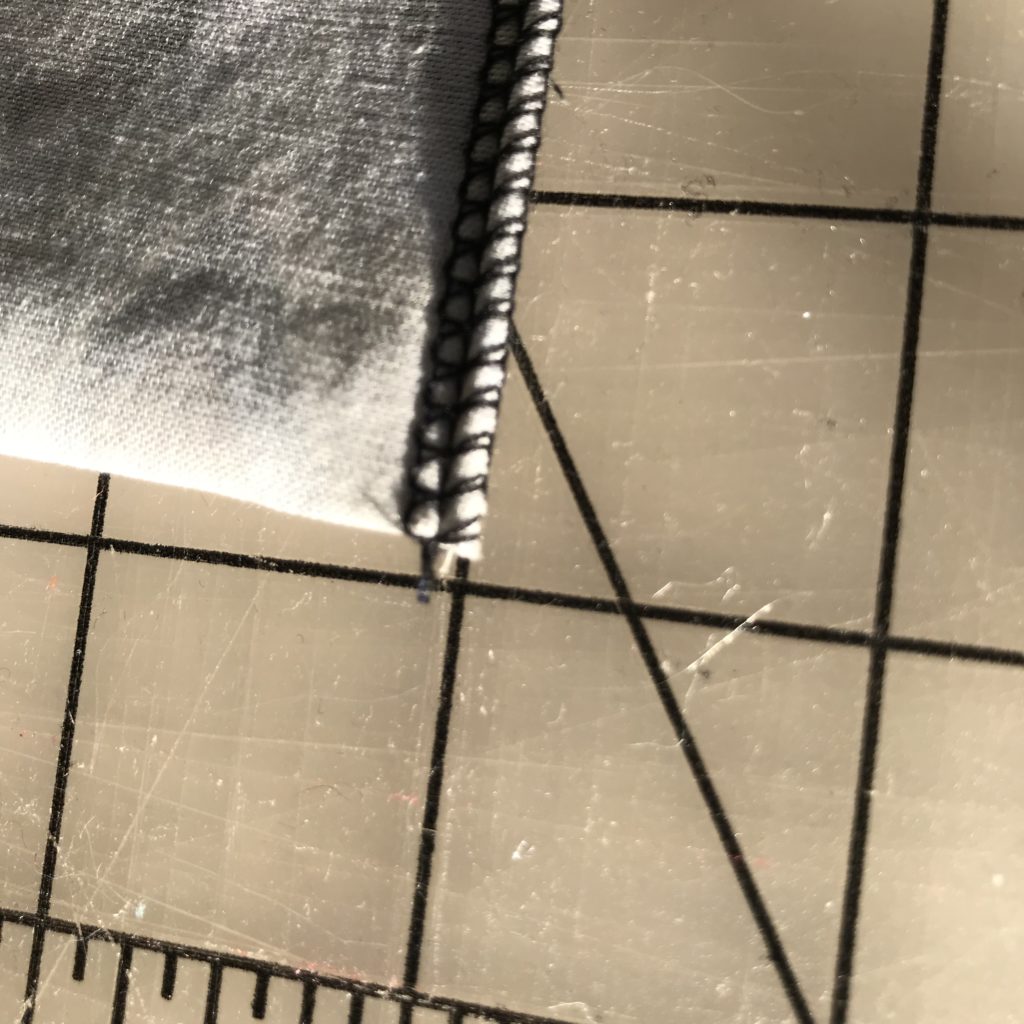
Step four: Fold the bag right sides together and SERGE both sides top to bottom. (Or simps sew them and finish the seam with a zig zag stitch to prevent fraying). Tie off the serger tails by using a pin to pull apart the threads and then tie them three times (sewist knot).
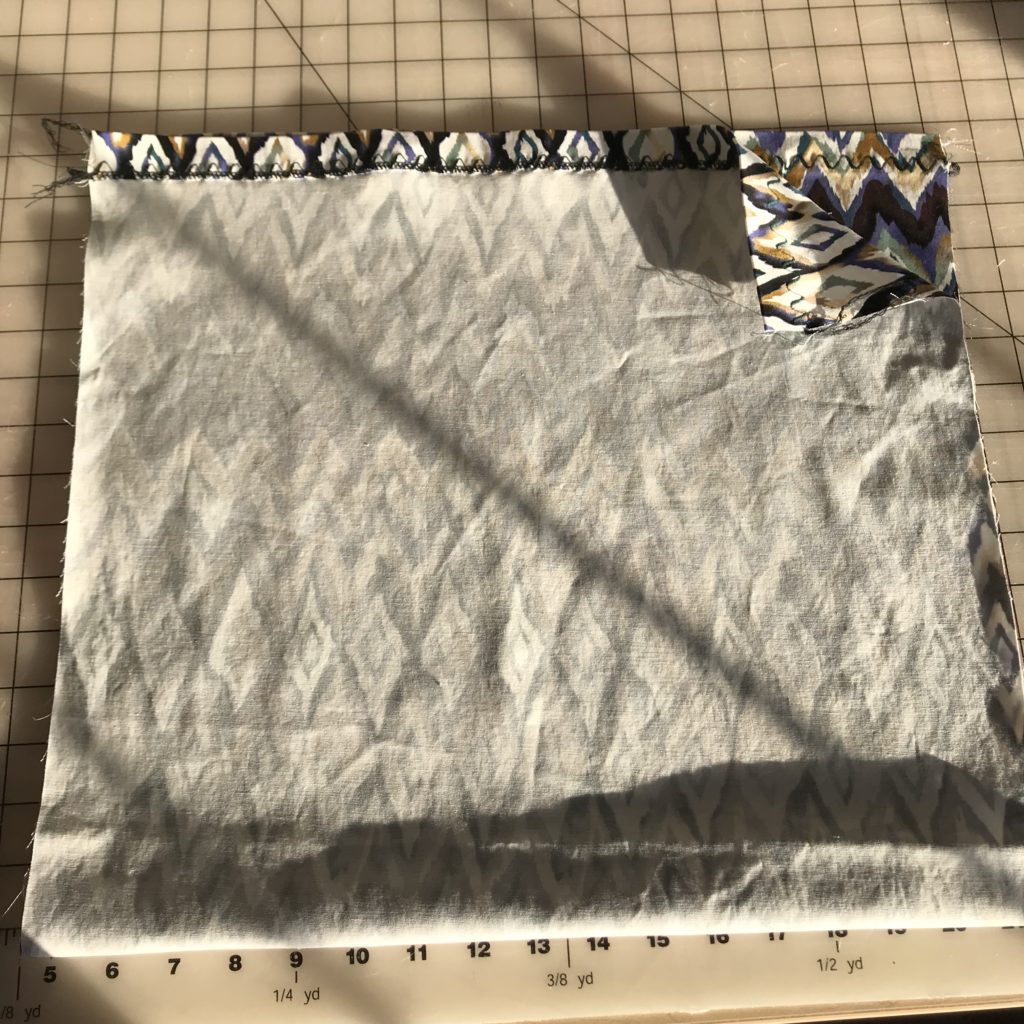
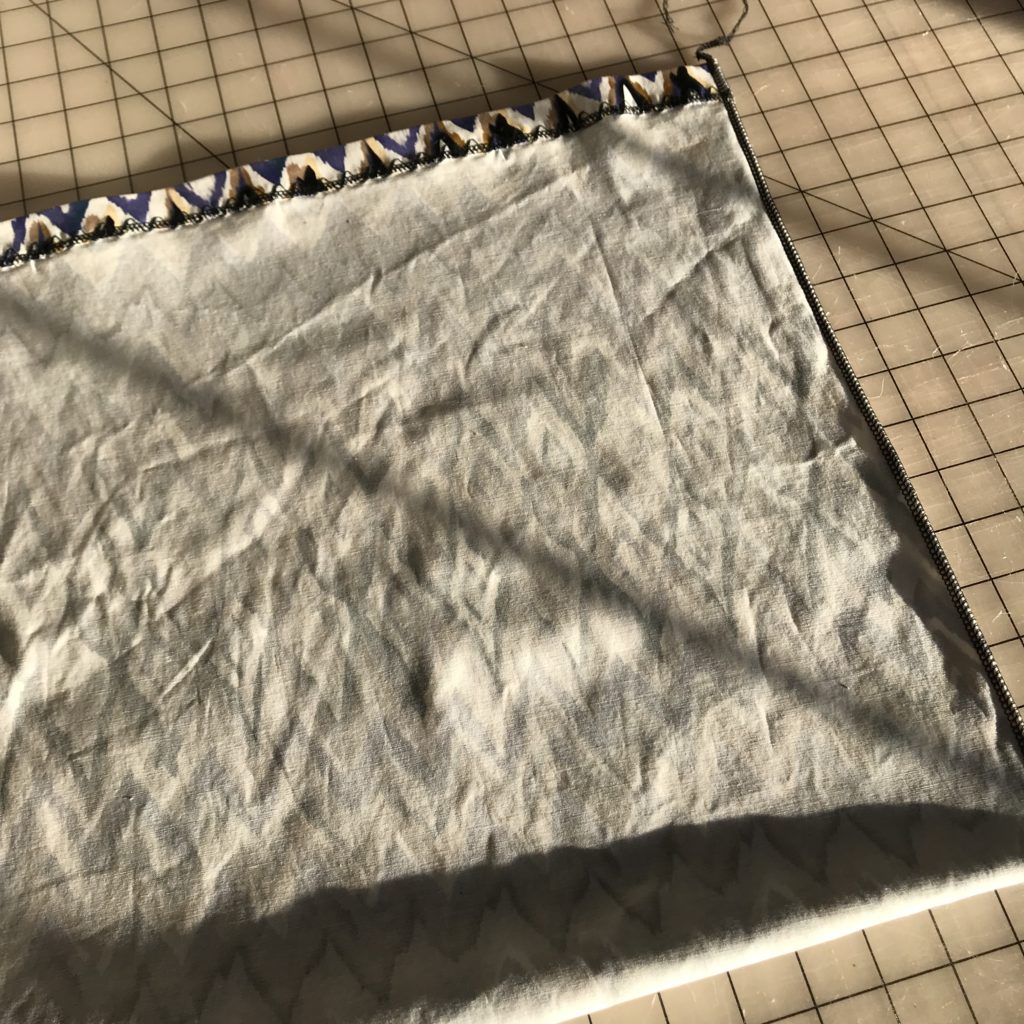
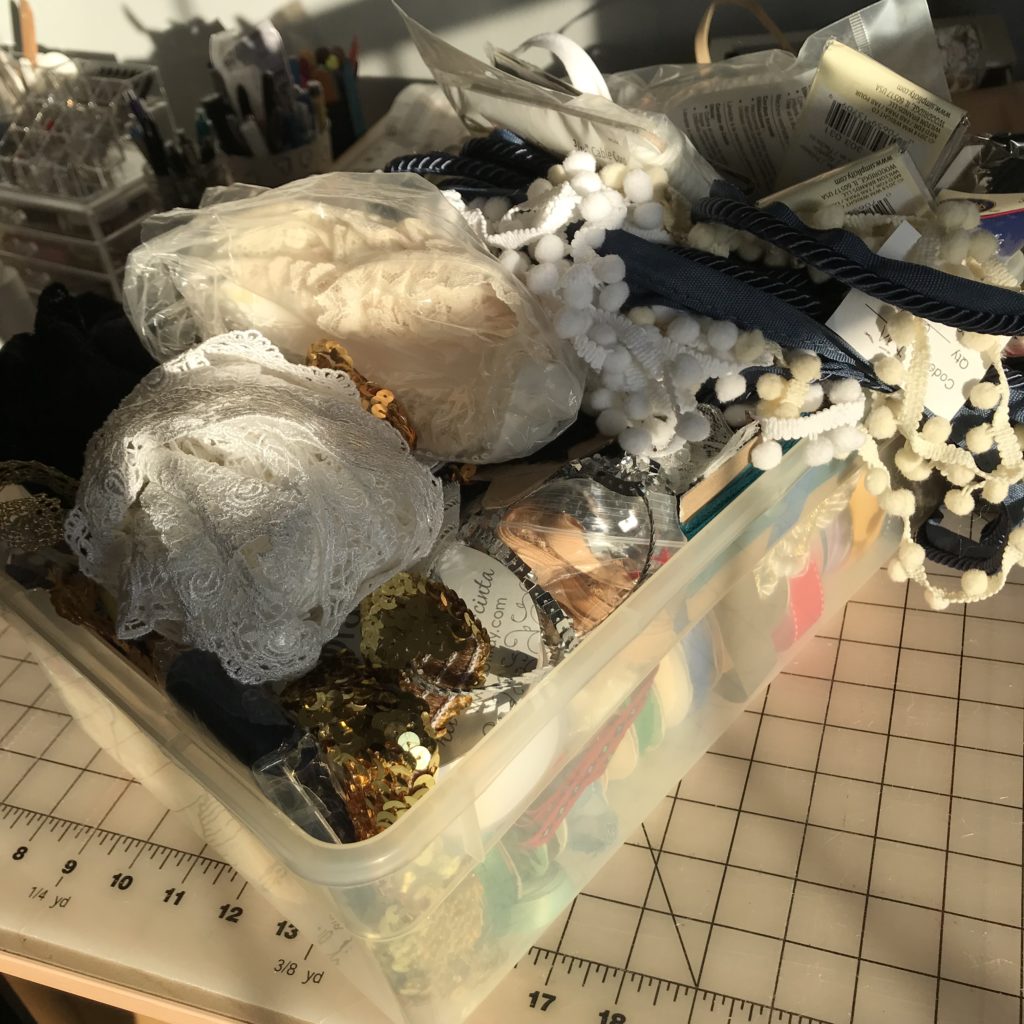
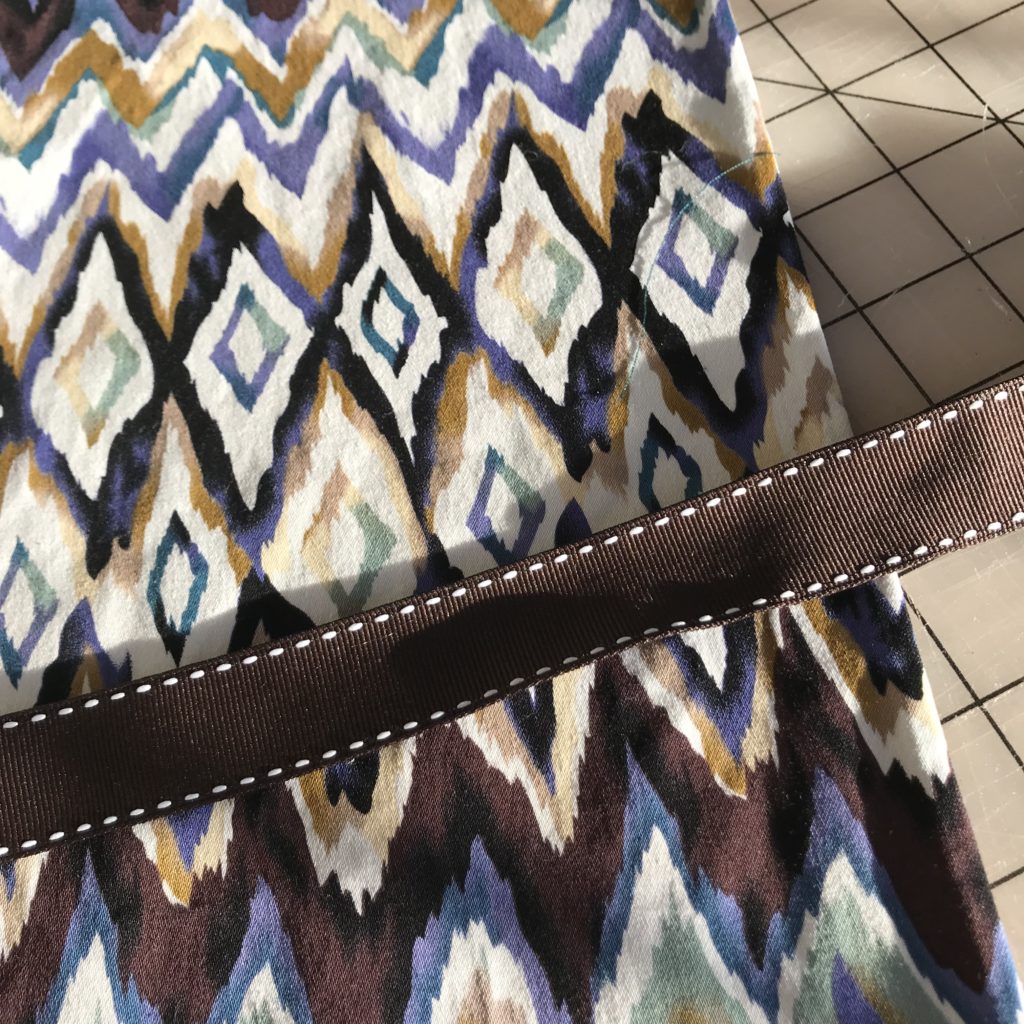
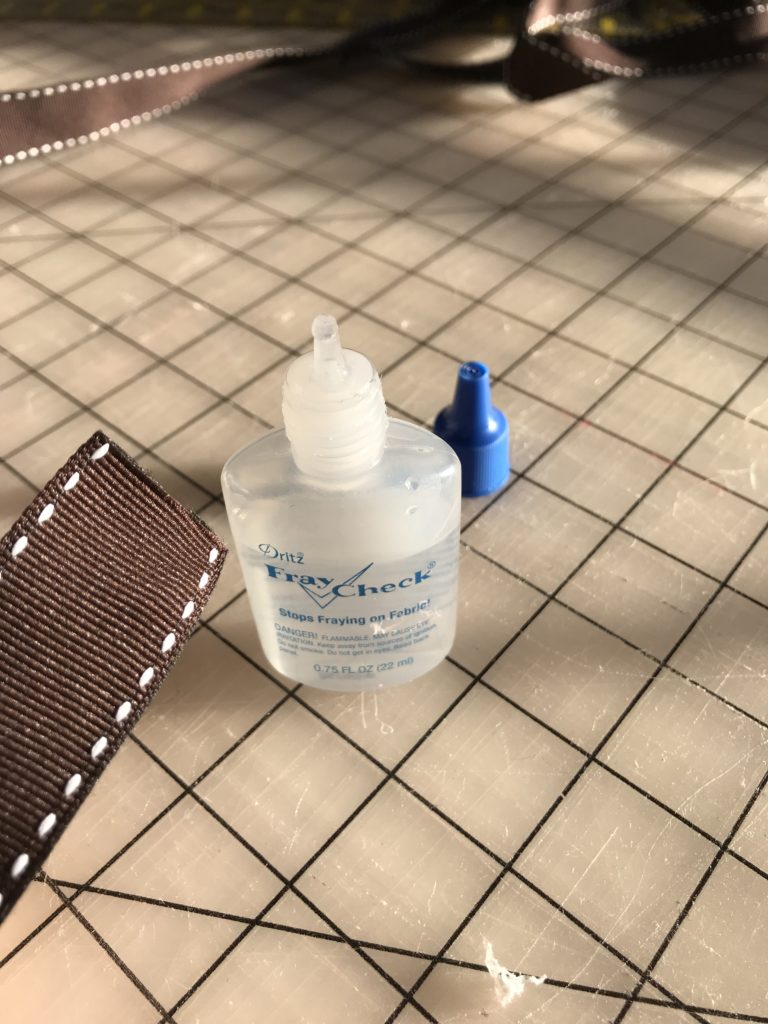
Step five: Attach a strap! I grabbed my bin of trims and laces and found a great dark brown ribbon with a white stitch on the edge. I think this ribbon was from a Pottery Barn gift a few years ago… yes, I save interesting trims (NOT ALL trims… I’m not that crazy). For this strap, I simply held the bag where I wanted it to hit me, and cut the ribbon to fit there. I applied Frey Check to the ends of the ribbon to prevent fraying and STITCHED it into both sides of the bag.
Voila! A fast, simple and fun new book bag for my library trips! This is a great starter project for new sewists, and it is also a great stash buster. Did you know sewing a buying fabric are actually two different hobbies? its TRUE! 😉
Happy Monday friends! What are you working on this week? Any new patterns you are loving?

