‘Tis the Season!
The season of gift making – and panicking about gift making! Unless of course, you plan your makes weeks in advance. I know some people are good about this – I certainly try to be better each year, but for some reason the holidays always sneak up on me!
Each year I try to make one thing in bulk to give to people who appreciate handmade gifts. Last year, for many of the men in my family, I made some ridiculously soft rayon blend, plaid handkerchiefs. (My kids stole James’ and use them every time they catch a cold – they get washed a lot in my house.)
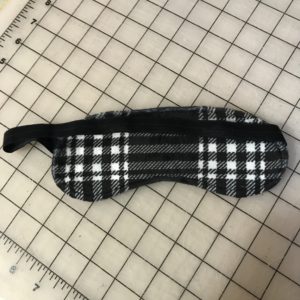
This year, I’m not sure what my gift will be yet, but as I was going through options, it occurred to me that a great stocking stuffer and quick make idea is a sleep mask! I also happened to receive an order for one of these that I had run out of my pre-made stock, so I snapped some pictures tonight as I made this one for a customer.
This is such as simple project, and would be great for beginning sewists. Scotty is planning to make some for his teachers for gifts this year!
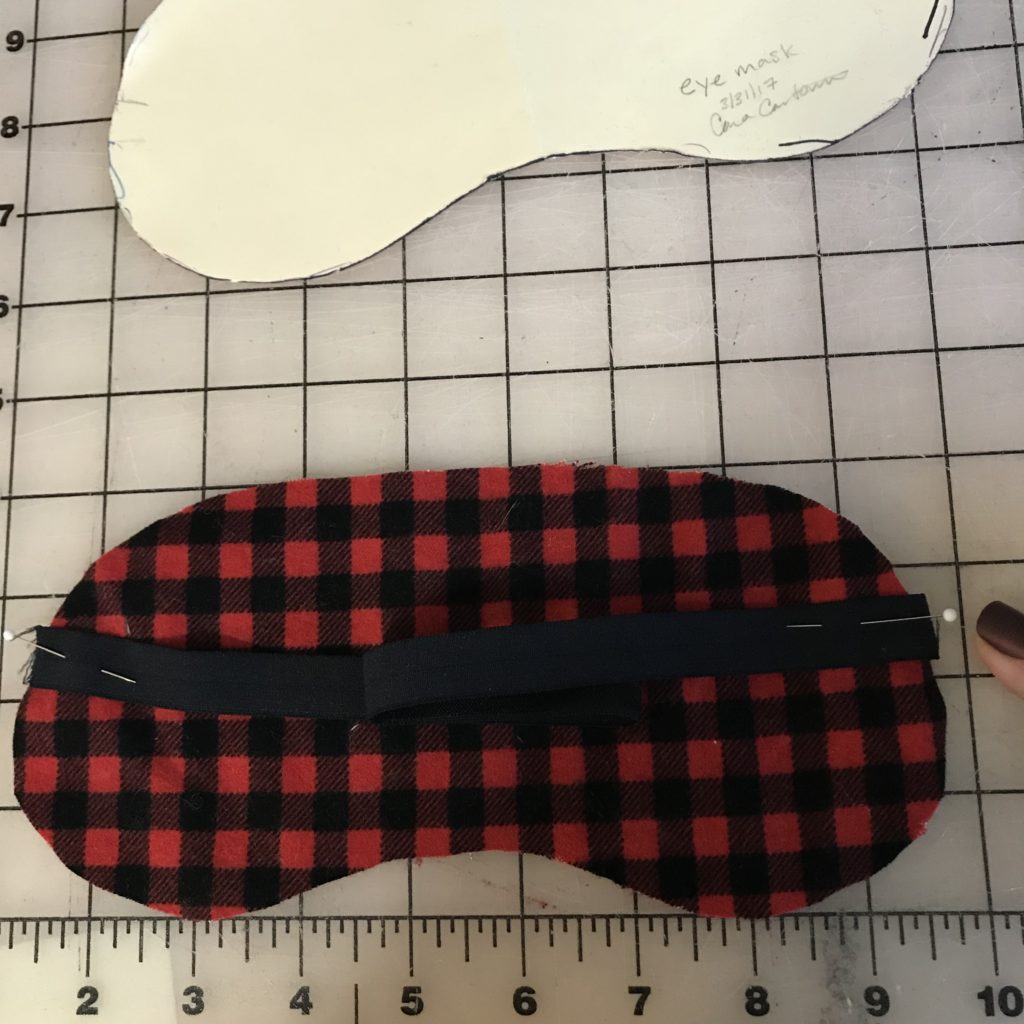
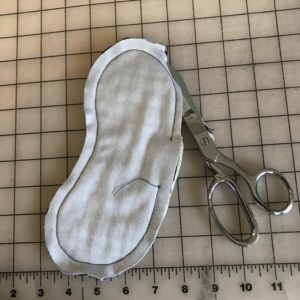
I based my pattern off a Victoria’s Secret sleep mask that came free with a set of flannel pajamas. After I traced the mask on paper, I “trued” it up – meaning, I made all the edges smooth and symmetrical. I then traced the pattern onto tag board, so I have a heavy duty pattern I can reuse over and over.
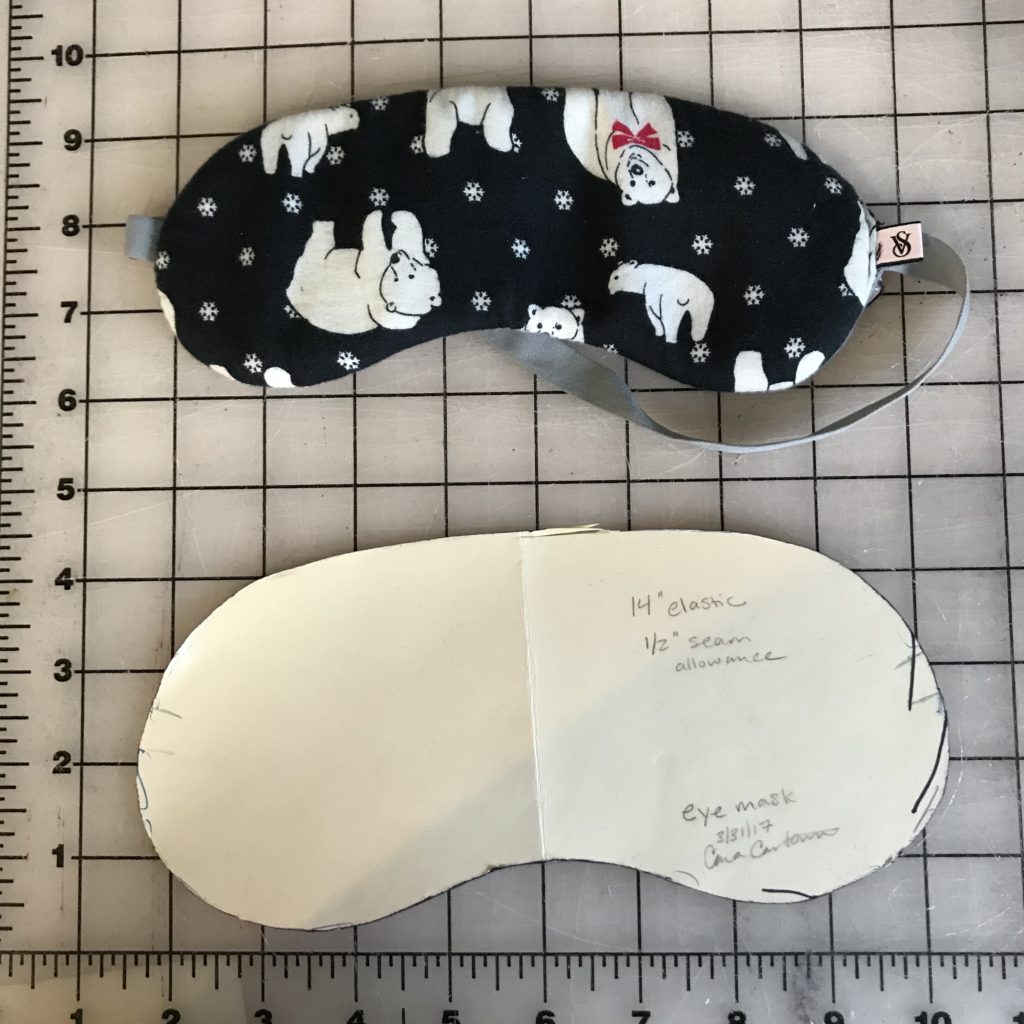 With the tag board pattern, simply place the pattern on the fabric and cut around it with a rotary cutter, or use a chalk wheel or pencil to trace around the pattern and then cut.
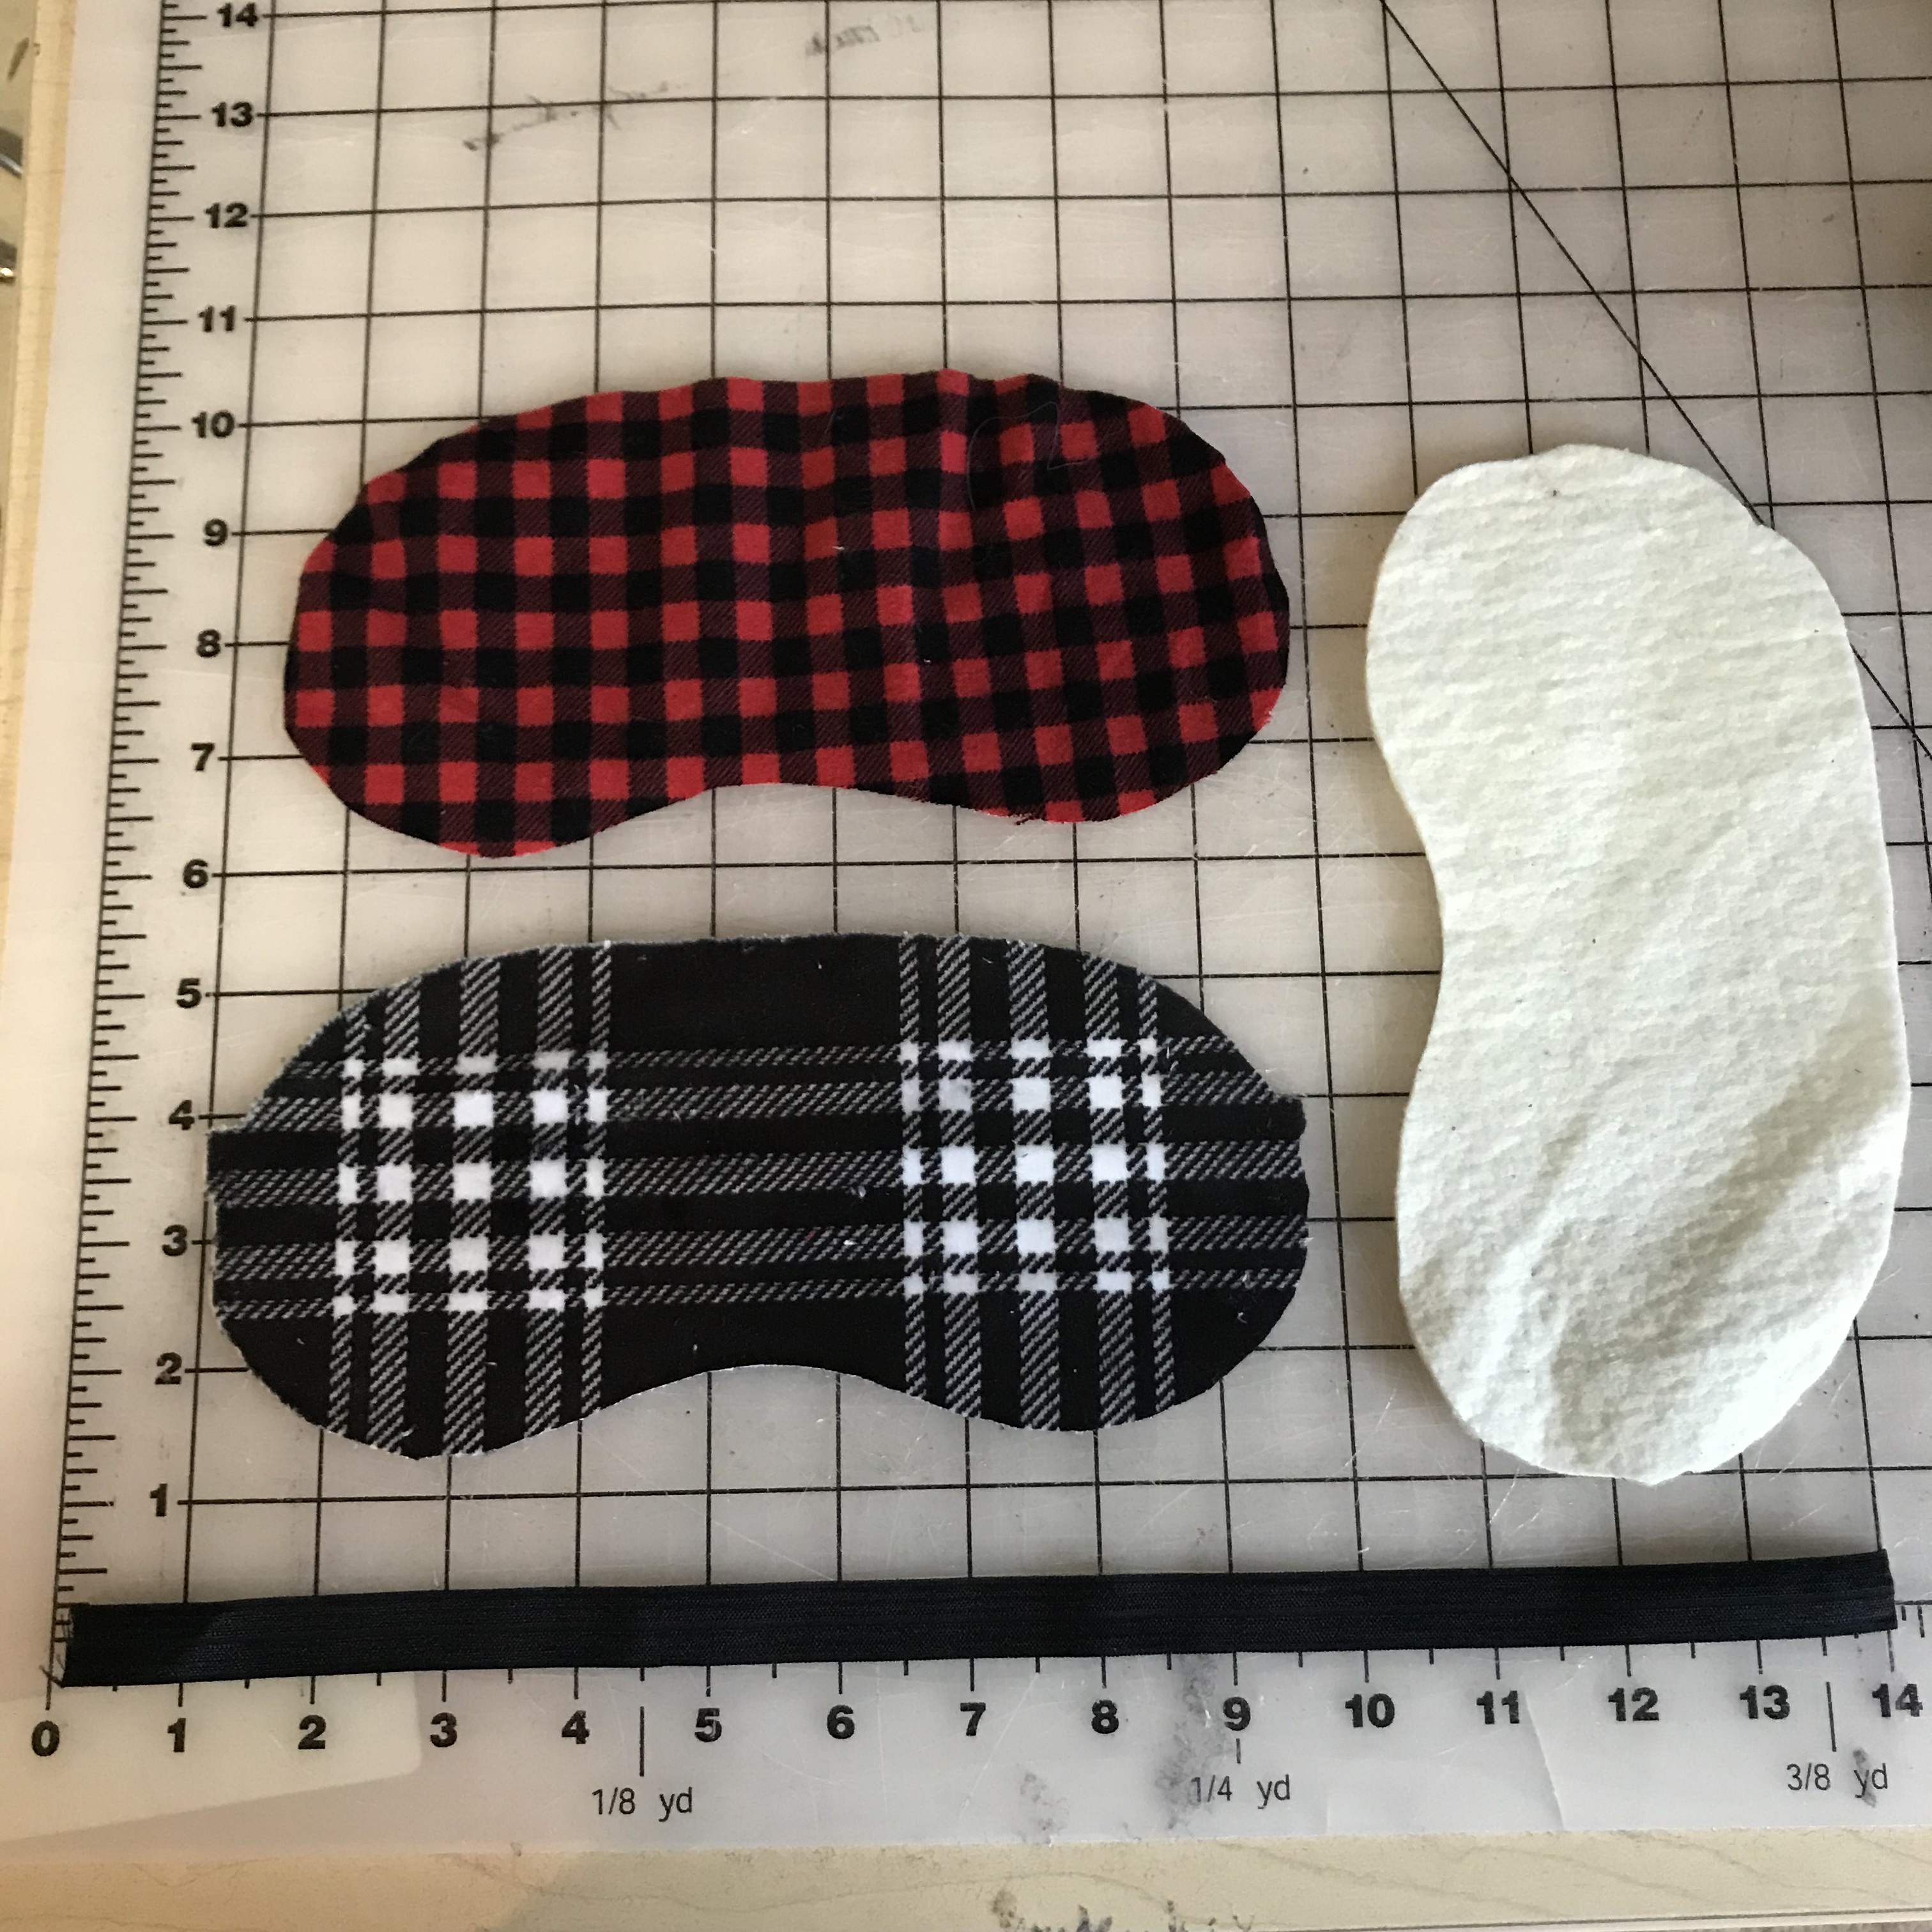
You’ll CUT:
1 Outer fabric of any kind (this faces out as you wear the mask)
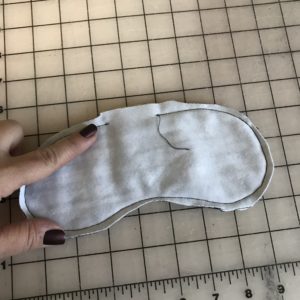
1 Quilt batting for lining (I use soft and natural for my sleep masks)
1 Inner fabric – this should be something soft, as this is the fabric that lays on your face. I usually use a silk charmeuse, minky (really soft kinda fur, but not really fur), or sherpa
1 Piece of elastic (I use fold over elastic because it is soft and has a nice sheen) cut 14″ long.
Optional: 1 black cotton for additional blackout lining if both Outer and Inner fabrics are light colors, you may need a layer of dark fabric inside the layers to create a black out effect. Test your layers by stacking them and holding them up to the light.
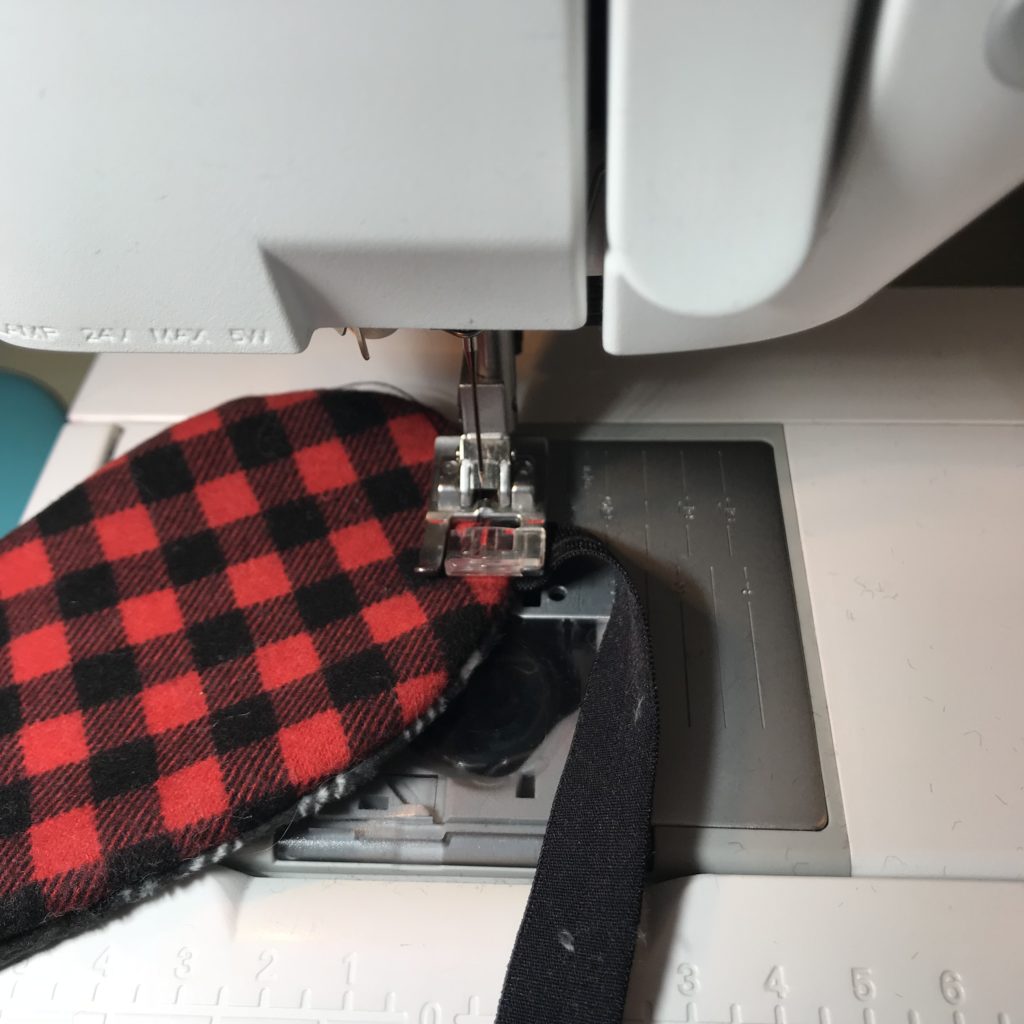
 Once all your pieces are cut out, pin your elastic shiny side to the right side of our outer fabric (right sides together) matching the placement of the elastic on both sides of the sleep mask. I use my cutting mat’s squares to help line up the elastic placement correctly.
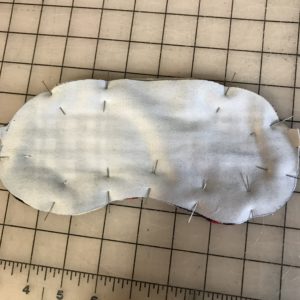
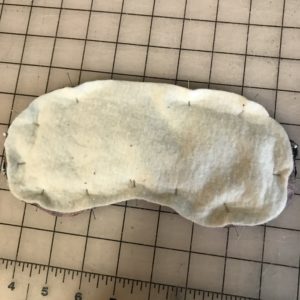
After the elastic is pinned, layer the lining (batting) with the Inner fabric and place the Inner fabric right side down on top of the right side of the Outer fabric. Pin this in a few place to keep the pieces from getting out of alignment while you sew around corners.
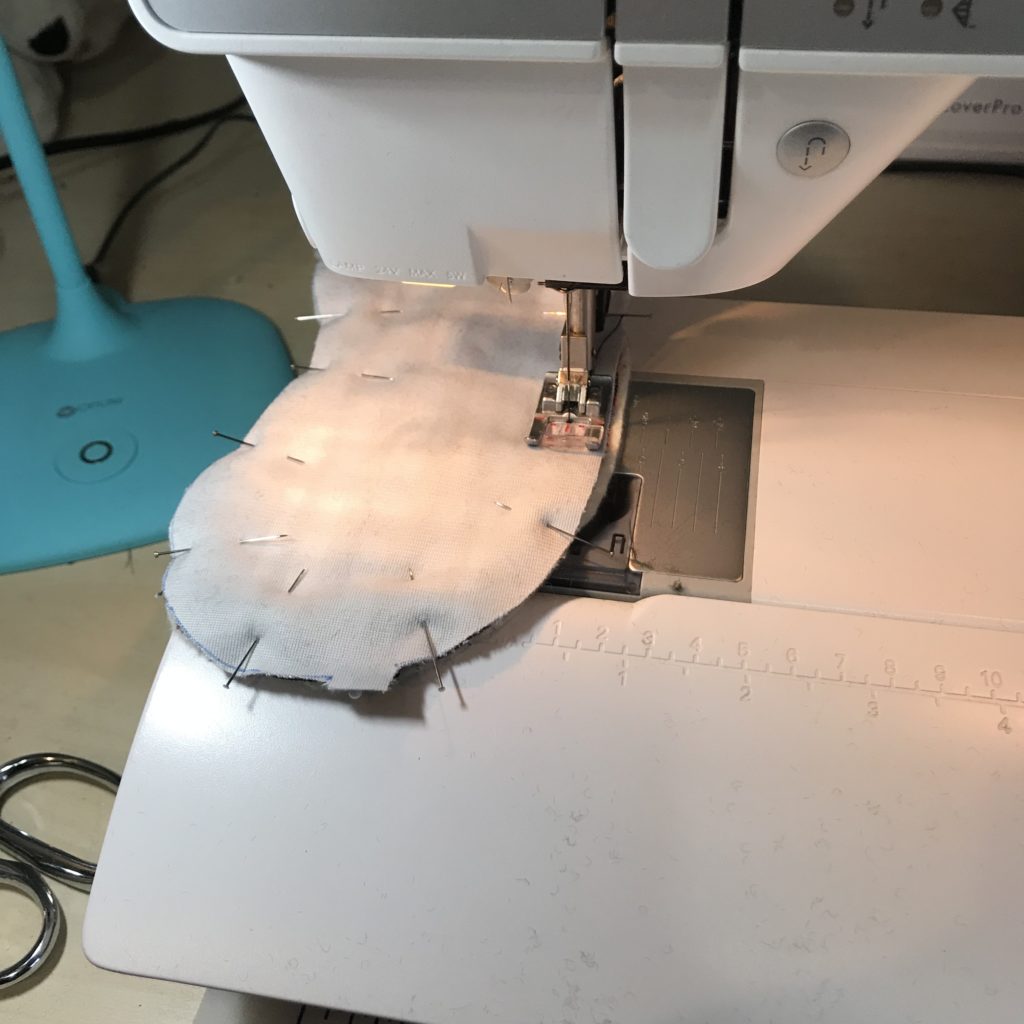
STITCH the layers together starting at the top of the sleep mask. I know my pattern says 1/2″ seam allowance, but I use a 3/8″ seam allowance all the way around. I do this because you can’t really tell a difference in the two for this project, and my machine’s regular foot is a 3/8″ guide – its just easier for me.
If your machine has a “needle down” feature (each time you stop, your needle stays down) turn it on. Having the needle stay down when you stop helps you stitch around curves much easier. With the needle down, you can rotate the sleep mask as needed to make nice, even curves. Remember to leave about 1.5 – 2″ opening at the top for turning the sleep mask inside out.
Before turning the mask, trim the seam allowances, except the opening.
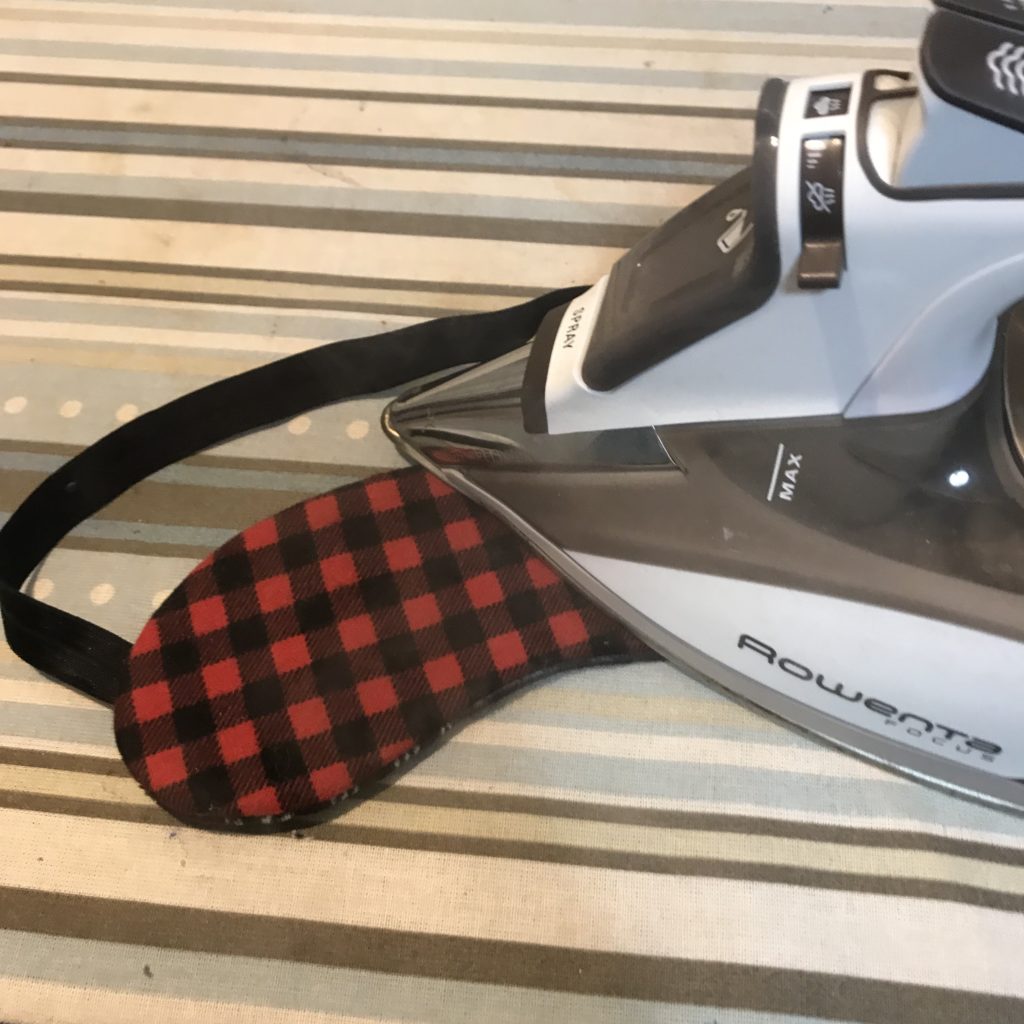
Turn and PRESS (making sure to press in the seam allowances on the opening.
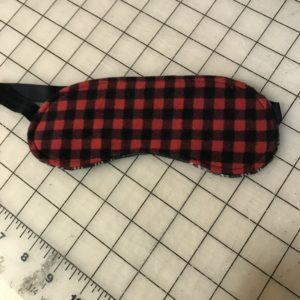
To finish, simply top stitch around the entire sleep mask, starting at one of the sides near the elastic. Make sure the top stitching – about 1/4″ from edge – fully closes the opening.
 And Voila! Your perfect, quick sleep mask stocking stuffer!
Happy Holiday Sewing! Oh, and if you are interested in having me do the “heavy lifting” and simply wish to purchase a sleep mask, here’s a link to my shop: www.slipperie.com. I can also take requests on fabric combos – just send me an email with your request: cara@slipperie.com
Oh, and a teaser for Fake It Friday this week… I’m restoring an old garment, with practical sewing tips you can use to make your favorite garments just like new again!

