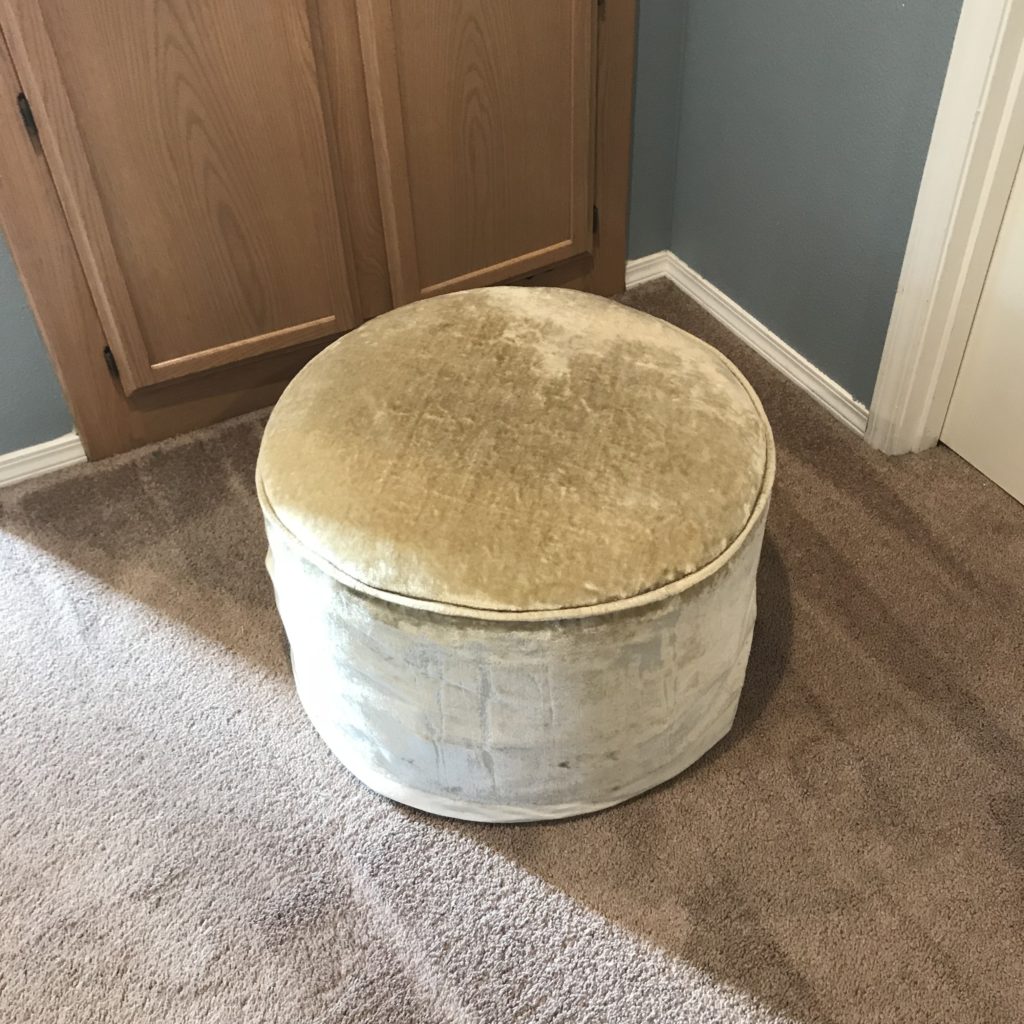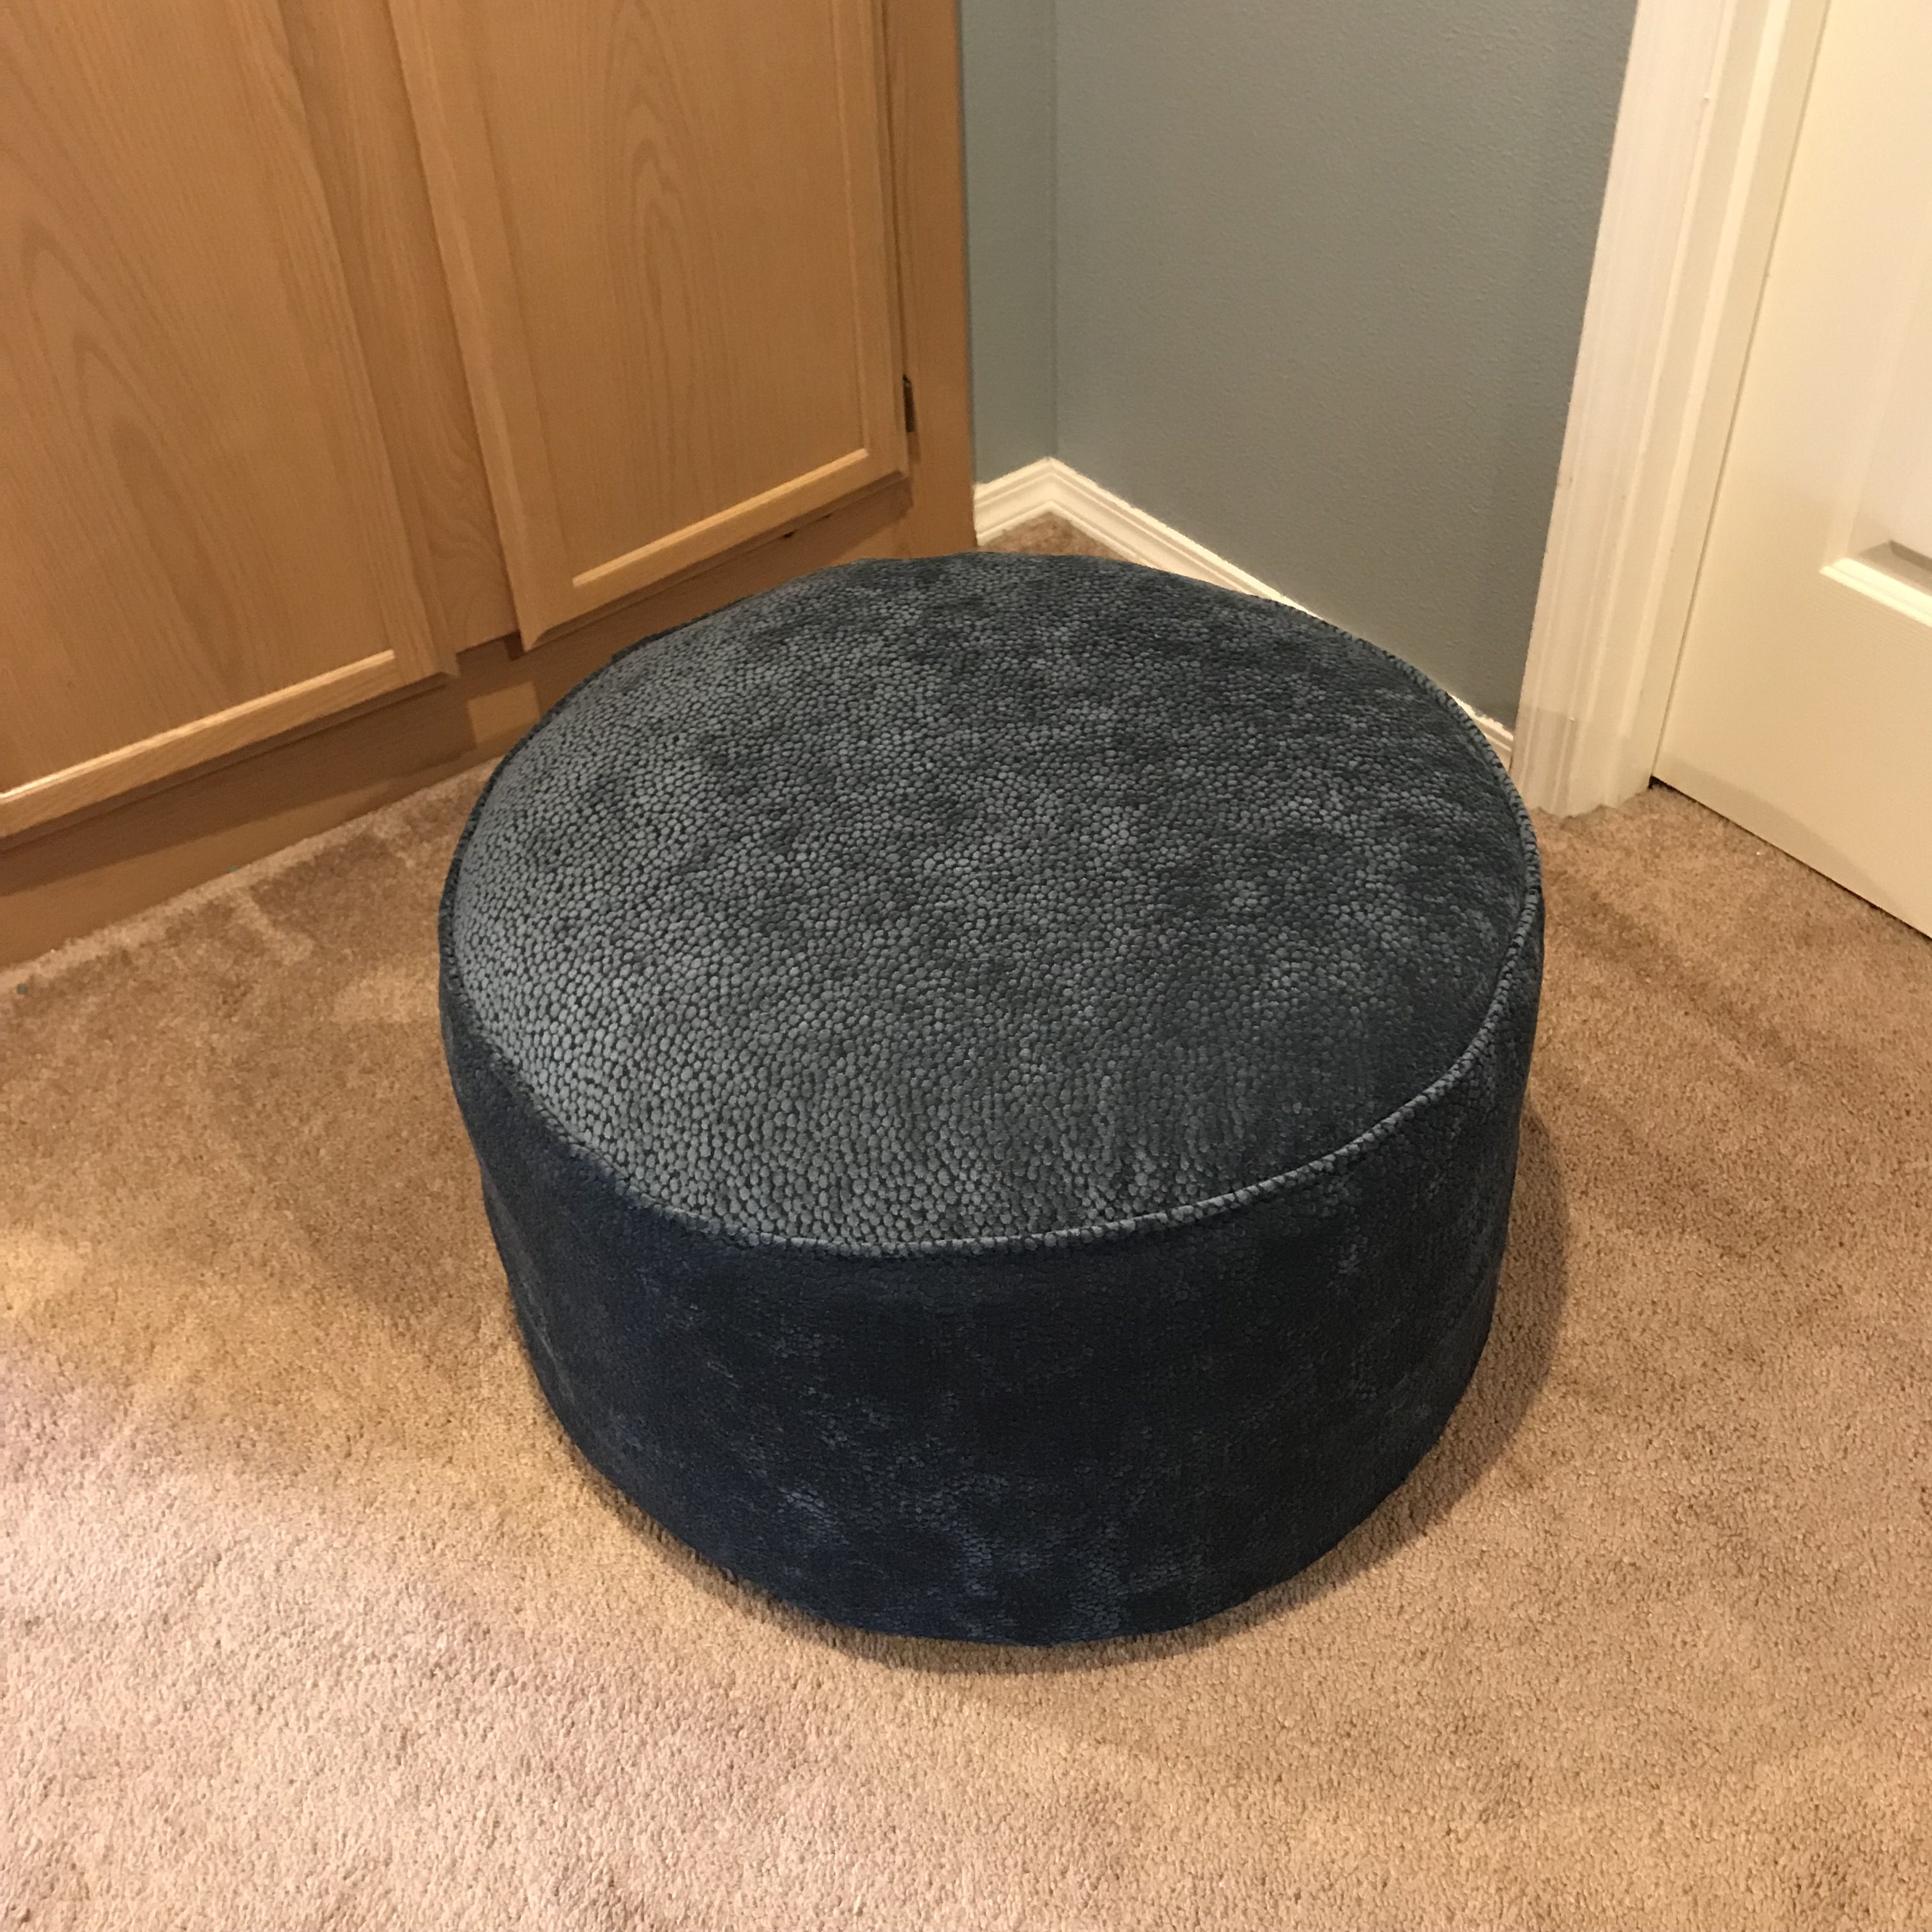
We have a little ottoman that was James’s great grandmother’s and he is very attached to it… and while it is a nice size, it has seen better days.
He’s been reluctant to get rid of it because of the sentimental attachment. BUT. The fabric on it was so old, it was literally falling apart. Every time we moved it, more pieces would fall off and make a mess. I had to do something.
I found some great upholstery fabric at Mill End Fabrics. It wasn’t the cheapest I could buy, but it has beautiful dimension in color (that I can’t capture adequately in the photos) and an awesome texture. It was $28.99/yard and I got it at 20% off. I used about 2 yards (but I bought 3 so I could make coordinating pillows for my couch – a project for another evening).
The process for making this cover could not have been faster or easier. Here are some things to do BEFORE any of the steps below:
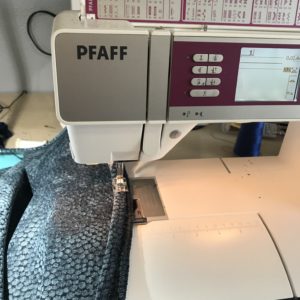
- Change your needles to Denim needles. These will be sturdy and large enough to stitch through the heavy upholstery fabric with ease.
- Use upholstery thread in your sewing machine. I didn’t bother using it in the serger, but I did use it in the sewing machine to ensure the seams would hold up to wear and tear.
- Double check your math on this – the old adage, measure twice, cut once applies here. (I had to redo some piping because I made it too narrow – oops!)
- Enjoy the process of deconstructing something old to make something new and fabulous!
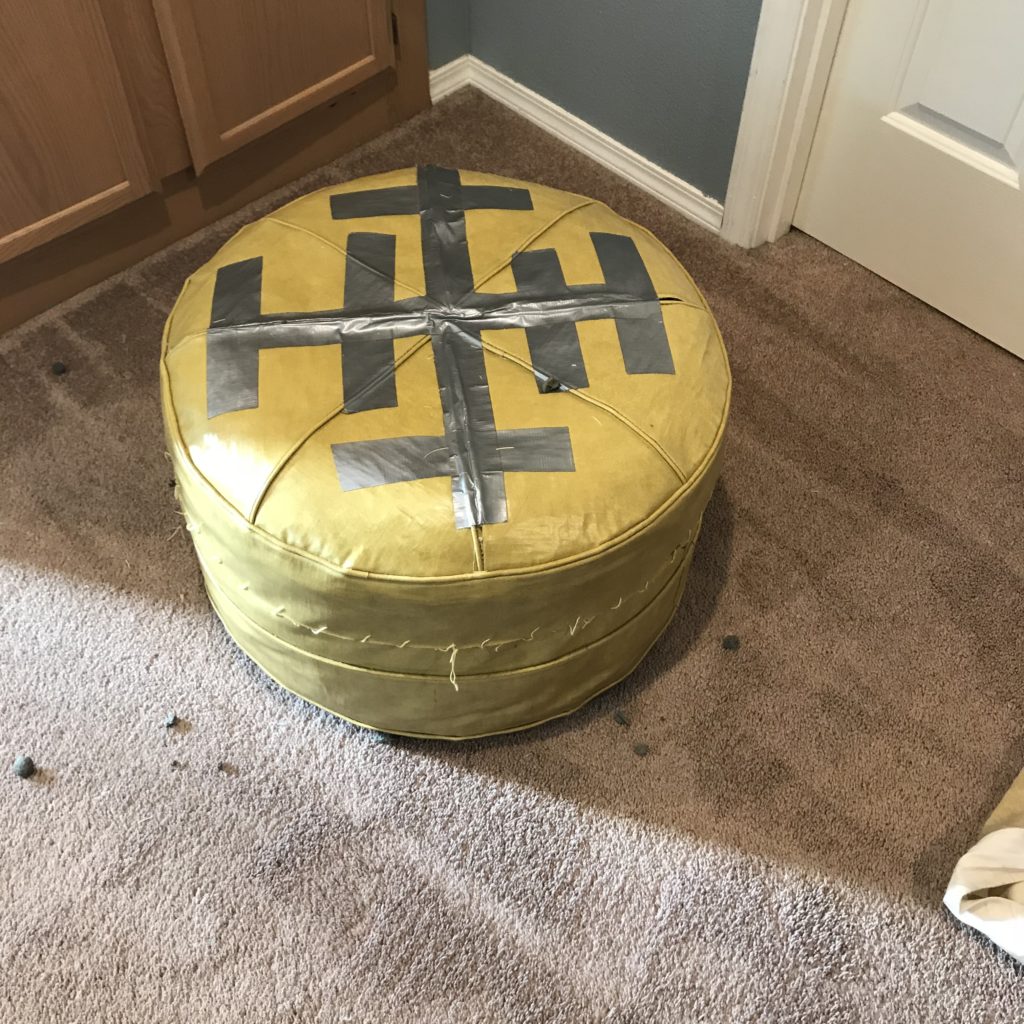
Step one: Take off the old cover! Discover that the structure of the ottoman is literally held together with duct tape.
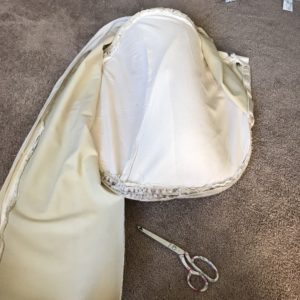
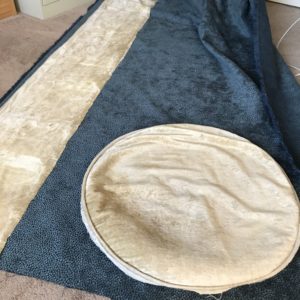
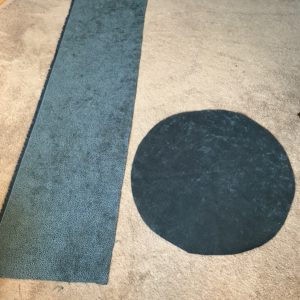
Step two: Cut apart the old slipcover and lay it out like a pattern on the fabric.
Step three: Cut out the new fabric – adding 1″ along all edges for generous seam allowances.
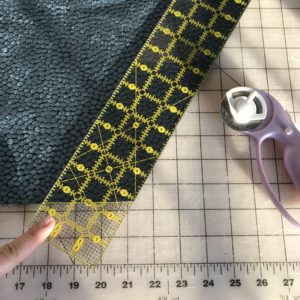
Step four: Cut bias strips to make piping. Have you ever noticed the handy lines on your quilting rulers? These are useful when trying to cut on certain diagonals, like 45 degrees for bias strips… very useful!
Step five: Use serger with piping foot to make piping. Wrap bias strips around piping (I used a standard cotton upholstery piping) right side out – wrong side against the piping. If you don’t have a serger, you can use a zipper foot, or a piping foot to make piping the same way with your sewing machine – you’ll just need to trim the seam allowance down.
*Apparently I failed to get a photo of the piping-making step – oops!
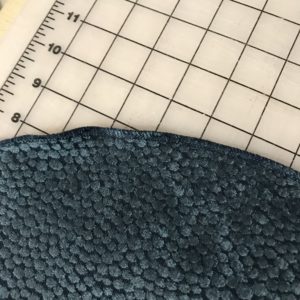
Step six: Use serger to finish all the raw edges of the pieces. This way, you don’t have to finish any seams after they are sewn, because they’ll already be finished! (If you don’t have a serger, you can use s zig zag stitch or cut with pinking shears.)
Step seven: STITCH piping to the round top piece. Fold round top into quarters and mark with pins, so you have four points marked at equal distances.
Step eight: Fold rectangle piece in half, right sides together and STITCH. PRESS seam allowance open.
Step nine: Test fit the “rectangle” piece around the ottoman. Make any necessary adjustments to make a snug fit. Once the fit is good, fold it in quarters and mark in the same manner as the round top piece.
Step ten: Pin together the “rectangle” and the circle top piece together, matching the pins (quarter markings). STITCH the two pieces together following the previous stitching line from when you attached the piping. By following the piping stitches, you make sure you don’t stitch over any piping or leave any gaps.
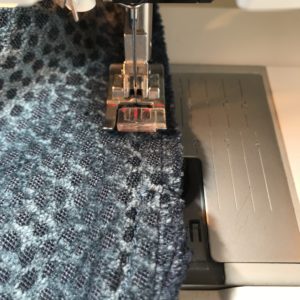
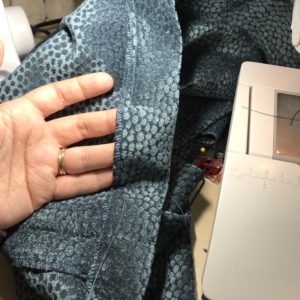
Step eleven: Turn up the bottom by one and a half inches. STITCH around the bottom, leaving an opening to insert elastic.
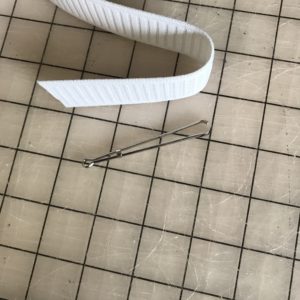
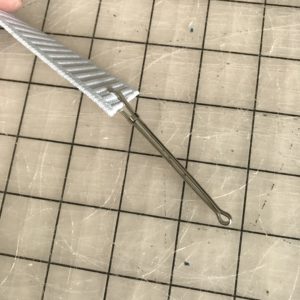
Step twelve: Measure a piece of 1.25″elastic that will stretch over the circumference of the ottoman, but pull the fabric in tightly under the bottom, securing the slip cover in place. Insert the elastic using a bobkin. A bobkin grabs the elastic and holds it while you pull and push it through he elastic channel you’ve created. If you don’t have one, you can also use a large safety pin.
Step thirteen: Stitch together the ends of the elastic to secure it in place.
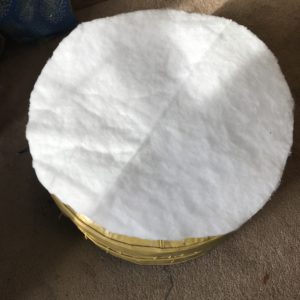
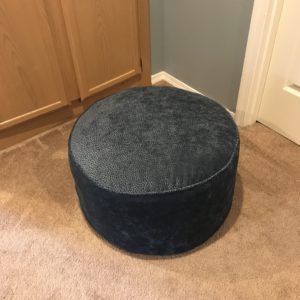
Step fourteen: CUT and add three to four layers of high loft batting to the top of the ottoman, to ensure no one feels that lovely duct tape if/when they sit on the ottoman. Then put on the slip cover and enjoy… Ah – much better now!
Slipcovers sound scary, but they can be surprisingly simply and an affordable way to change the look of your furniture. This was a quick project that makes our living room much more updated and useful. Other easy slipcovers to make are upholstered dining room chairs, chairs and sofas that aren’t tufted, and pillows. Slipcovers are also an easy way to add a pop of color… I’m already thinking maybe I need to make a few more that are seasonal colors… a deep red for Christmas, or a deep, harvest orange for fall… oh, the possibilities are endless!
I saved a treasured heirloom tonight! James is quite happy about the change 🙂
Happy Monday everyone – leave a comment and tell me what is on your sewing table this week!

