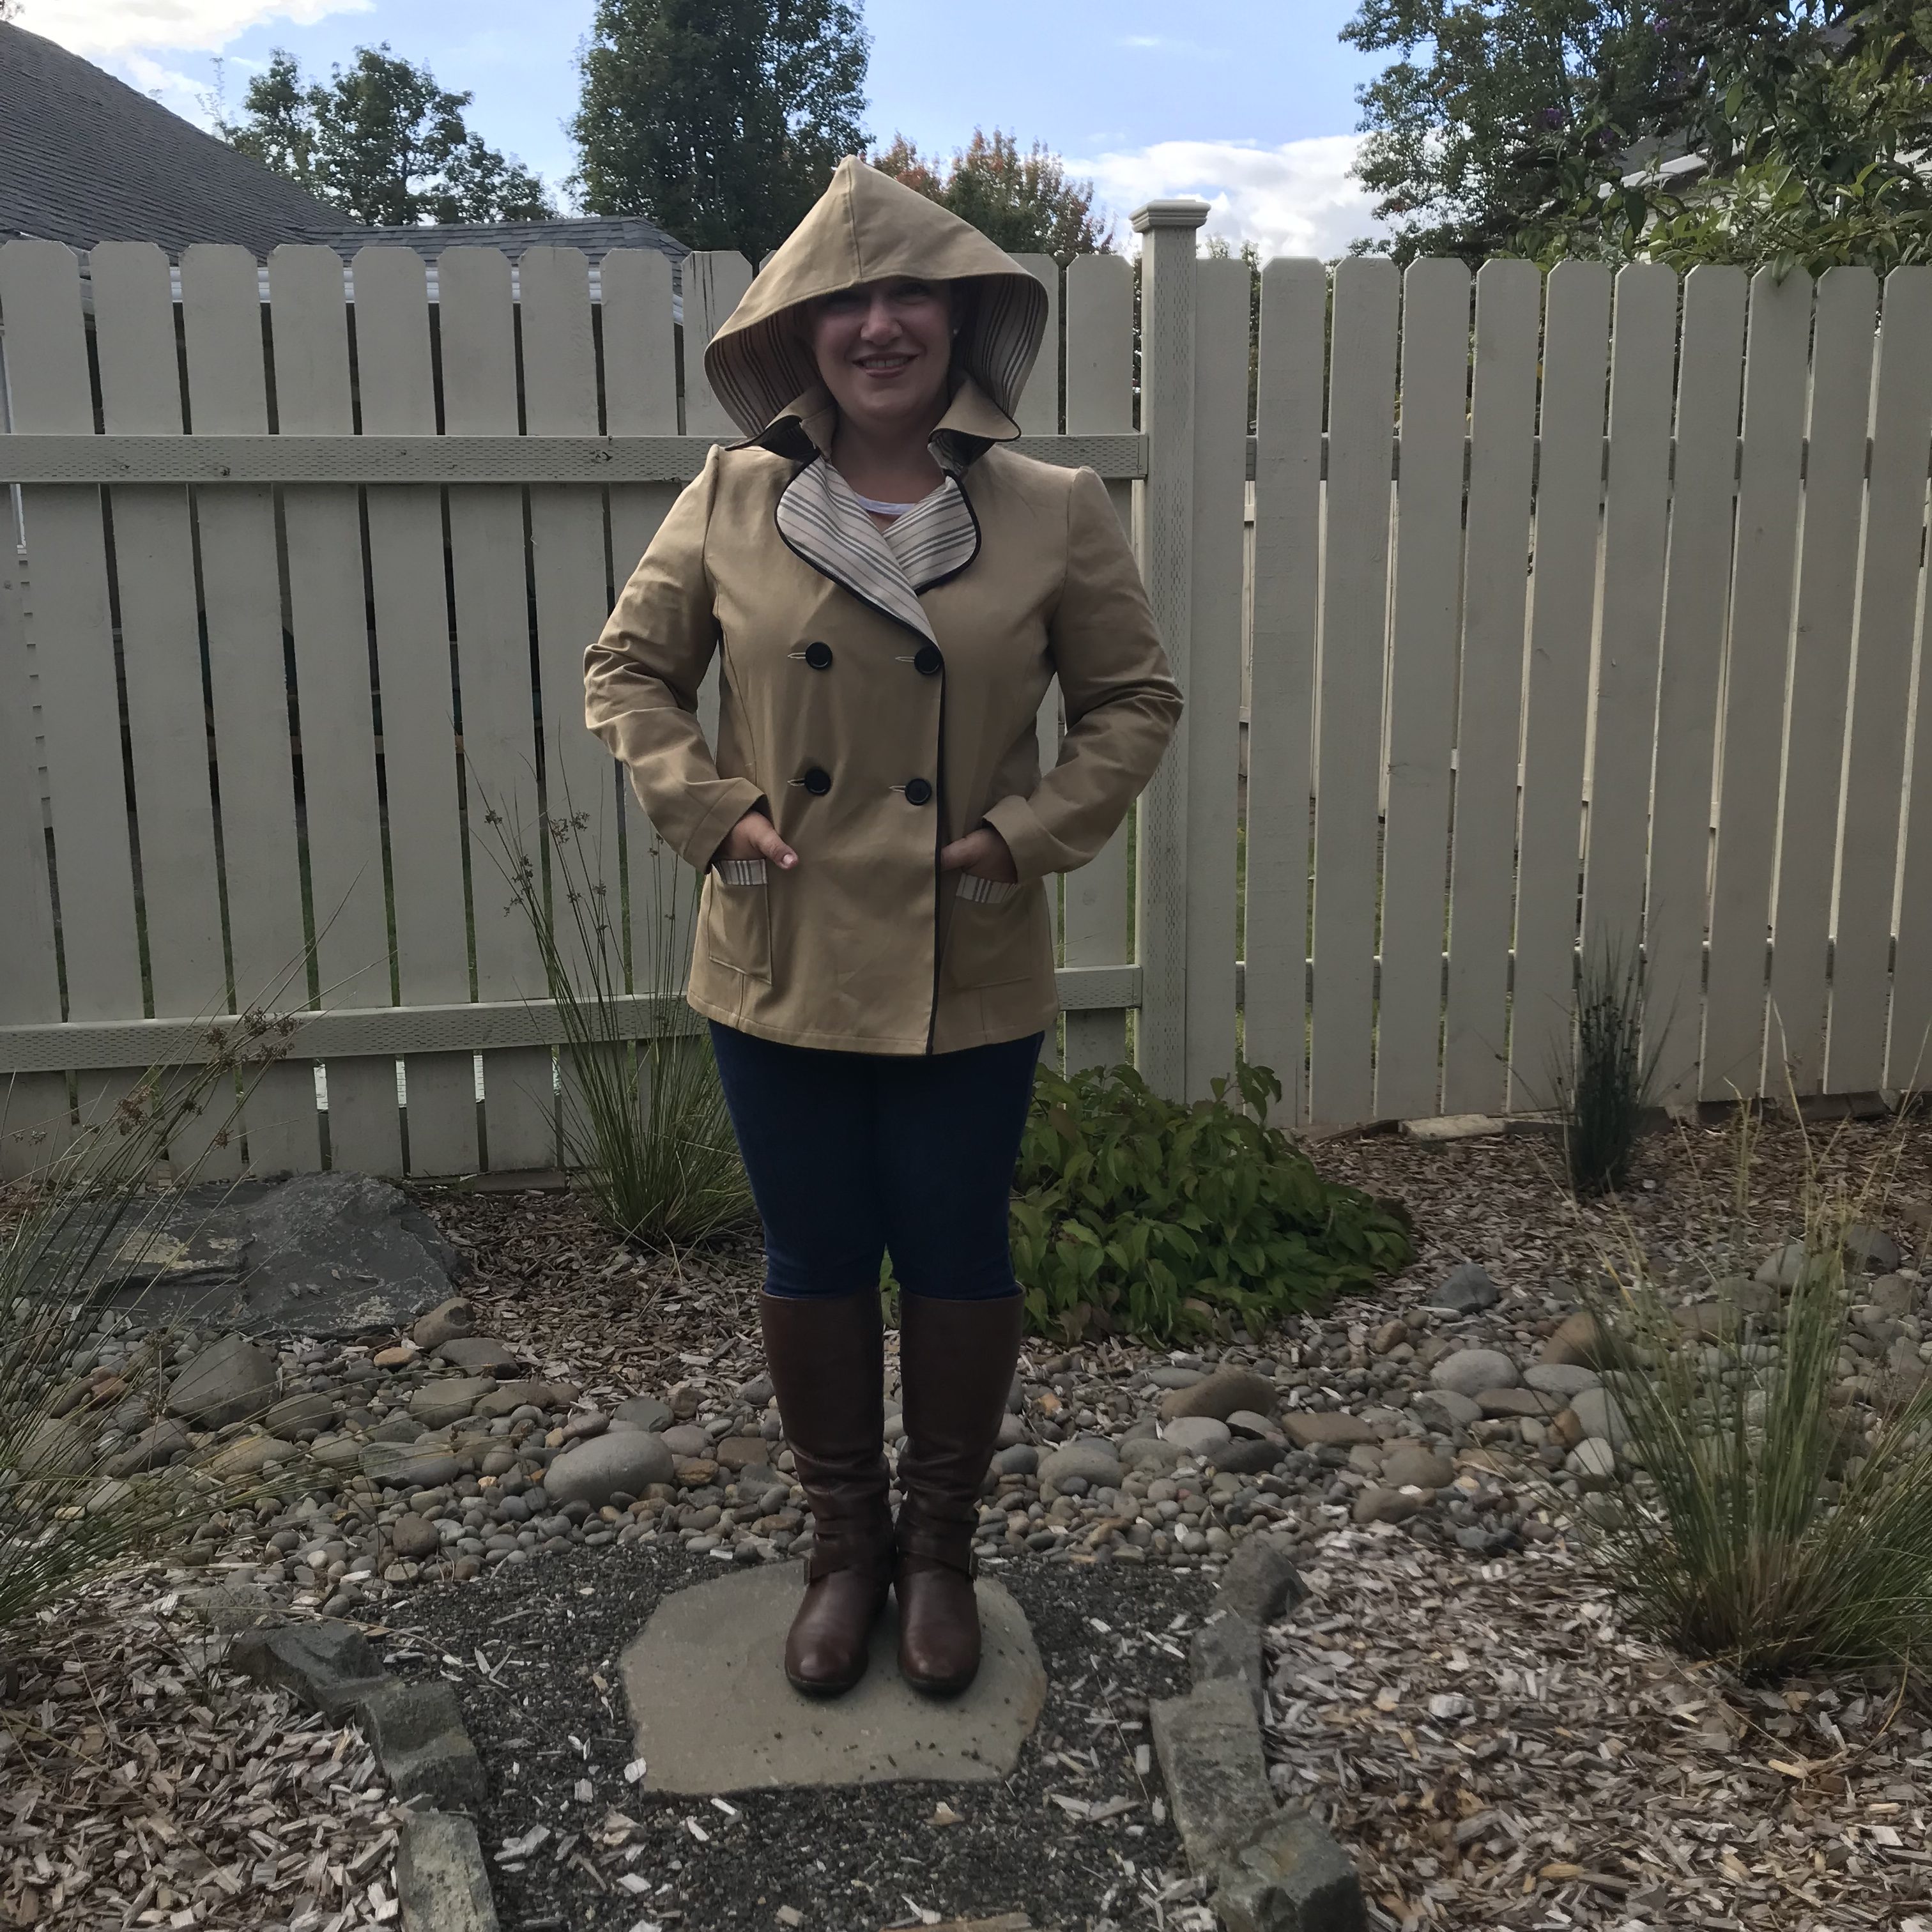
I LOVE Fall!
I do NOT love the initial wave of back to school illness that accompanies the start of Fall.
Anyone else do battle with school germs?
It seems like we are constantly running out of tissues. I can’t seem to get my boys to use a tissue more than once, even if they barely touch their nose with it, so we end up with heaps of slightly used tissues in our trash cans. So wasteful!
Tonight, as I tucked my oldest in bed, I noticed he had pulled out a handkerchief that I had made him last Christmas to keep by his bed.
I decided we need more handkerchiefs, and they are super quick to make, so tonight’s Quick Make Monday is a basic cotton handkerchief – with a funny twist!
Step one: Select a soft cotton fabric and make sure you pre wash it in hot water and dry it on whatever setting you usually use. This will allow the fabric to shrink if it will, so you won’t be surprised with a tiny hankie the first time you wash it.
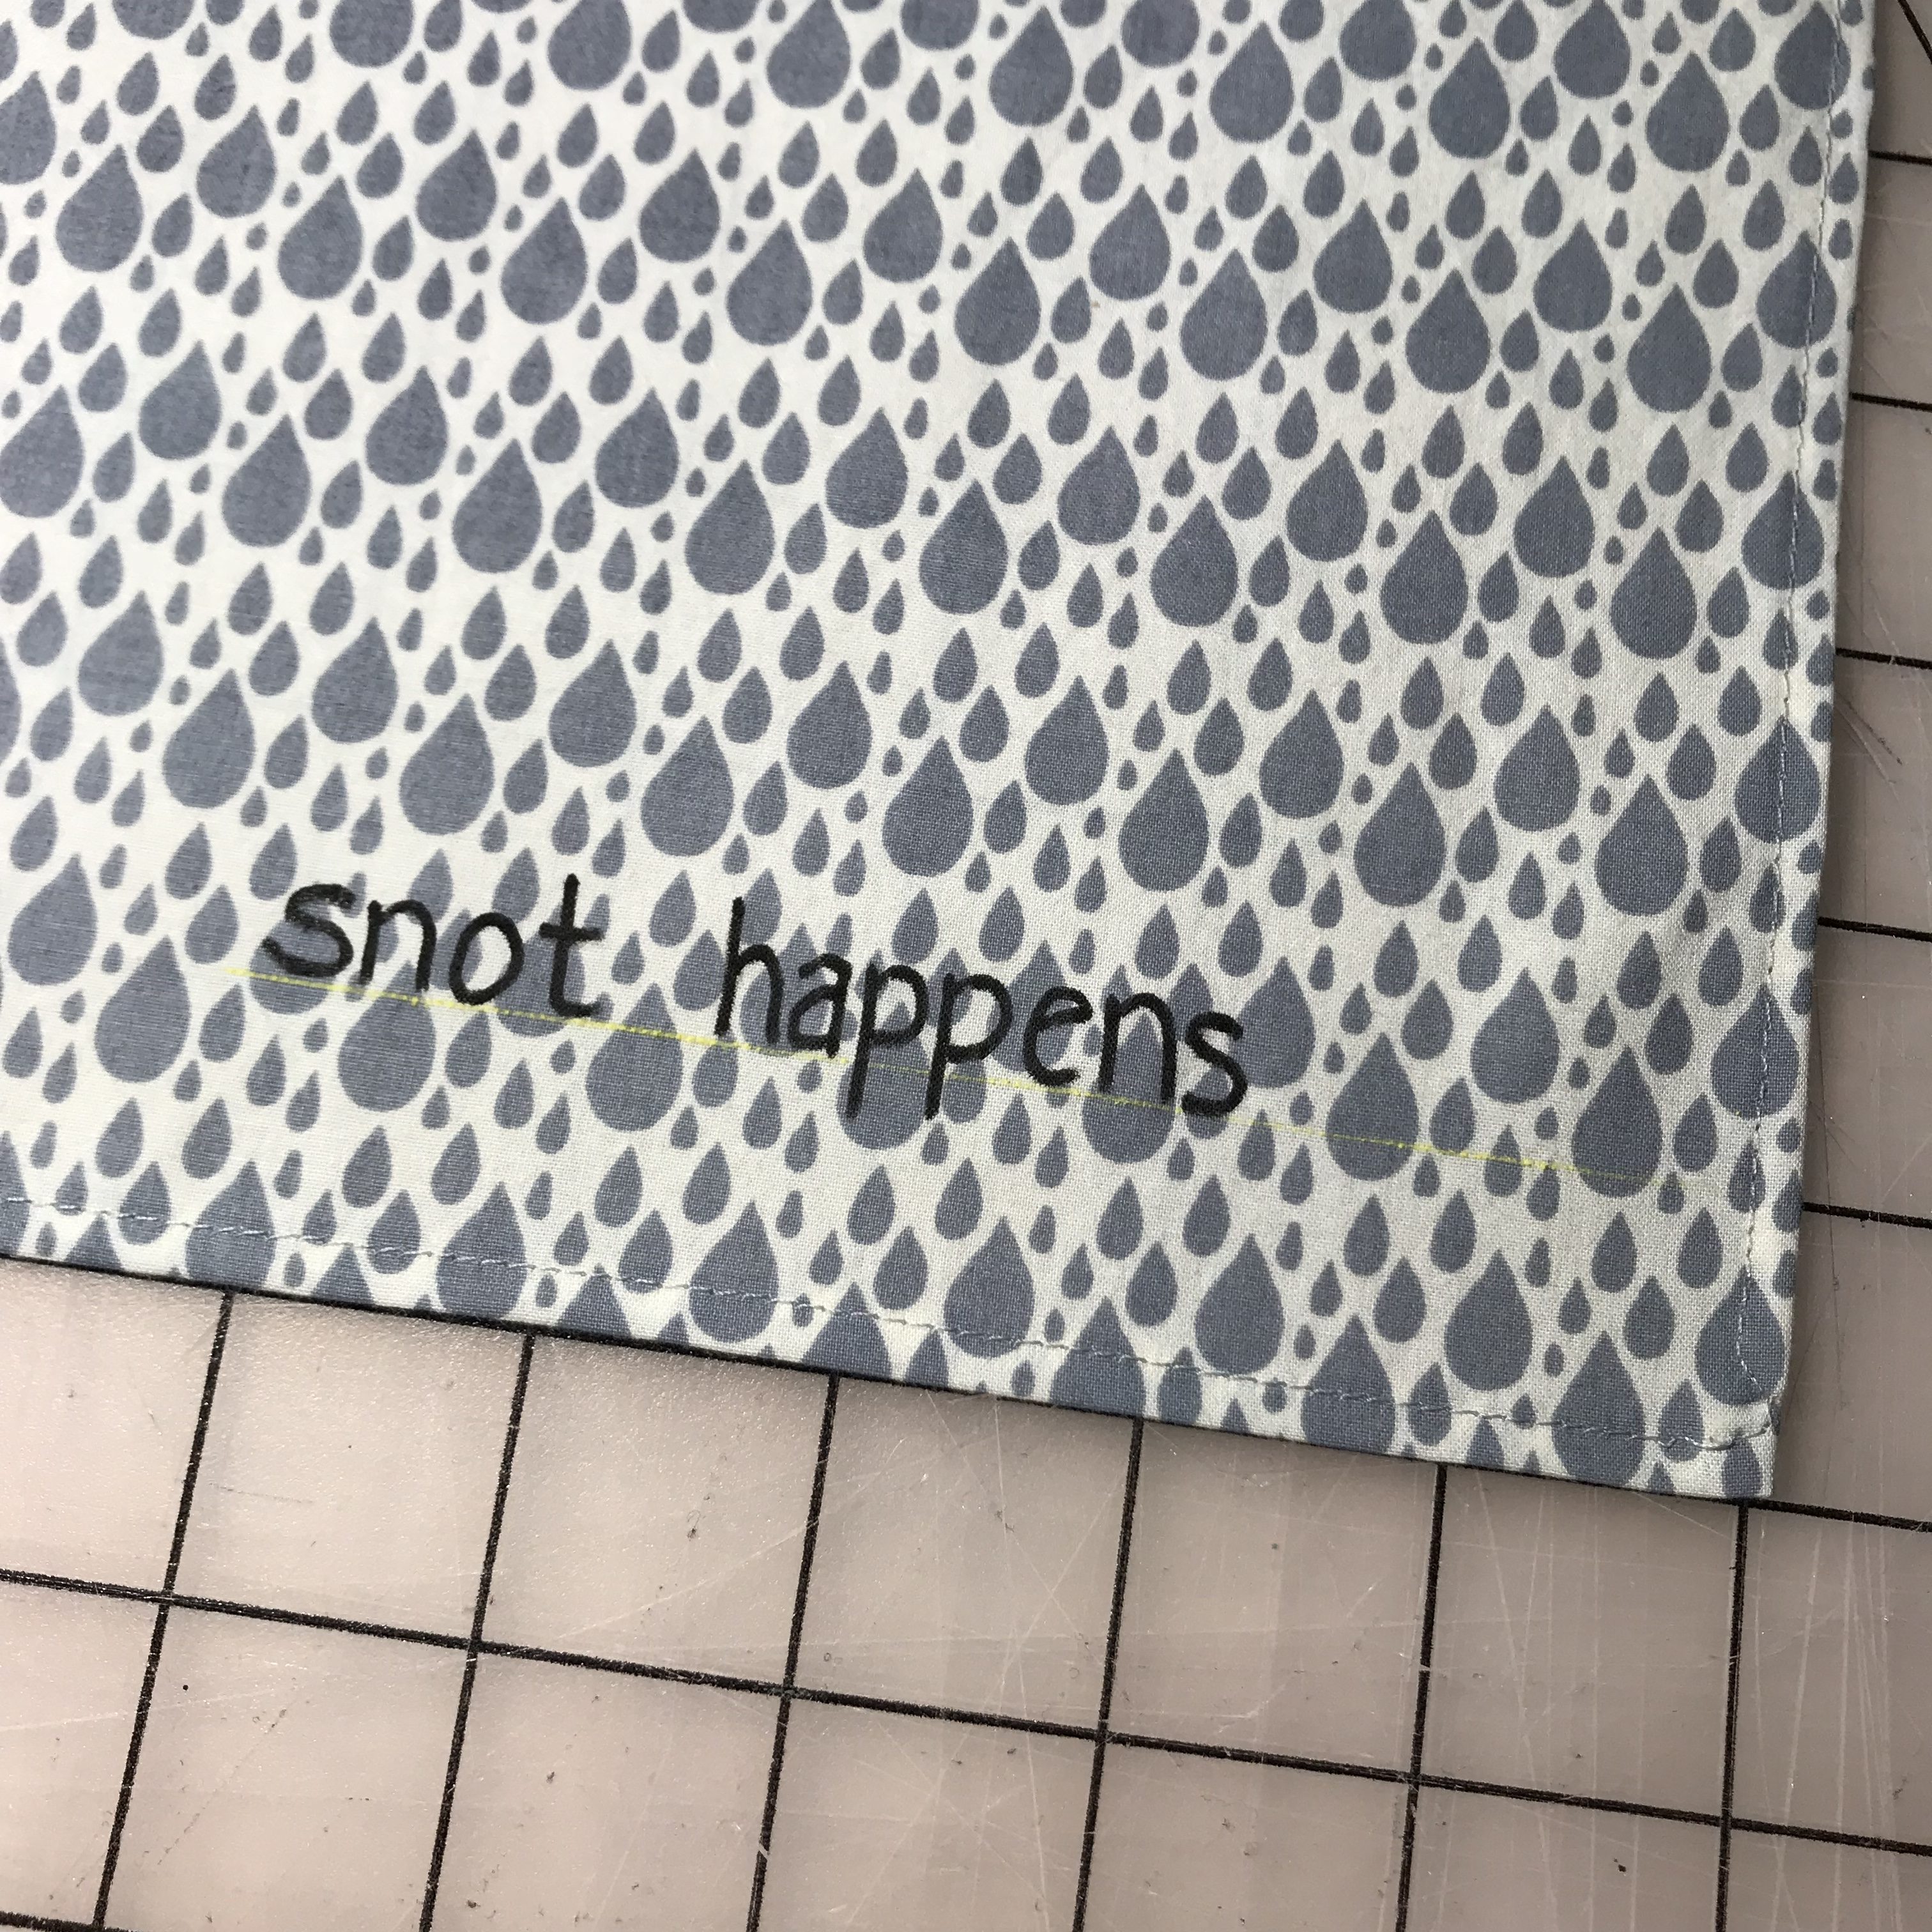
Tonight I grabbed a cute grey and cream raindrop cotton from my stash – a cheeky nod to a drippy nose 🙂
CUT the fabric into a square 18.5″ x 18.5″

Now, you can use a serger to create a rolled hem (like a napkin). This is how I’ve made handkerchiefs in the past. But tonight I’ll be showing you how to make one with a standard sewing machine… mainly because my serger is threaded with maroon thread and I’m too lazy to change it out tonight.

Step two: PRESS up 1/4″ all around the square (you can eyeball the amount you turn up – just keep it even all around).
Pro tip: Use a hot dry iron to avoid burning your fingers with steam as you press.

Step three: Repeat! PRESS up another 1/4″ all around, encasing the raw edge of the fabric.
If eyeballing the amount you are pressing up isn’t right for you, use a seam gauge as you go around.


Step four: STITCH 1/8″ all around the square. I like to stitch it with the right side down, so that I can see the folded over hem the whole time. If, for some reason, my hem was pressed unevenly, I’ll be able to see that and make sure my stitching continues to follow the edge of the fabric and ensure the hem is stitched down as evenly as possible.
Make sure your needle is a basic 70/10 Universal – good for cotton. Needles make a huge difference in successful sewing – I think that will be a future blog post!


Step five: PRESS again!

Step six: Now for the FUN part… grab a fabric marker and your favorite funny quote or pun… (oh, and make sure you rest the marker before you write on your finished handkerchief).
To be extra neat, draw a line with chalk on which you can now write your words.

And there you have it! A fun, reusable, soft snot rag for this fall’s cold season!

