Feels like Fall today!
And Fall happens to be my favorite season, so I am itching to decorate!
With a new puppy in the house, I don’t think I’ll be putting out all my pumpkins, hay bales, and gourds this year (cause I don’t want them to get puppy chewed). So, I started looking at Pinterest for new fall decorating ideas last night and decided to make some fun, Fall bunting today!
Bunting is so fun to hang from mantles, across stair railings, across entrances, over windows, hanging from bookshelves – you can really put it anywhere (or everywhere)!
There are many different kinds of bunting you can make – and there are many great DIY instructions all over Pinterest for the various kinds.
These are also great stash busters, and are perfect projects for fat quarters.
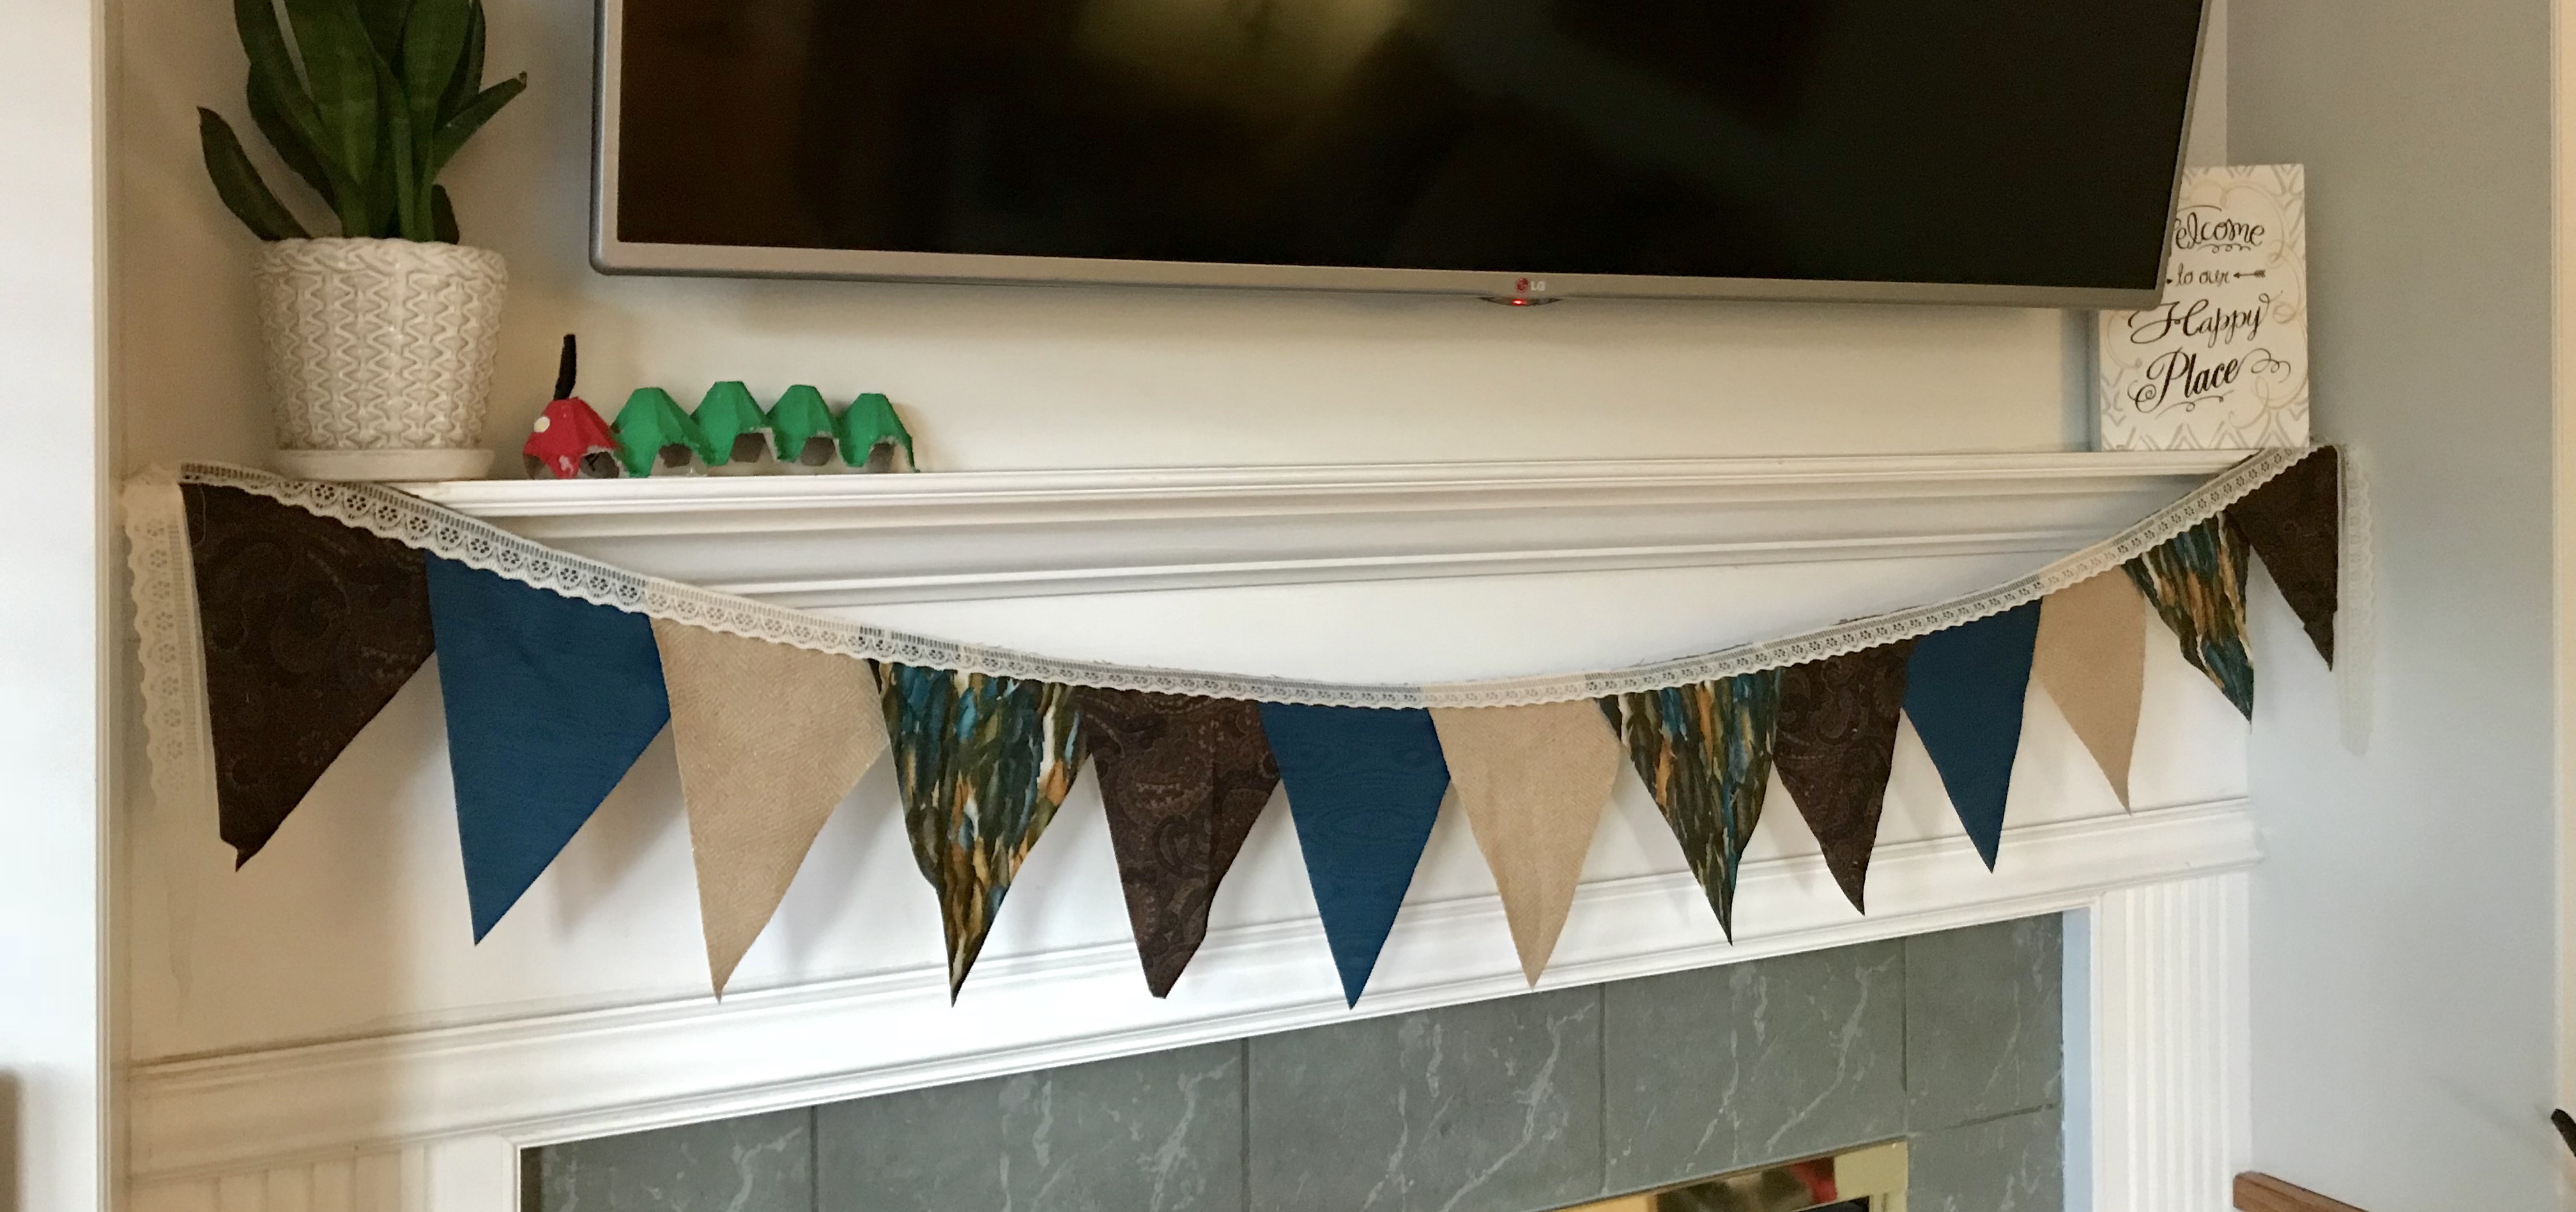
For this project, I chose some fabrics from my stash – not the usual fall palette, with a deep turquoise being the featured color. I love this tan fabric! You can’t really tell in these photos, but it is a herringbone weave with a gold metallic thread that gives it a subtle sparkle. I didn’t end up using the brighter turquoise (far right in the photo). Sometimes less is more when you get it all cut out.


Step one: make a pattern piece out of paper or cardboard. Mine is 8.5″ tall and 7″ wide with the point in the middle of the width at 3.5″. I’ve also left a 1/2″ seam allowance at the top for attaching the bunting to whatever will end up holding it up.
Step two: CUT out your bunting triangles. If you are worried about your fabric fraying, or for style reasons, you can use pinking shears to cut your triangles. I decided I wanted a smooth, modern finish, so I used my straight rotary cutter. I folded the fabric twice so that I was able to cut four triangles at a time. (Wine is also an important sewing tool on Monday nights.)

Step three: PRESS all the pieces nice and crisp – feel free to use starch if you’d like. Now lay out the flat, crisp triangles. Experiment with different layout patterns and how they much or how little the triangles will overlap. When you think you’ve got the right design, pin the pieces together.


Step four: Find something to stitch the triangles to, so that you can hang it up! You can use just about anything: bias binding, twill tape, string or yard, ribbon, or lace. I chose a lace from my stash for this project.
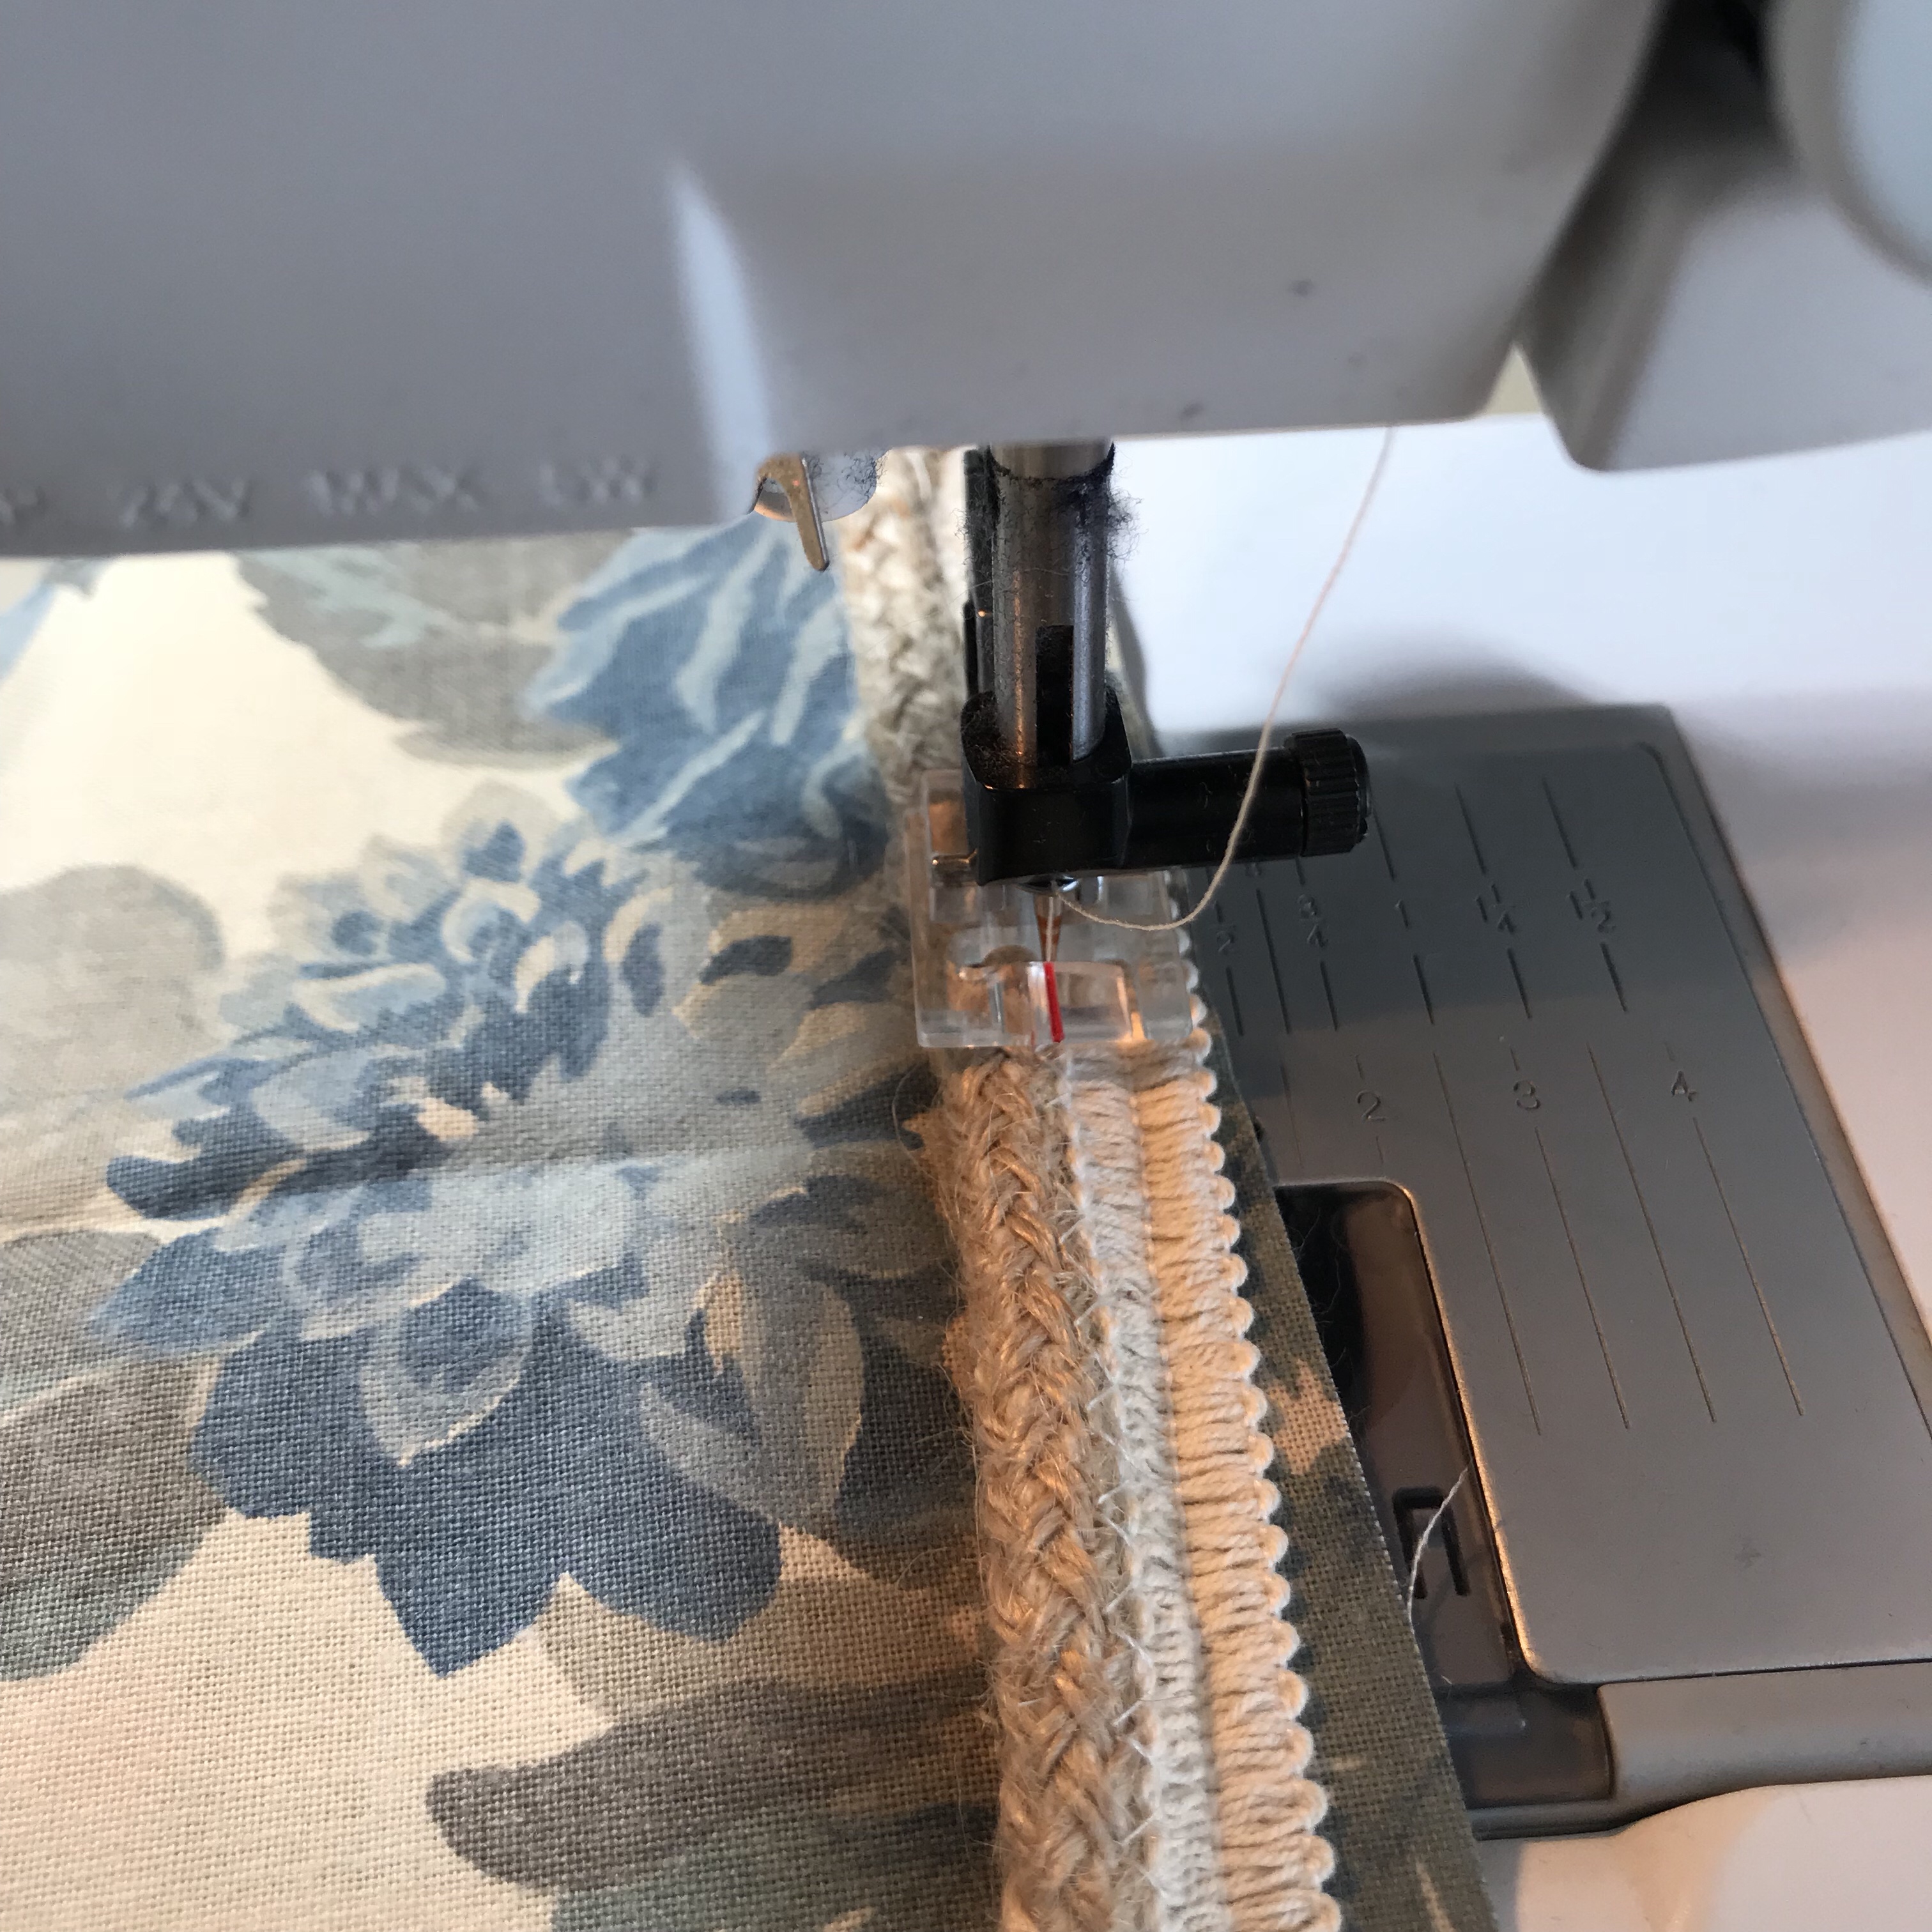
STITCH the triangles to the trim you chose, leaving about a foot of trim free at the start. You can use this to tie up the bunting. Use a three step zig zag, or a decorative stitch with a wide stitch length for maximum strength and style.


Oh no! Some fabric is sticking out on the top of the lace! No worries. Simply trim the excess fabric off (carefully).


And voila! Fun Fall bunting complete!

You can do so much with bunting… let your creativity go wild! How about painting on some letters that spell “Fall” or embellish with silk fall leaves or add more ribbons and bows… the possibilities are endless!
You could also do this entire project with a glue gun or tacky glue instead of a sewing machine, making it a great craft for kids.
Now go make your own and post a picture of your creation in the comments! Have fun!

