So today my oldest started his first day of third grade! What?!?! How did that happen? I honestly rolled my eyes at all the “old” people that used to tell me, “time flies when you have kids,” or “they grow up so fast.” Well, now I’m one of those “old” people!

After school, he cleaned out his backpack and dumped all his lunch garbage in the trash (he’s too lazy to throw it away at school 😂). It struck me how much garbage there was and also how much money we waste on plastic baggies each year.
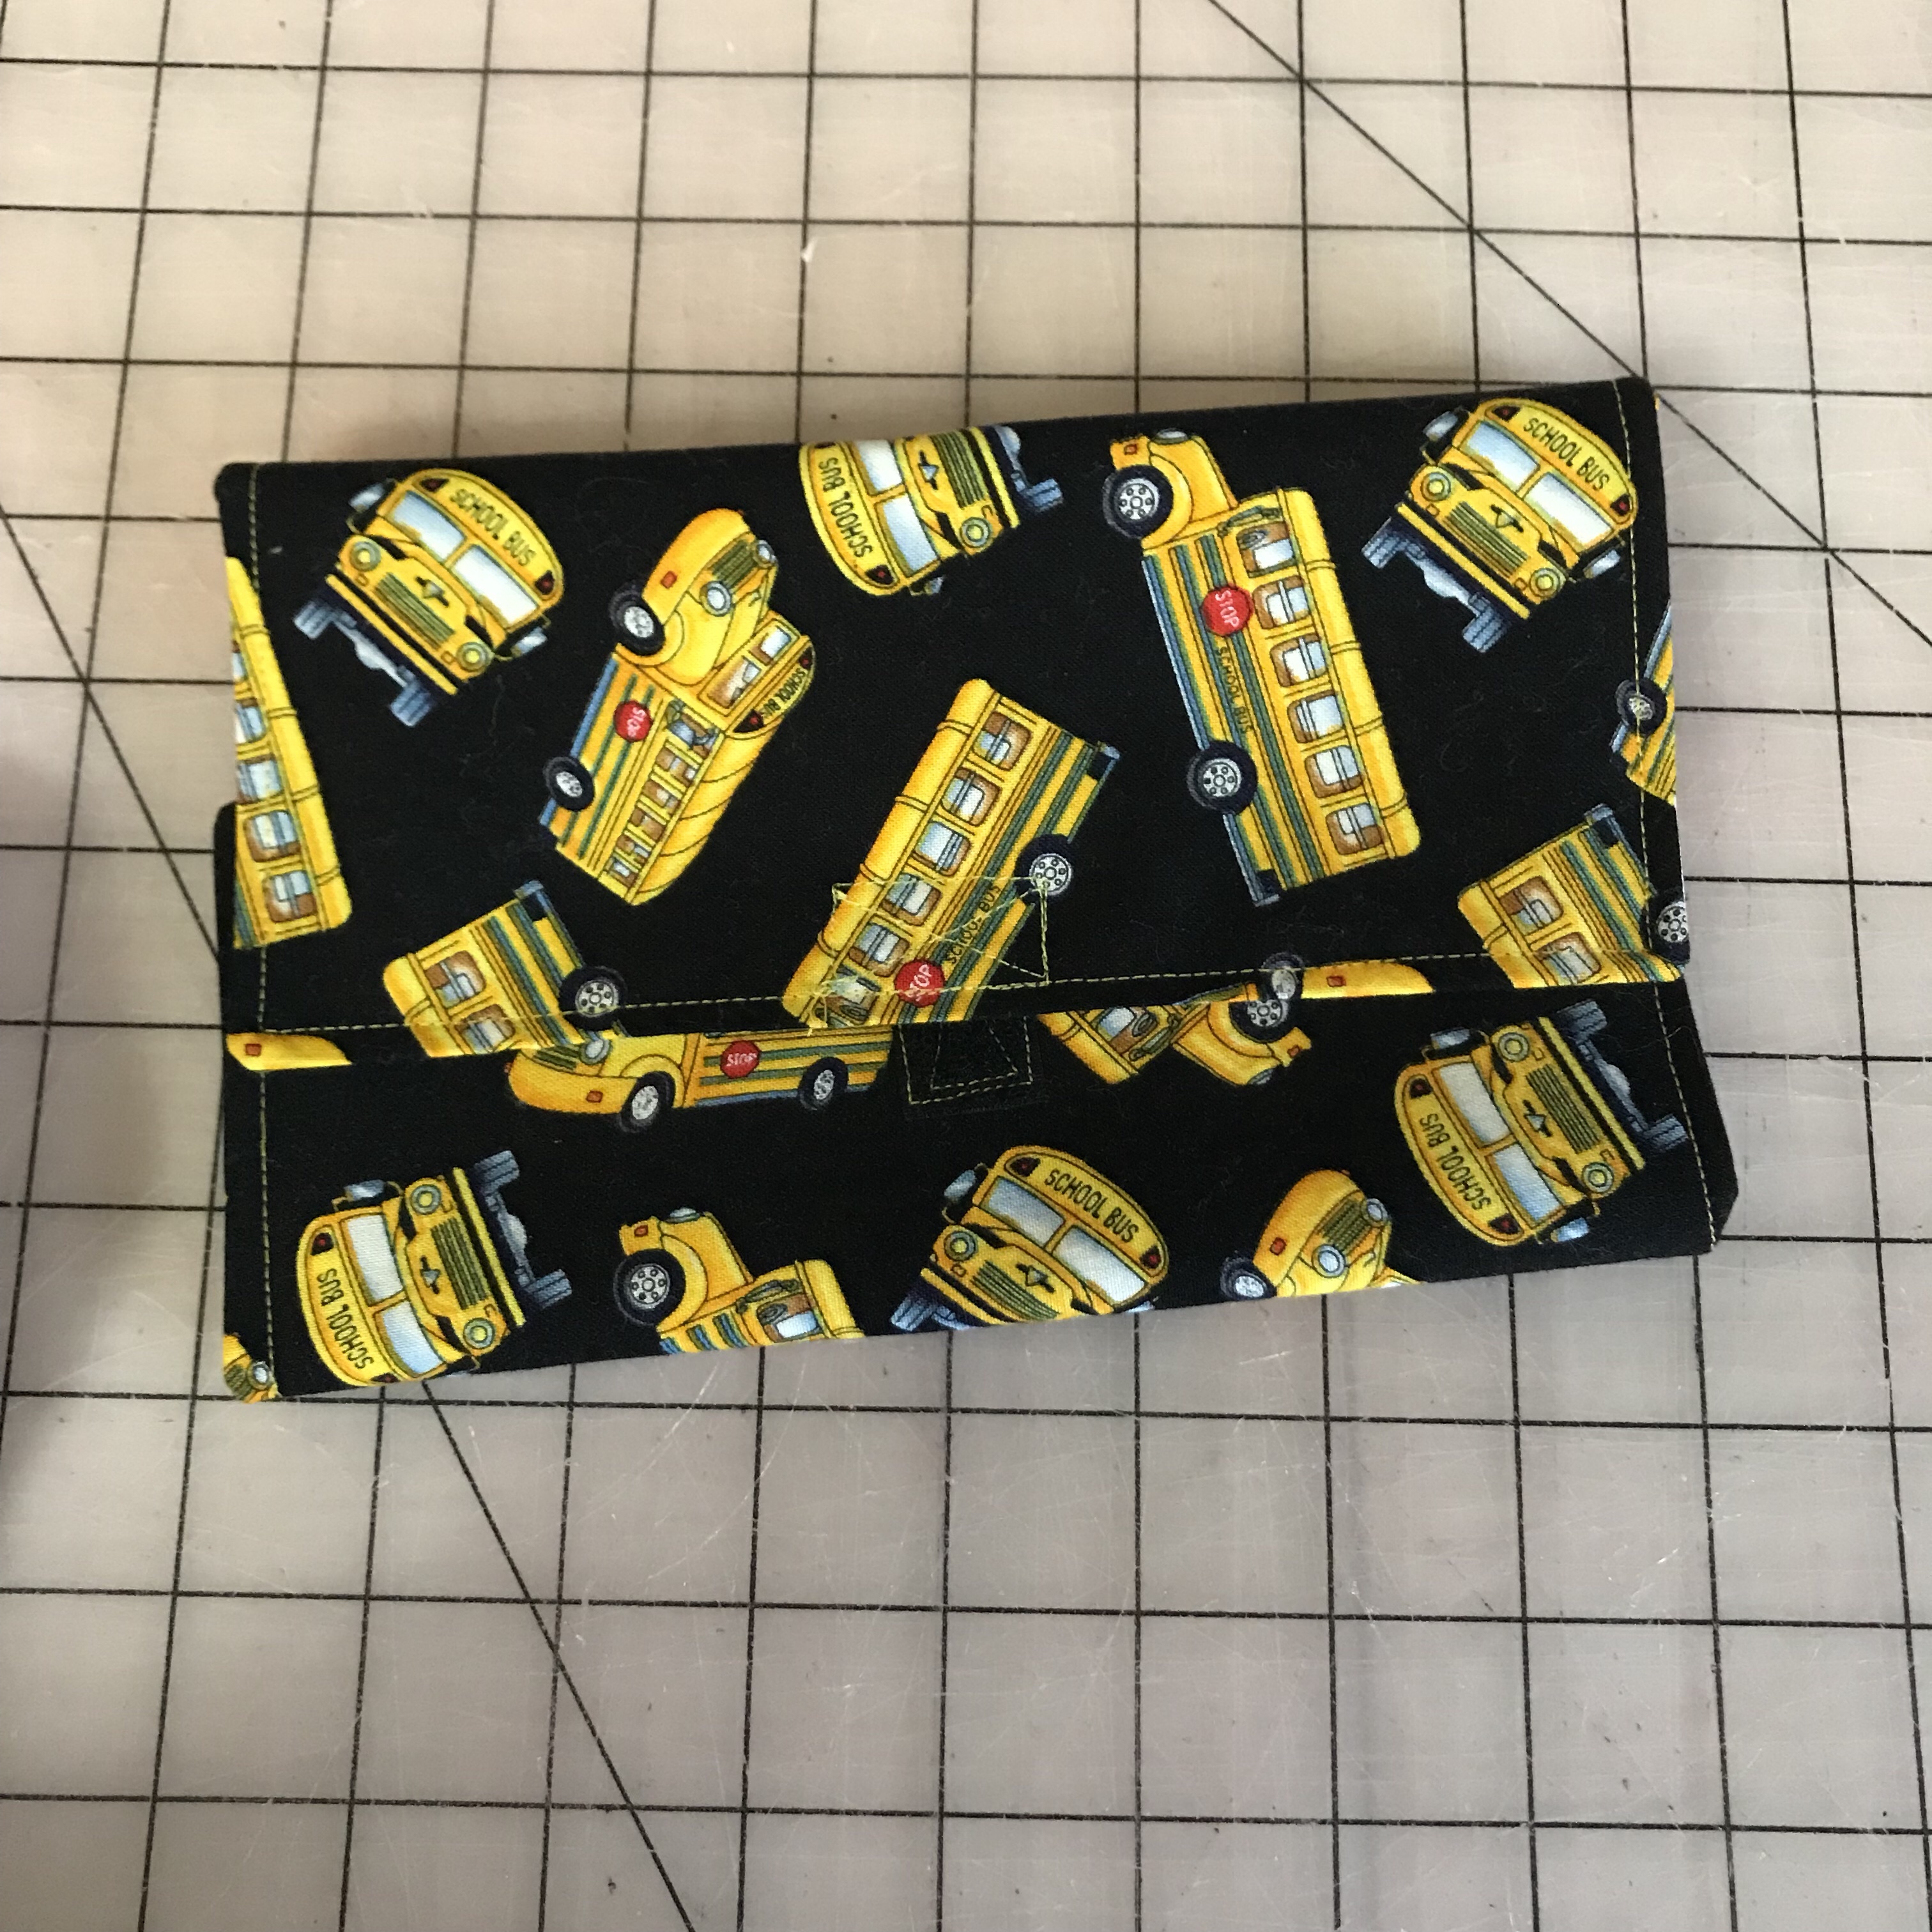
So tonight’s Quick Make Monday project is a reusable sandwich wrap!

Step one: Assemble your supplies:
- Fabric for the outside can be anything washable – cotton or polyester – school buses for this one!
- Fabric for the inside – something your can wipe off easily, is waterproof (or, rather, jelly proof) and is also washable – I used a nylon that is similar to ripstop.
- Velcro (the sew in kind, not the sticky kind)
- Thread
- Scissors or a rotary cutter to cut out the pattern

Step two: CUT out the pattern. (A link to a PDF of the pattern I made is at the bottom of this post.)

Step three: STITCH the outer fabric (school buses) to the inner fabric (white nylon) with right sides together. Leave a three inch wide opening along one side (not at a corner).
PRO TIP: at the corners, take two stitches diagonally across the corner. This actually makes it easier to turn the corner out into a clean, sharp point.

Step four: Trim the corners. Cut slashes into the inner corners.


Step five: Turn the fabric out so that the right sides are out. Use a point turner (or carefully use the point of your scissors) to gently push the corner points out, then PRESS the entire piece. Make sure you press the opening’s seam allowance in, so that you can easily top stitch it closed.


Step six: Top stitch 1/4″ from edge around the entire piece, starting where you left the opening, so that you close it up.

Now you have a wrap! The short sides fold in first then the top and bottom fold together.


Step Final: Stitch on the Velcro. I used a two inch female piece going vertically on the outside of the bottom, and a one inch male piece going horizontally on the inside of the top, so that the wrap around the sandwich is adjustable.


Download the pattern here! sandwich-wrap-pattern.pdf
Have fun sewing and saving the planet one sandwich bag at a time 🙂


