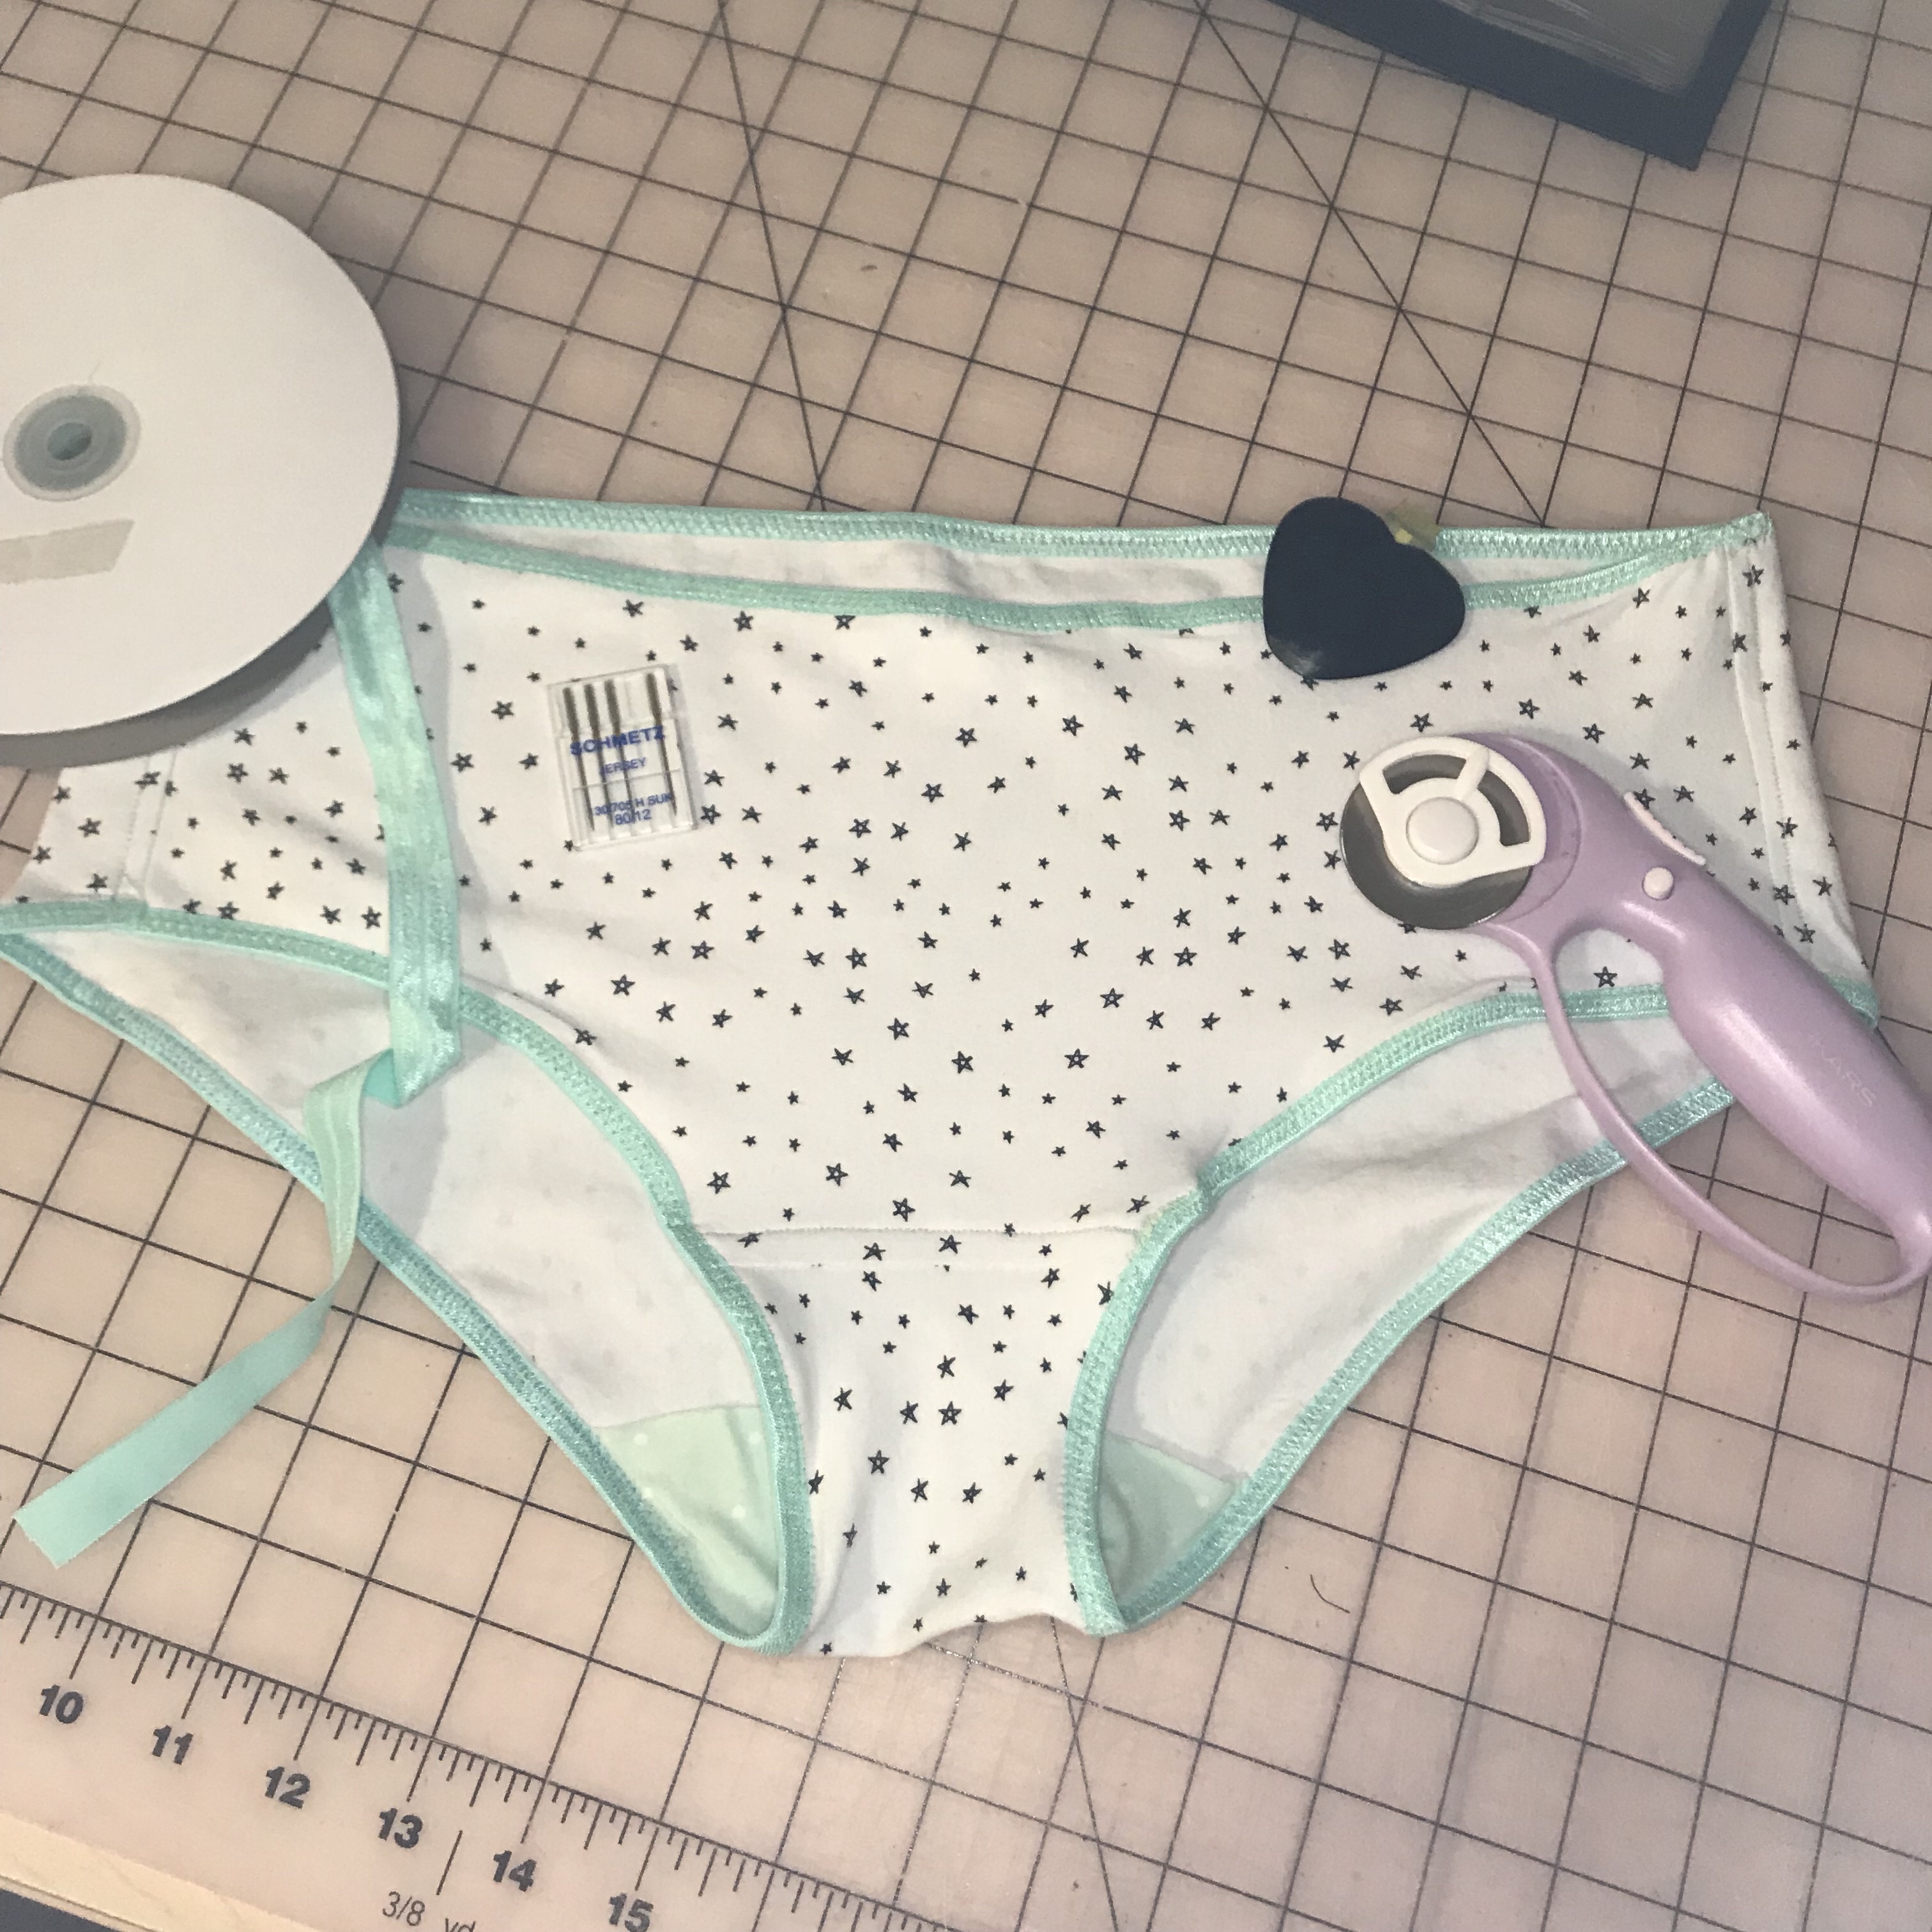
I am often in the mood to sew or be crafty but find myself at the end of the day with little time (and little energy left) to tackle big projects. Especially on Mondays. More often than not, I talk myself out of working on anything meaningful, convinced that I’ll screw it up by working to long and getting too tired.
So I’ve been trying lots of “quick makes” that take very little time, yet fulfill my need to be creative at the end of the day. I intend to share these projects with you – that is, as long as don’t get too lazy to take pictures and post instructions.
Please bear with me and my photography… I know many other sewing bloggers are also professional photographers, but I’m not. I’ve got my old iPhone camera and a fancy selfie light that helps a little, but I do not have a professional photography set-up.
This Monday’s Quick Make is a basic pair of underwear, made only using my sewing machine (because I’m too lazy to change out my serger and cover stitch machines’ threads for this quick project).
Here’s what I did in less than an hour:
- Assembled my supplies:
-
- Fun and soft cotton jersey knit fabric from my friend Kristina’s fabulous online modern quilt shop, FarbicBubb.com
-
- Ruler and chalk marker (that’s the heart shaped tool in the photo – bought at the Puyallup, WA Sewing Expo)
-
- Foldover elastic
-
- Rotary cutter (you might notice I’m too lazy tonight for pins or pattern weights, and the pieces are small enough to simply old the pattern pieces down firmly while I rotary cut)
- Cut out the pattern (using my own copycat of an old pair of underwear – I just traced it out and added 1/2 inch seam allowances) *You’ll note I’m adding 1″ to the rise of the underwear. For this pair, I’m experimenting to see if I prefer a higher rise than I usually wear.


- Baste the crotch lining to the back, wrong sides together using a narrow zigzag stitch. You can serge the open edge of the crotch piece, but since this knit doesn’t fray, I don’t bother with that step (lazy, I know). Make sure you use a jersey needle when sewing jersey knit fabric – yes, it does matter what needle you use. Using the wrong needle can cause many problems from skipped stitches to puckering and other bad things! So, even though this is a Quick Make, do not skip the step of switching out your needle. Just don’t be THAT lazy. Okay? Okay.


- Sew the front and back wrong sides together using a 1/4 inch seam allowance and a stretch stitch or narrow zigzag. Trim back to 1/8th of an inch (don’t worry, this fabric doesn’t fray) Fold along seam and PRESS, then stitch another 1/4 seam encasing the original switching. Ta Da! You just sewed a french seam! And now there are no unsightly raw edges anywhere hear your crotch 🙂


- Now grab your fold over elastic and cut it to 1/2 inch shorter than the crotch line and mark the center of both the elastic and the crotch. Lay the wrong side of the fabric on the wrong side of the fold over elastic with the fold lining up with the edge of the fabric. Baste on with a narrow and long zigzag stitch. Stretch the elastic as you go to make sure the centers and ends meet but try not to stretch the fabric as you sew. (This can take some getting used to, and my mom would probably put a million pins in it along the way, but I think practicing different ways to hold the materials will get you a smoother, more professional outcome. Pins can cause unnecessary ripples in your basting here. Sorry Mom, still love ya!) Now fold the elastic over the sticking you just did and change to a three step zigzag if your machine has one. (If it doesn’t, just stick to a regular zig zag.)


- Now using a stretch stitch or narrow zigzag, sew the side seams. I hate seam allowances, so I trimmed them and sewed them down, pressed toward the back.


- Next, grab your fold over elastic again and cut a piece 1/2 inch smaller than the fabric waistband. Sew the two ends together with 1/4 inch seam allowance. Now mark both the waistband and the elastic in quarters, match the pins and pin the elastic to the waistband. Apply using the same two step technique as the leg/crotch fold over elastic.


- Voila! Your underwear is complete! Now go grab a glass of wine/beer/water/tea/whatever you are craving and enjoy the rest of your night with your creativity satiated and the knowledge that you made something!!!

And there you have it! Next time, I’ll show you how I make a pair in just a few minutes by using my serger and cover stitch machines! I hope you had fun making yourself a pair of underwear as much as I did. I’m still working to perfect my pattern, and I hope to one day have it available for you all to try for yourselves.
Happy Making!
