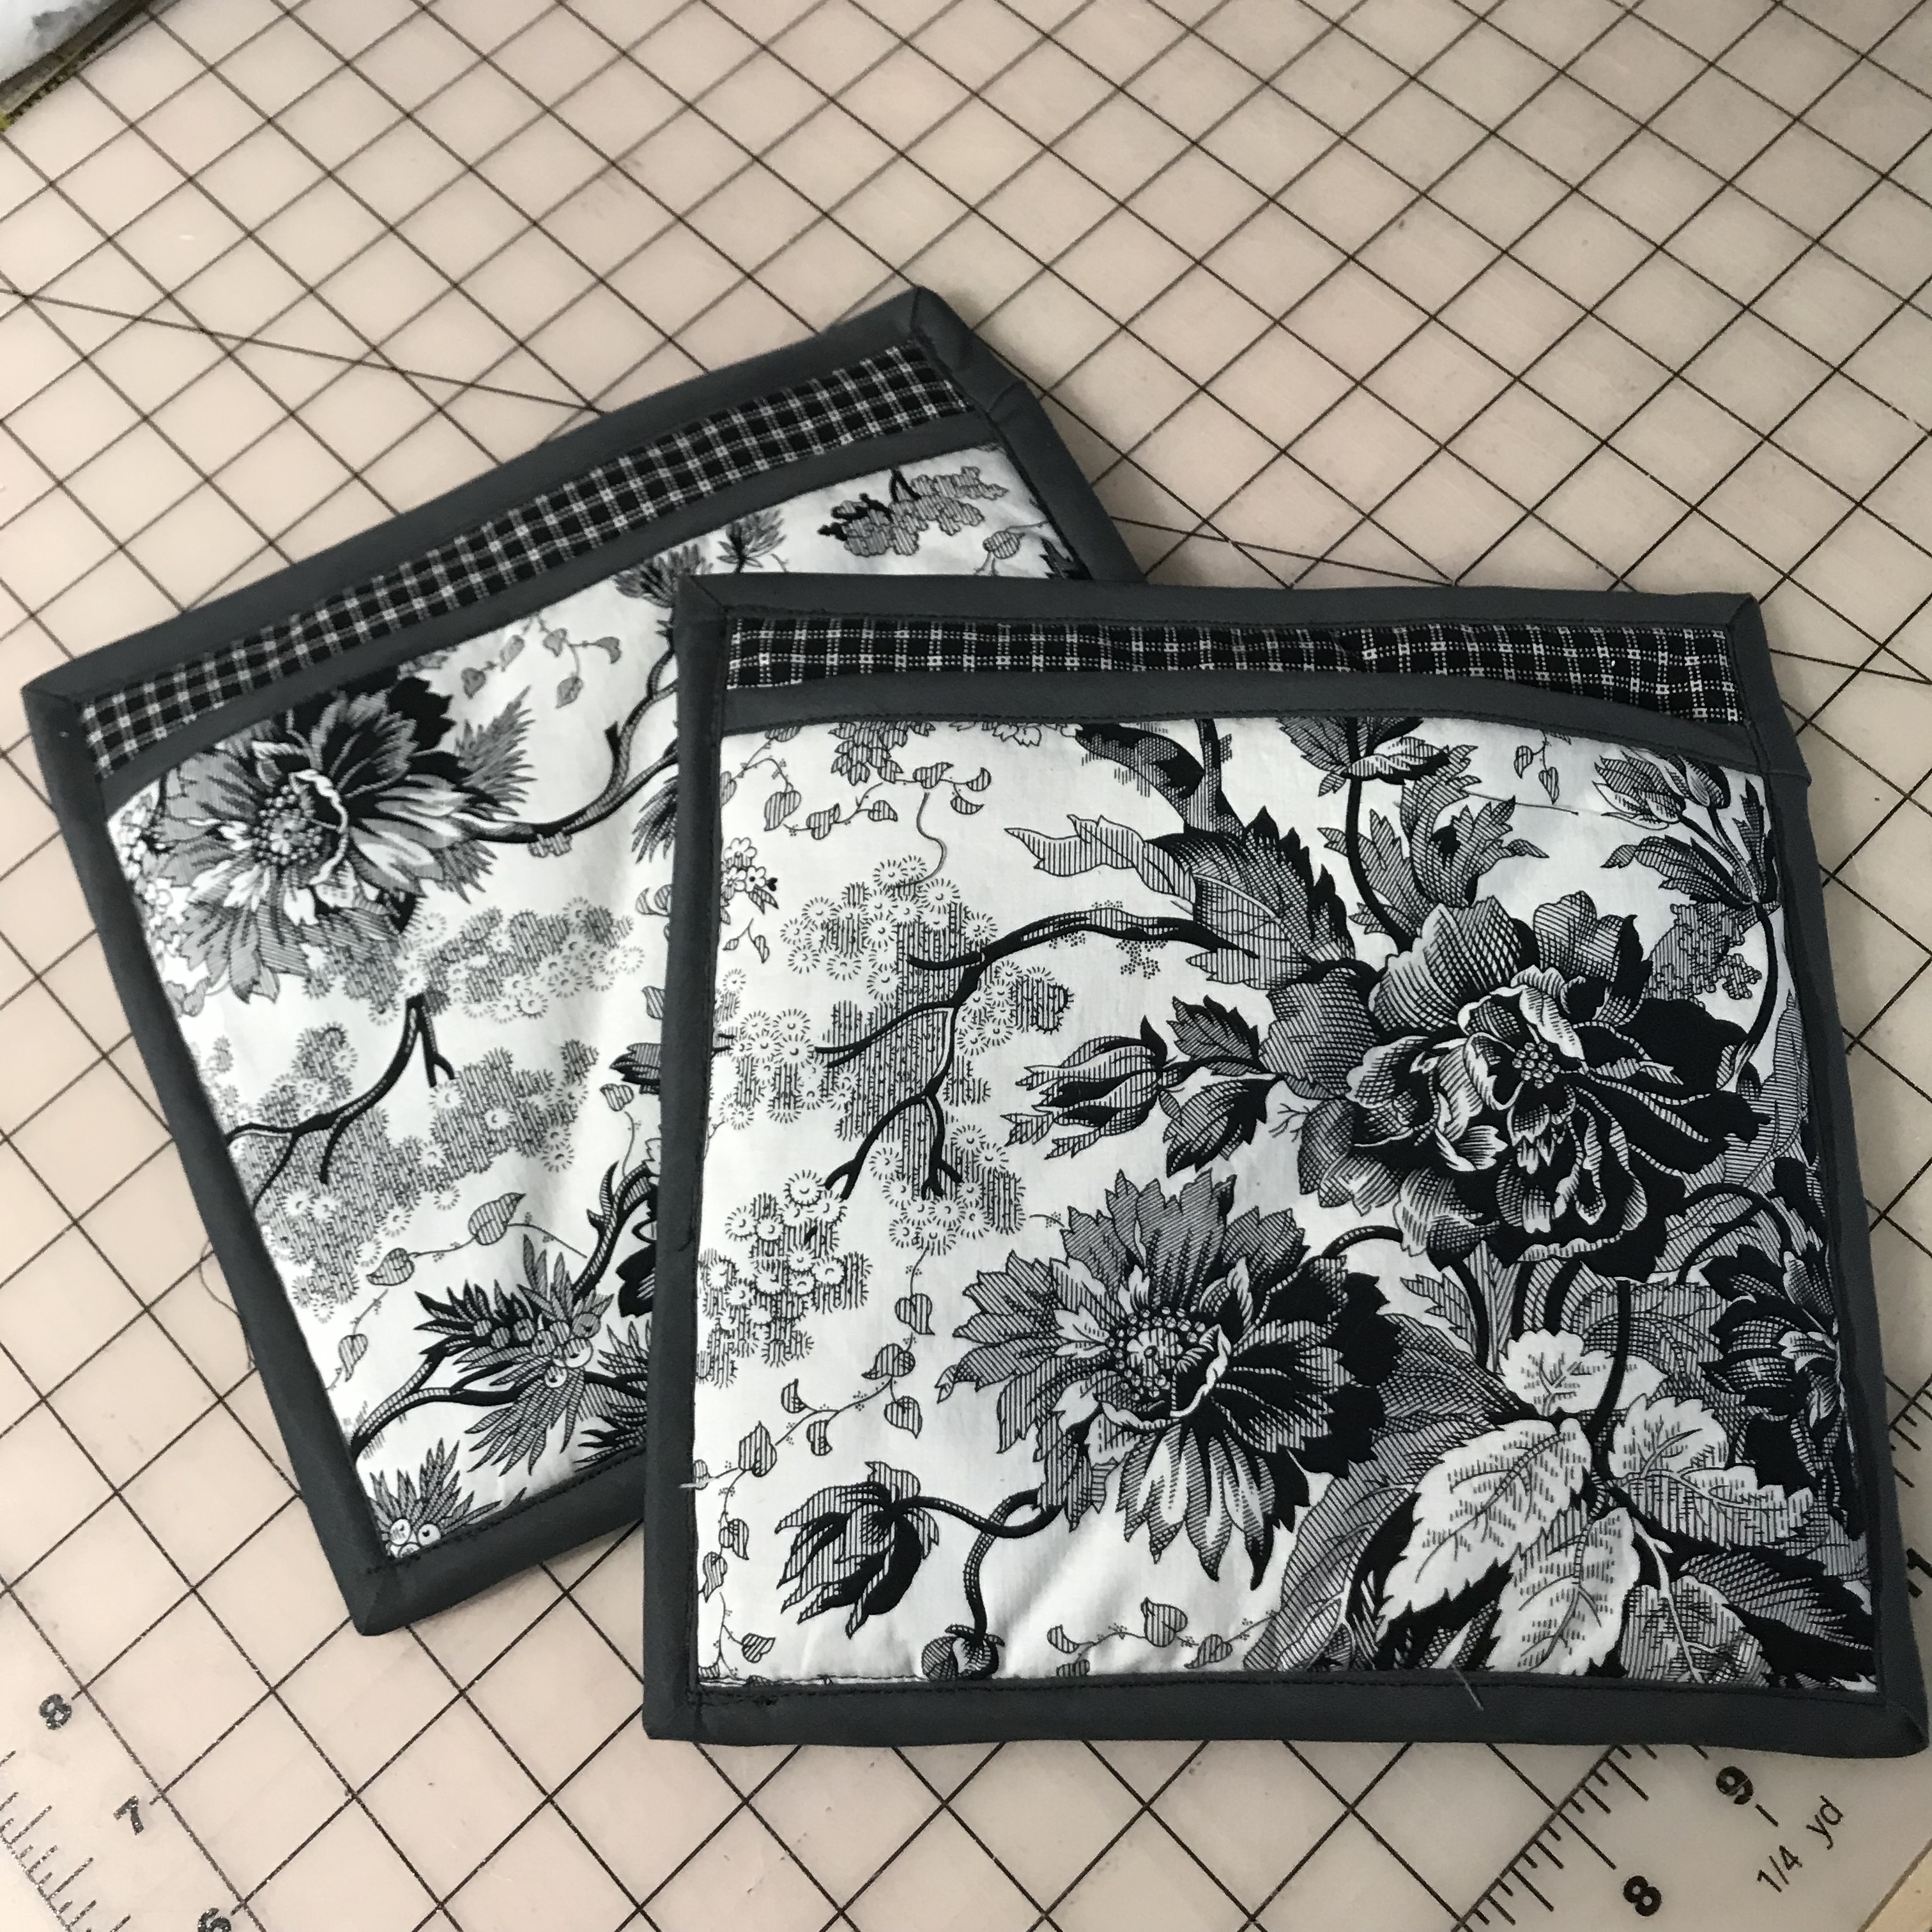
Life has been busy and complicated these past few weeks. Sorry I haven’t been posting regularly! I’ve been putting the kiddos first – spending more one on one time with them after school and on the weekends. While this means my sewing time is more restricted to their in school or in bed hours, it has been wonderful to be more present in their daily lives. I also recently began working as a Project Manager for the City of Vancouver which has been amazingly fun. This change has further caused me to reset my daily and nightly routines.
So for the first time in a while, I had everything under control and was able to sneak a little quick sewing in this evening. It was so relaxing! I wasn’t planning to do a quick make tonight, but as I started gathering dinner ingredients, I realized I had accidentally put all the hot pads in the wash! Oops. I thought I was being efficient, but they weren’t going to be dry in time to be useful tonight. So I needed to make some new hot pads!
These are super fast and easy, and I love how they turned out.
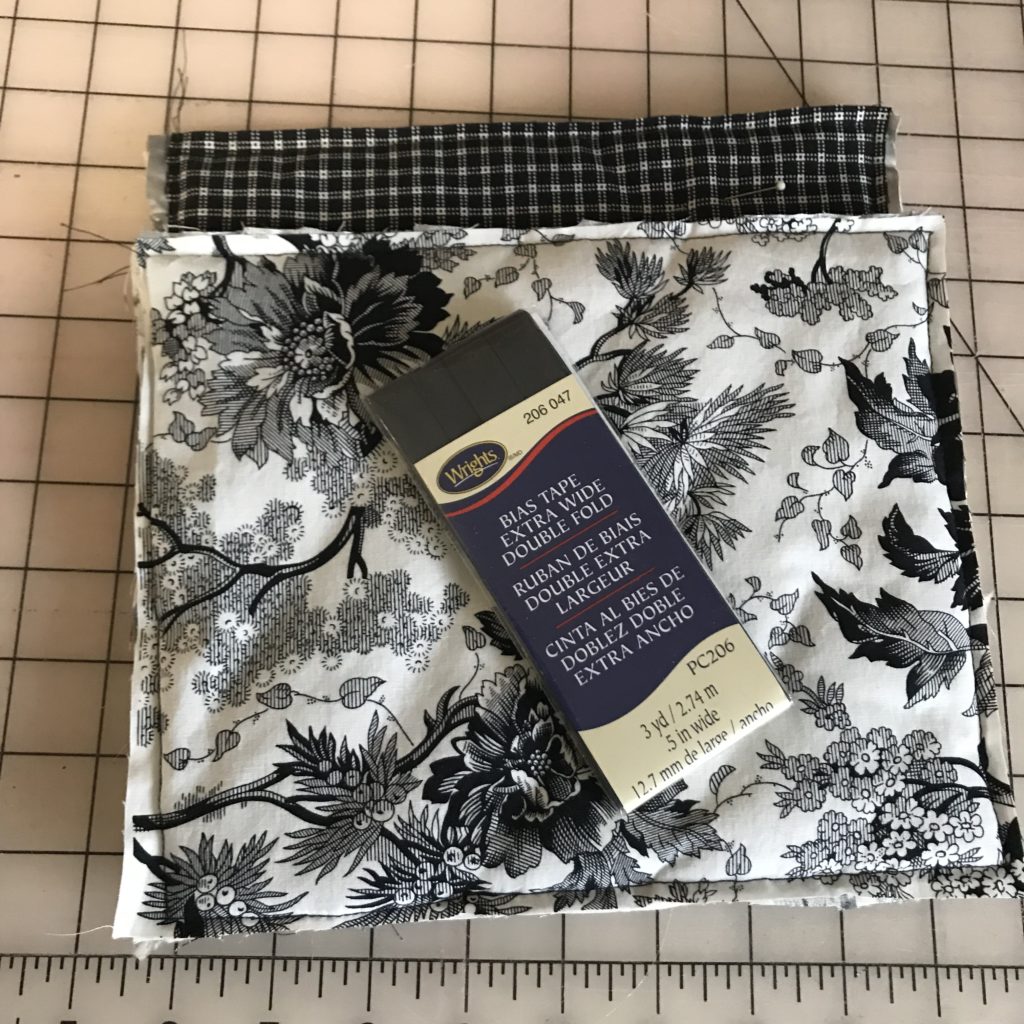
Step one: Assemble and CUT your fabric. It is important to use an insulating batting that will keep heat away from your hands. I used two fabrics left over from the window valance I have hanging over my kitchen sink.
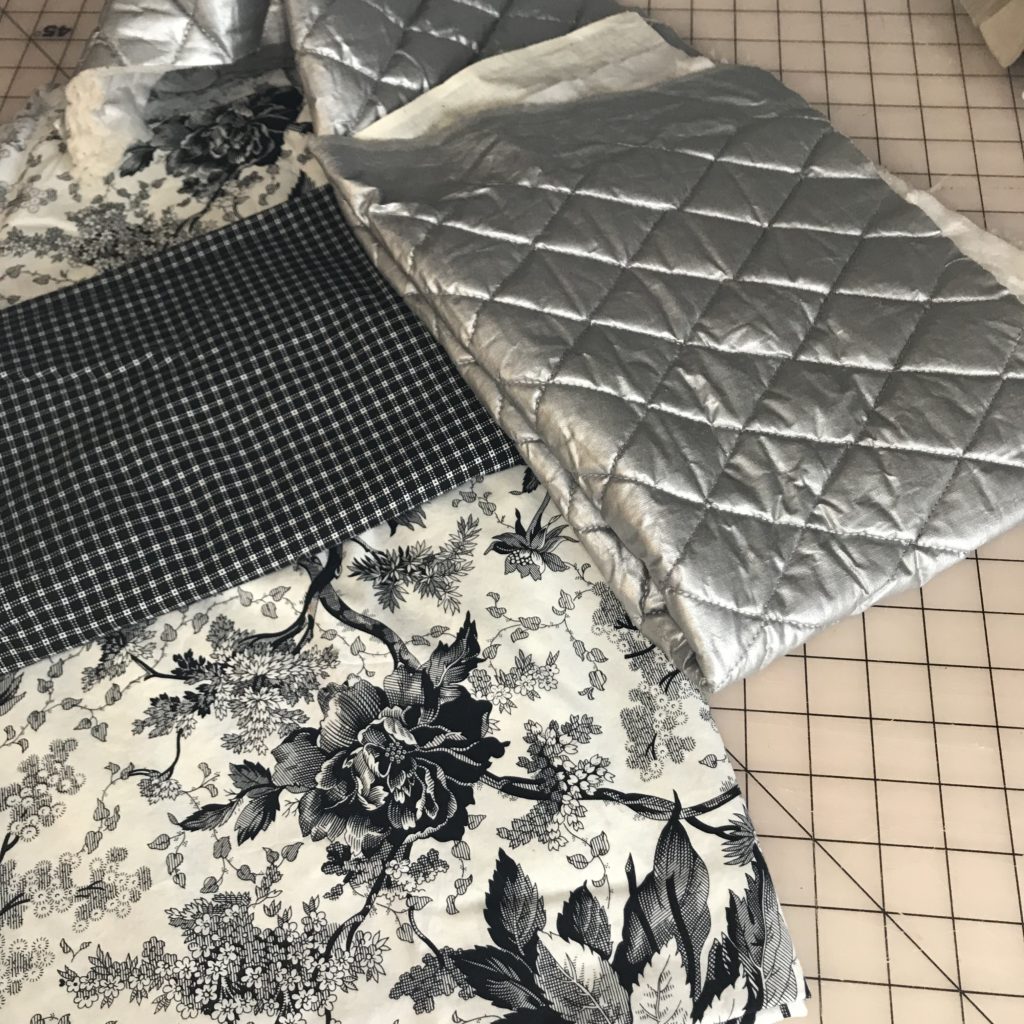
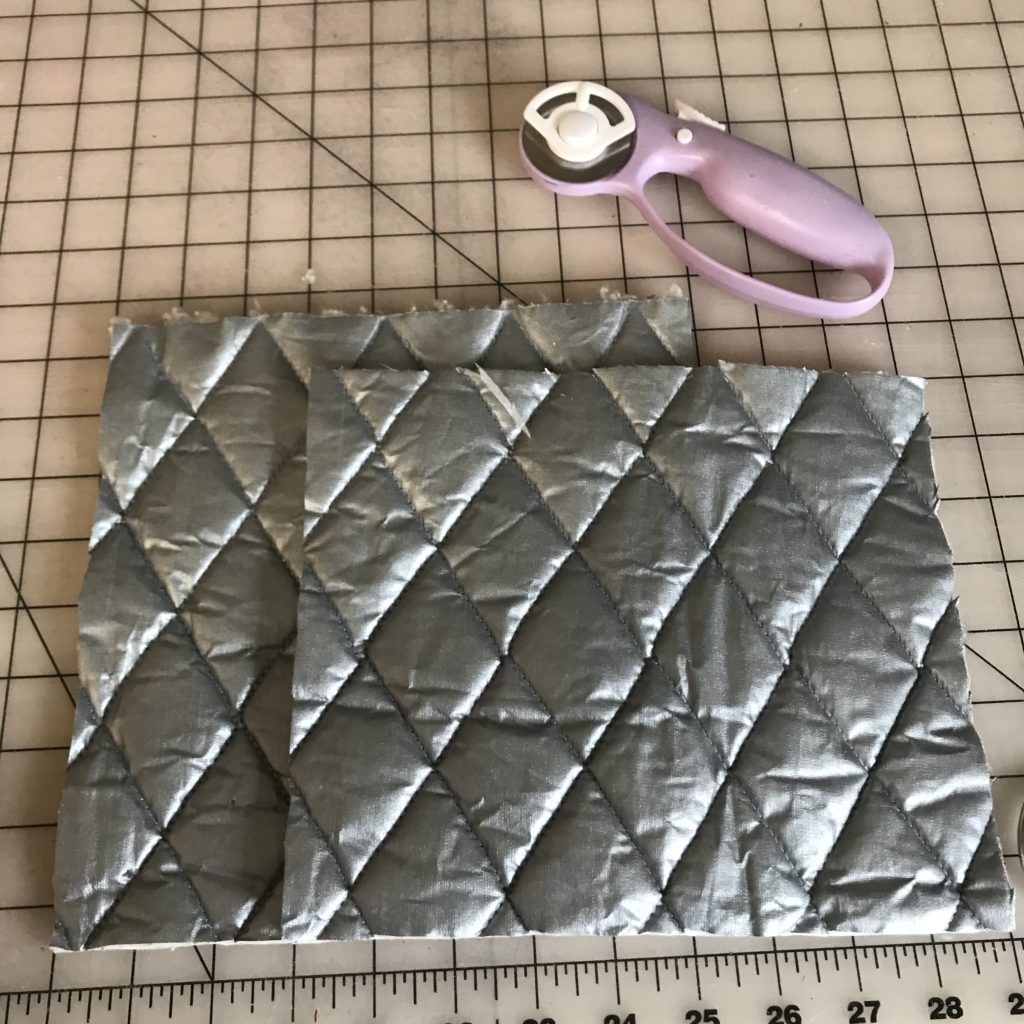
First, I cut two 9”x9” squares out of the insulated fabric. Then I cut two 9” x 7.5” pieces for the “pockets” (where you stick your hands).
For each insulated piece, I cut two pieces of fabric, to go on either side of the insulated batting.
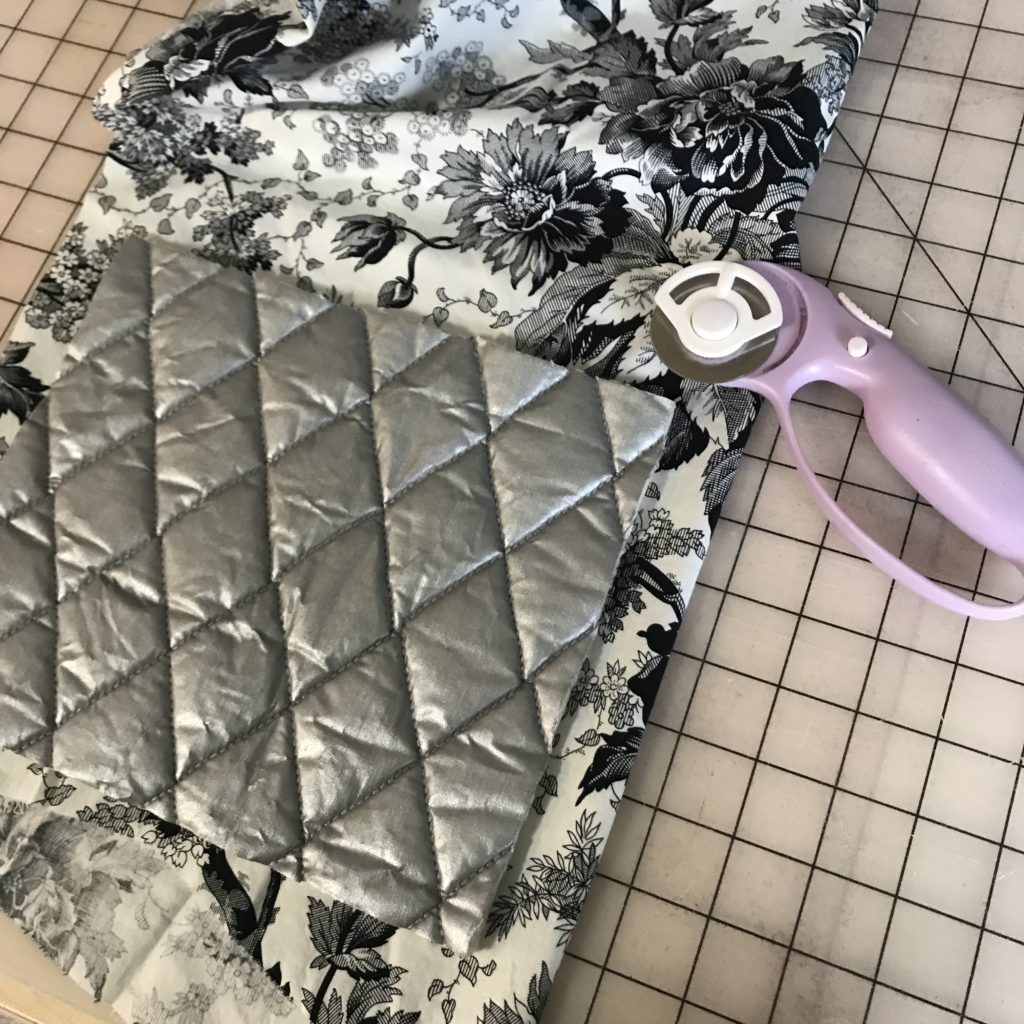
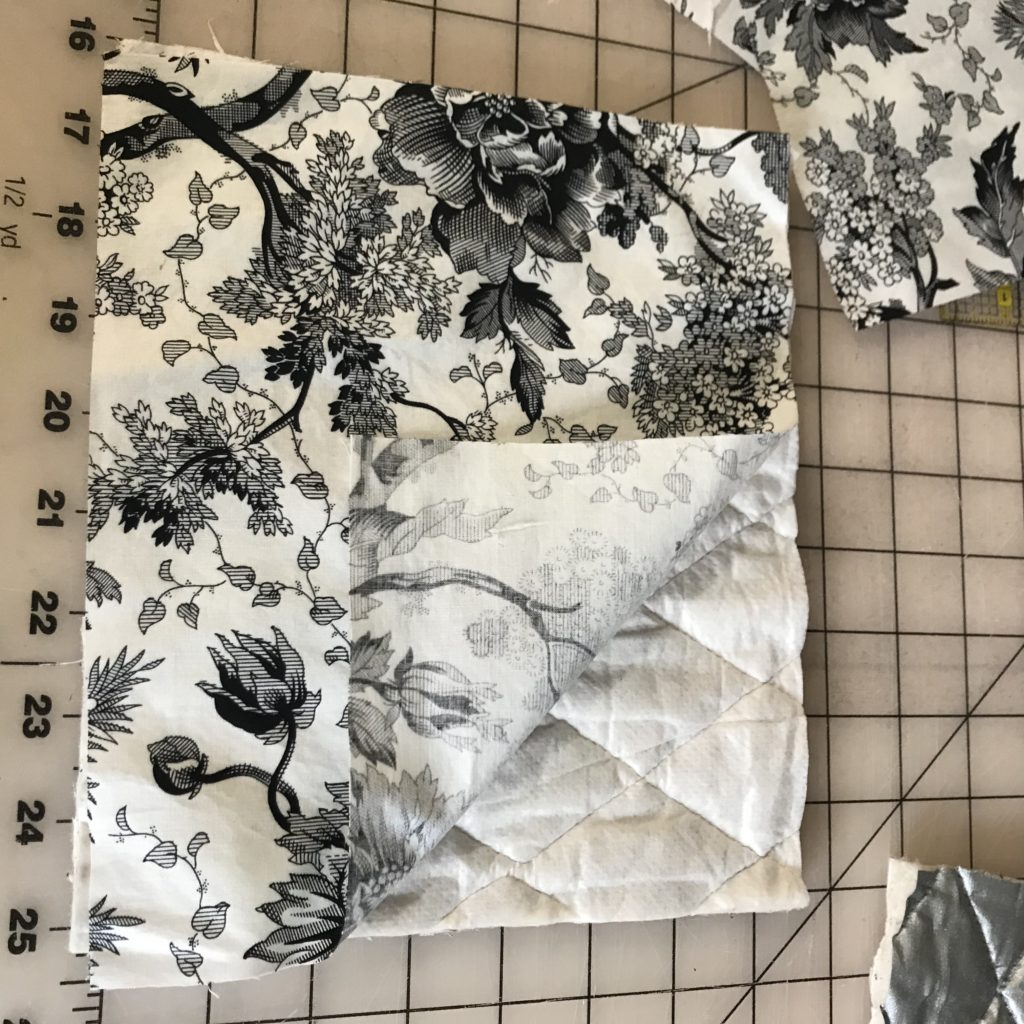
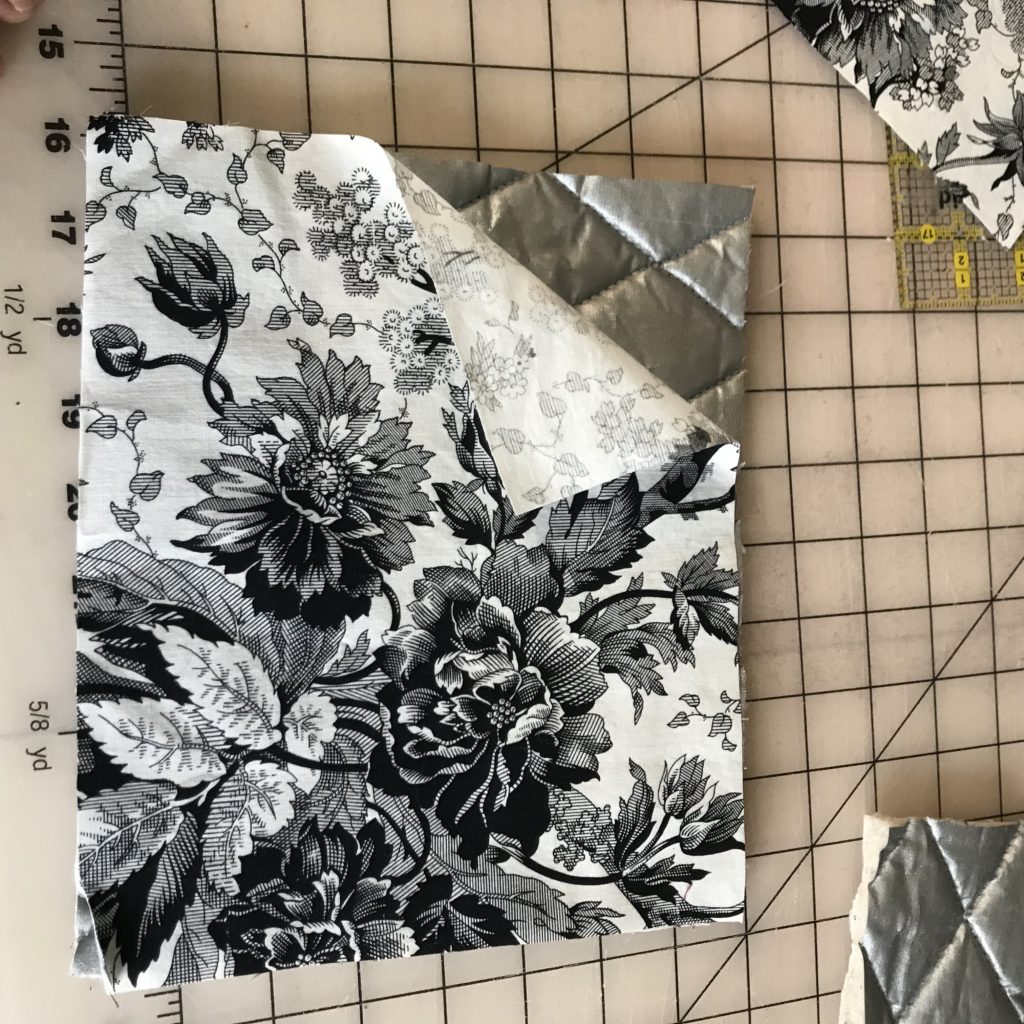
Step 2: STITCH the insulated pieces into the fabrics – sandwiching them together. Use a simple basting stitch and a 1/4” seam allowance to make quick work of this step. No need for pins – simply hold your squares together.
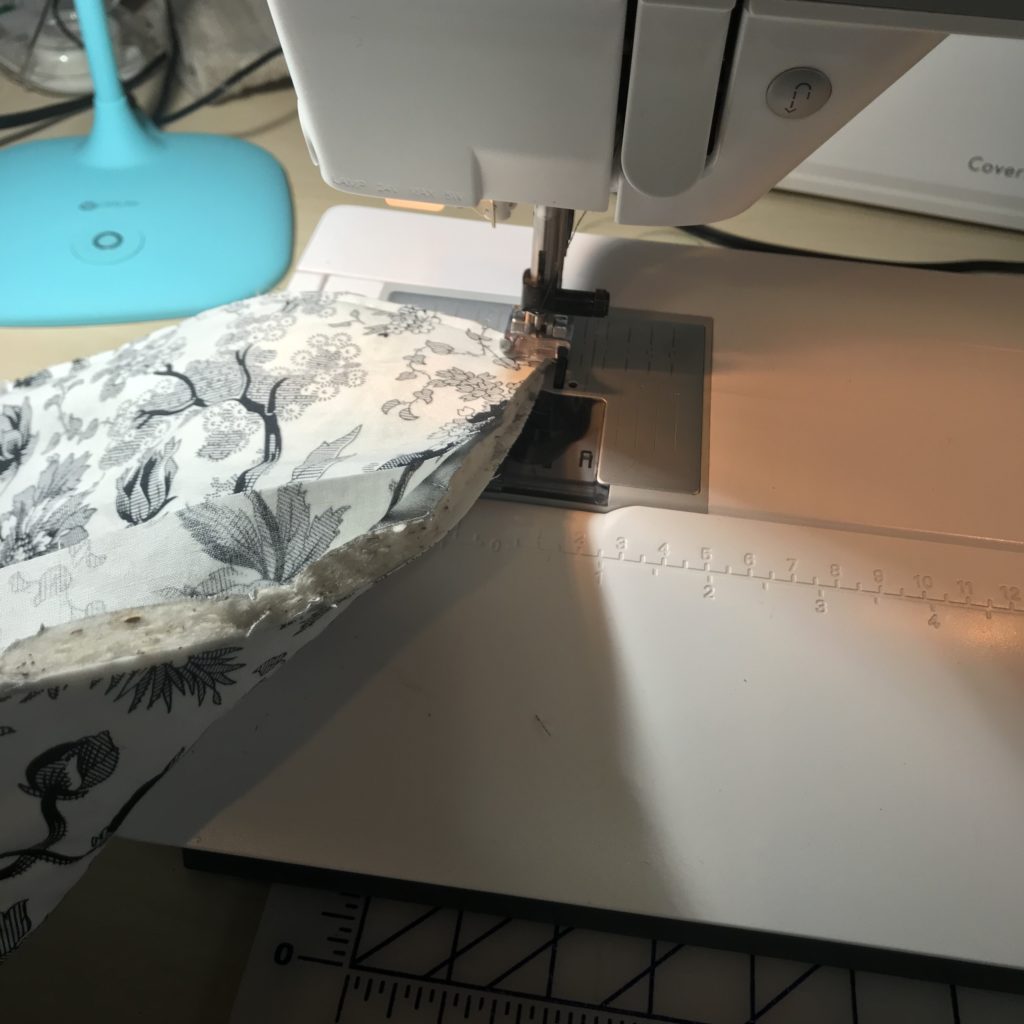
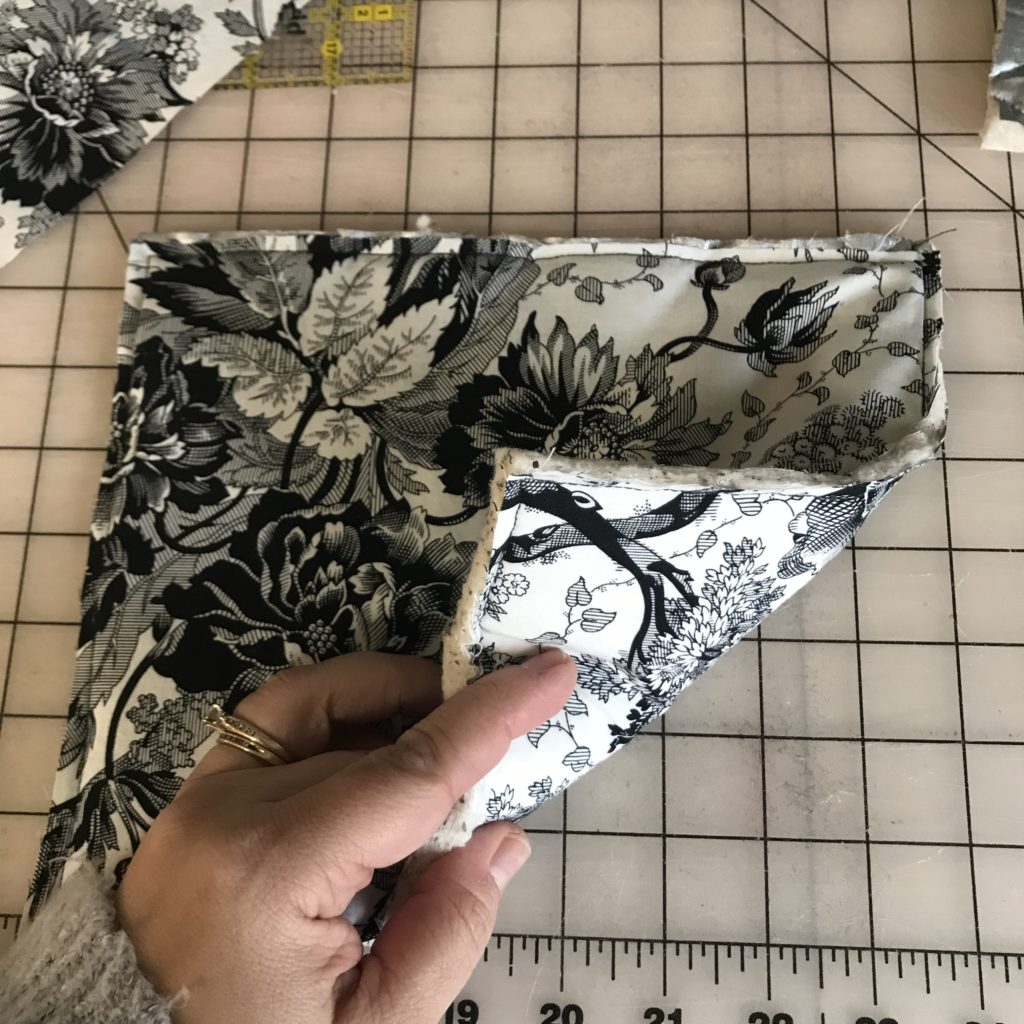
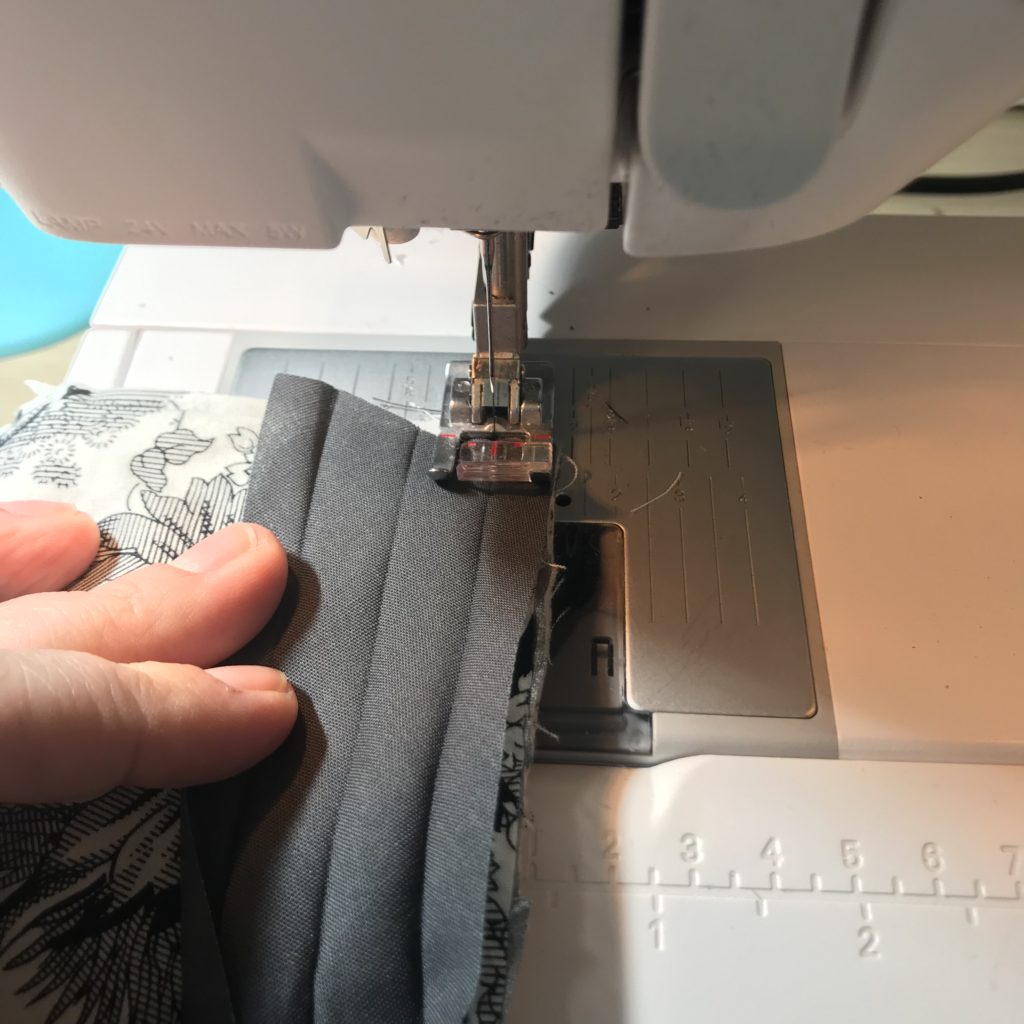
Step 3: Grab some extra wide double bias fold tape. There is a short side and a longer side. You want to stitch down the short side first! That way, when you fold the tape over the edge and wrap it around, you’ll be able to catch the longer edge when you top stitch or “stitch in the ditch” along your first seam.
First, unfold the tape so that the shorter side’s edge is aligned with the edge you are going to encase. STITCH along the first crease in the bias tape.
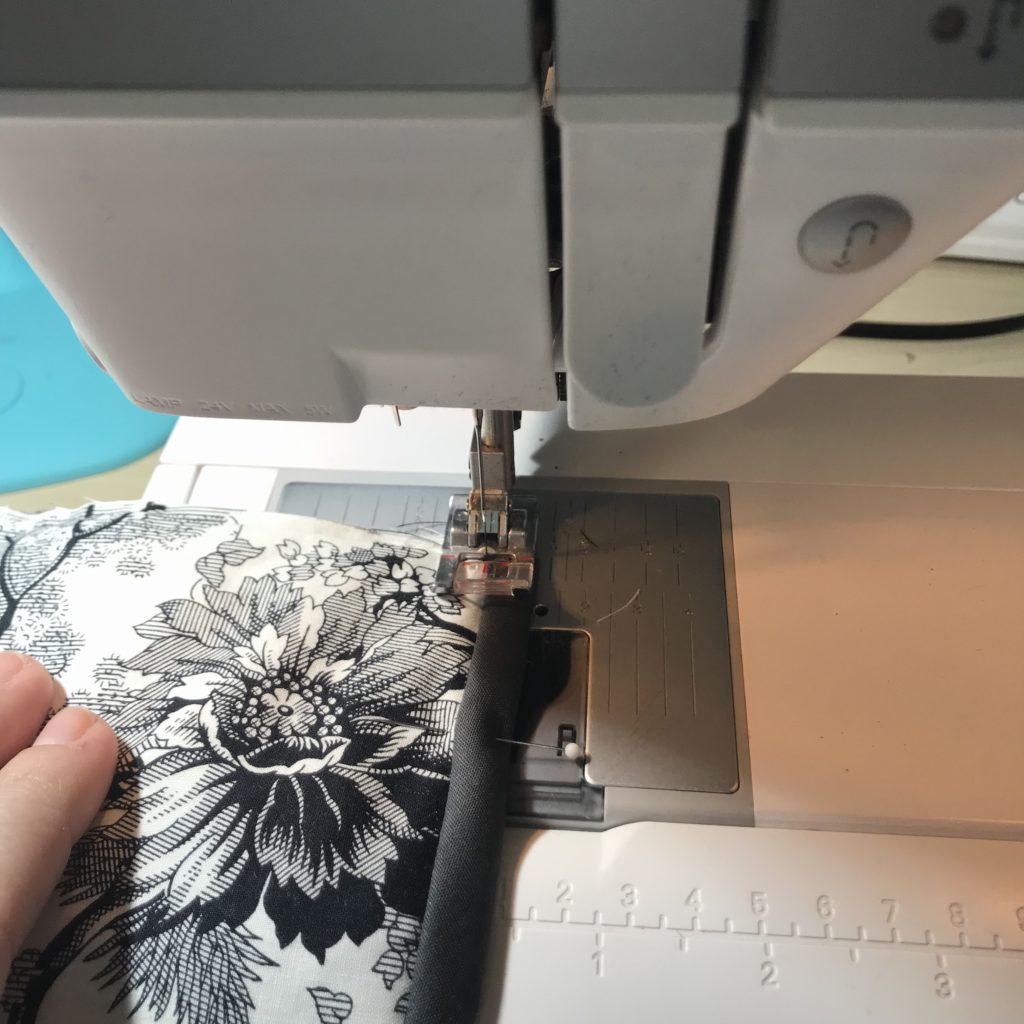
Once that row of stitching is complete, fold the tape up over the edge of the fabric, encasing it completely. Pin or clip in place. STITCH again, this time in the ditch of the stitching you just completed (or right next to it, if you are like me and have trouble staying in the ditch).
Step 4: Lay the shorter piece on top of the larger piece and baste the two together. *Make sure the silver heat resistant side of the insulated batting is facing outsides (the right sides) of the pieces.* The nicely finished top edge of the shorter piece is at the top of the “pocket.” Then grab that bias tape again – we are going to encase the whole square with bias tape.
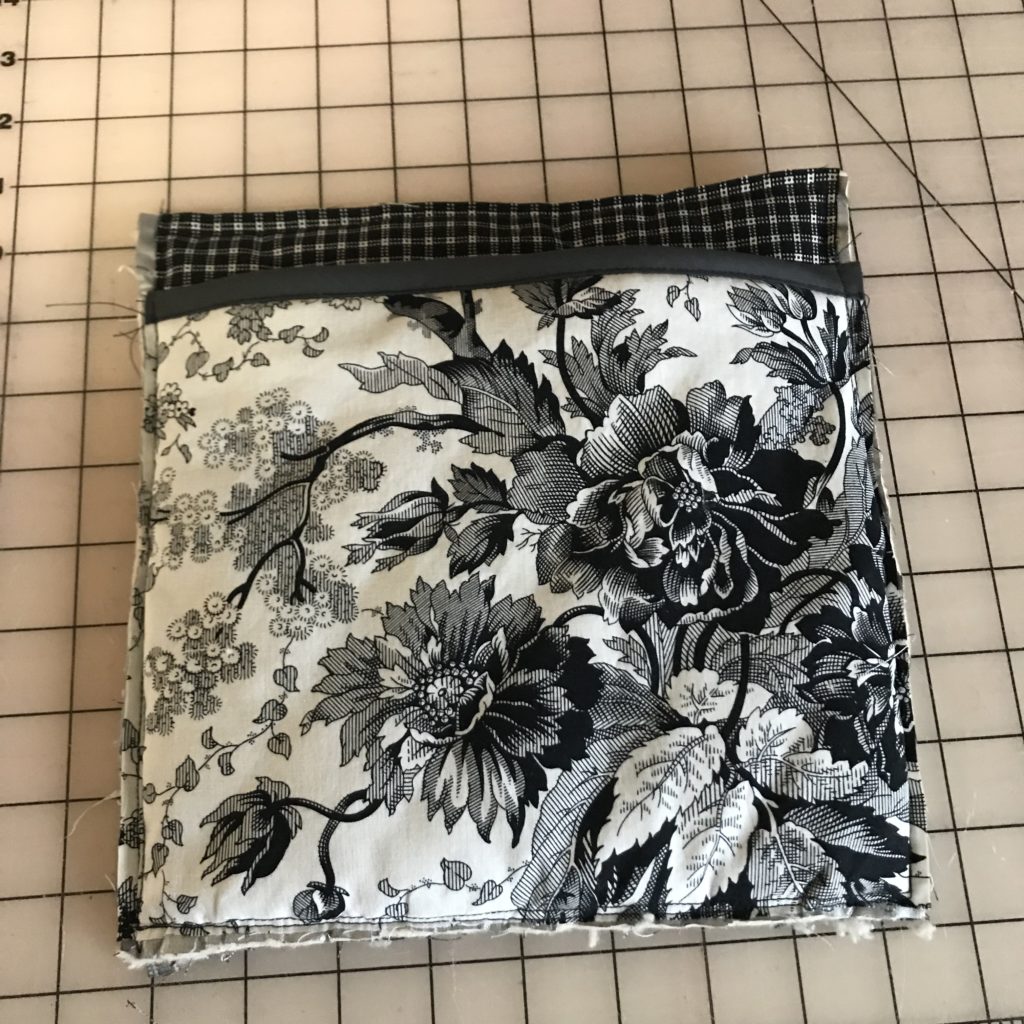
Step 5: When encasing the entire hot pad in bias tape, you’ll want to make sure you pay attention to the corners. For these, I wanted a nice, mitered corner. Begin by sewing the shorter side on the same way we did the top edge of the pocket piece.
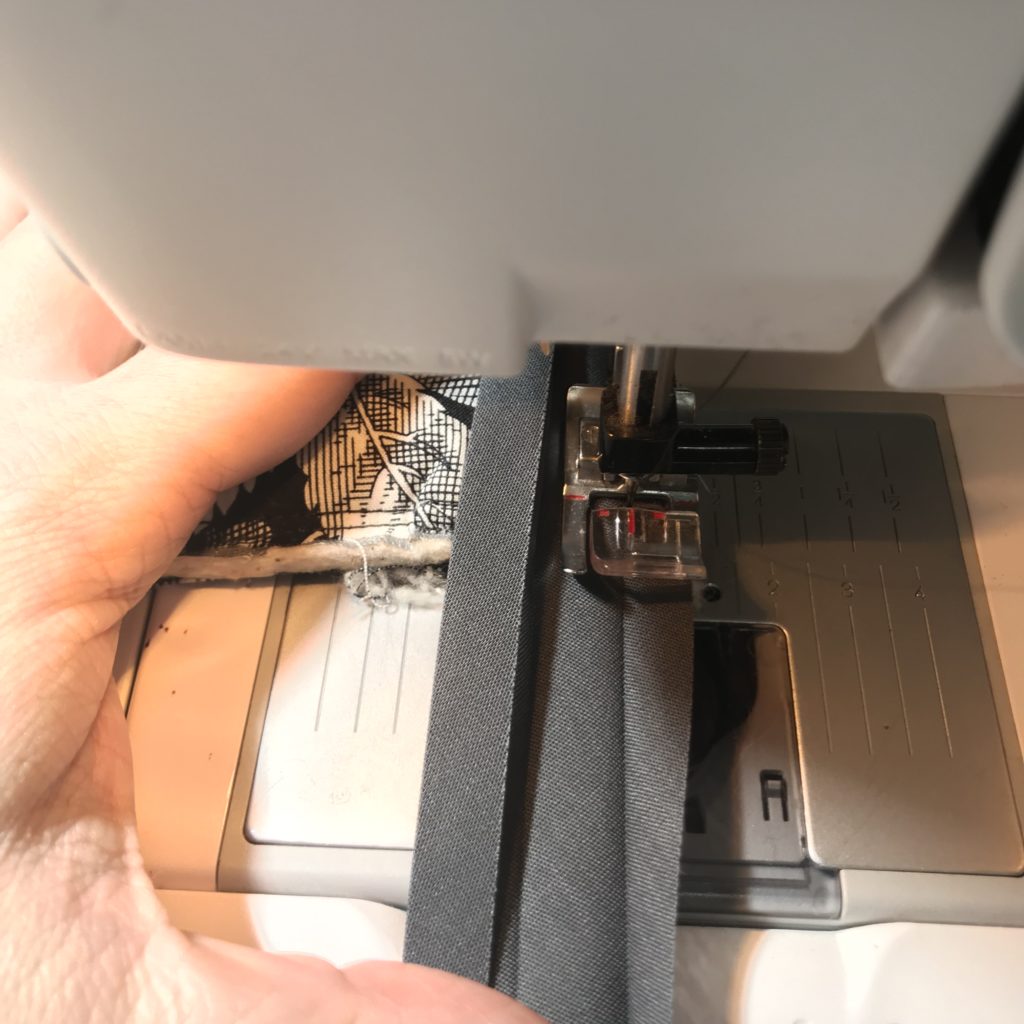
Stop about 1/4” before the bottom edge. Turn the square 45 degrees and stitch into the corner point.
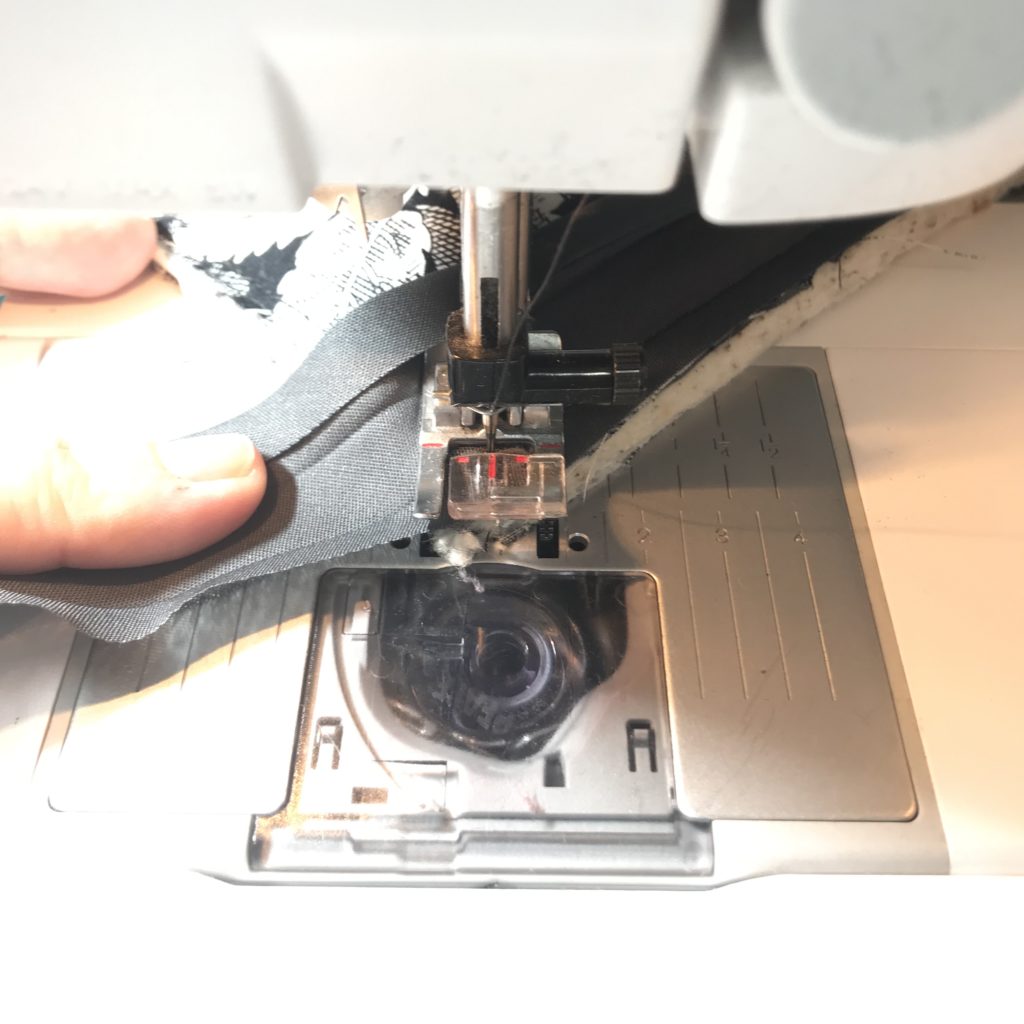
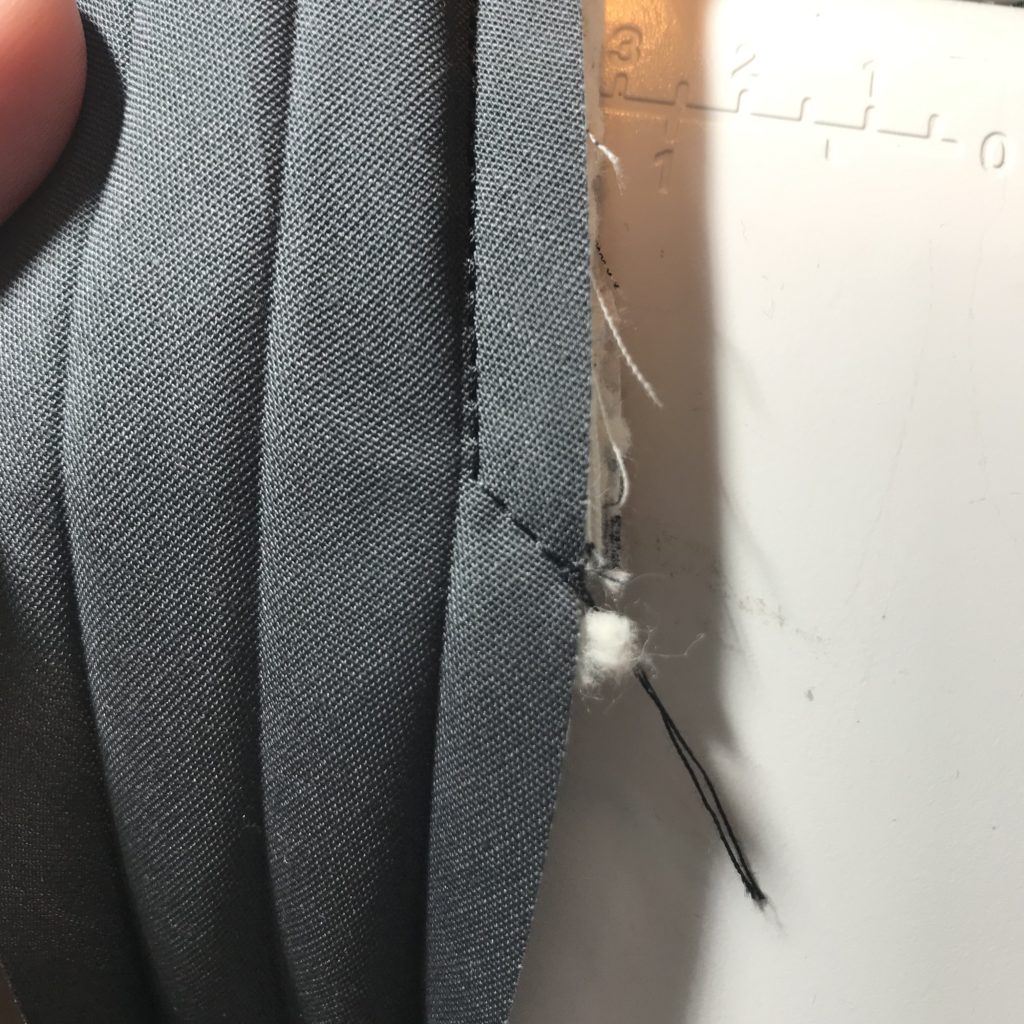
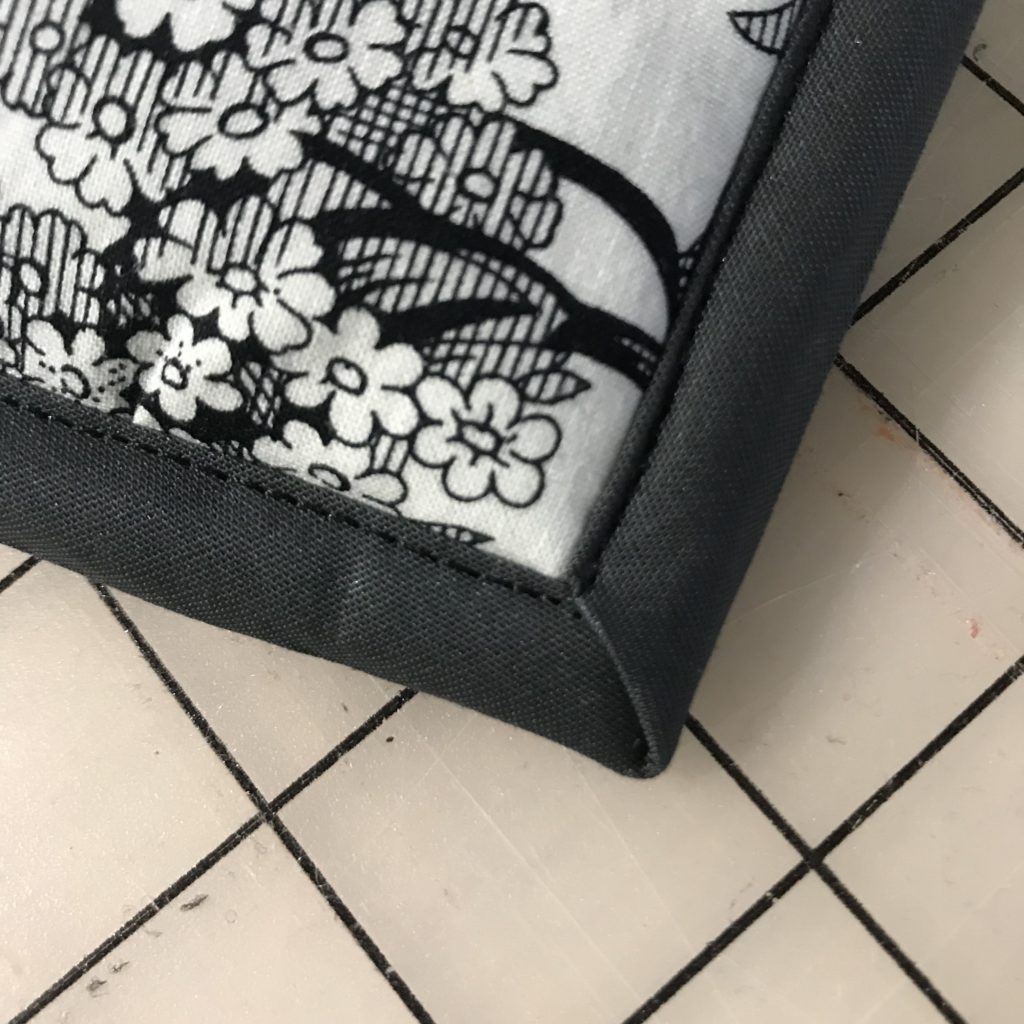
Next, fold along the 45 degree angle, then fold straight down, keeping the 45 degree fold under the straight edge. The straight edge should now be lined up with the side of the hot pad. Begin at the edge and stitch in the fold again along that edge. Repeat for all 4 corners.
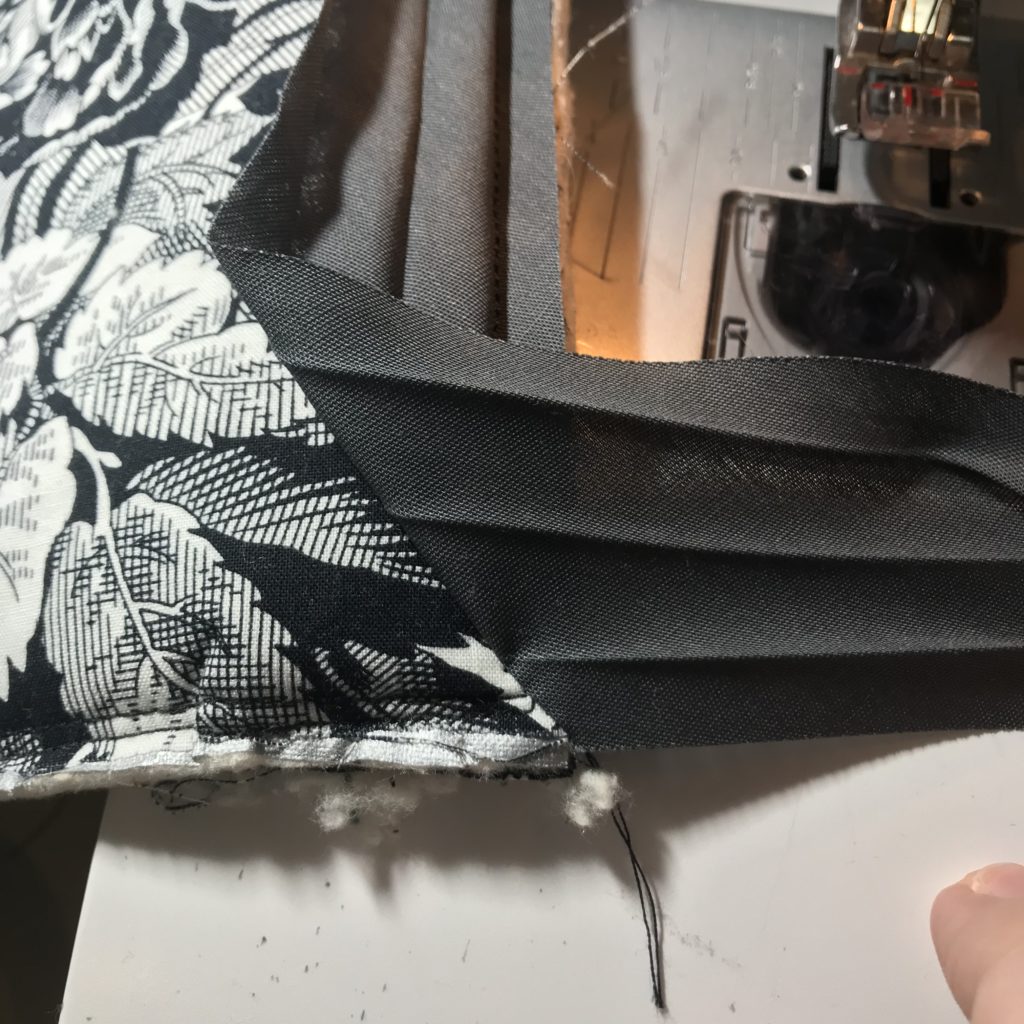
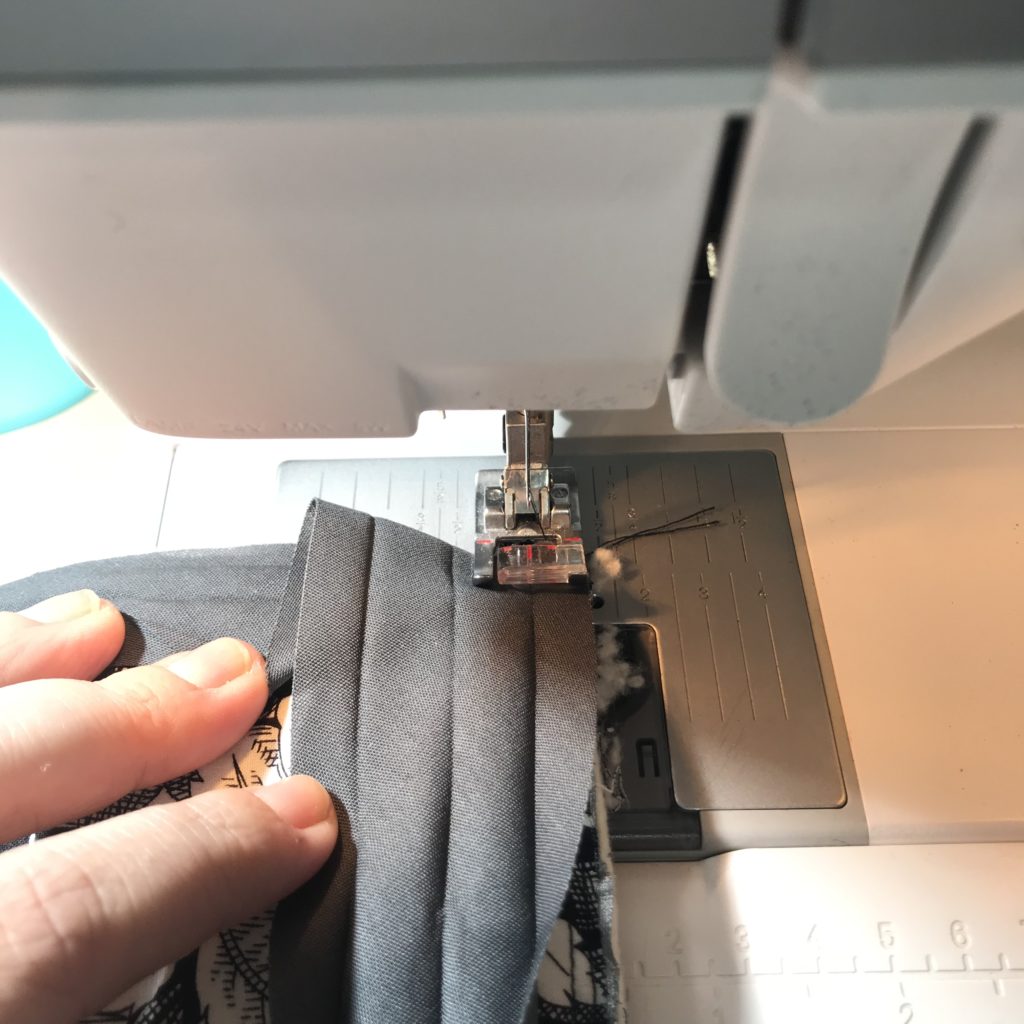
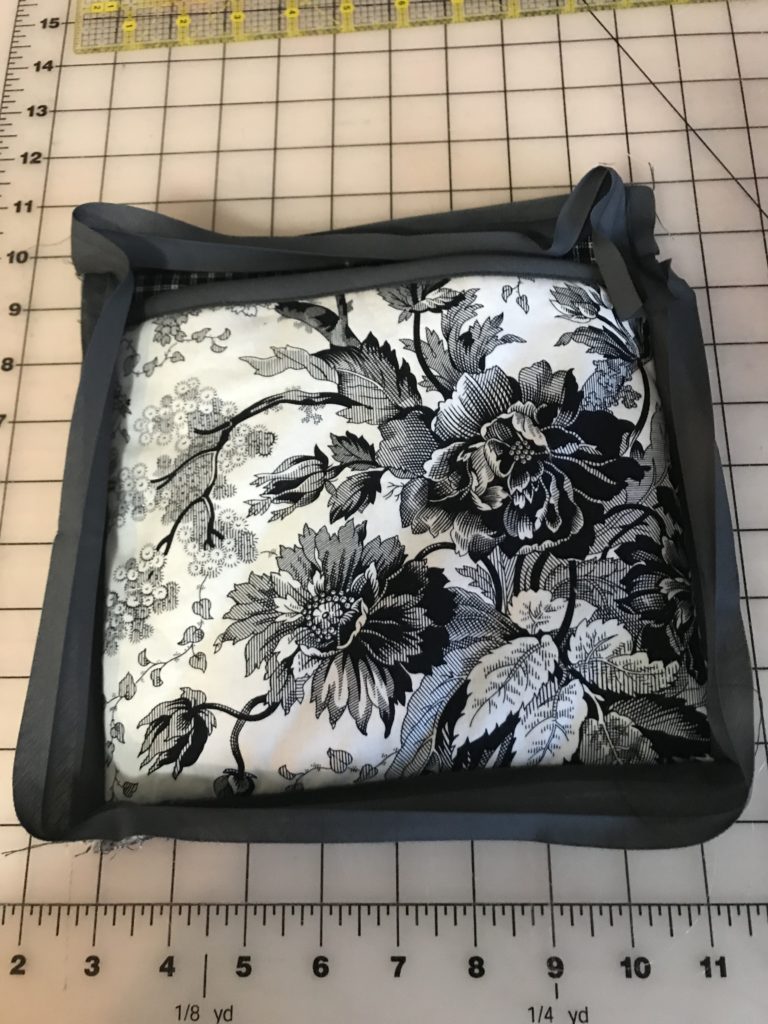
Step 6: Fold the bias tape over and clip in place. I use quilting clips because they seem to work better than pins at ensuring the bias tape stays in place, but if you prefer pins – by all means, pin away! Pay attention to fold under the excess fabric in the corners – creating a miter in the back side of the corner.
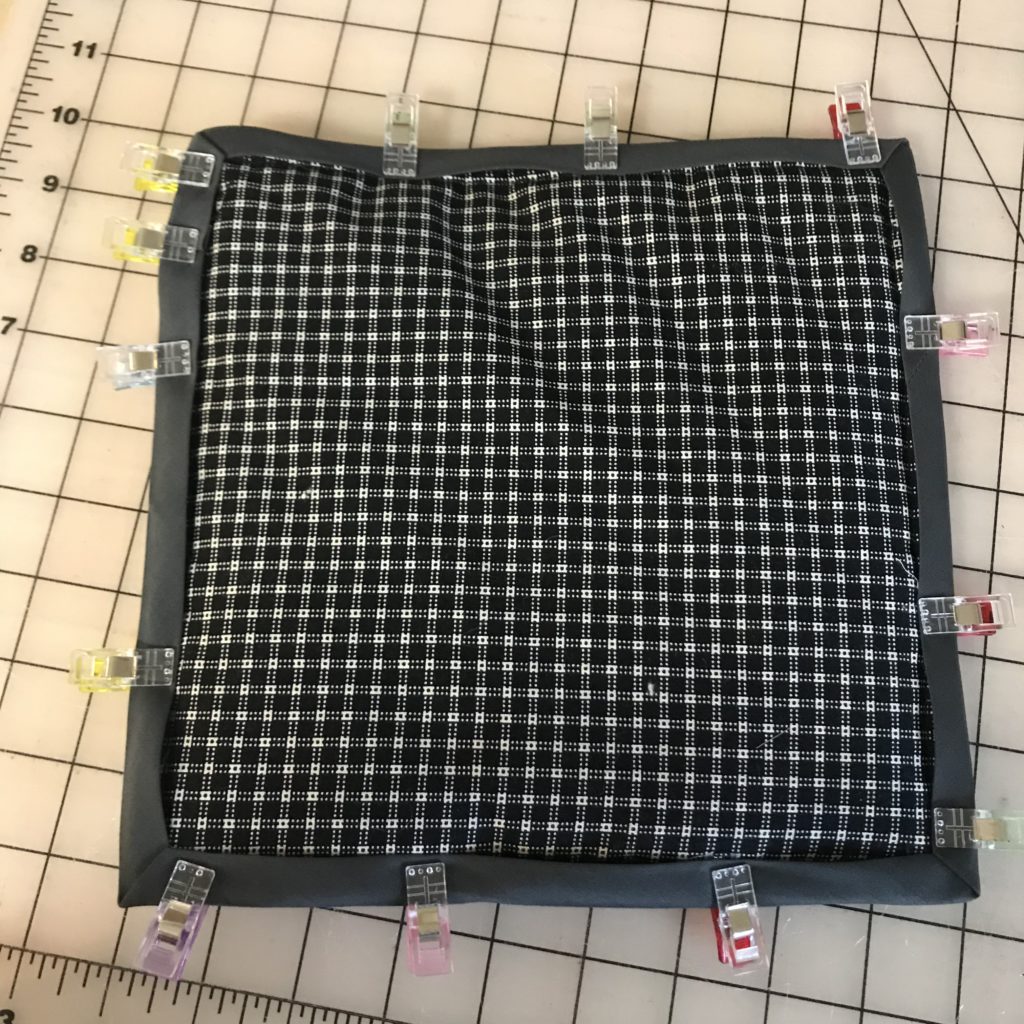
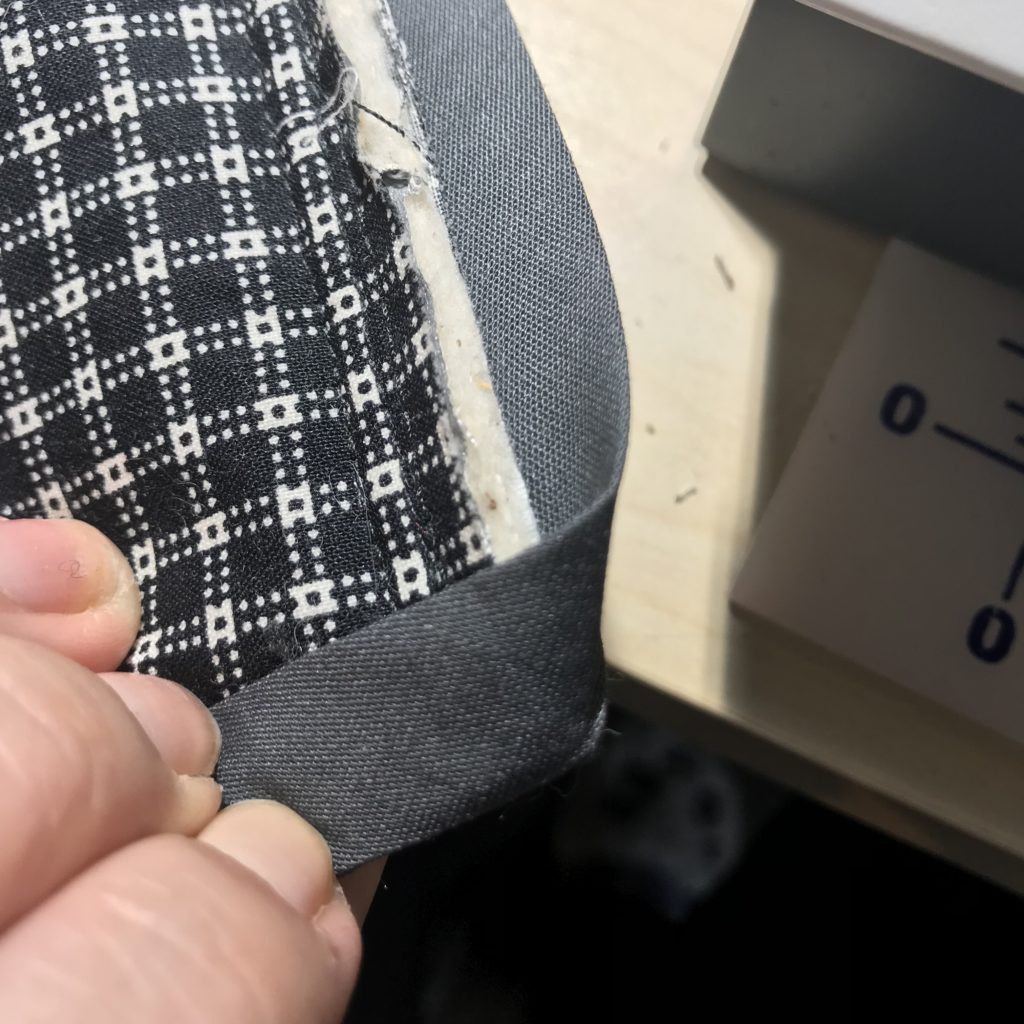
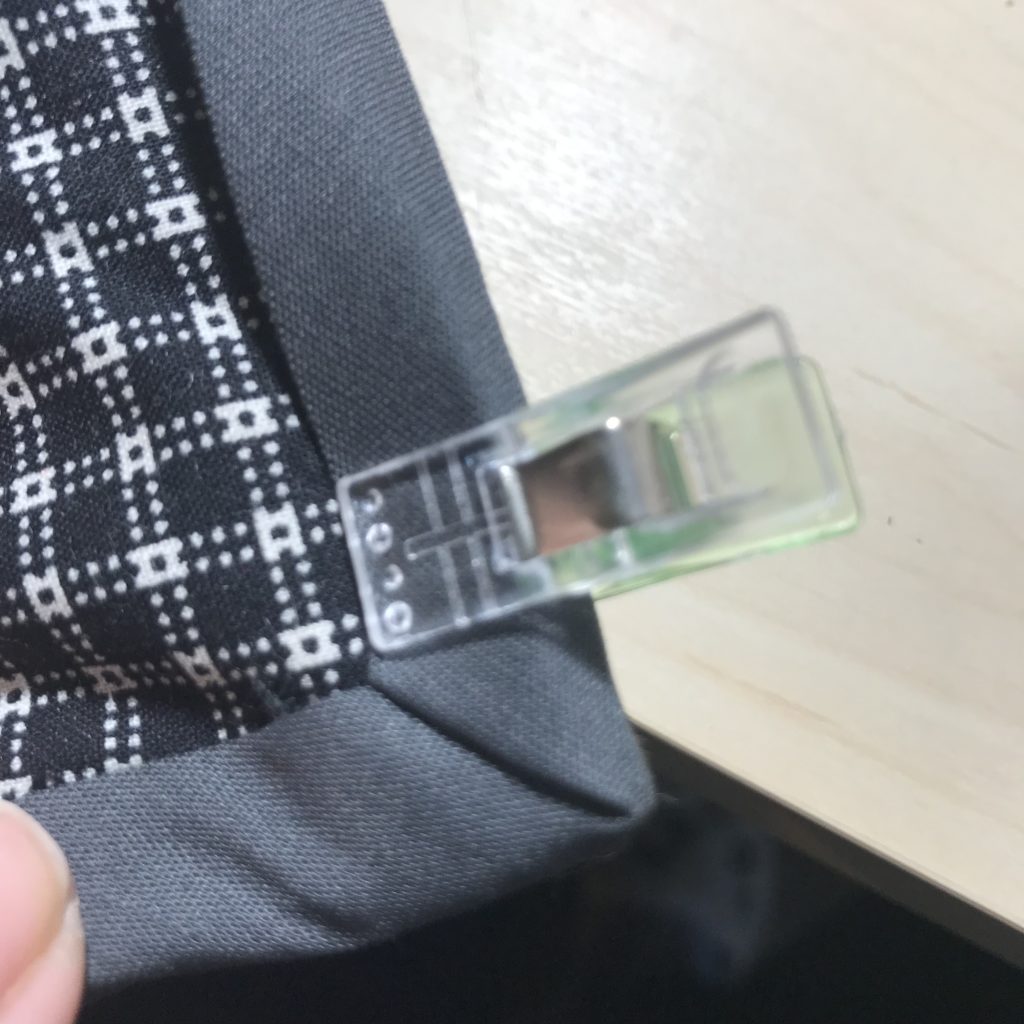
A simple top stitch along the ditch of the first stitching line creates a nice enclosed, finished edge for the hot pad.
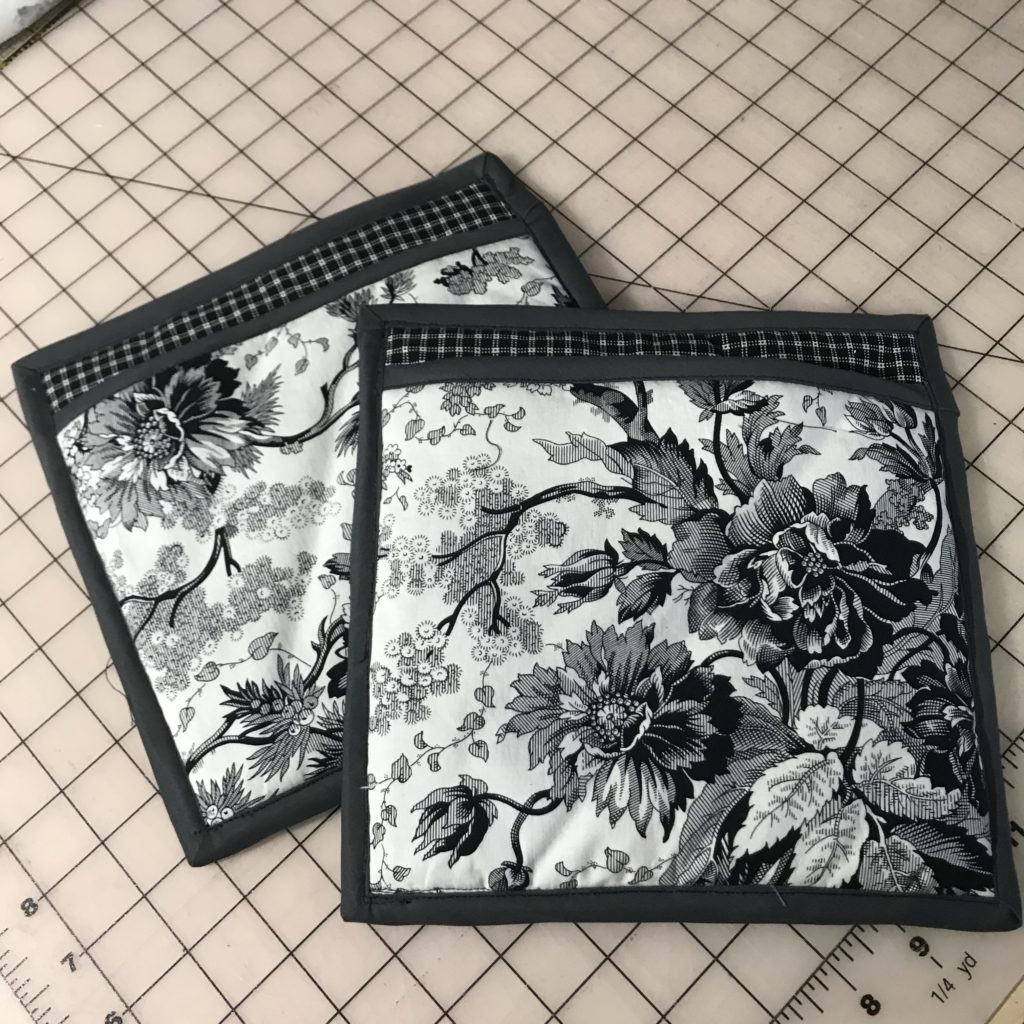
They came in handy tonight while I cooked dinner. 🙂
What’s on your sewing list of things to do? With a few snow flurries tonight, I think I need to get cracking on a new wool and faux fur coat!!!

