I have been a bit side-tracked with Halloween costumes lately, so tonight I wanted to get back on-track with my goal of growing my layering options wardrobe.
I pulled out tons of fabrics from my stash – and no, I am NOT sharing pictures of my sewing space right now because it is still trashed from the costume making… I mean, seriously trashed. So messy I can’t bring myself to clean it! LOL Maybe tomorrow… or Wednesday… Ha!
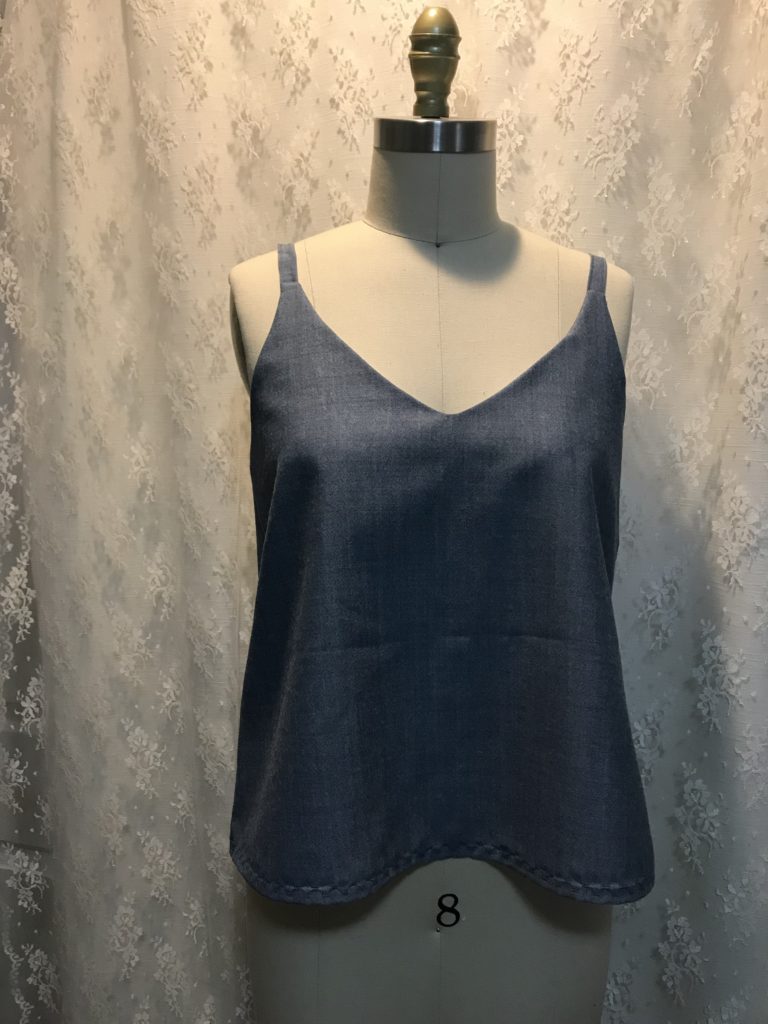
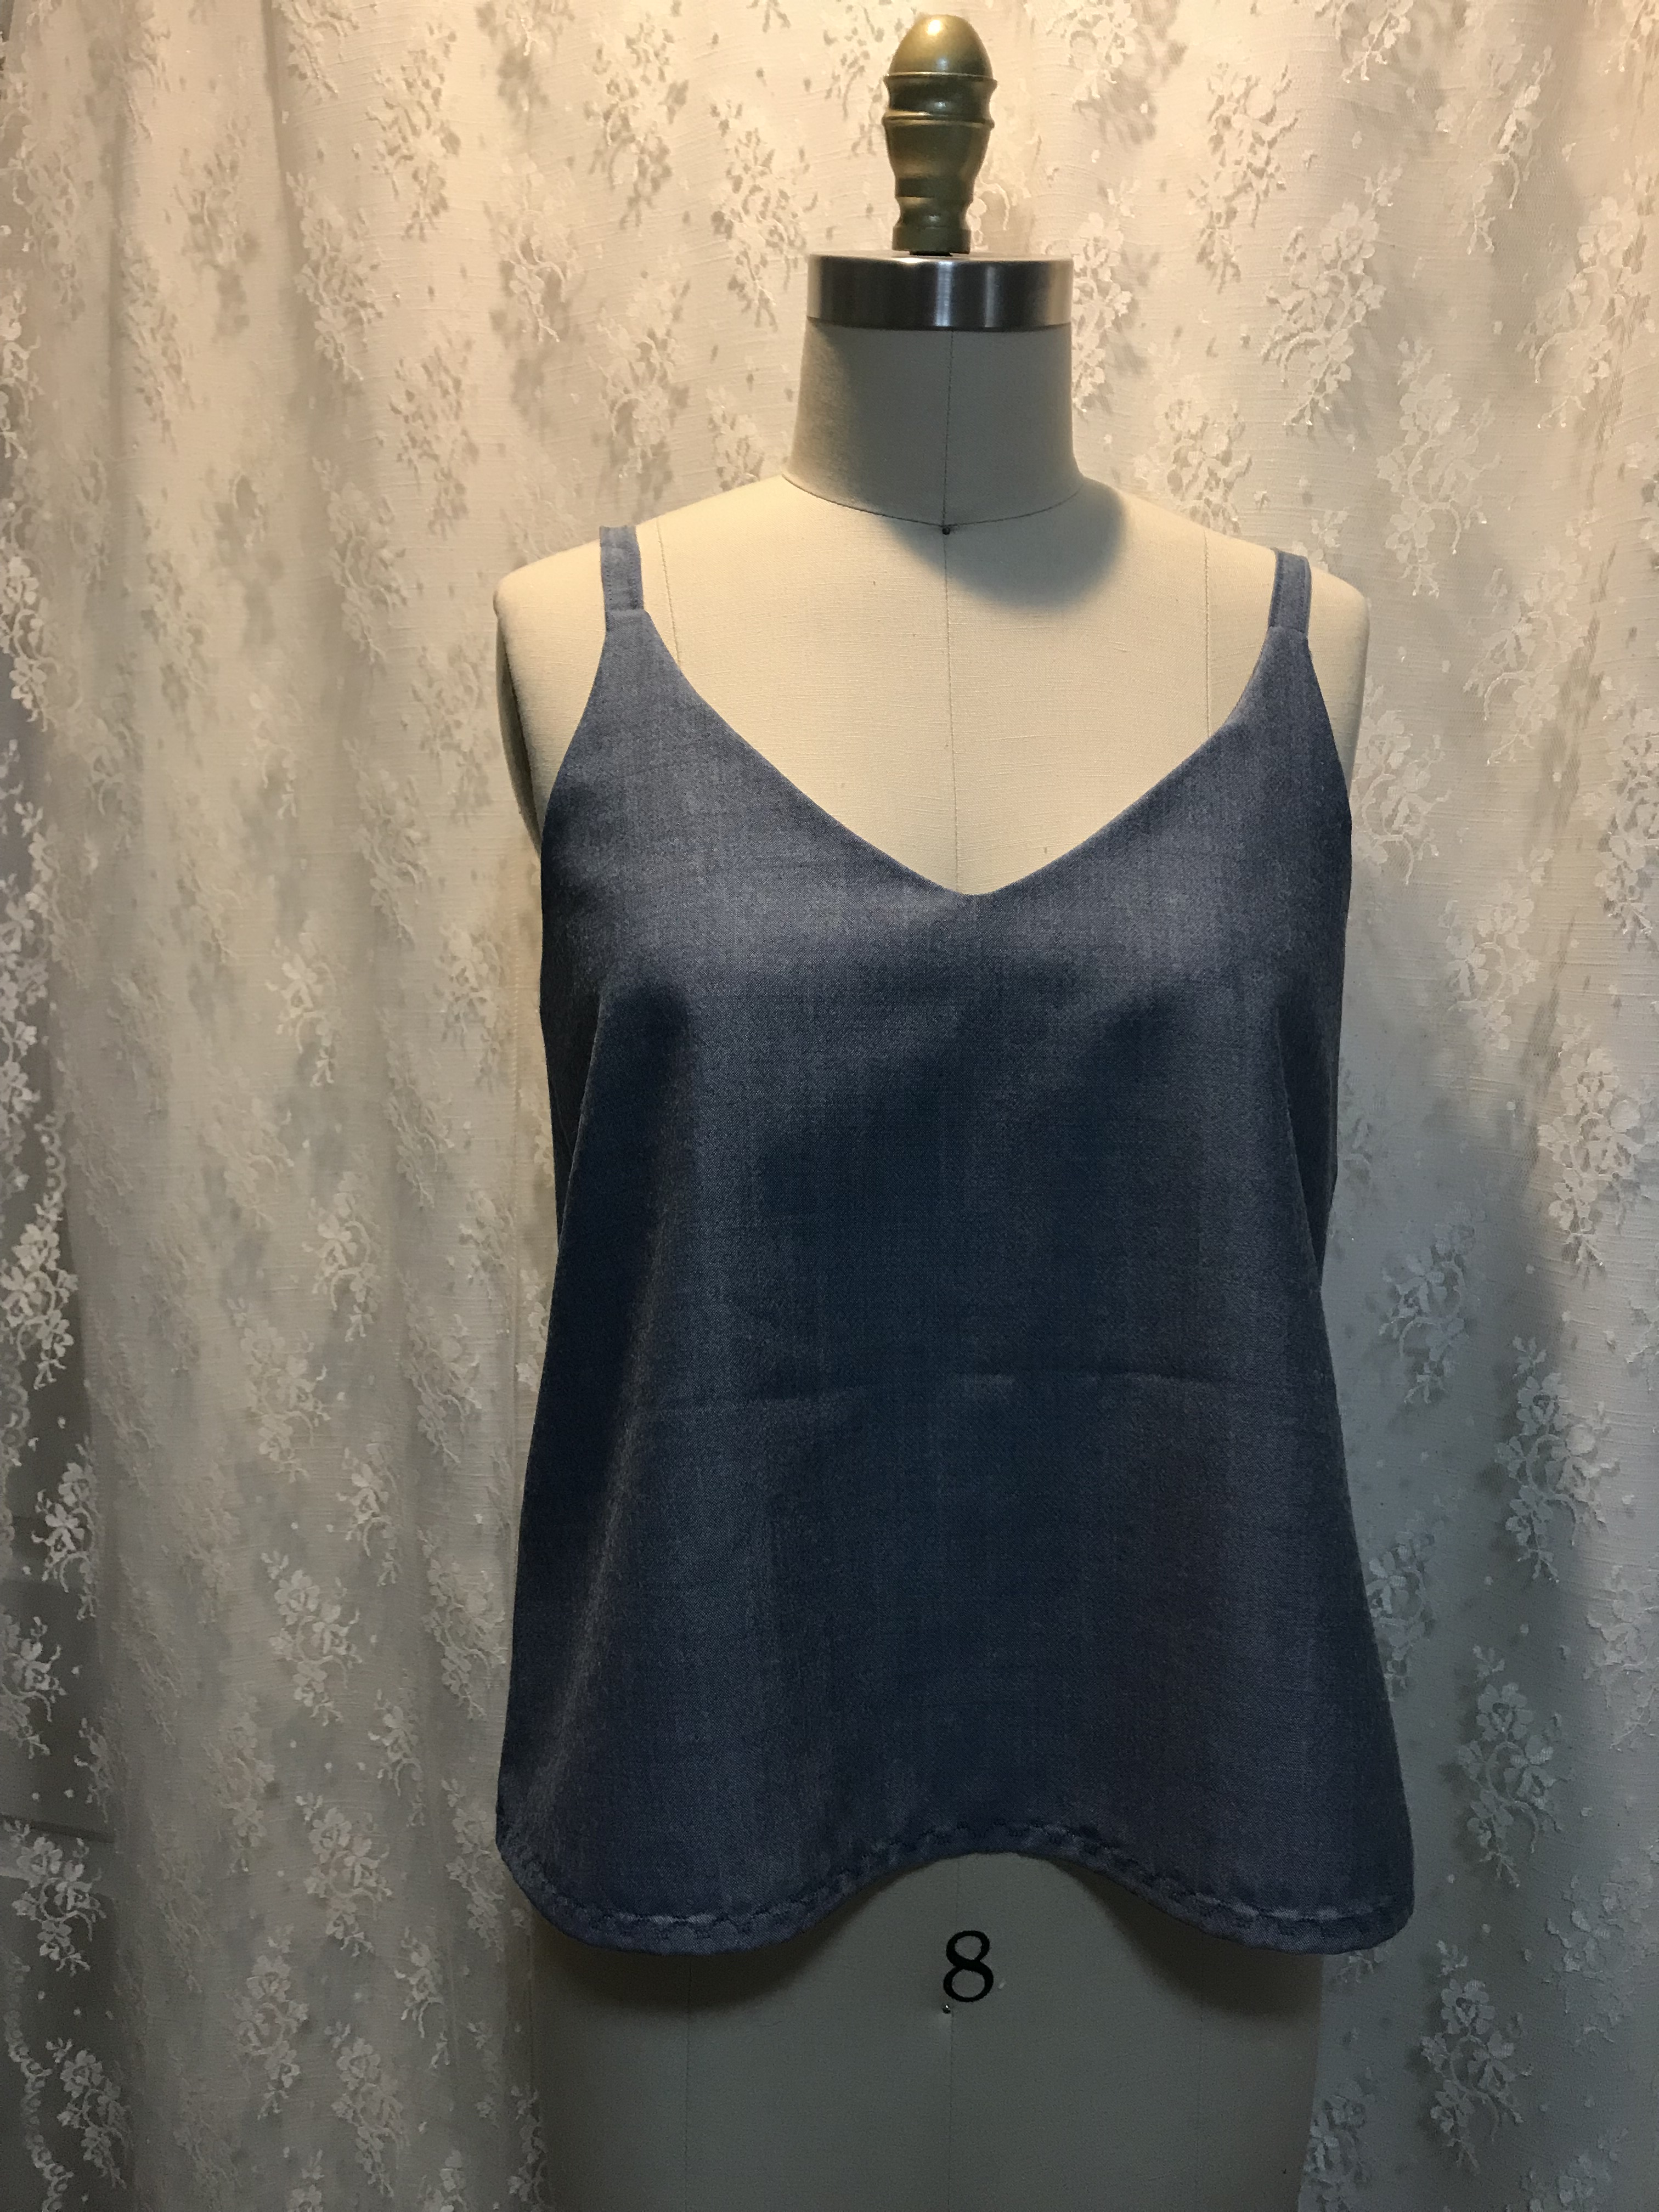
When I pulled out the fabrics, I found a great lightweight wool that is a really cool denim-like color, but much more drapey. (Is drapey a word?) I love how it coordinates with this amazing Essex linen from FarbicBubb. I think this linen is destined to become a pencil skirt in the spring, so for tonight’s Quick Make, I’m going to make an Ogden Cami out of the wool that I’ll be able to layer with sweaters this fall and winter and wear with my future pencil skirt this spring.
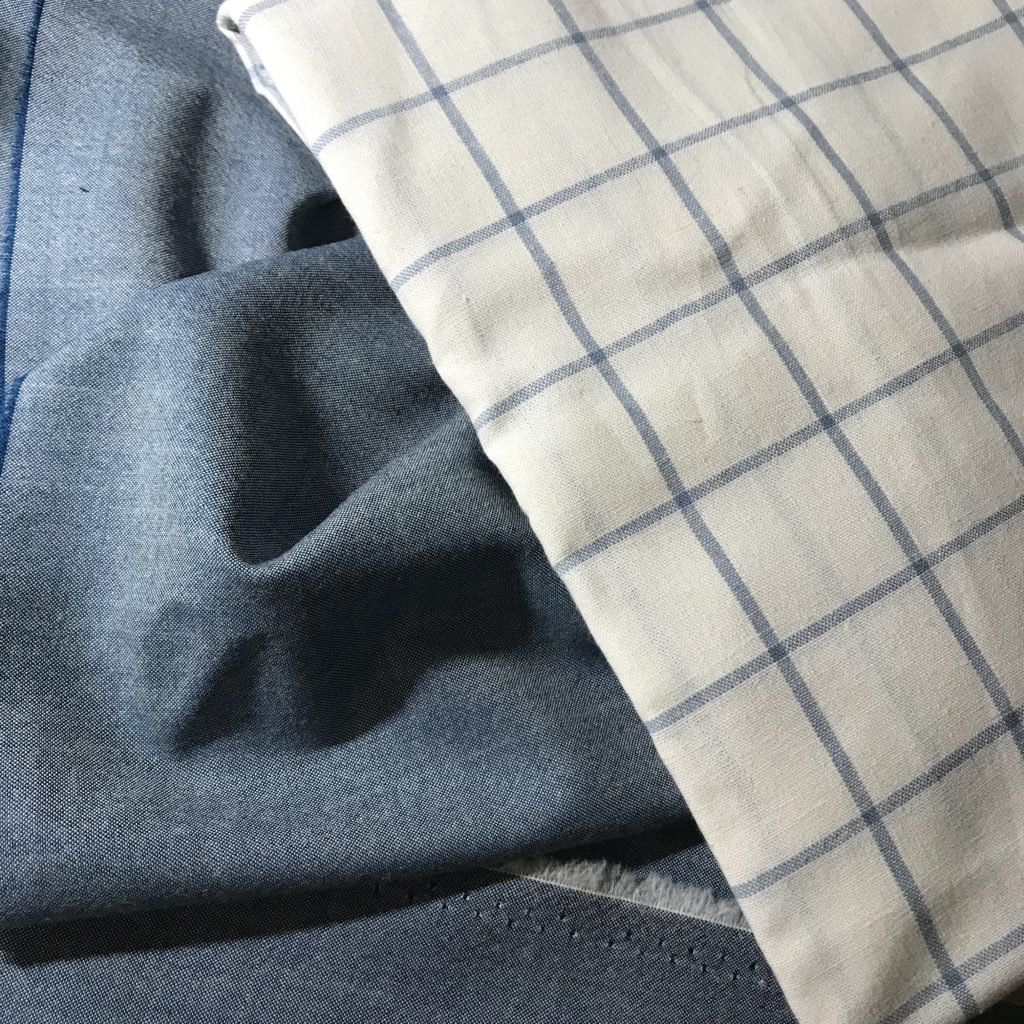 This wool is from the Pendleton Woolen Mill Outlet in Washougal, WA. This is hands down one of my favorite fabric stores that many people don’t know about. It is not a fabric store, per se. It is mainly an outlet store of all Pendelton’s clothing, blankets, and other accessories; however, in the back corner of the store they sell fabric by the yard. Over the years I have gotten some incredible textiles from this store. Coat weight wools, shirt weight wools, lining fabrics, and interfacings. Sometimes they even sell one of a kind test fabrics that they never put into production. You never know what will be there. And the prices are insanely good… I think this was $4 or $5/yard and about 60″ wide.
Back to my Quick Make camisole. This is the second time I’ve used the Ogden Cami pattern by True Bias that I purchased and downloaded from Indiesew.com. The first time I hacked the pattern for a Fake It Friday project that trimmed the entire cami with lace, so I did not use the facing pattern pieces. Tonight I used all the pattern pieces, totaling six pieces. One front, one back, one front facing, one back facing and two straps.
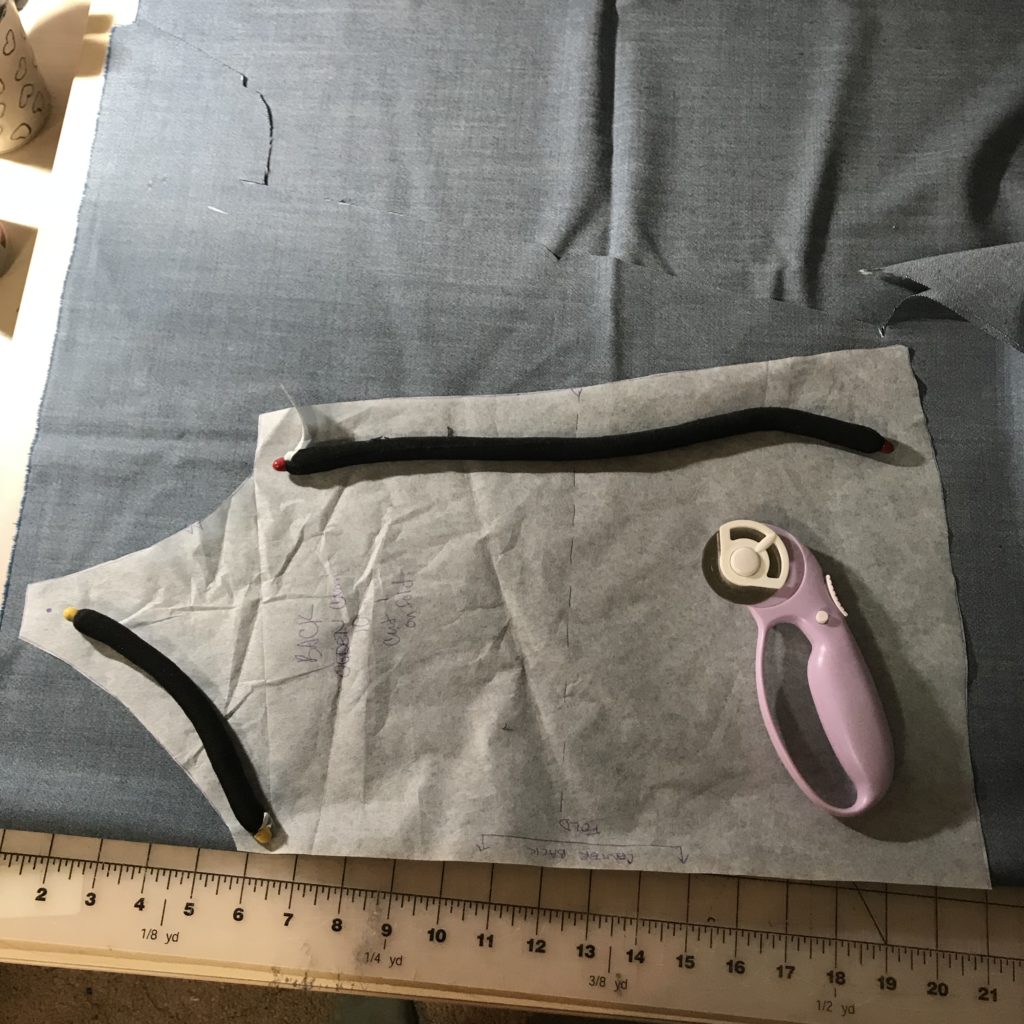
I CUT everything out using pattern weights and a rotary cutter. So fast!
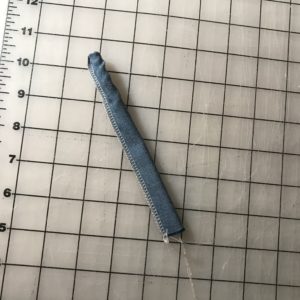
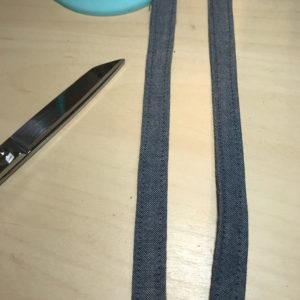
 I made my straps using my serger – I love this method. Two straps made in less than 3 minutes – including pressing time. Make a long tail of serger thread, wrap the strap around the tail, serge, then pull the tail to pull the strap through to the right side. So simple and so efficient. I wanted the straps to stay really flat, so I pressed them and then top stitched them on both sides.
Next, I began assembling the cami. I didn’t take the time to dig out the pattern instructions from wherever in my sewing room mess they’ve ended up… so I decided to use my knowledge of sewing construction to put the cami together the easiest way I know. I chose to use french seams to finish the inside side seams.
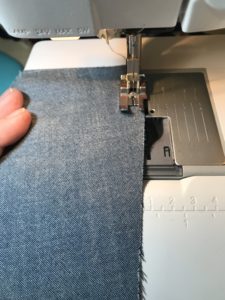
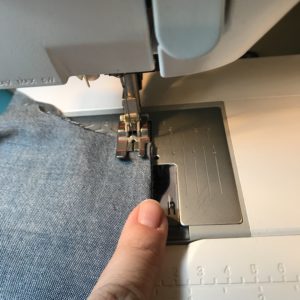
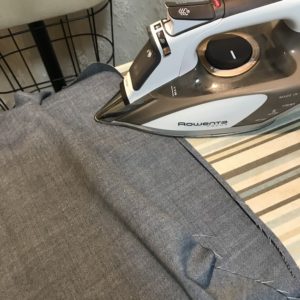
Step one: STITCH side seams wrong sides together with a 1/4″ seam allowance. Then turn and PRESS the seams, so that now the right sides are together. STITCH again, this time with a 3/8″ seam allowance, so that the original seam is complete encased. Press again. (Realize you forgot to trim your notches – oops – trim them carefully now.)
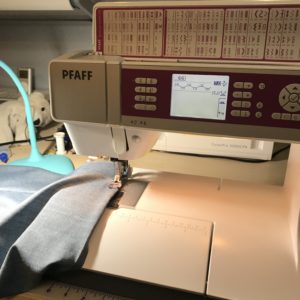
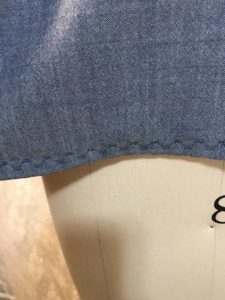
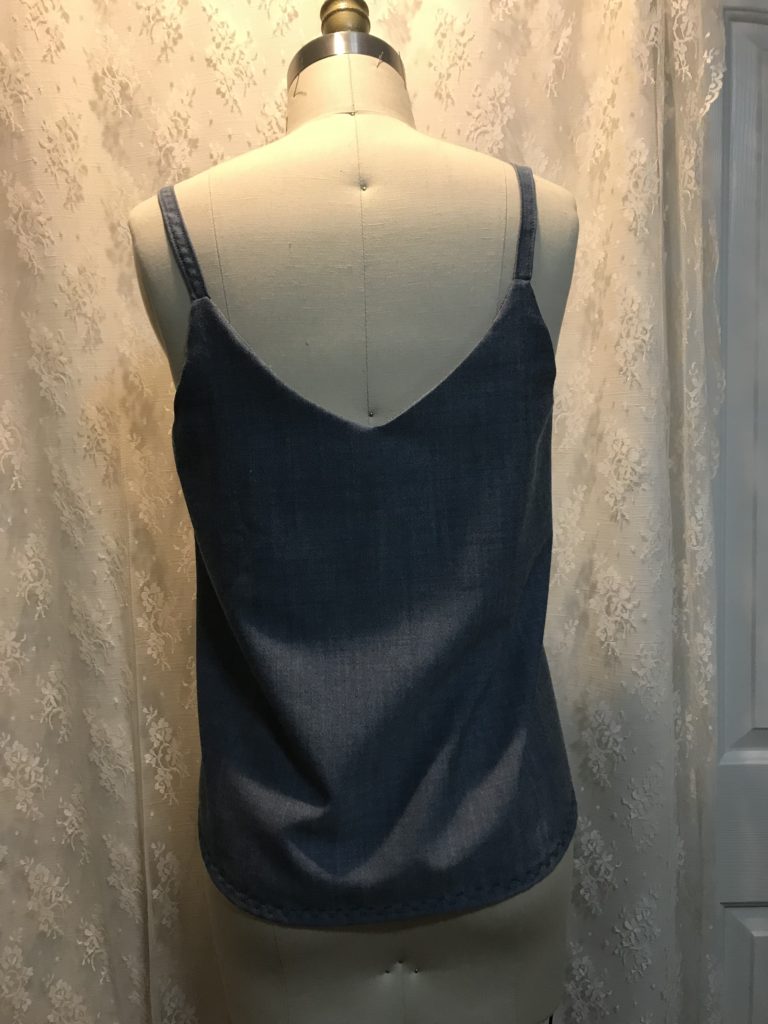
Step three: Turn up and PRESS the hem. I turned up about 3/8″ and then again by the same amount. I wanted a relatively narrow hem. I chose a decorative stitch for the hem to add a little interest to this otherwise rather plain top.
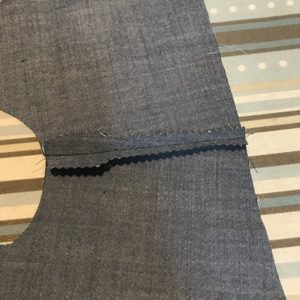
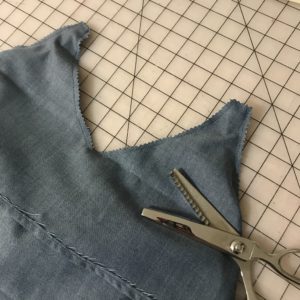
Step four: STITCH the facing pieces together. This time, I didn’t want the bulk of a french seam, so I stitched a regular seam and used pinking shears to finish it. I turned up the hem of the facing only once, because again, I didn’t want unnecessary bulk. Since this hem is not seen, I used a regular straight stitch.
Step five: I pinned the straps in place on the front pieces, and then on the back, ensuring the strap was not twisted, then I stitched the facing to the bodice right sides together. I turned the cami out to make sure I didn’t catch anything odd in the seam. Seeing that everything looked good, I turned it back inside out and trimmed the seams with pinking shears, getting close to the points in the “v” neck front and back.
Step six: Turn right right side out and PRESS everything! Really well.
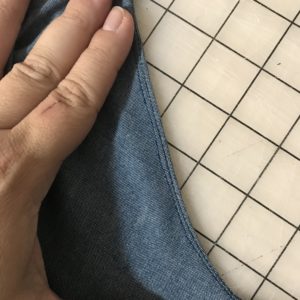
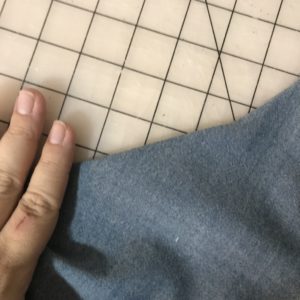
Step seven: Under stitch. This ensures that the neckline seams stay flat. An under stitch is done on the inside of the garment. Open the garment seams on the inside, so that the wrong sides are facing up. Stitch the seam allowance down onto the facing pieces a scant 1/8″ from the seam. You can’t under stitch tightly into straps, so just under stitch as far as possible.
Step eight: Press everything once more and voila! A fabulous cami to layer with sweaters and jackets!
This pattern is really simple and quick. I completed this project from start to finish in the time it took for my husband and two sons to get their hair cut tonight. I really can’t wait to make a few more of these camisoles in a variety of fabrics and in different lengths… maybe even a dress version… oh the possibilities!
Happy Monday everyone! Happy sewing!

