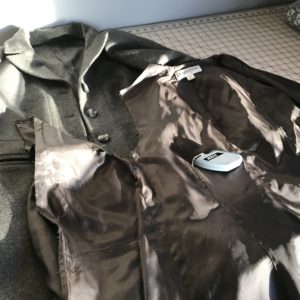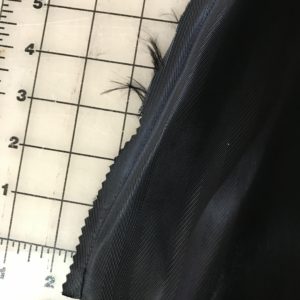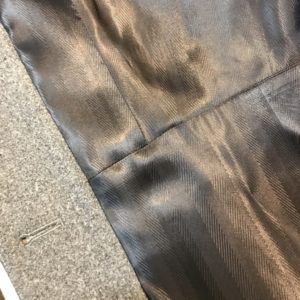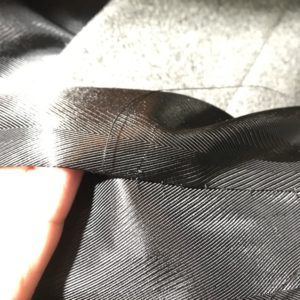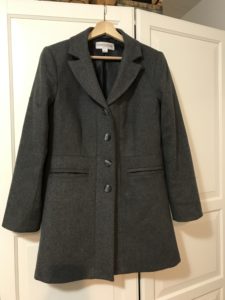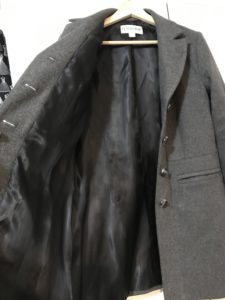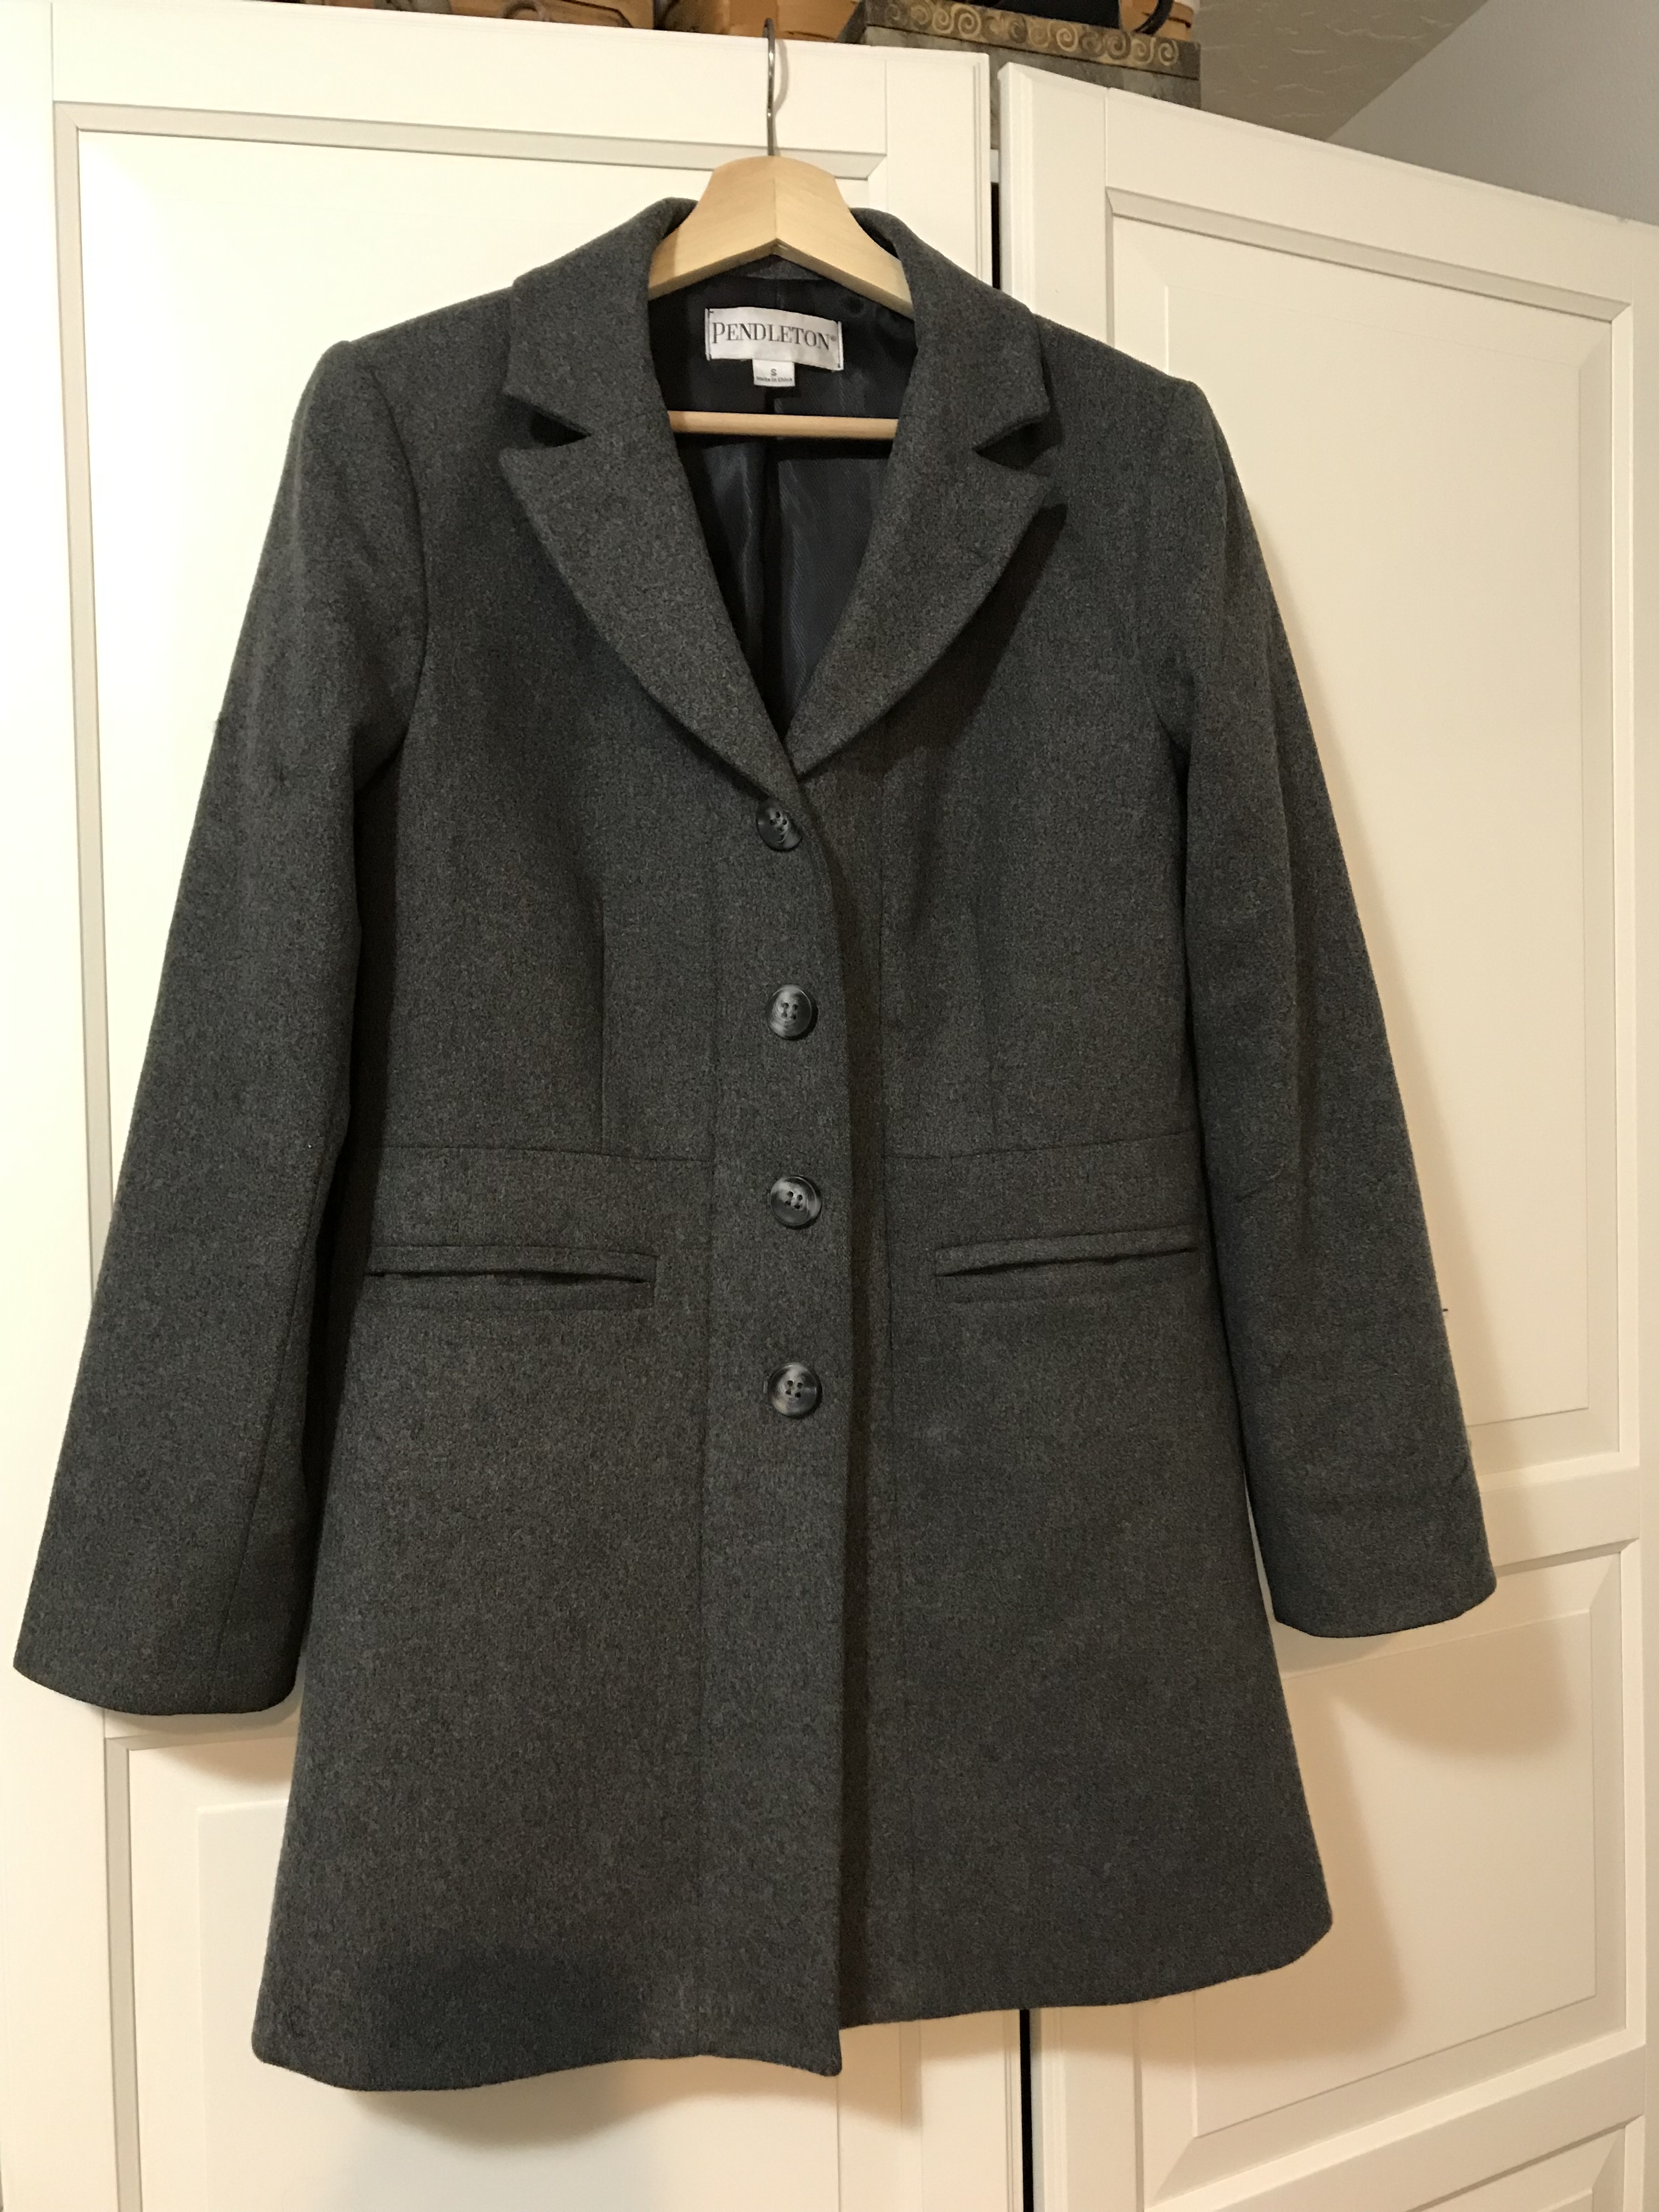
A client recently brought me a beautiful Pendleton wool coat to see if I could save it. From the outside, it looked absolutely perfect, but the inside was another story. The lining was shredding in several places. The sleeves, the pockets, and it was starting to unravel at the armholes too.
She loves the coat, the fit is perfect and it is a beautiful classic grey color that goes with everything. So I excitedly agreed to help her save it!
I’ve done this once before on a vintage wool coat, and had so much fun working on that project, so I jumped at the chance to do another. Why am I so excited? Because the process of deconstructing and rebuilding a high quality coat is an outstanding learning experience.
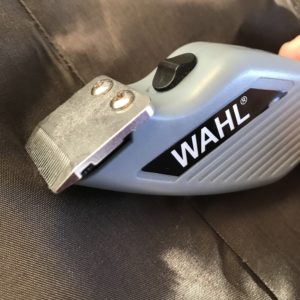
When restoring a garment there are a few basic tools you need: a good seam ripper (or two), a ruler, paper for notes, an iron and a variety of scissors. I have a standard, old school seam ripper that I use to start opening the seams up, but then I switch and use my battery powered seam ripper (which I love). This beast grabs just the threads in the seam and usually doesn’t catch the fabric at all; however, with very light fabrics – like lining – if they are frayed near the seam, the powered ripper sometimes catches the frayed threads. So just use the electric ripper with caution on thinner fabrics.
My process for replacing a lining is pretty straightforward.
Step one: Inspect the garment – look the whole garment over and make sure there is no damage anywhere on the outside. If there is damage (worn spots, holes, open seams, etc… flag them somehow – write them down on a note paper so you know to go back and fix them once the lining is removed).
Step two: Remove the lining. Using your seam ripper, start at the hem and work your way around the garment. You should be able to remove the lining almost completely as a whole piece.
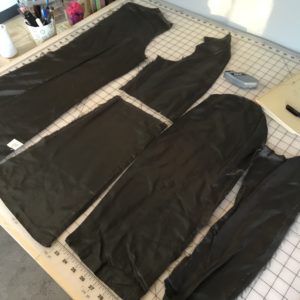
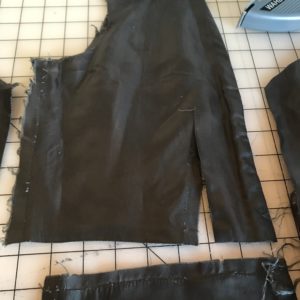
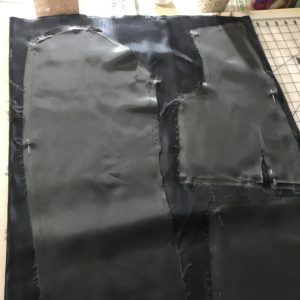
Step three: Once the lining is removed, use your seam ripper to deconstruct one half of the lining. Each piece should be separated and all the darts should be opened up.
Step four: MEASURE! Measure and make notes of all the seam allowances. Especially on vintage coats, some of the seam allowances change, so make sure to measure all the seams.
Step five: Press all the pieces so they lay totally flat.
Step six: Lay the pieces out on the new lining fabric like a pattern, and cut out the new pieces.
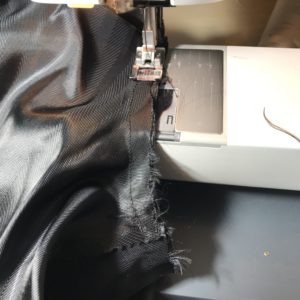
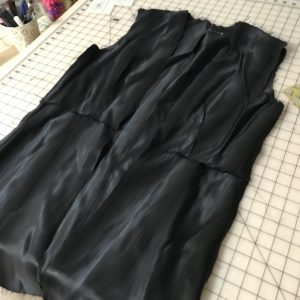
Step seven: Assemble the lining, using the half of the lining that you didn’t disassemble as a pattern guide. IMPORTANT: leave a gap in one of the sleeve seams on both sleeve, and leave an opening in one of the side seams, large enough to turn the whole coat through (mine was about 10″ open).
PRO TIP: Double stitch the arm holes! ALWAYS! this is the seam the gets pulled and tugged the most. Double stitching is like an insurance policy against seam holes.
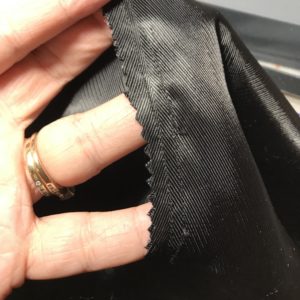
Step eight: PRESS everything. Decide you need to pink all the seams so they don’t fray inside the coat. Sew the original tag back in to place.
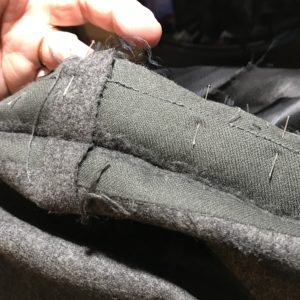
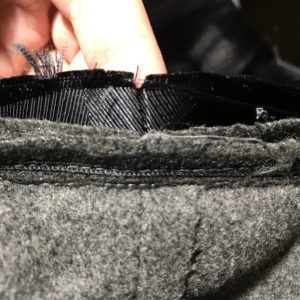
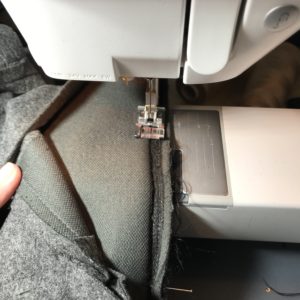
Step nine: Pin to coat at the hem, right sides together. Stitch. (Be impressed they used interfacing that is the same grey color as the wool – details matter!)
Step ten: Pin to coat around front, starting at the hem on one side and ending at the hem on the other. Match all seams (for this coat that included a waist seam and the shoulder seams). Stitch following the original stitching line and/or following the measured seam allowances you wrote down. It is so easy when you can see the original stitch line!
Step eleven: Realize you forgot to reline the pockets! Oops! Cut out the old pockets, use them as a pattern, stitch in new pockets. PHEW! 🙂
Step twelve: Pull through to the right side. PRESS. Hand stitch up the open seam.
Step thirteen: Pull sleeves through the open seam in the sleeve, and pin sleeve cuff right sides together. STITCH sleeve hem. Pull back through opening, press and hand stitch opening closed.
Step fourteen: Give everything a really good PRESS!
And your restoration is complete!

