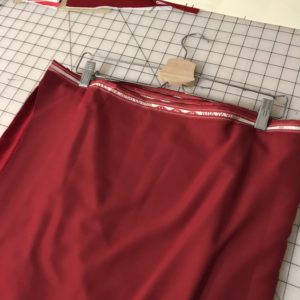
A little over a year ago I bought some red and green velvet because I was planning to make some smoking jackets for a client to sell in her salon/barber shop. I bought the velvets when I found them on a great sale, but the project didn’t end up working out. I figured out that to make the smoking jackets the way I wanted, they took several hours each, and I just don’t have the time to devote to making them in bulk.
So, I’ve had beautiful red and green velvet hanging in my closet for too long. It is time to make something!
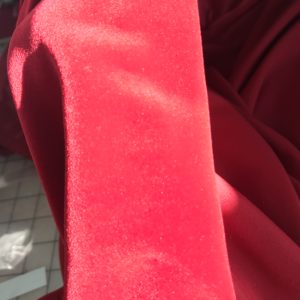
Yes, I said hanging in my closet. Velvet is particularly tricky to store and handle. There are a few key things to think about when working with velvet:
- Hang to store; folding creates permanent creases and lines in the velvet
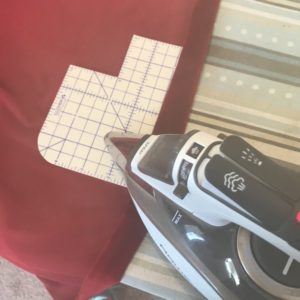
- Steam, steam, steam! Pressing velvet is tricky, but often best accomplished by finger pressing (gently pushing with your fingers) and steaming from the wrong side. If you must press the garment, lay it on top of scrap velvet first. This will protect the nap of the fabric from being crushed into your ironing board.
- Use a new, sharp needle – like a 70/11 microtex or 80/12
- Use a slightly longer than usual stitch; if you typically use a 2.5 stitch length, increase to 3 (this allows ease in the seams)
- Always cut your garments out in the same direction to ensure the velvet’s nap goes in the same direction on all your pieces
Now… back to today’s Fake It!
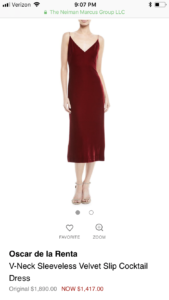
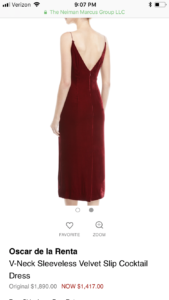
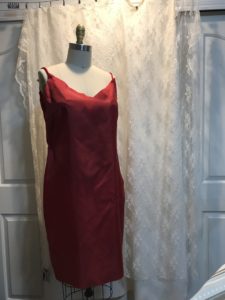
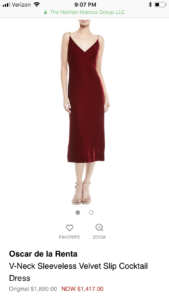
While searching for projects to use my red velvet, I came across this gorgeous Oscar de la Renta dress. I love the simplicity of this dress. I also like the idea of wearing it with different wraps and jackets to change the look. I also like the idea of making something out of materials I already have that would otherwise cost over $1,400! WOW!
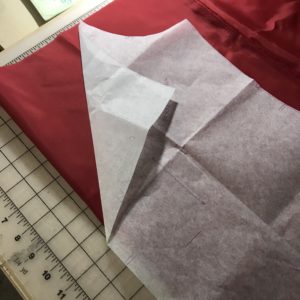
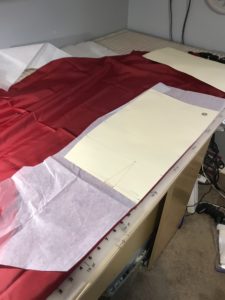
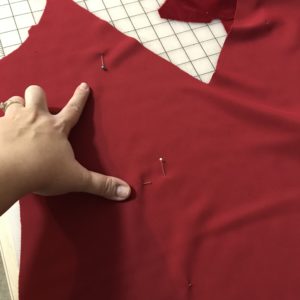
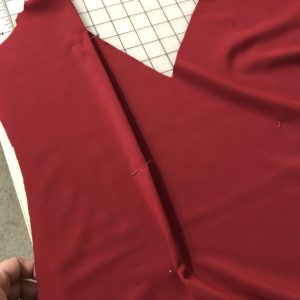
First, I grabbed one of my slip patterns with side bust darts (like the Oscar de la Renta dress) and laid it out on the lining material. Since I needed to make several adjustments to create the deep “V” necklines on the front and back, I decided to sew up the lining first as a sort of muslin. I folded down the necklines. I also folded in the skirt to create a straight skirt, rather than an a line.
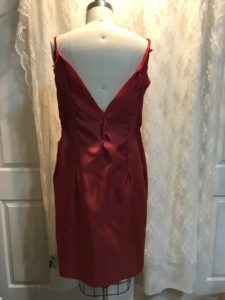
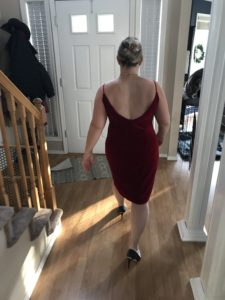
I sewed up the lining. I basted in the zipper so I could try it on and get an accurate fit. I made several adjustments, the most important of which was the addition of darts in the back. I looked more closely at the original dress and noted that it also had back darts, so I needed to add them for sure. I laid out the lining and grabbed my back sloper pattern (a basic pattern made from my measurements to be manipulated into any form). I marked the placement of back darts onto my lining, and stitched them up. The dress instantly fit much better. Pro tip: when fitting a garment on a dress form that is close to your size, put the undergarment you are going to wear on the form (pad if needed). This will ensure the garment fits exactly as you expect when you put it on! (Bust sizes are usually wildly different from the dress form to reality.)
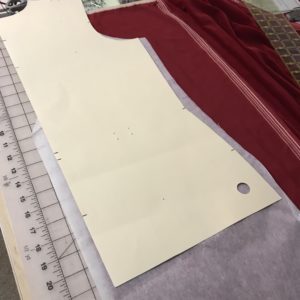
Once I determined I had a good fit with the lining, I removed the zipper and transferred the adjustments I made to the lining to the pattern for cutting out the velvet. I then cut out my velvet pieces. One big change I made to this dress from the Oscar dress is the placement of the zipper. I don’t know why, but I prefer a side zipper on formal dresses. I also think it would be very difficult to make the zipper end at an exact “V” at the back.
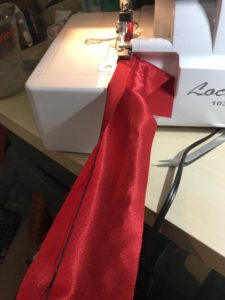
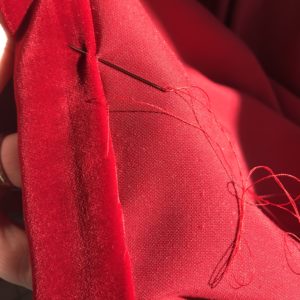
I made spaghetti straps out of red satin – using the serger method I’ve talked about several times in previous posts. I wanted the straps to be skinnier than I could get them using the serger method, so I folded them in half and hand stitched them. This allowed me to achieve the super skinny strap without a strap turner (which I don’t have).
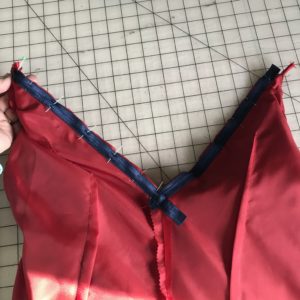
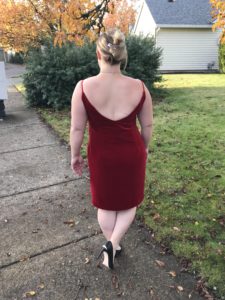
Once the side seams and zipper were done on the velvet, I pinned the lining to the velvet all around the neck, being sure to catch the straps in the correct places. For the back “V” I added some fold over elastic to add some structure that would help hold the back closed. I’ve seen this done for the neckline of a wrap dress, so I thought I’d try it for this open back. I’m really happy with how it worked.
Once the dress was complete, I hemmed it by hand and tried it on. (The sunshine in my sewing room while I hemmed this was amazing! More sunshine please!)
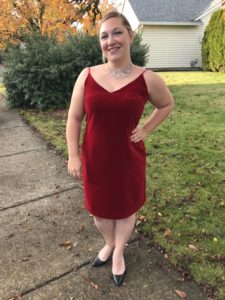
I love how it turned out! I’m not a super huge fan of the open back on me, so I’ll likely be wearing this with different jackets and wraps, but I love that it fits exactly how I wanted. It isn’t too tight that I’m self conscious or worried about stretching seams, but it’s tight enough to hug my figure.
And don’t you love this vintage necklace? I love inheriting jewelry from my great grandmothers! So special!
Happy Black Friday! Anyone have ideas for my next Fake It? Please share below.

