I keep thinking life is going to slow down, or that I’ll finally get caught up… Nope! Anyone else feel like they live on a hamster wheel? LOL
Don’t get me wrong, our life is great! We are very blessed to be able to be as busy as we are, and I am eternally grateful for our wonderfully full life. I am grateful – and at times overwhelmed. I naively thought having both kiddos in school all day would be easier – wrong! Now I have two schedules of activities and “homework” to keep track of on a daily and weekly basis. Treat schedules, volunteering rotations, field trips, early morning “Green Team” and afternoon “STEM Camp,” and soccer, and piano lessons, and, and, and… you get the point.
I used to have a housekeeper when I worked full time. I miss her so much! I loved coming home on cleaning days – everything was gloriously clean and it smelled so good… But it is hard to justify paying someone to clean my house when I work part time and mostly from home, and have two kiddos capable of performing a multitude of chores. So we’ve got to work on a better chore/cleaning schedule.
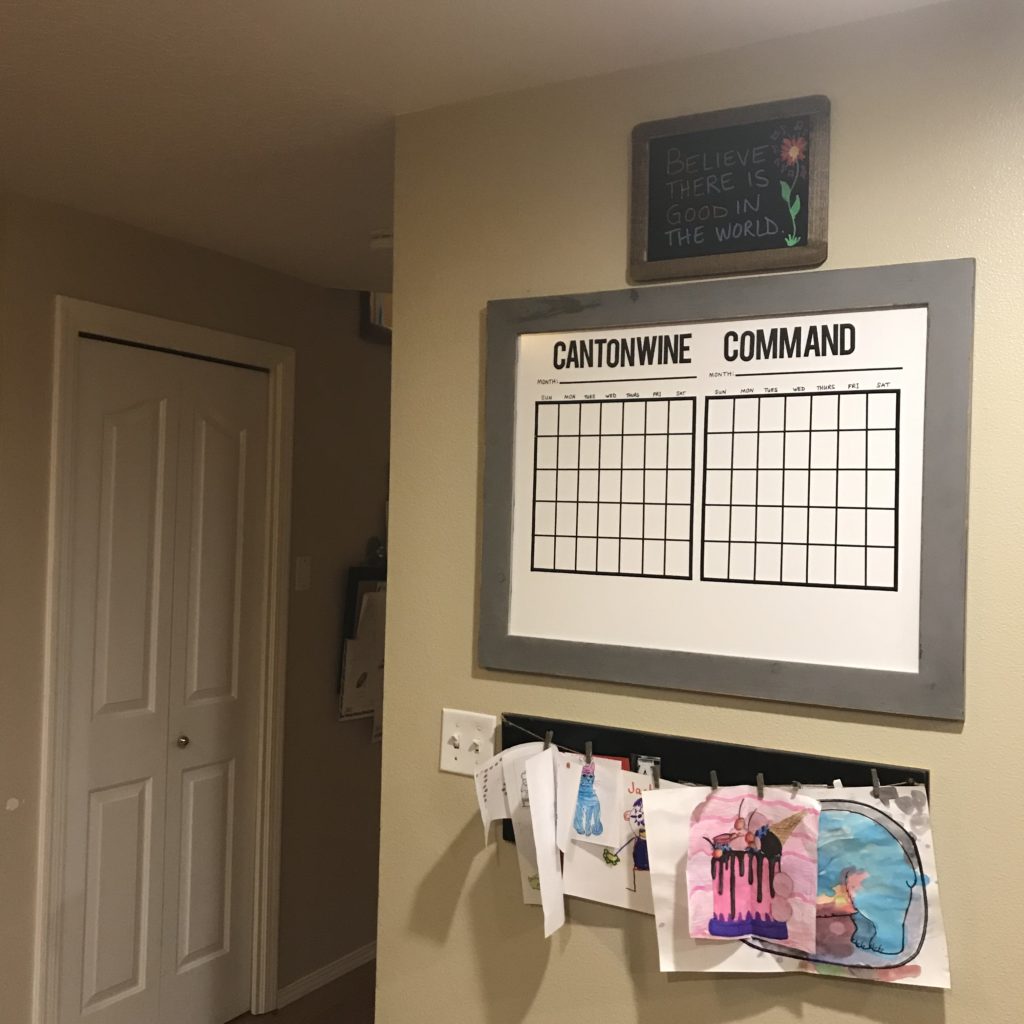
James suggested we get a big dry erase calendar that we could put up and see everything going on at one glance. YES! I loved this idea. I immediately started shopping. Yes, I could find a small cheap dry erase calendar at Target or Michaels that would be umilatian. But if this was going to be hung somewhere where we could see it regularly, I wanted it to be aesthetically pleasing. The nicely framed dry erase calendars I found were all $50+ (mostly around $75) which was more than I wanted to spend.
So I decided to Fake It!
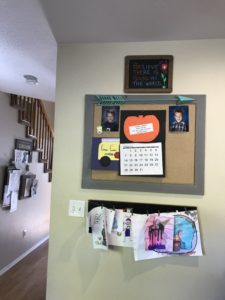
We’ve had a bulletin board up in out kitchen for a few years, but since we originally hung it up, we’ve added a cool art display board under it that the kids can clip their art to themselves. My Aunt Sue made this for us and we love it! I’ve also added a couple of bulletin boards in the adjacent hallway that the kids can reach and pin up their work that they are proud of and awards that they receive. We don’t need the large bulletin board anymore.
I decided to swap out the bulletin part for white board! I bought a sheet of dry erase board from Lowes for about $6. It is a chalk board on the reverse side. I know chalkboards are all the rage, but I just don’t like writing with chalk markers very much.
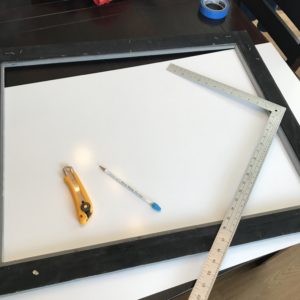
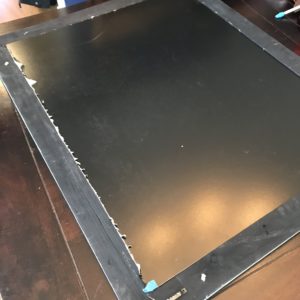
Step one: Remove bulletin board from frame and measure inside of frame where the dry erase will sit.
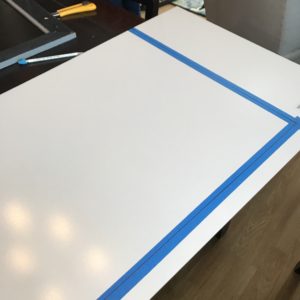
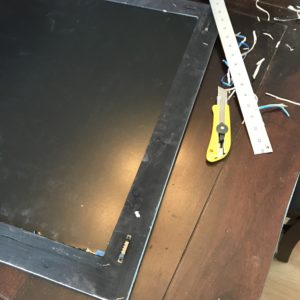
Step two: Use a square ruler draw lines on the board where it needs to be cut. I scored the cut lines with a utility knife, then decided to cover them with blue tape to prevent the white board from splintering.
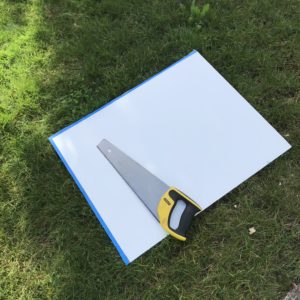
Step three: Use a saw to cut the board to the correct size. (This took a while… a power saw would probably work better.) Also – it was a glorious fall day today and I loved being outside to cut this board, so I didn’t mind taking my time with this step. And I love that the mess was contained to my grass!
Step four: Dry fit the board and make sure it fits into the frame and make any necessary adjustments – I had to trim mine down a bit, which I was able to accomplish with my utility knife and some “elbow grease.”
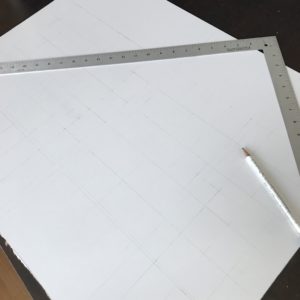
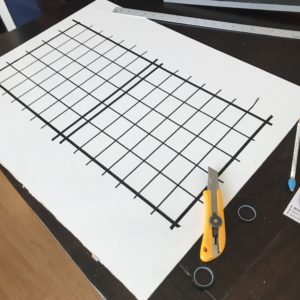
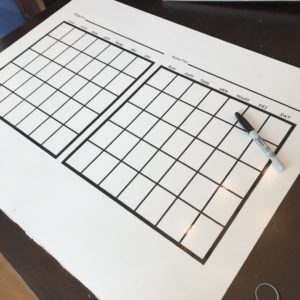
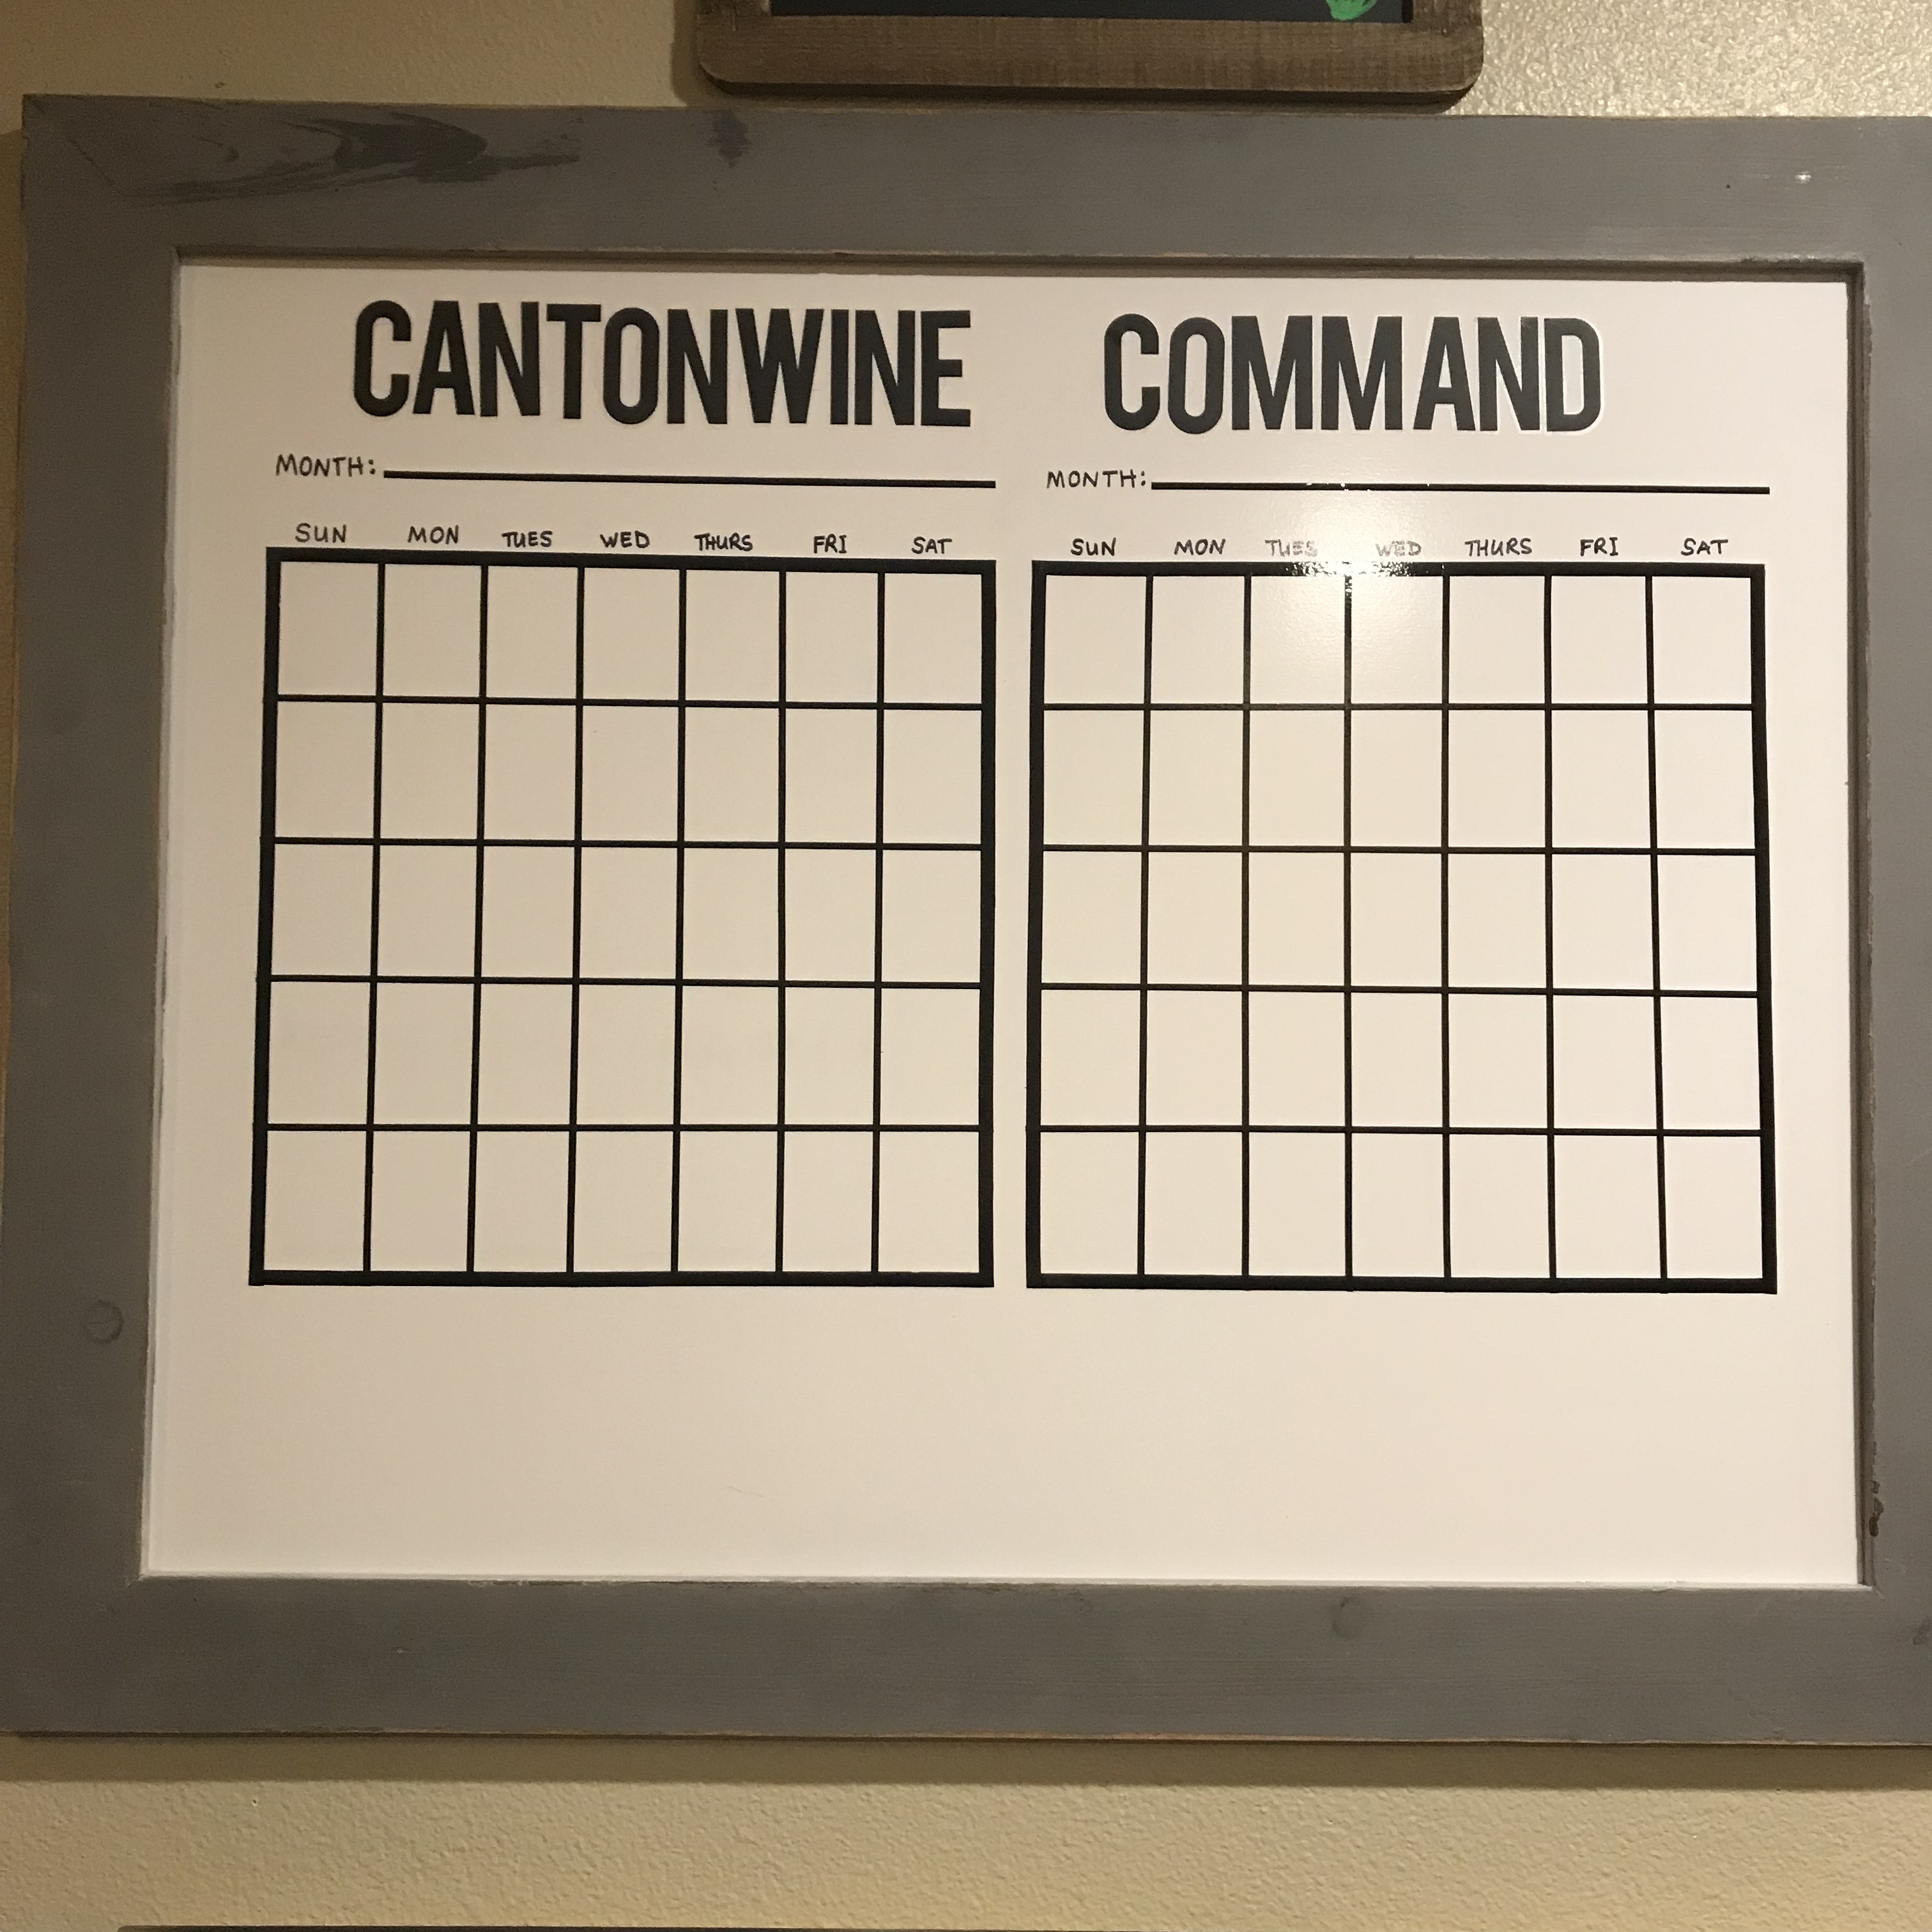
Step five: Use the square ruler and pencil to draw a calendar grid on the dry erase board. I decided that I really wanted to see two months at a time, so I divided the board in half and made two calendars. I also wanted space below to write quotes or other notes to the family, so I made sure there was plenty of white space around the calendar grids.
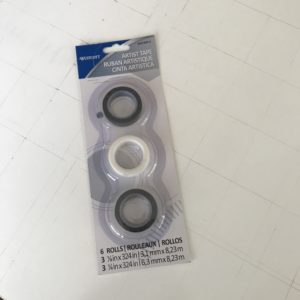
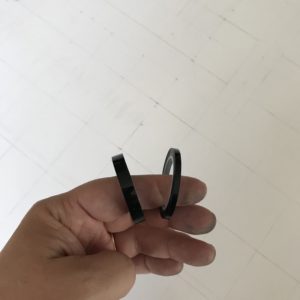
Step six: Grab some drafting tape. I found this at Michaels and used a 50% off coupon, so it was $10. (This package included more than I needed – however – I also use this tape on my dress form for pattern draping, so I don’t mind having extra. You could probably find a smaller package of tape for less money.) Carefully lay the tape over your pencil lines. I used the thicker tape for the outline of each calendar box, and the thinner tape for the inner grids.
Step seven: Take a utility knife and carefully trim and remove all the “tails” of the tape, so it all squares up nice and cleanly. My tape left some goo behind. I used a damp cloth and gently removed the goo with just plain water. The dry erase hard is pretty easy to wipe clean.
Step eight: Label the days with a permanent marker.
Step nine: Decide you don’t love your handwriting and buy letter stickers for the header of the calendar. Stick on your calendar’s “title” – for us, I called it “Cantonwine Command” Fitting for a house of boys, I think! (Forgot to get a picture of the lettering process – oops.)
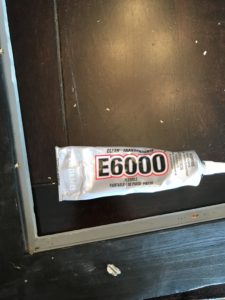
Step ten: Glue finished dry erase board into the frame. I used E6000 which is a really strong, clear glue that works well in applications like this.
Finally, hang and enjoy… or start immediately color coding all your family’s activities 🙂
I’m not 100% in love with the letters I chose… those might get swapped out soon, but it works for now.
How do you keep your family organized – any tips? Thanks for reading, and happy Friday friends!
