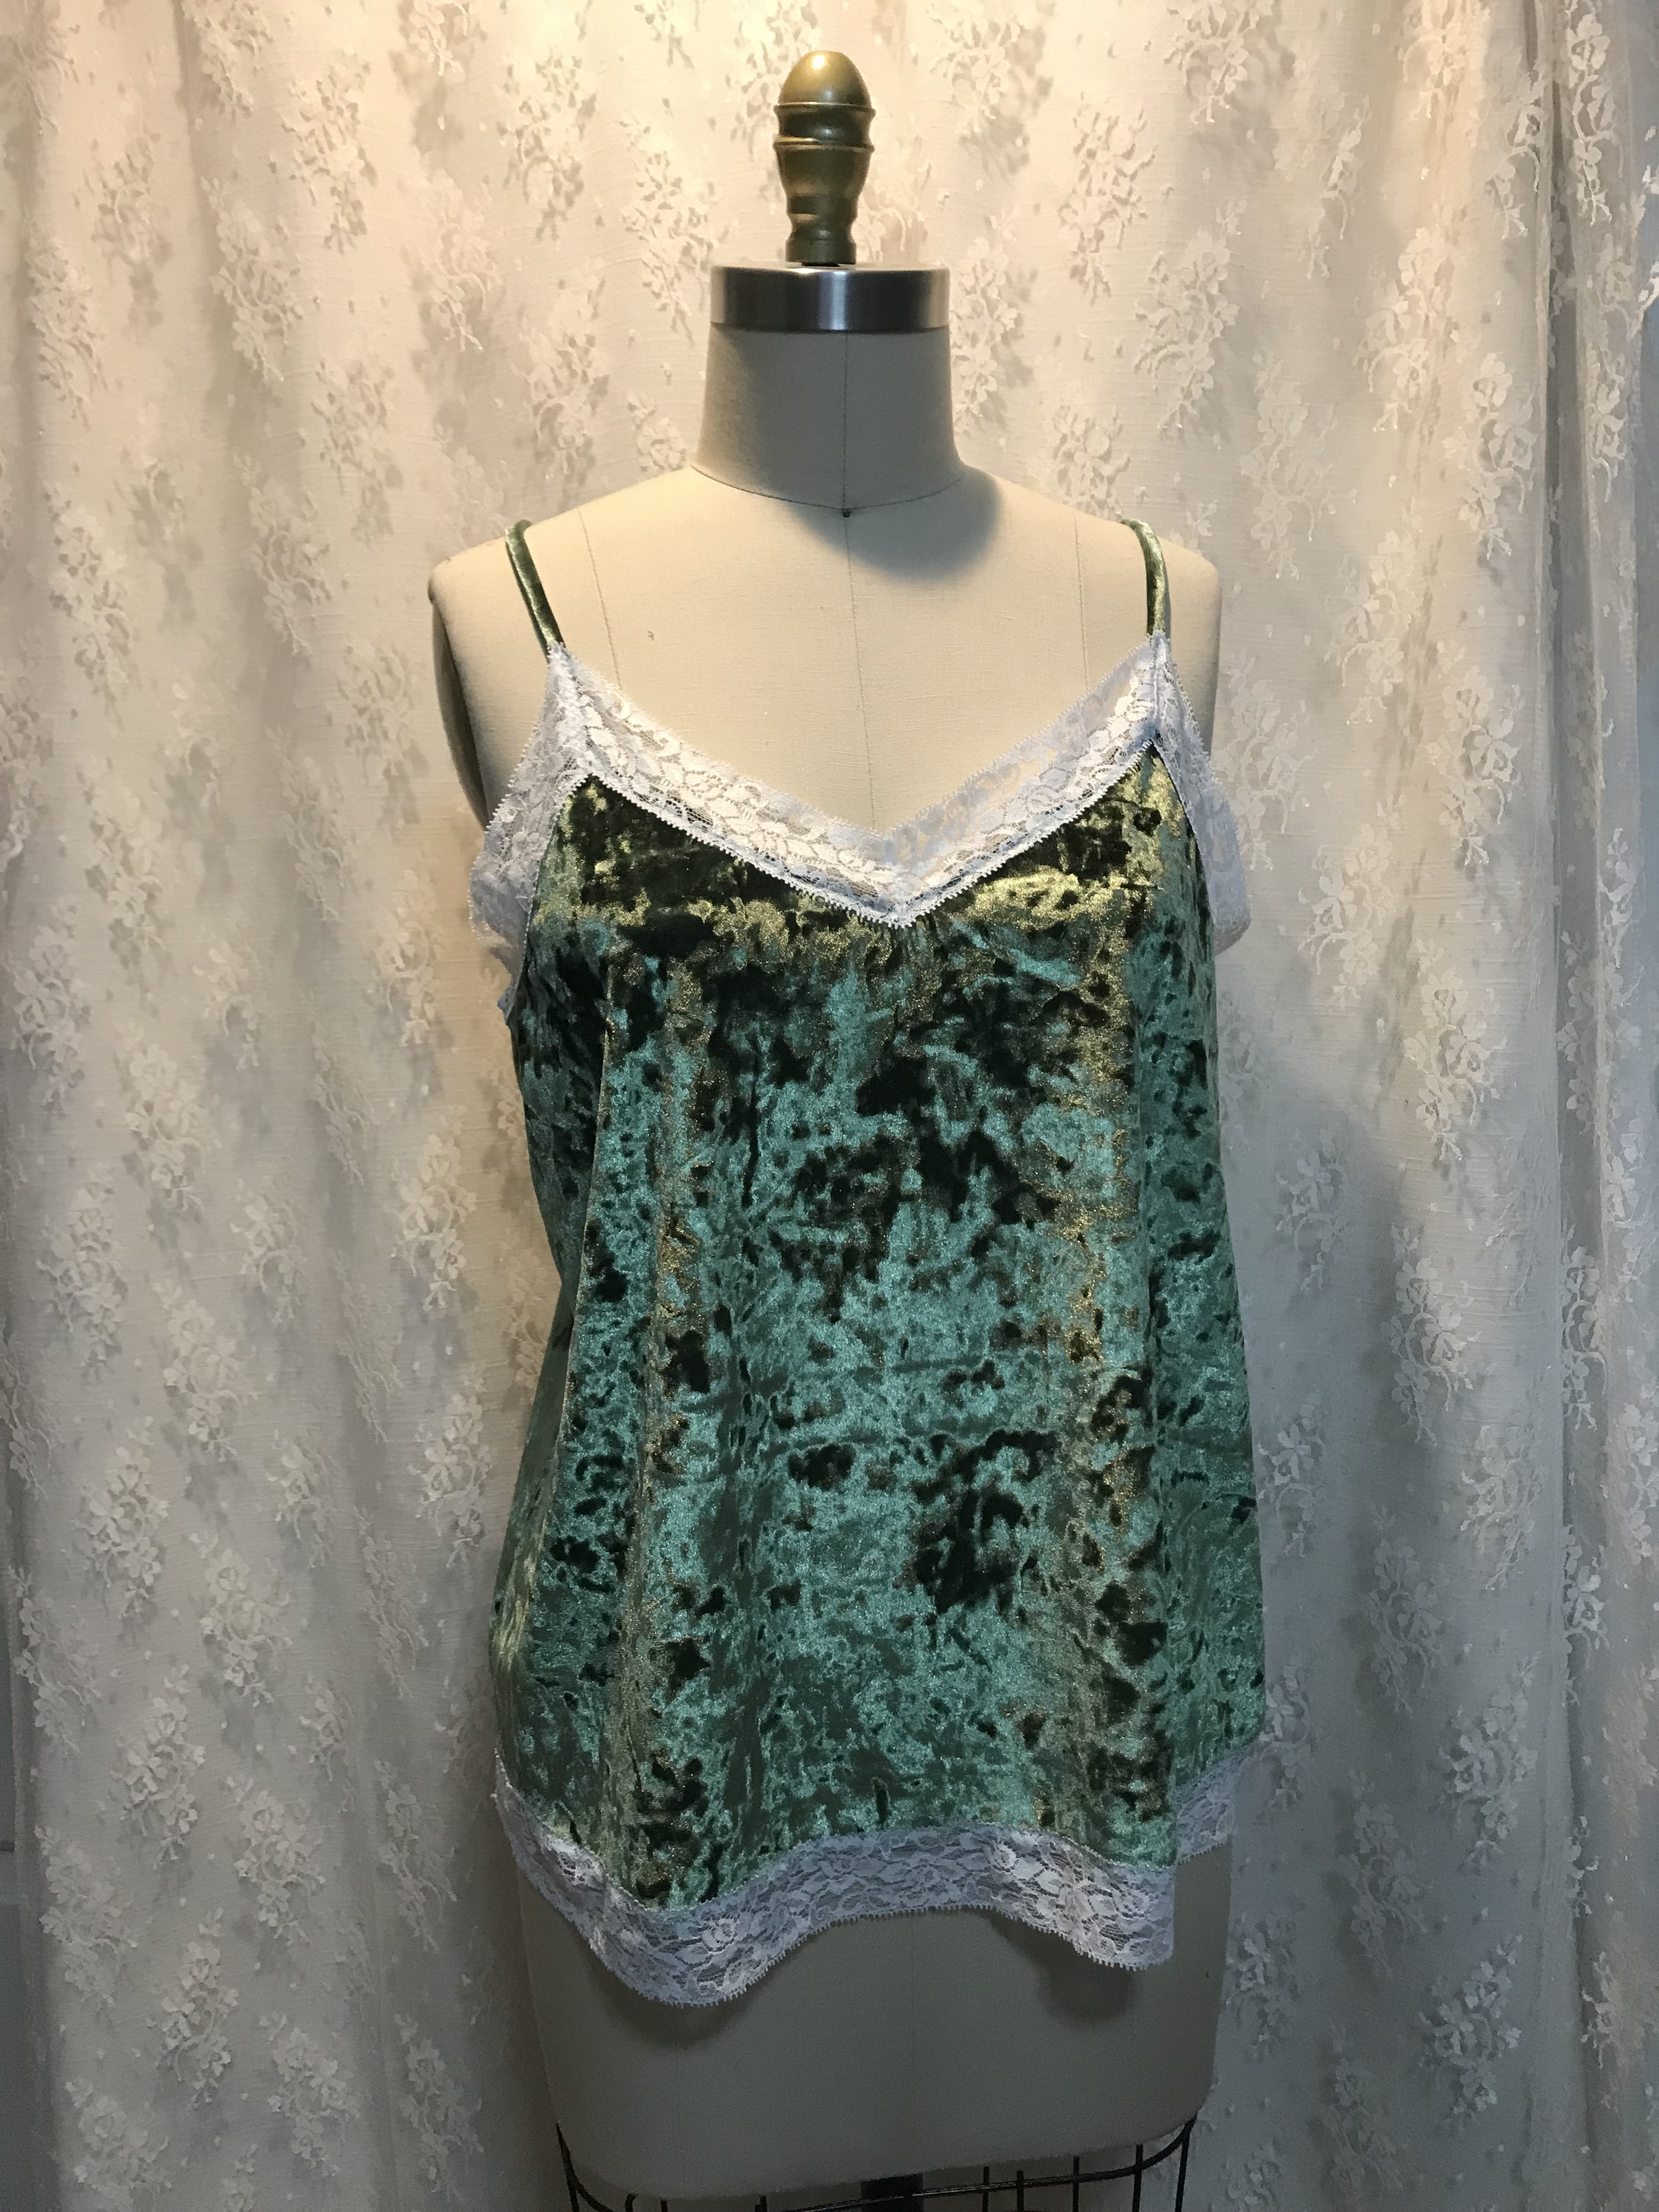
So I found another Anthropologie garment that I needed… I mean, as we approach the holiday season, who doesn’t need a soft, green velvet and lace came to layer under sweaters and jackets??? I know, I need one!
But seriously, $138 for a cami?! That’s just insane.
I’ve also been wanting to try the True Bias Ogden Cami pattern found on IndieSew for a while now, and this Fake It Friday project was the perfect opportunity to try it out – with a little hack.
I chose the digital pattern, since I needed to make this today. The lace is from my stash – I thought I had the eyelash lace like on the Anthropologie cami, but I only have it in black. So the stretch lace from my stash will have to do 🙂 The pattern cost $10 and the fabric (found at JoAnn’s) was $9, so the total cost of the project was under $20.
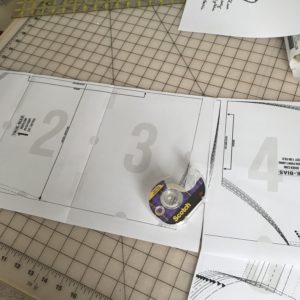
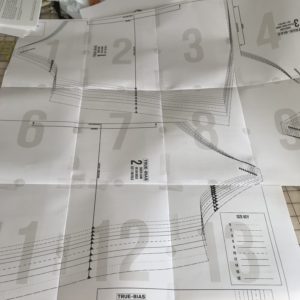
The pattern is easy to download and print. Took a little time to layout, tape together and then trace onto Swedish Tracing Paper. I made the pattern size 10. I find that I typically go up a few sizes in pattern sizing, and you can always make things smaller if needed, but you can’t always make things bigger. This size was perfect. I love the fit.
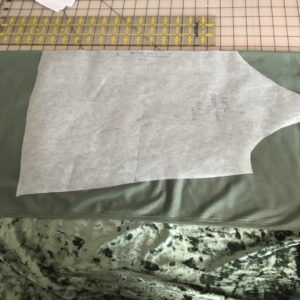
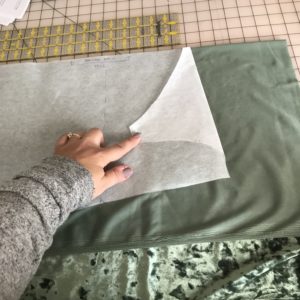
Once my pattern was made, I checked the nap of the velvet to see which direction I should lay the patterns. I wanted it to be smooth going down, so I made sure I oriented both the front and the back in the same direction.
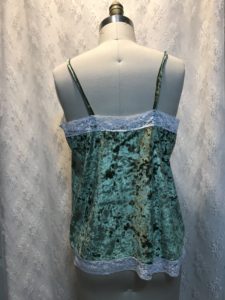
Since the Antrhopologie cami has a straight back neckline, I folded down the Ogden Cami back neckline to be straight across, keeping the armhole the same. To compensate for the lower back neckline, I extended the length of the strap pieces.
I also chose not to use the Ogden Cami pattern’s lining pieces, since I’d applying the lace along the entire top. Adding the lining below the lace would be complicated and unnecessarily bulky.
I CUT the fabric using a rotary cutter, which cut the velvet nicely. Scissors sometime leave bits of velvet all over the work surface.
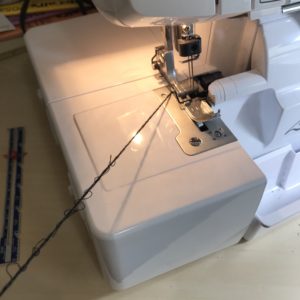
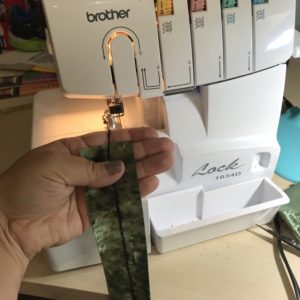
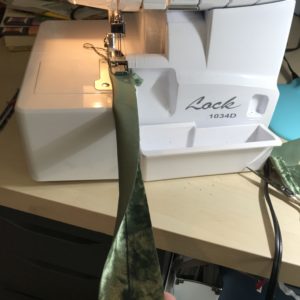
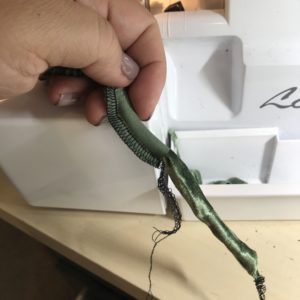
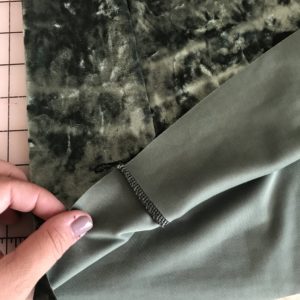
I made the spaghetti straps first, using my serger. I LOVE this method of making straps – it is so fast and avoids tedious turning out of the straps. First, make a long tail of your serger thread – slightly longer than your strap. Next, encase the tail in your strap, folding the strap over the tail with right sides together. Serge the strap, taking care to make sure the tail stays out of the seam. Finally, pull the tail! This pulls the strap inside out! Easy peasy – and so fast!
Now for the cami construction: Pre-Step 1: Change your sewing machine needle to a Stretch or Jersey needle if your velvet is a stretch velvet like mine. Step 1: STITCH the side seams together (I serged these since my velvet has stretch).
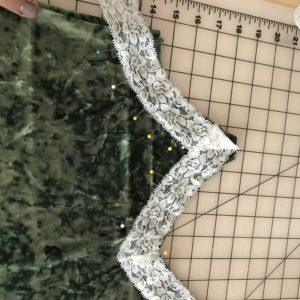
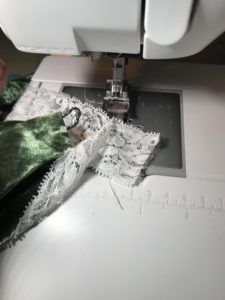
Step 2: Pin on the lace, starting at a side seam, but leaving a two inch gap at the side seam for finishing the seam later. At the front points and the front “V,” fold the lace, so that the points are nice, crisp angles. I usually just have to play around until it lines up the way I like, then I pin it securely. Continue pinning the lace on around the entire top.
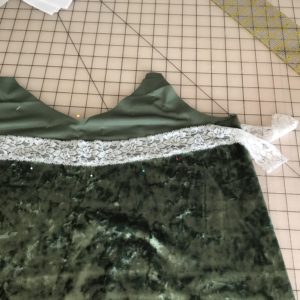
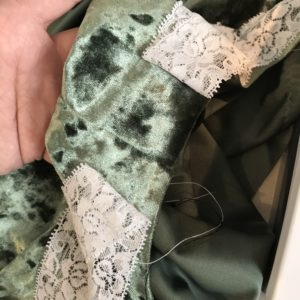
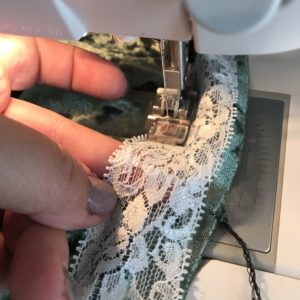
Step 3: Load green thread into the bobbin, and thread the needle with white thread. STITCH the lace on using a narrow three step zigzag stitch. At the side seam you left open, stitch a seam in the lace, trim the seam, then finish topstitching the lace onto the cami. Repeat the same stitching method for the bottom lace.
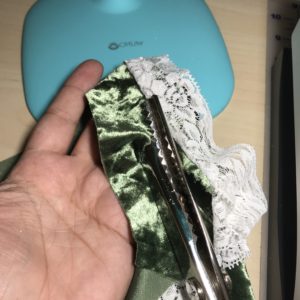
Step 4: Trim the velvet back to the stitching line under the lace using pinking shears.
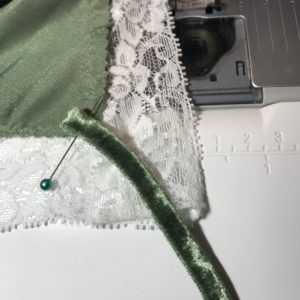
Step 5: Stitch on the straps using the same three step zigzag, and trim the excess lace at the tops of the front. Pin on the straps at the back, try on the cami and make sure the straps are positioned correctly and the right length. My straps are about six inches in from the side seams. Stitch in place. I fold my straps under by about a quarter of an inch so that the edges are finished.
Step 6: Admire your beautiful new, “Faked” Anthropologies Lace-Trimmed Cami. I love the fit, and can’t wait to wear it tomorrow on my special surprise birthday date! I also can’t wait to make another one of these Ogden Camis! The project was super fast – took just two hours from printing the pattern to completion.
Happy Friday, Friends! What shall I “Fake” next? Give me some ideas, please!


