What is it about Anthropologie? I love shopping in their stores and on their website – everything is so beautiful and so glamorous in the nonchalant way… I can image how effortlessly cool I’d look in their $100 camisoles and $150 sweaters.
But, with two little boys eating mountains of food and growing out of their clothes daily, I’m not stocking my wardrobe with Anthropologie pieces.
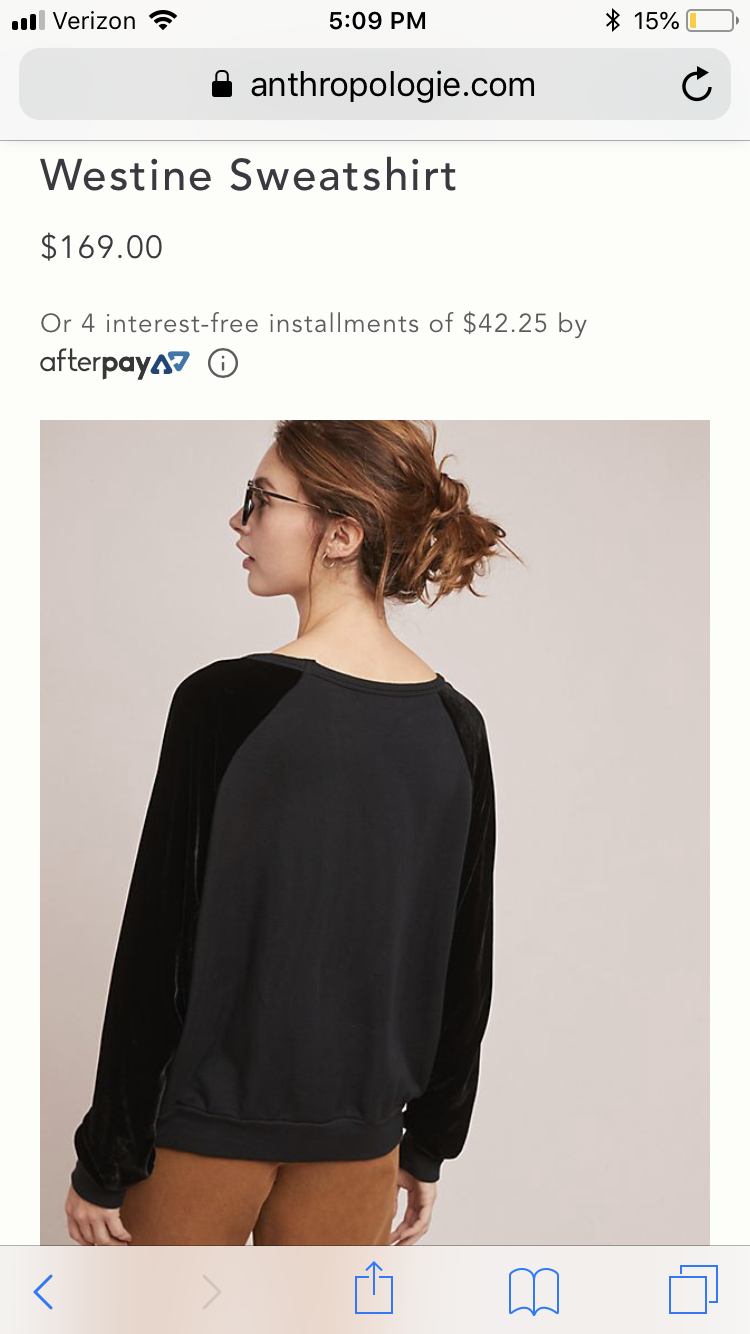
I saw this sweatshirt on their website this week and decided this needed to be my next Fake It Friday project – because it is so glamorous and chill at the same time. I totally imagine myself wearing this with skinny jeans, some cute rubber boots and maybe my Fake It Patagonia vest to my kiddos’ soccer games and being the “cool” mom. 🙂
(In reality, most of the time I’m fresh from the dog park, mud caked boots and whatever rain coat is handy – ha ha!)


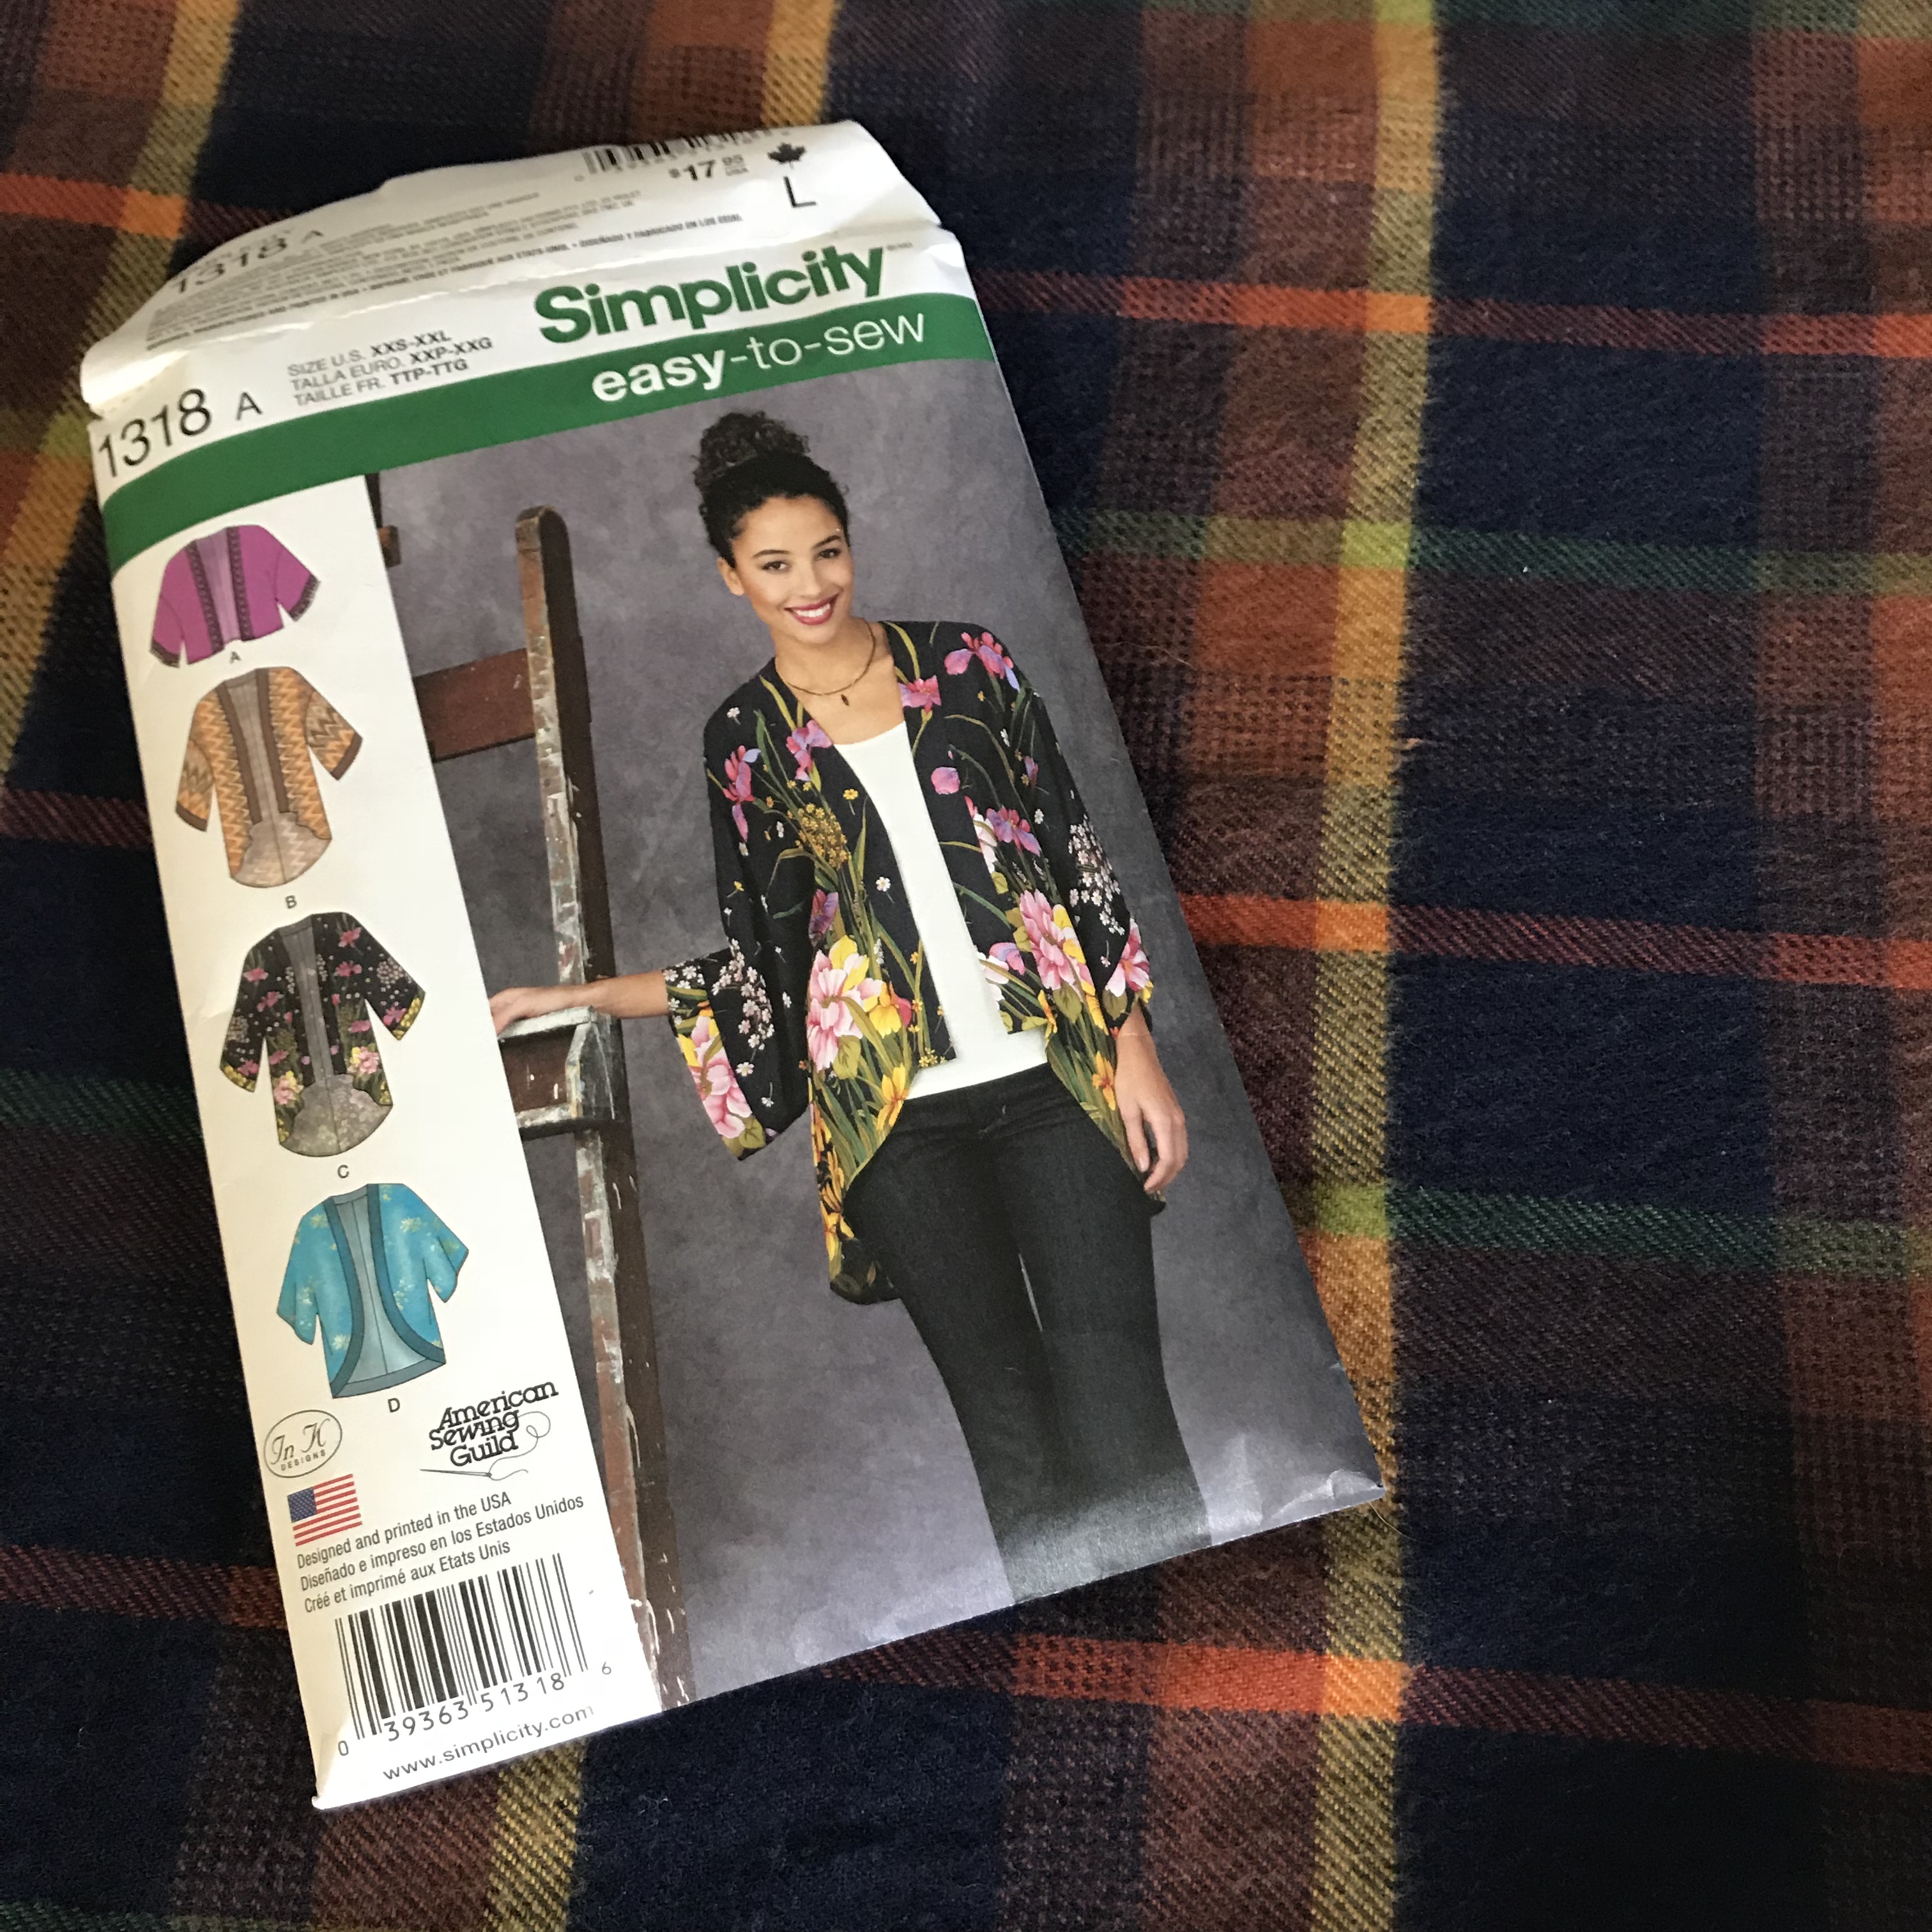
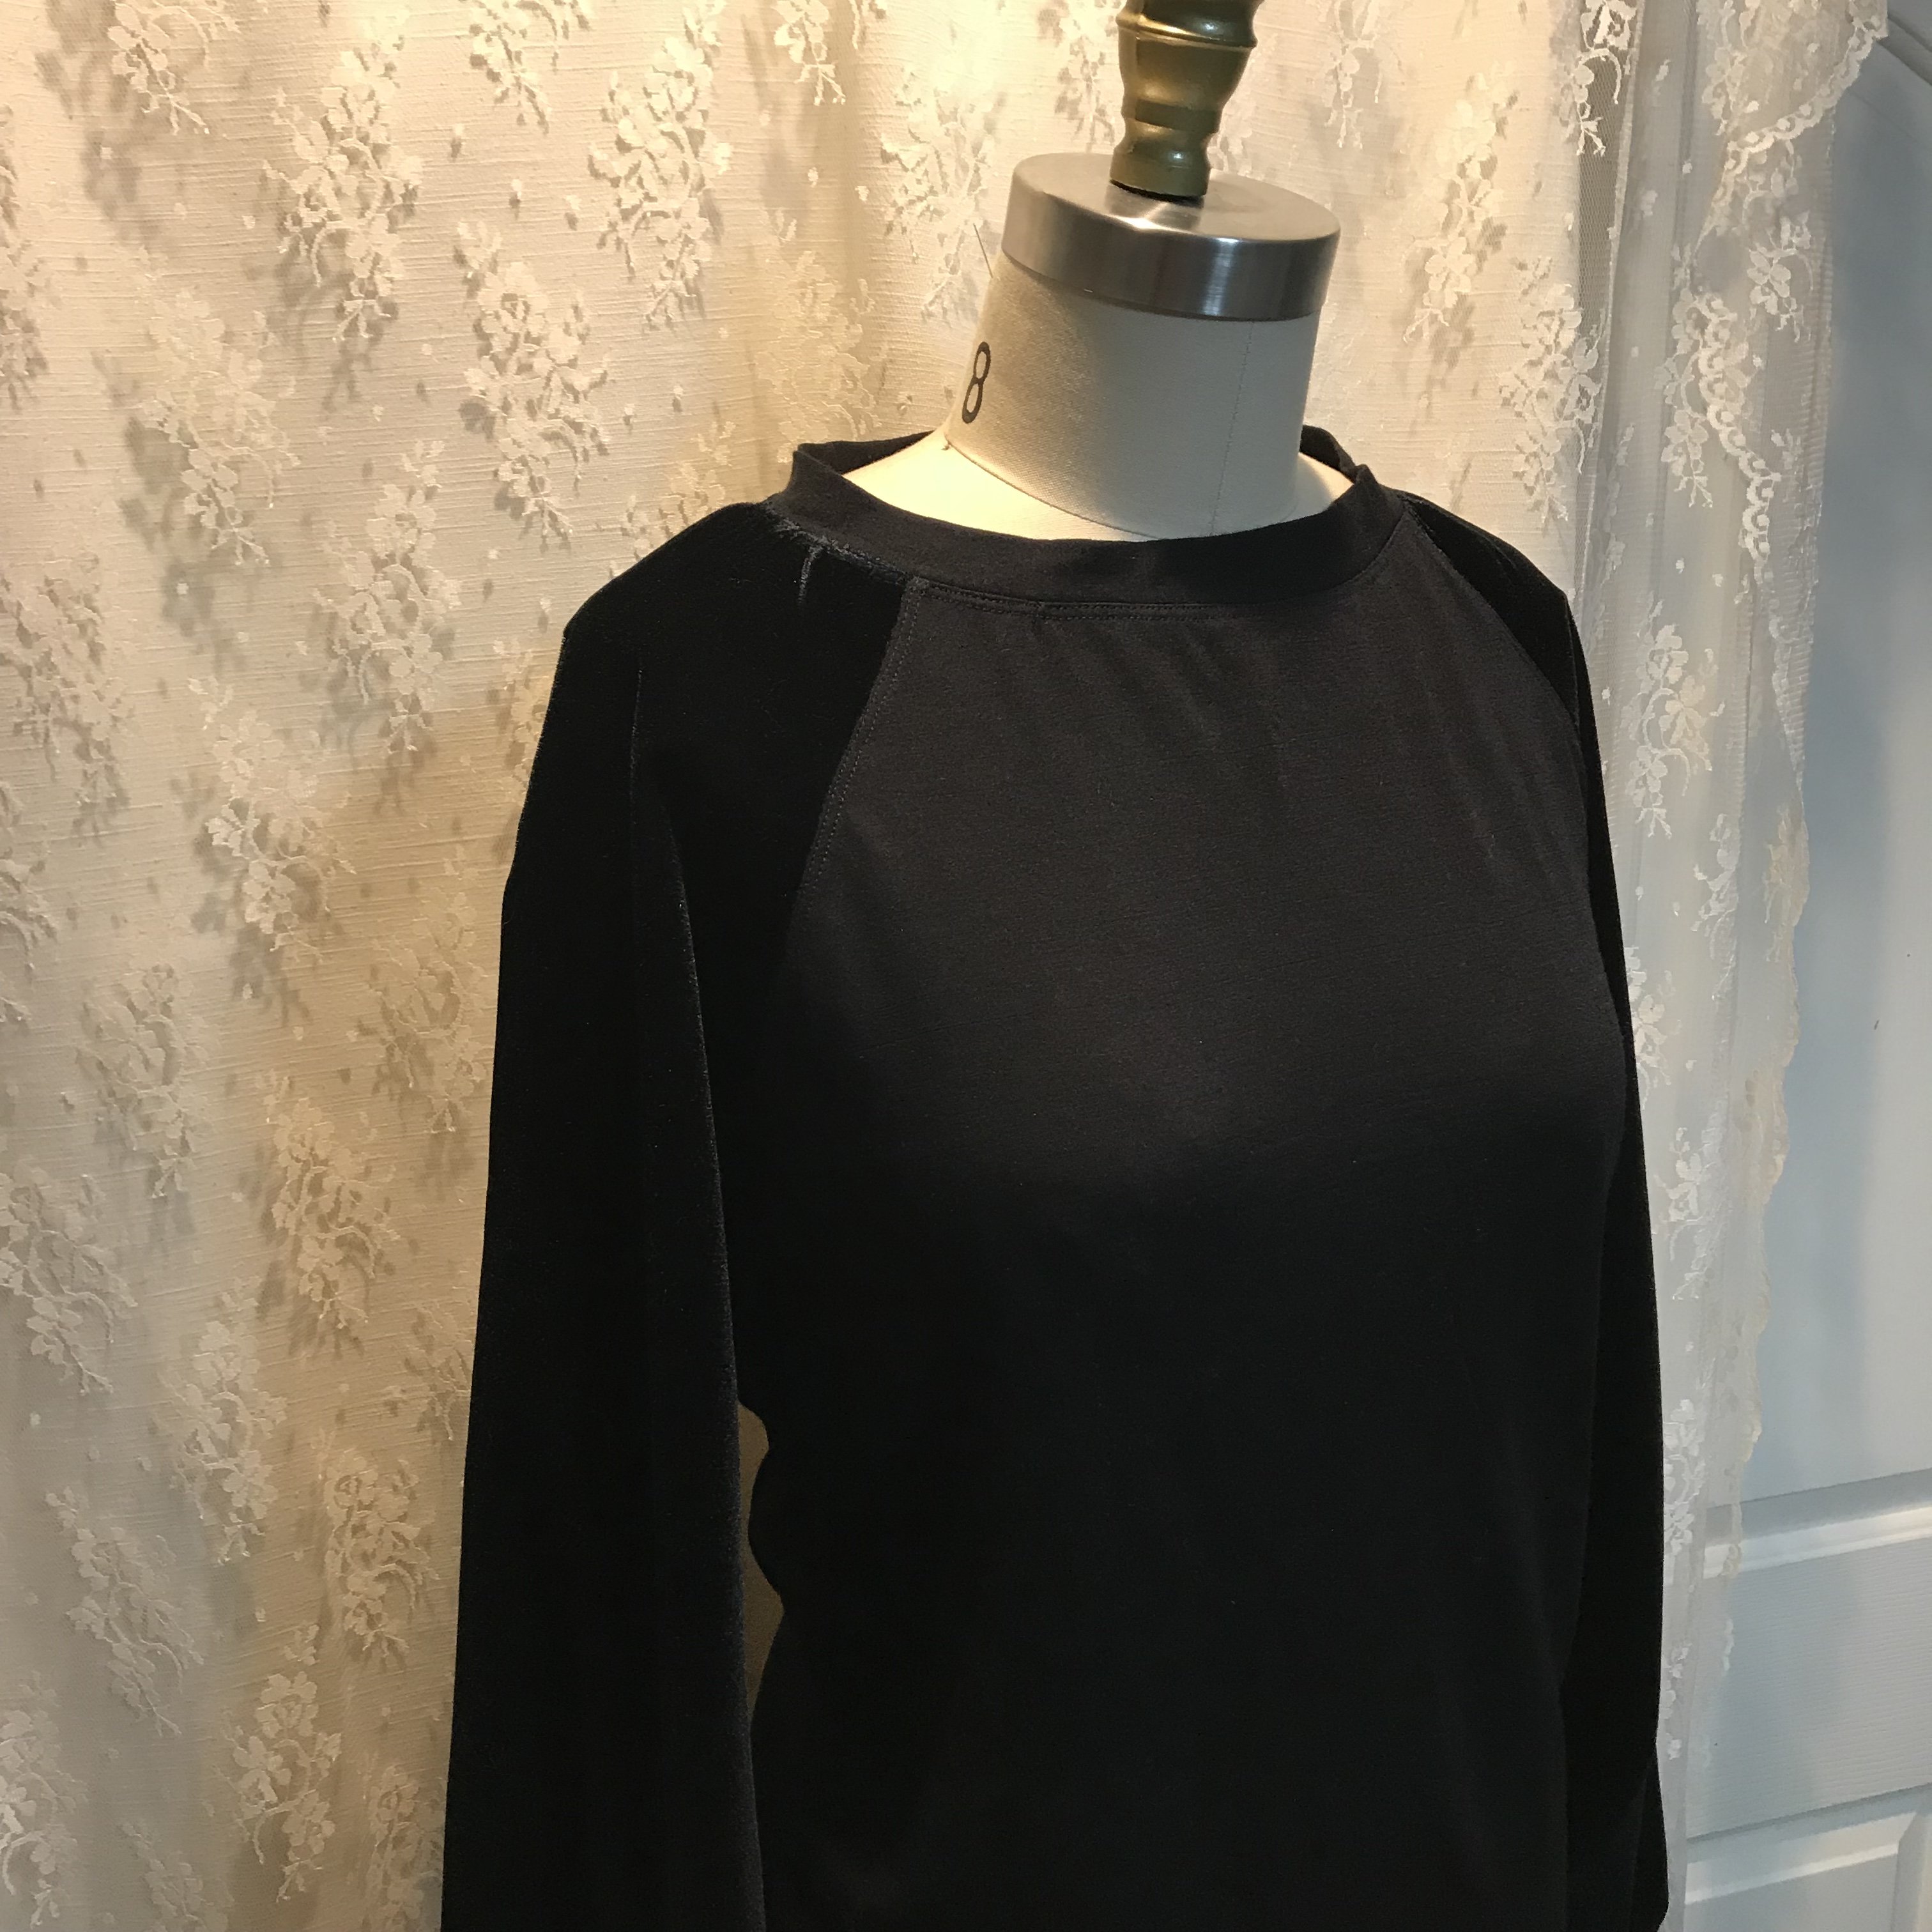
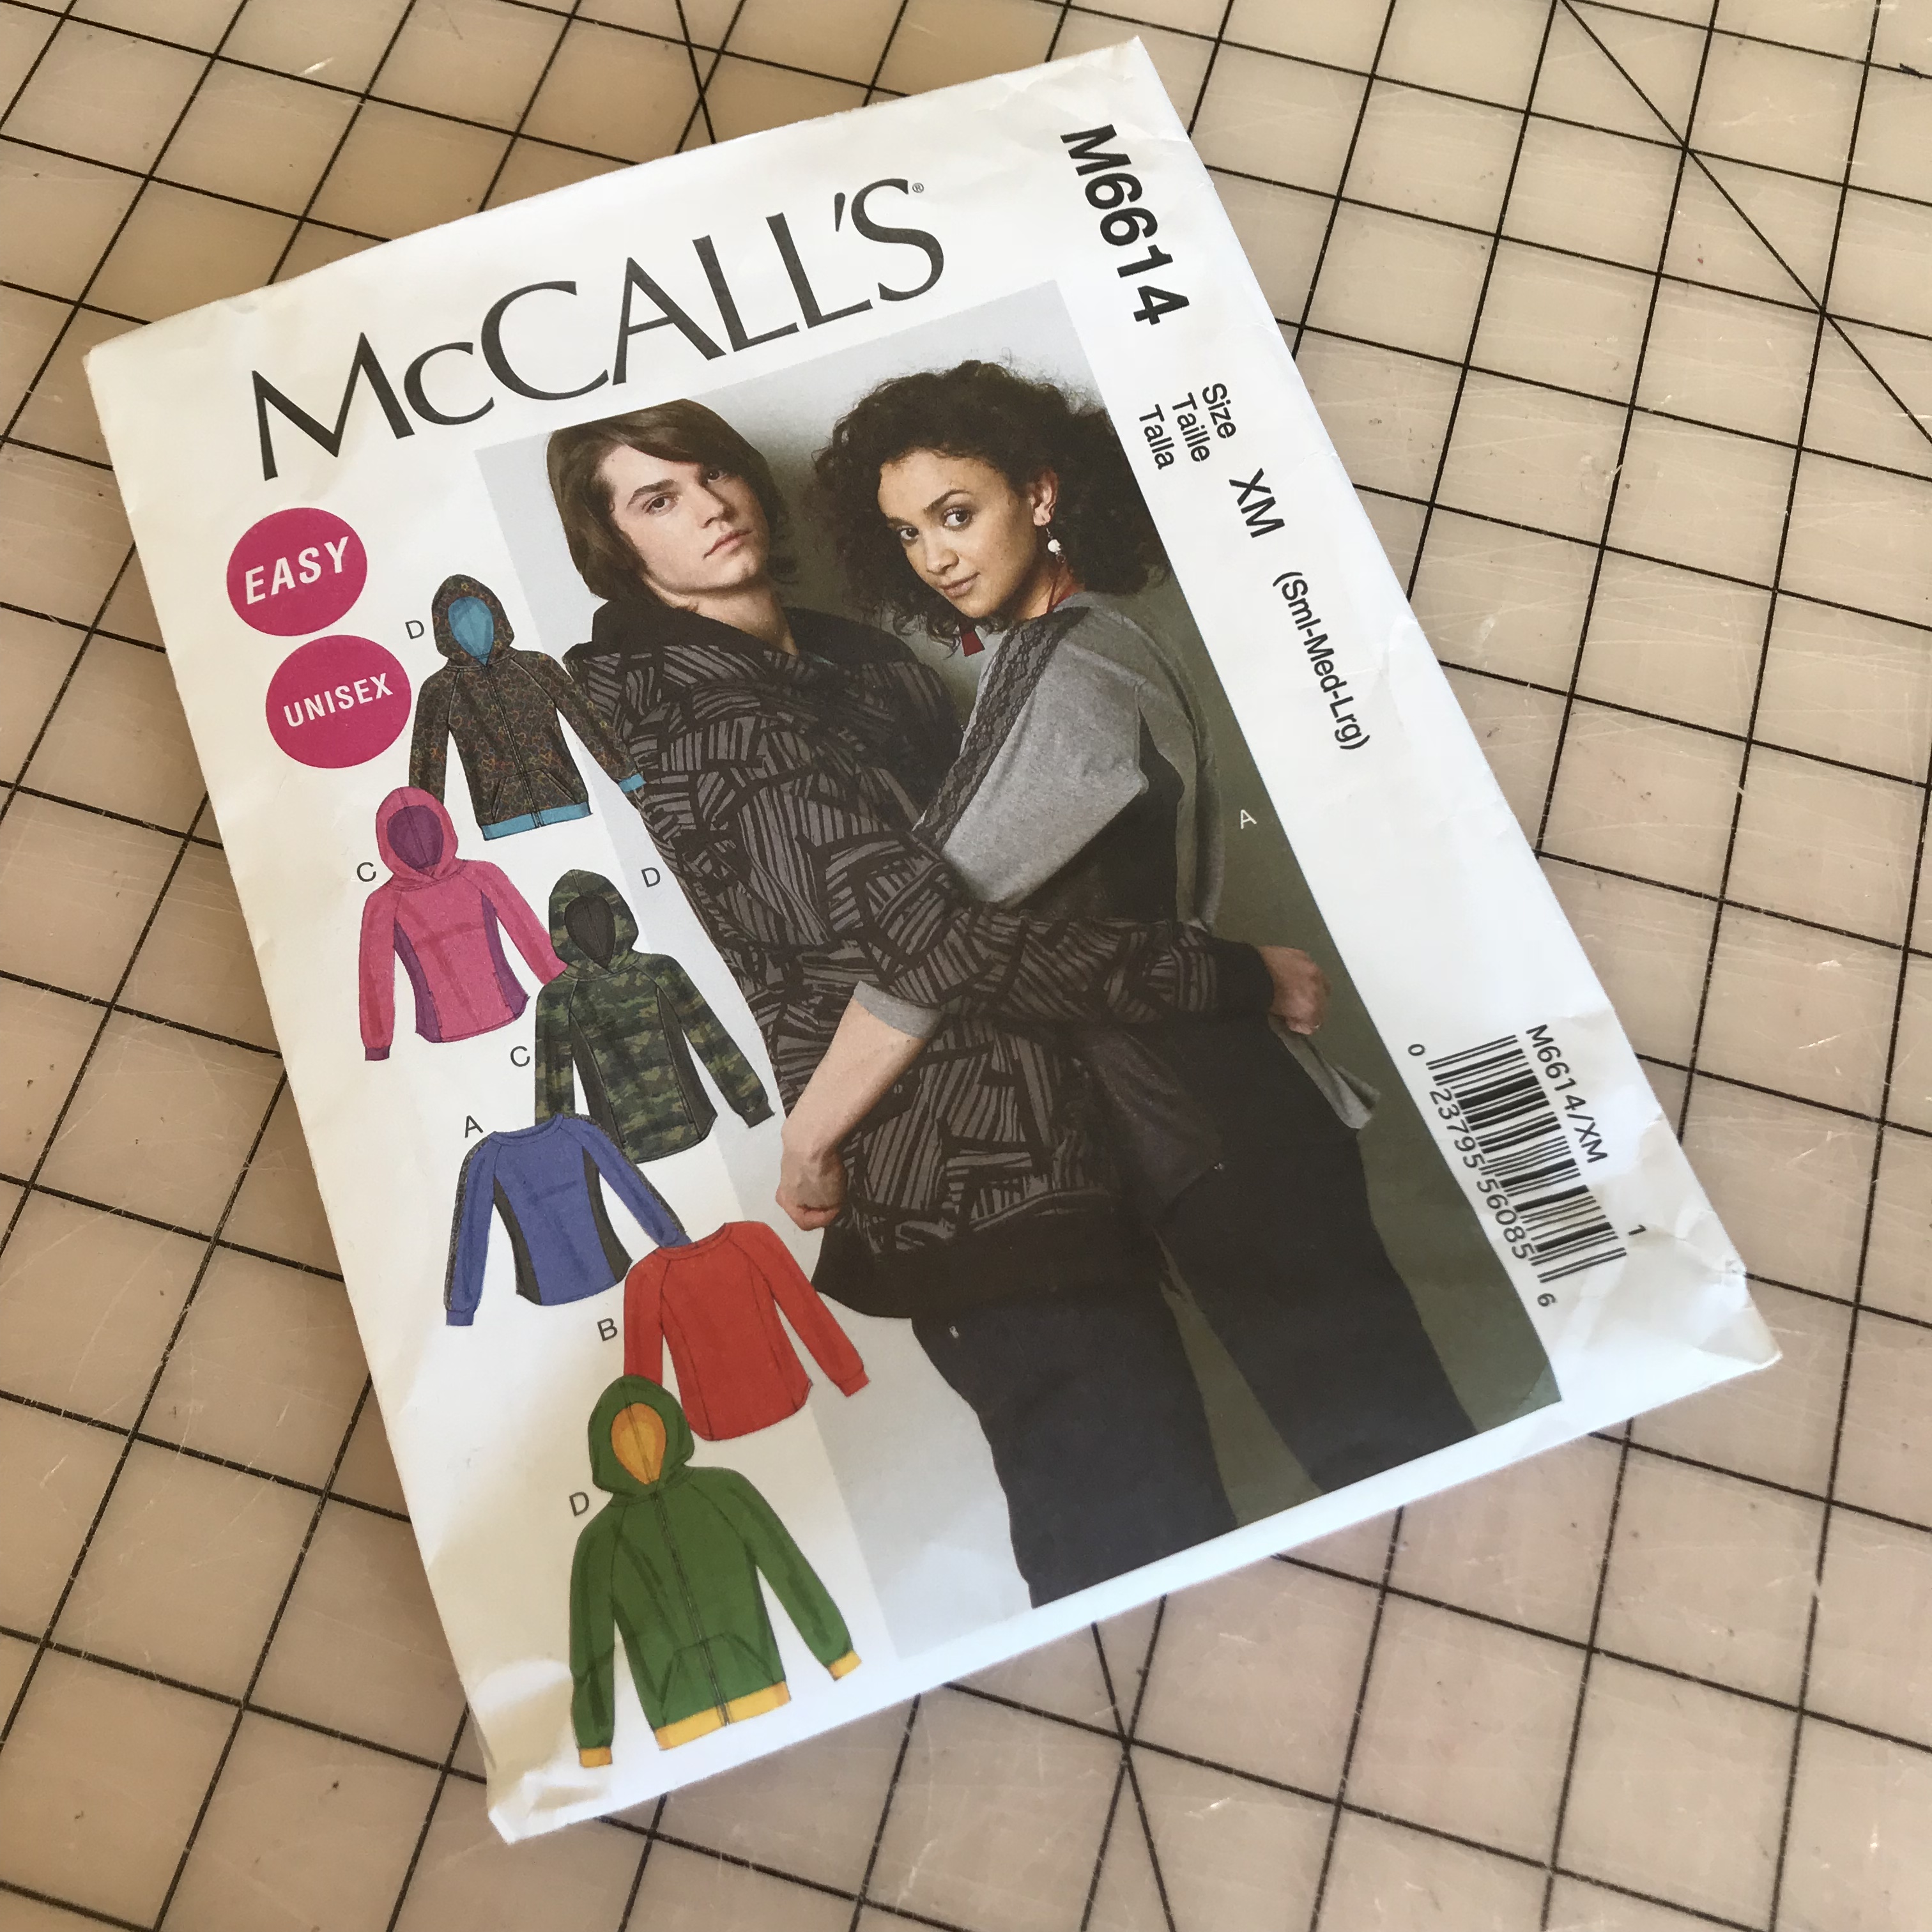
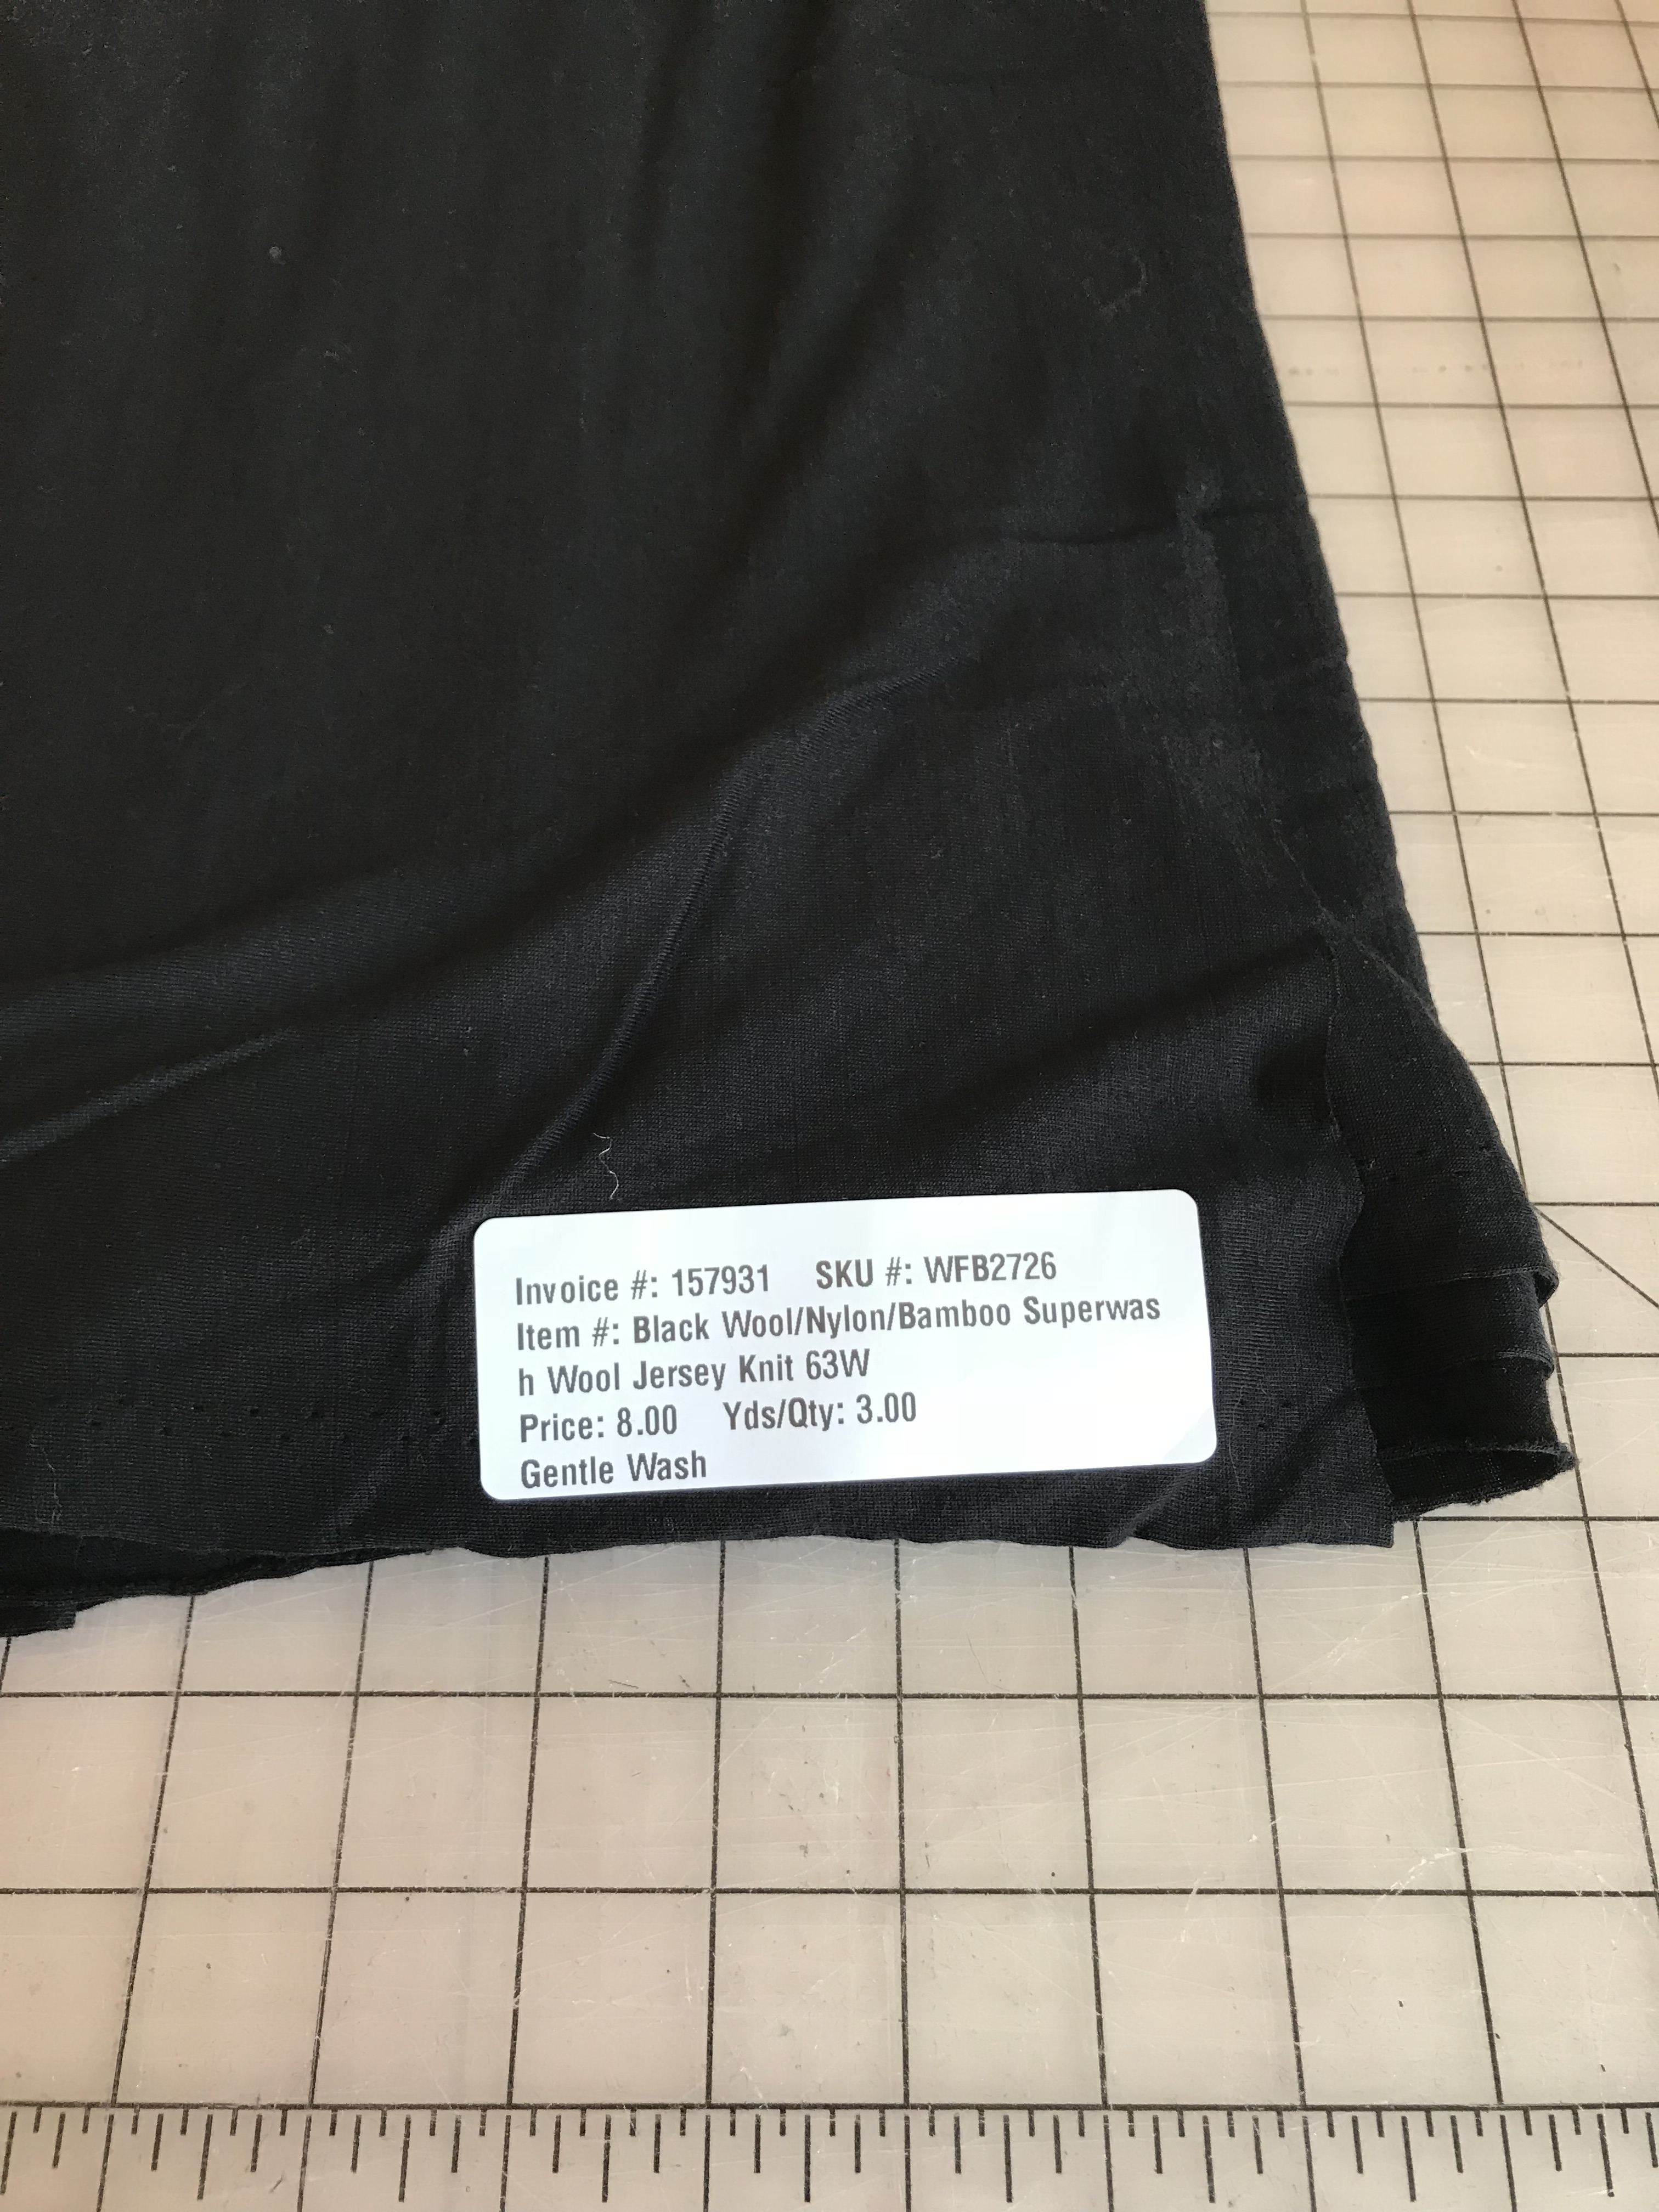
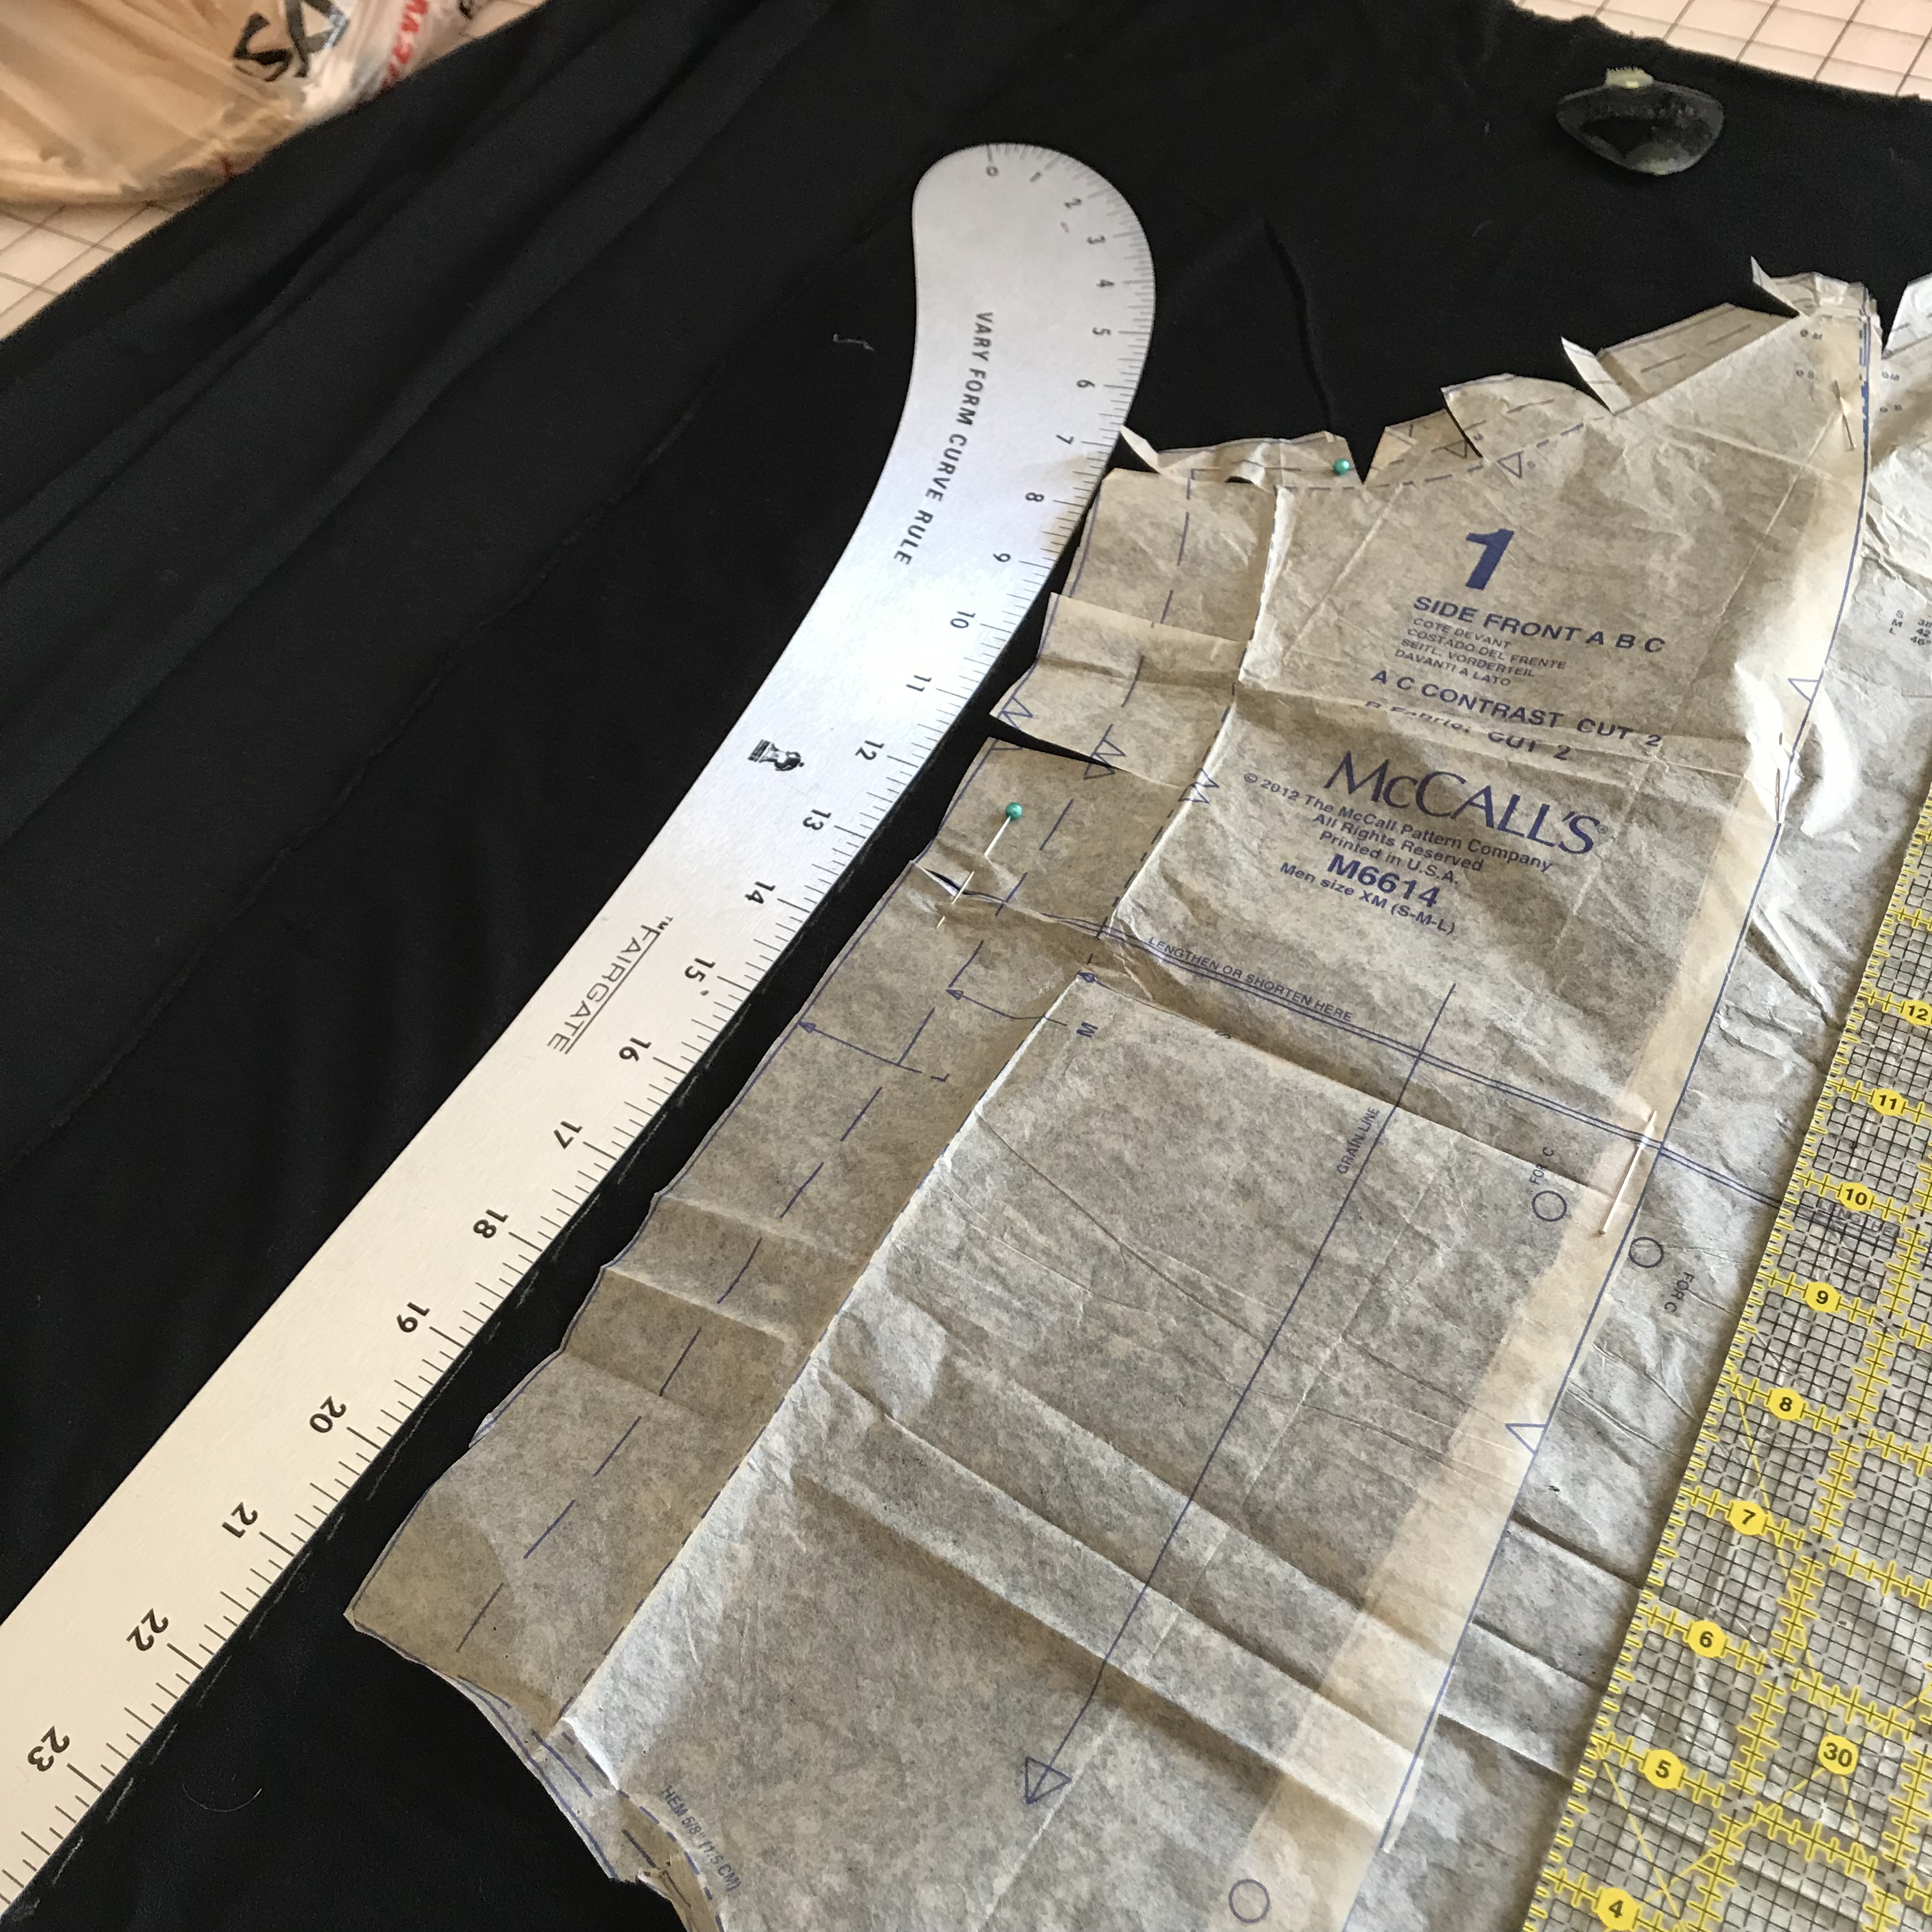
In my pattern stash, I have this McCalls sweatshirt pattern that with a tiny bit of “hacking” worked great for this project. I also have this incredible wool/bamboo jersey in my stash that I knew would work great. I just had to buy the velvet for the sleeves – with coupon, just $13.00 at JoAnn’s.
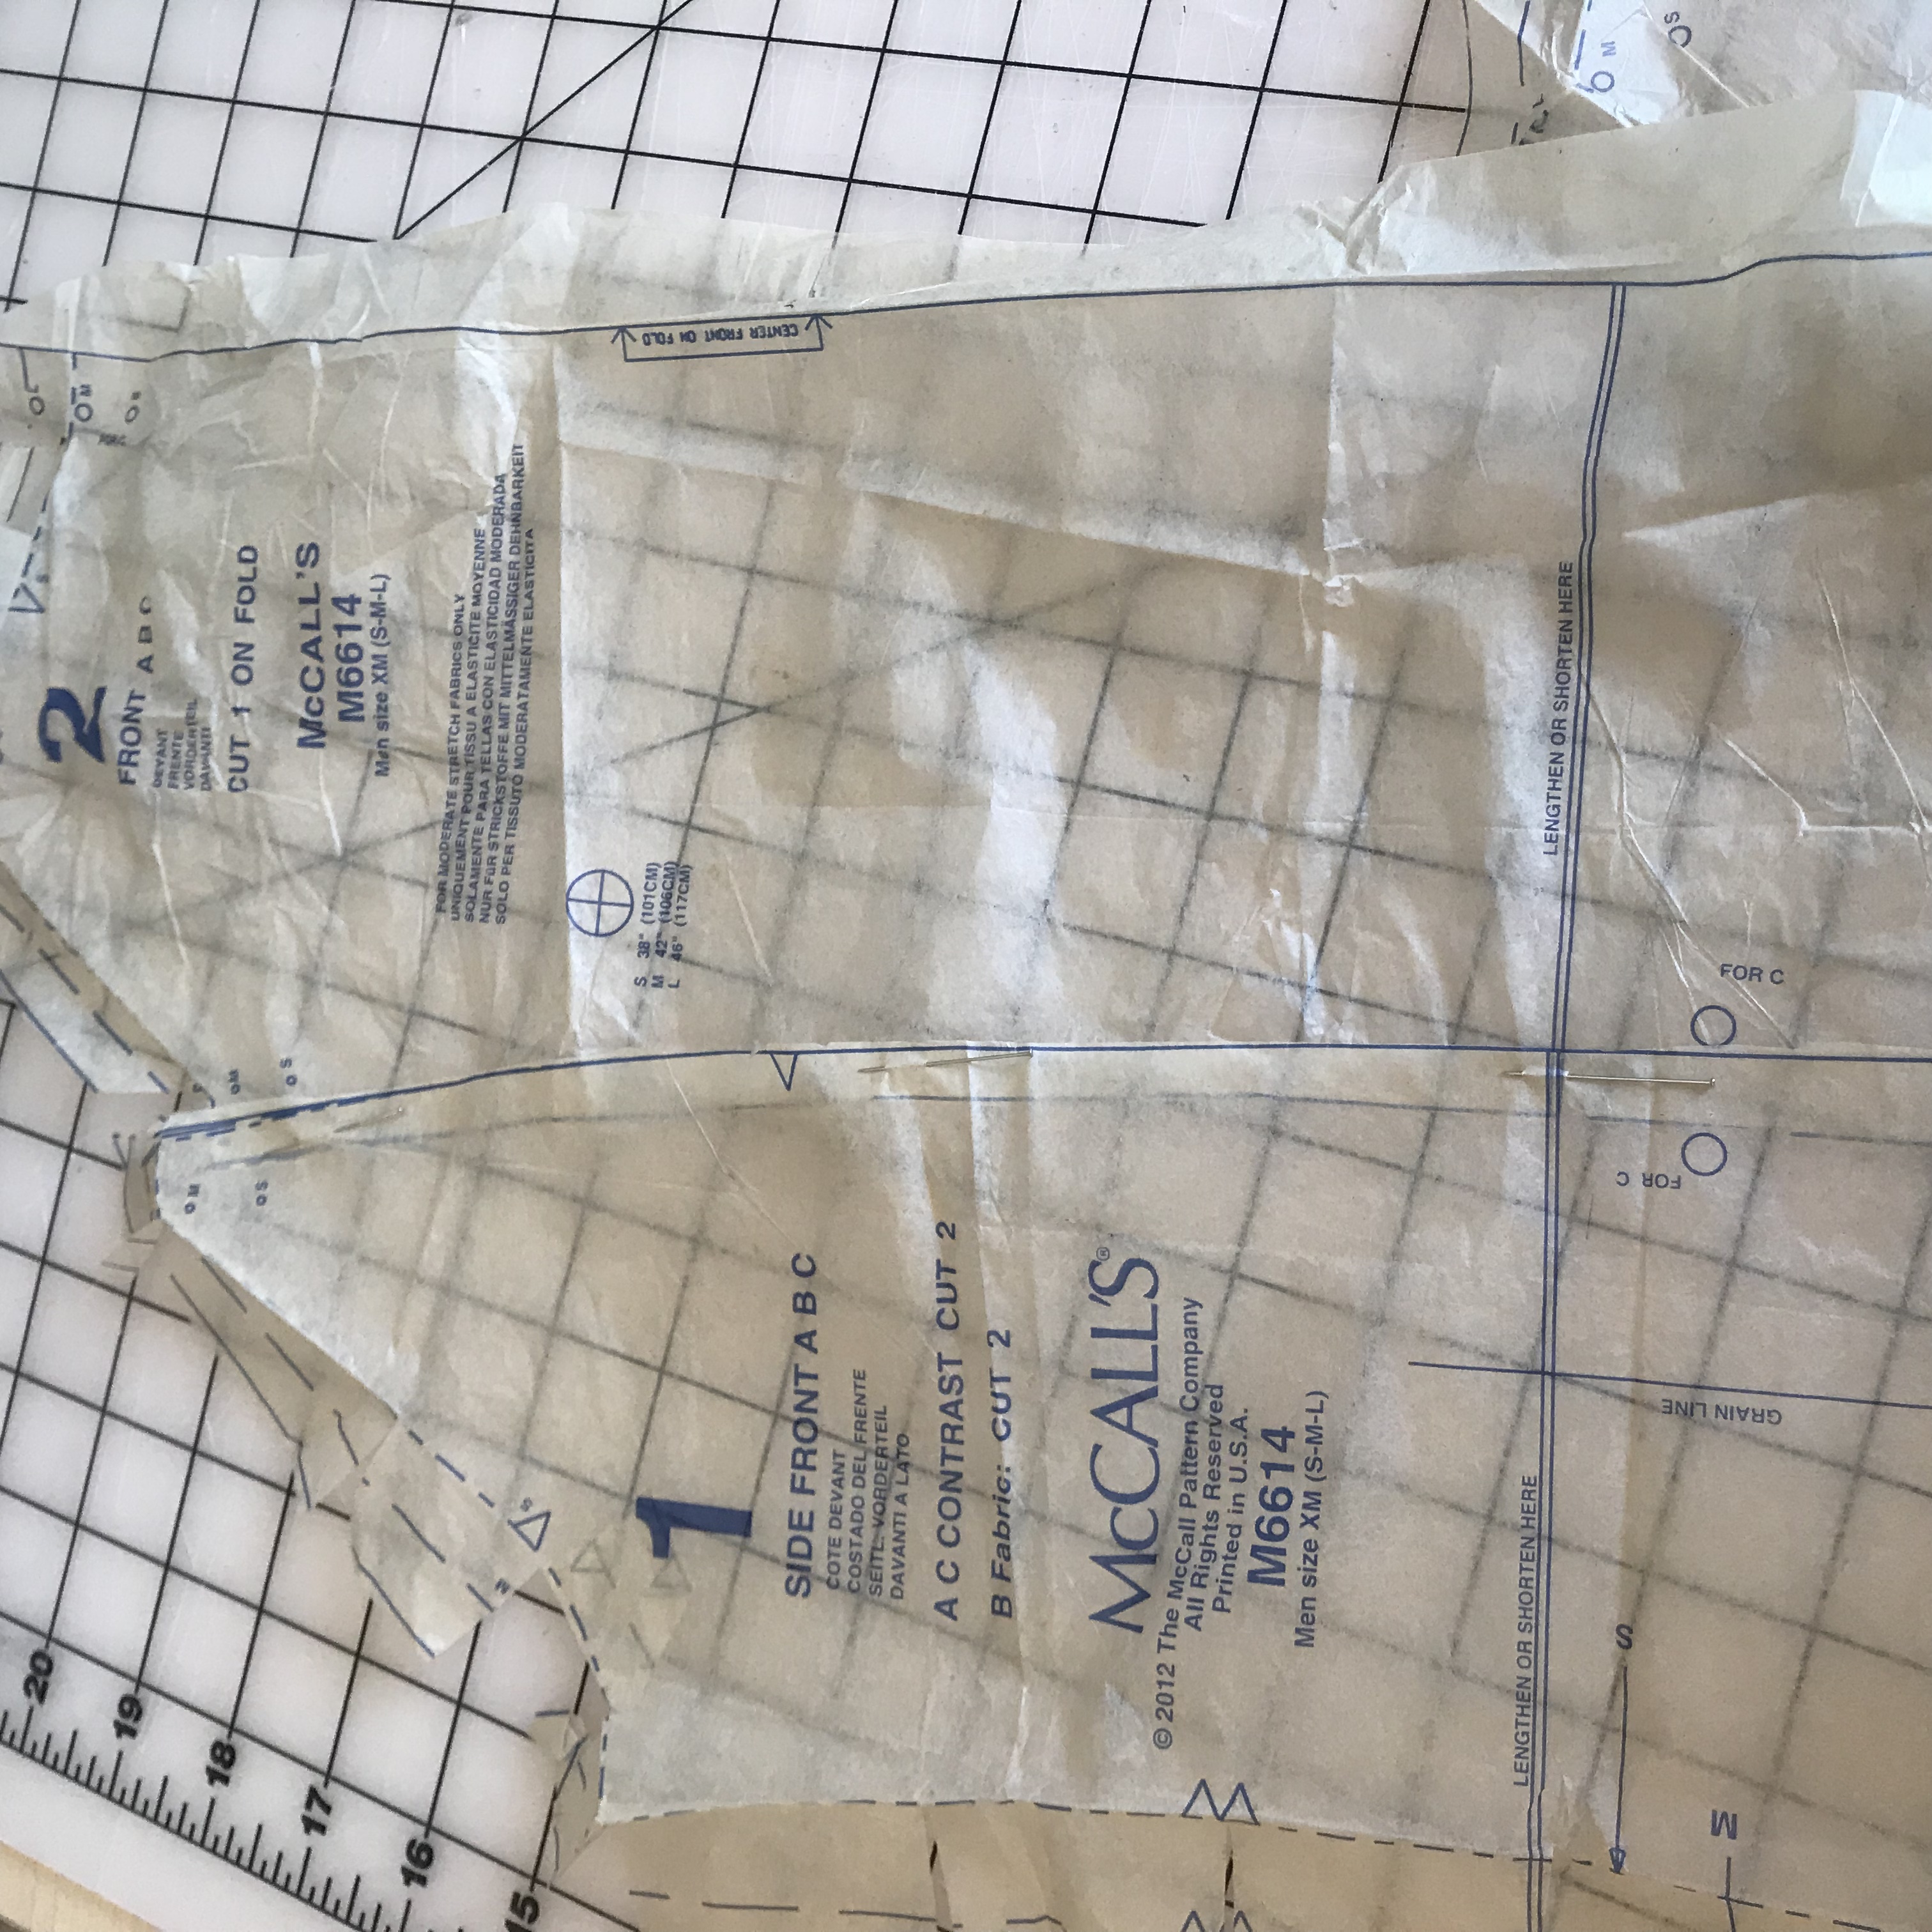
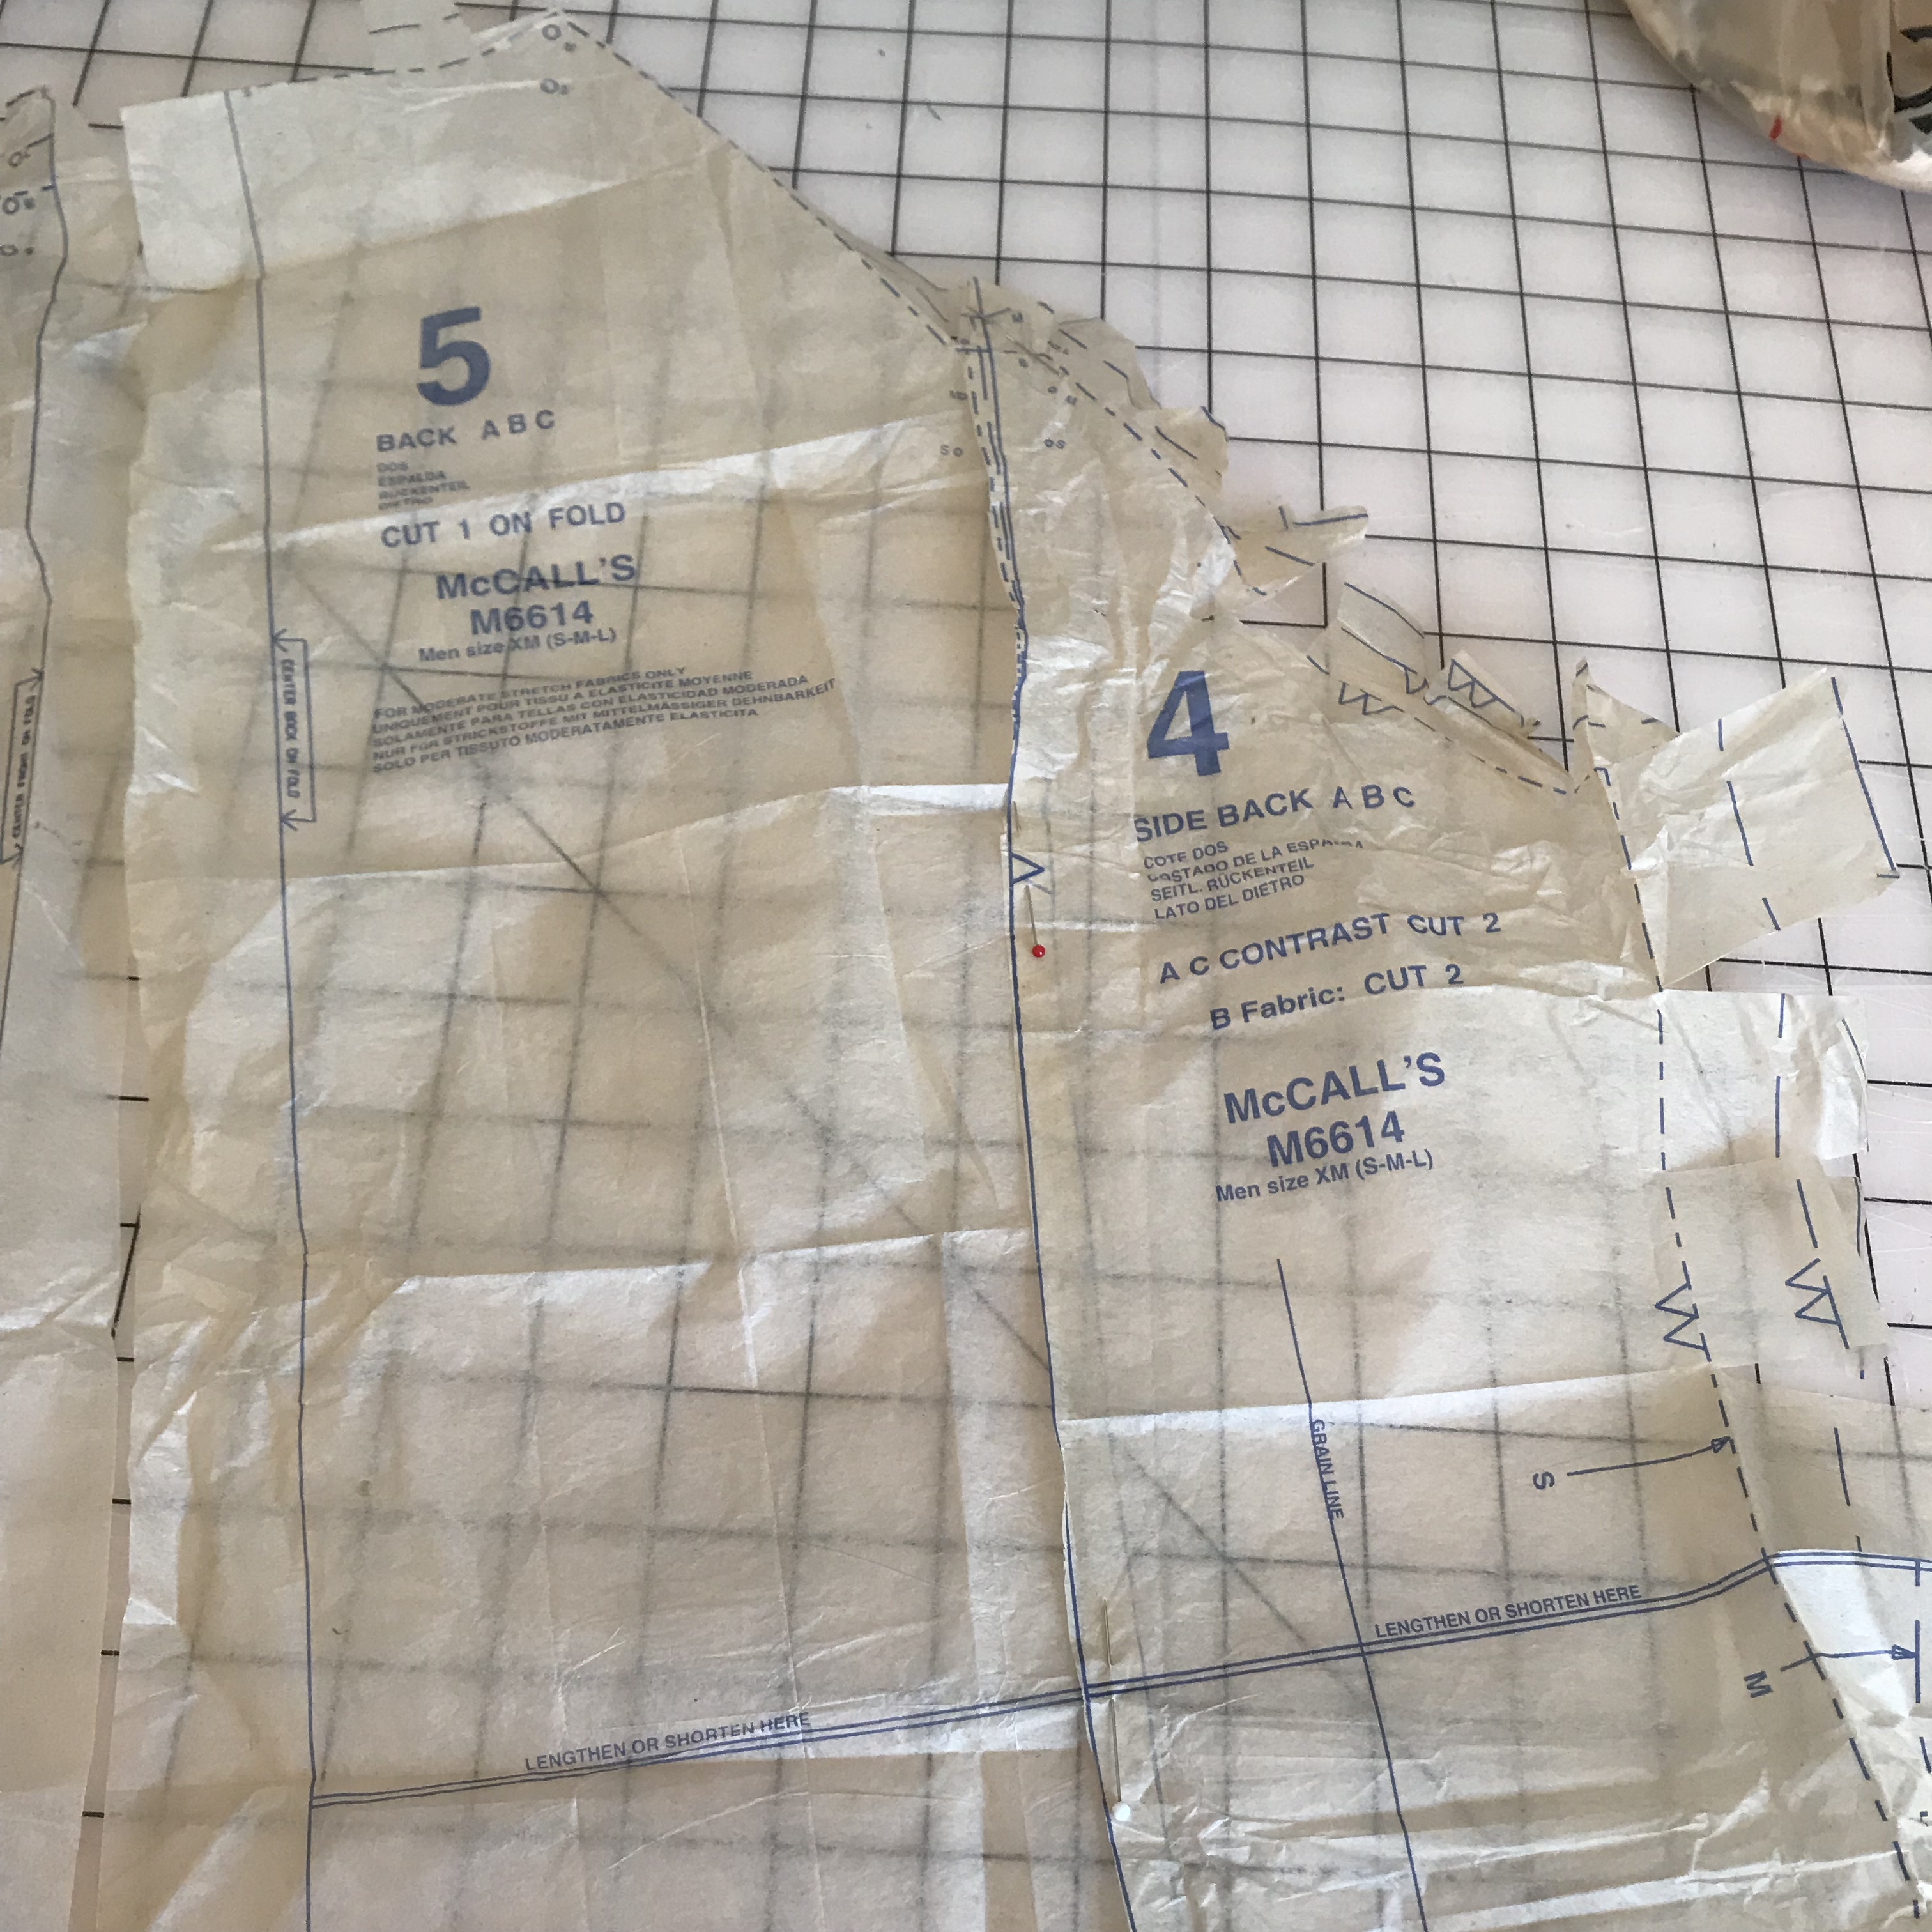
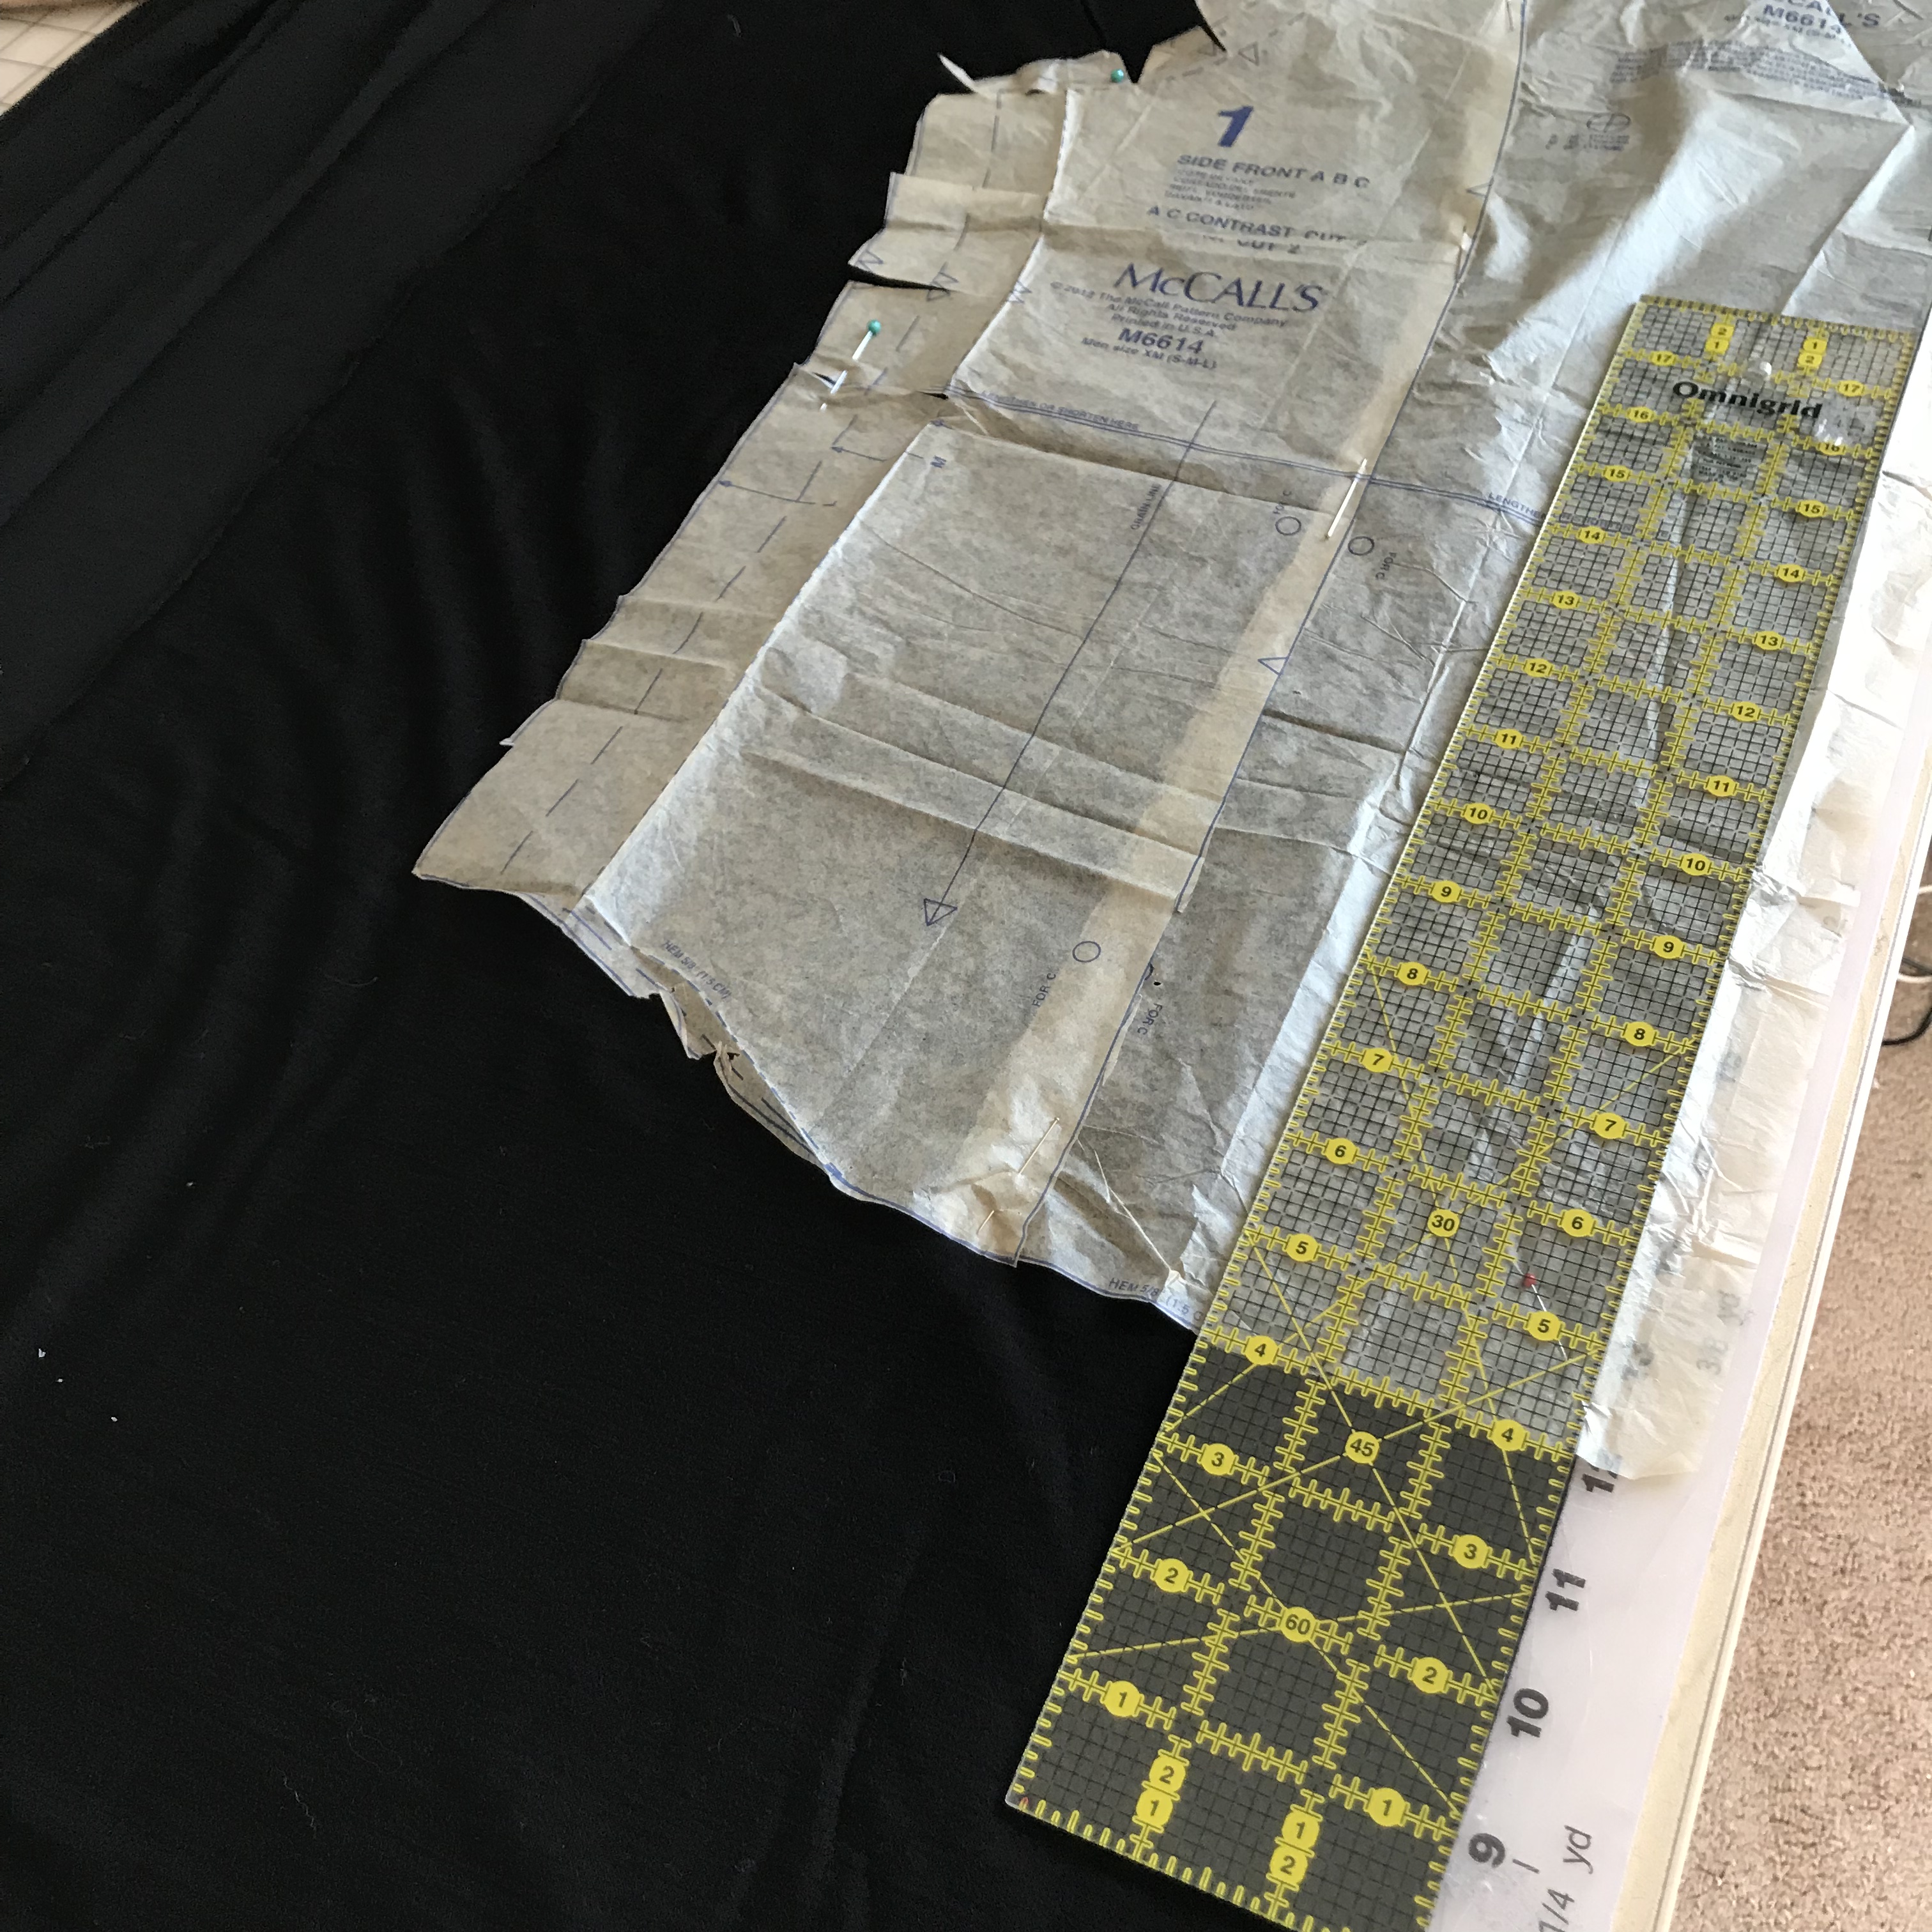
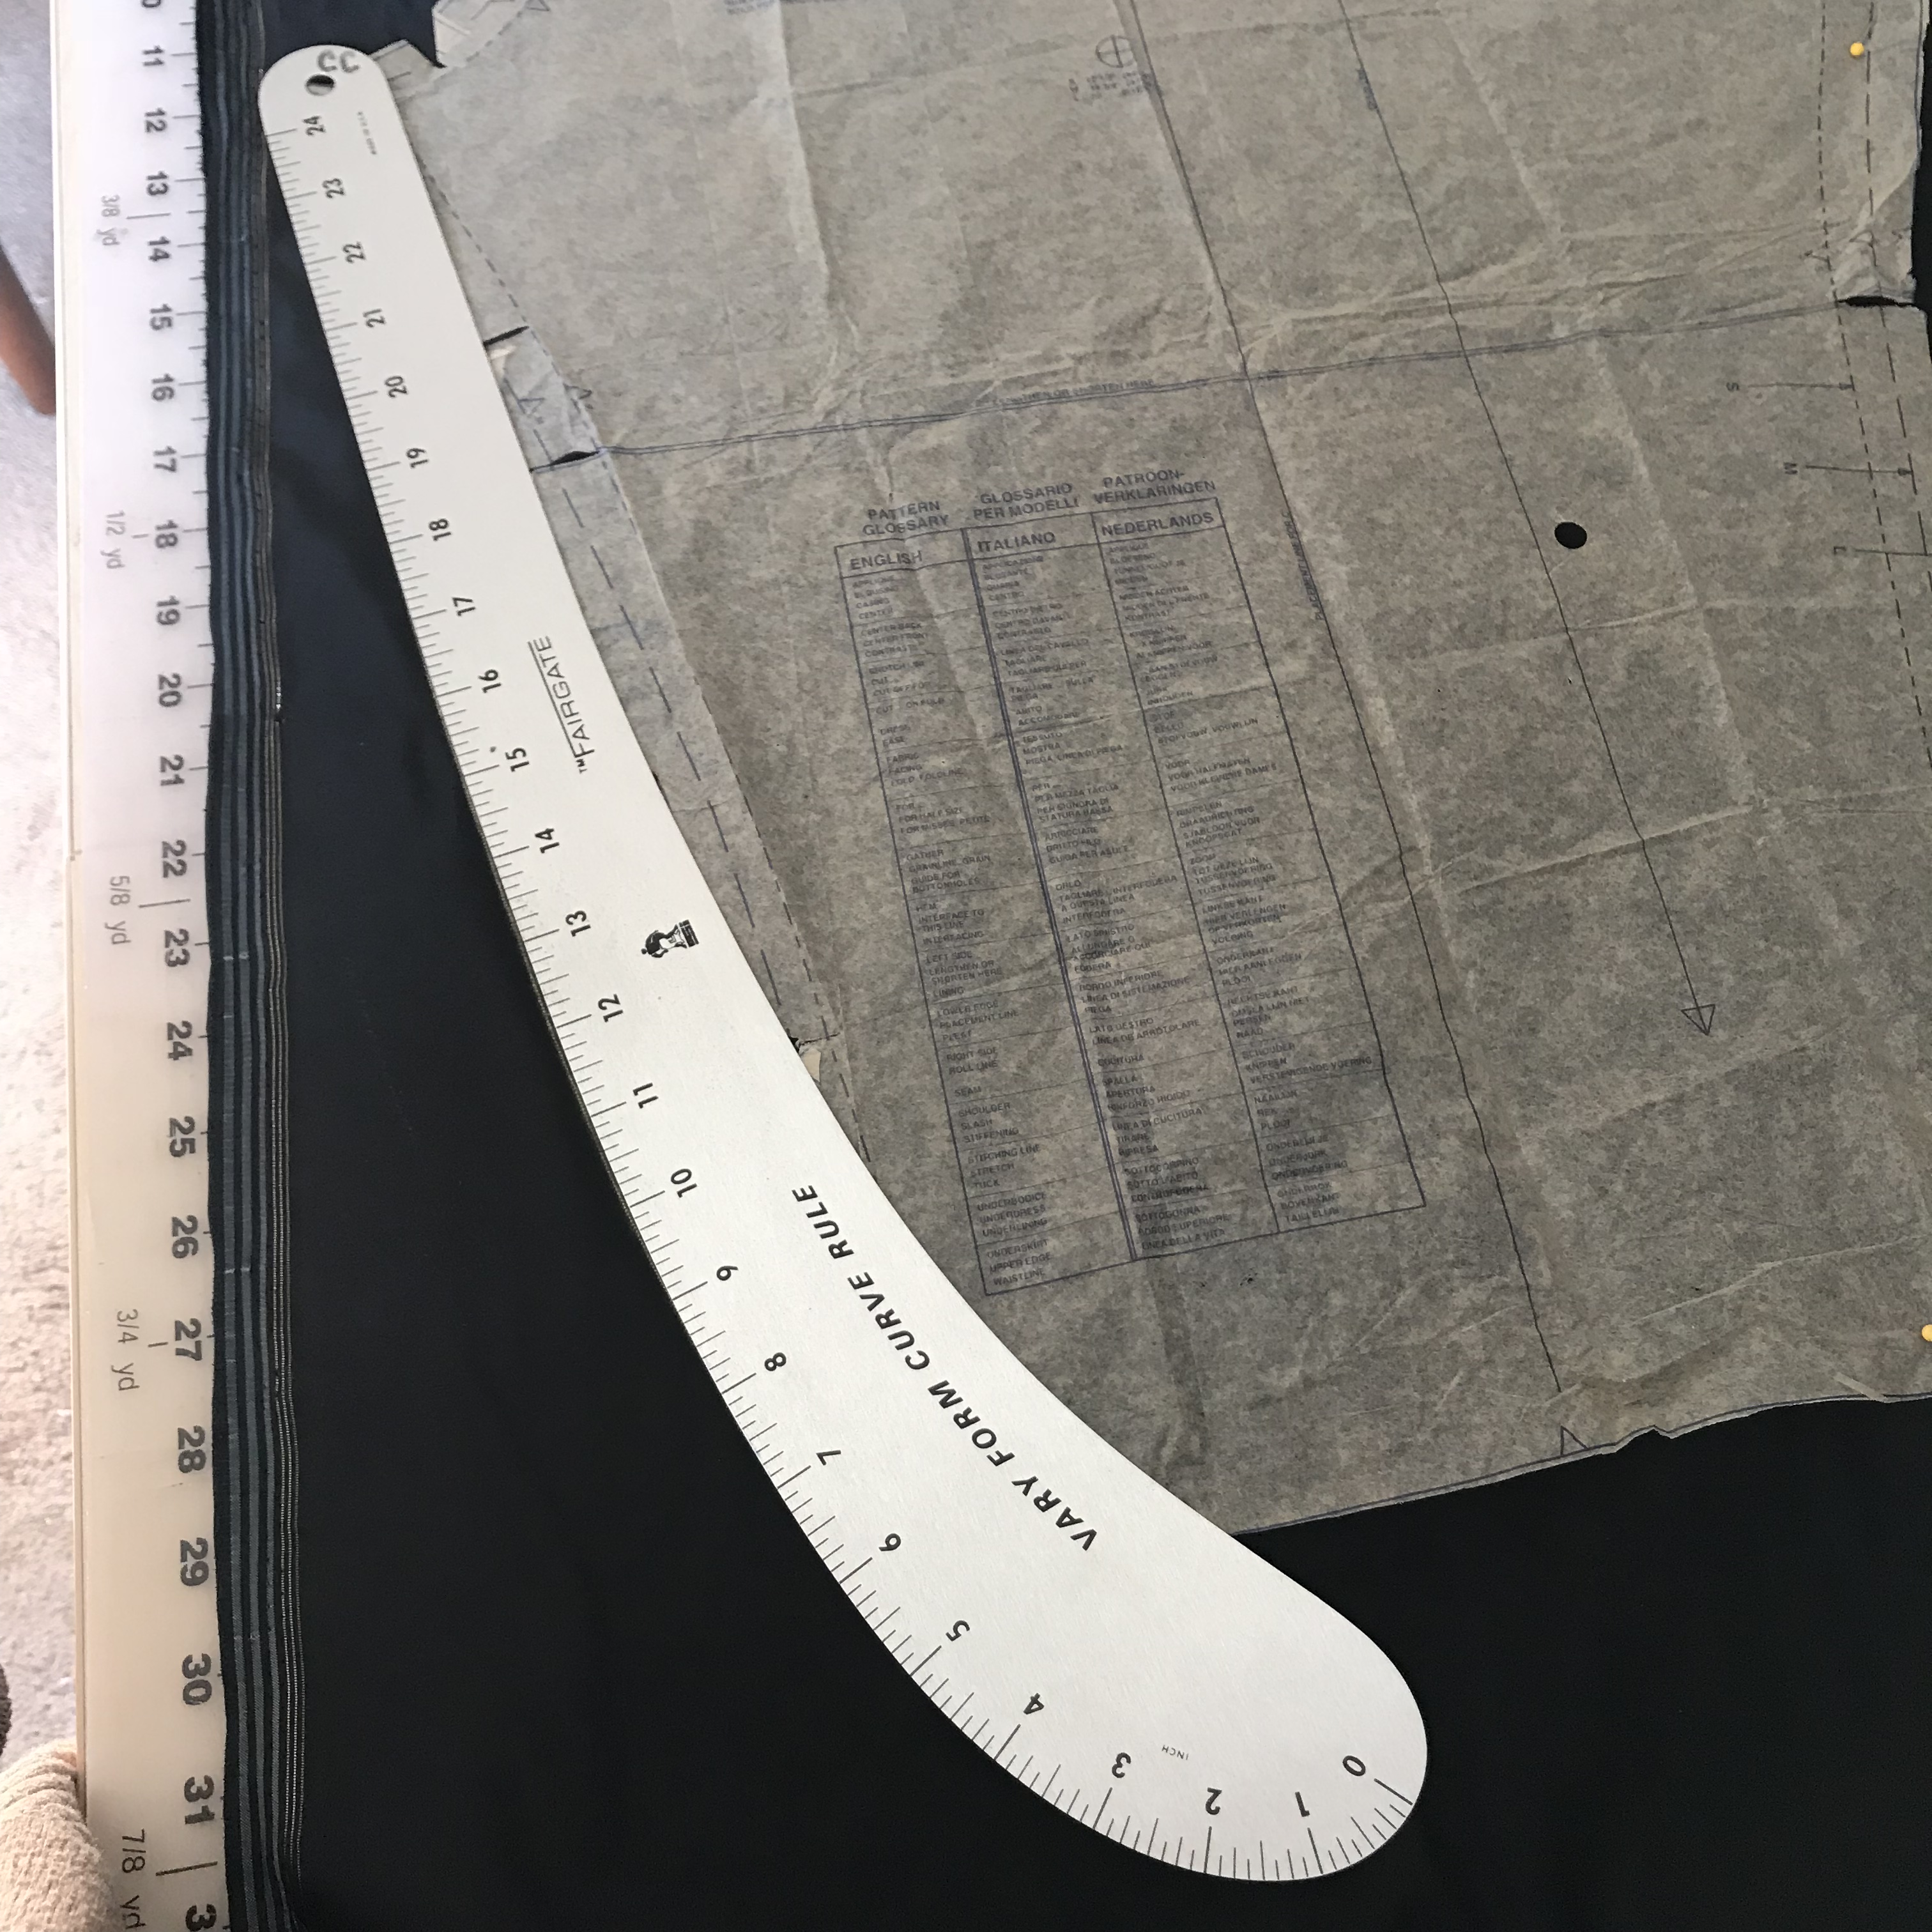
To hack this pattern, I took the side front and front pieces and overlapped them at the seam by the seam allowance given. I also sewed up two sizes bigger than the last time I sewed this pattern and straightened the side seam curve by about 1/2″ since the Anthro sweatshirt is fit as oversized. I did the same for the back side and back pieces. I also lengthened the sweatshirt by 4 ” to make it more of a tunic length. I may or may not add the binding at the hips as done on the Anthro original. I think I might like it better as a simple tunic, rather than have a bound sweatshirt bottom… but we’ll see!
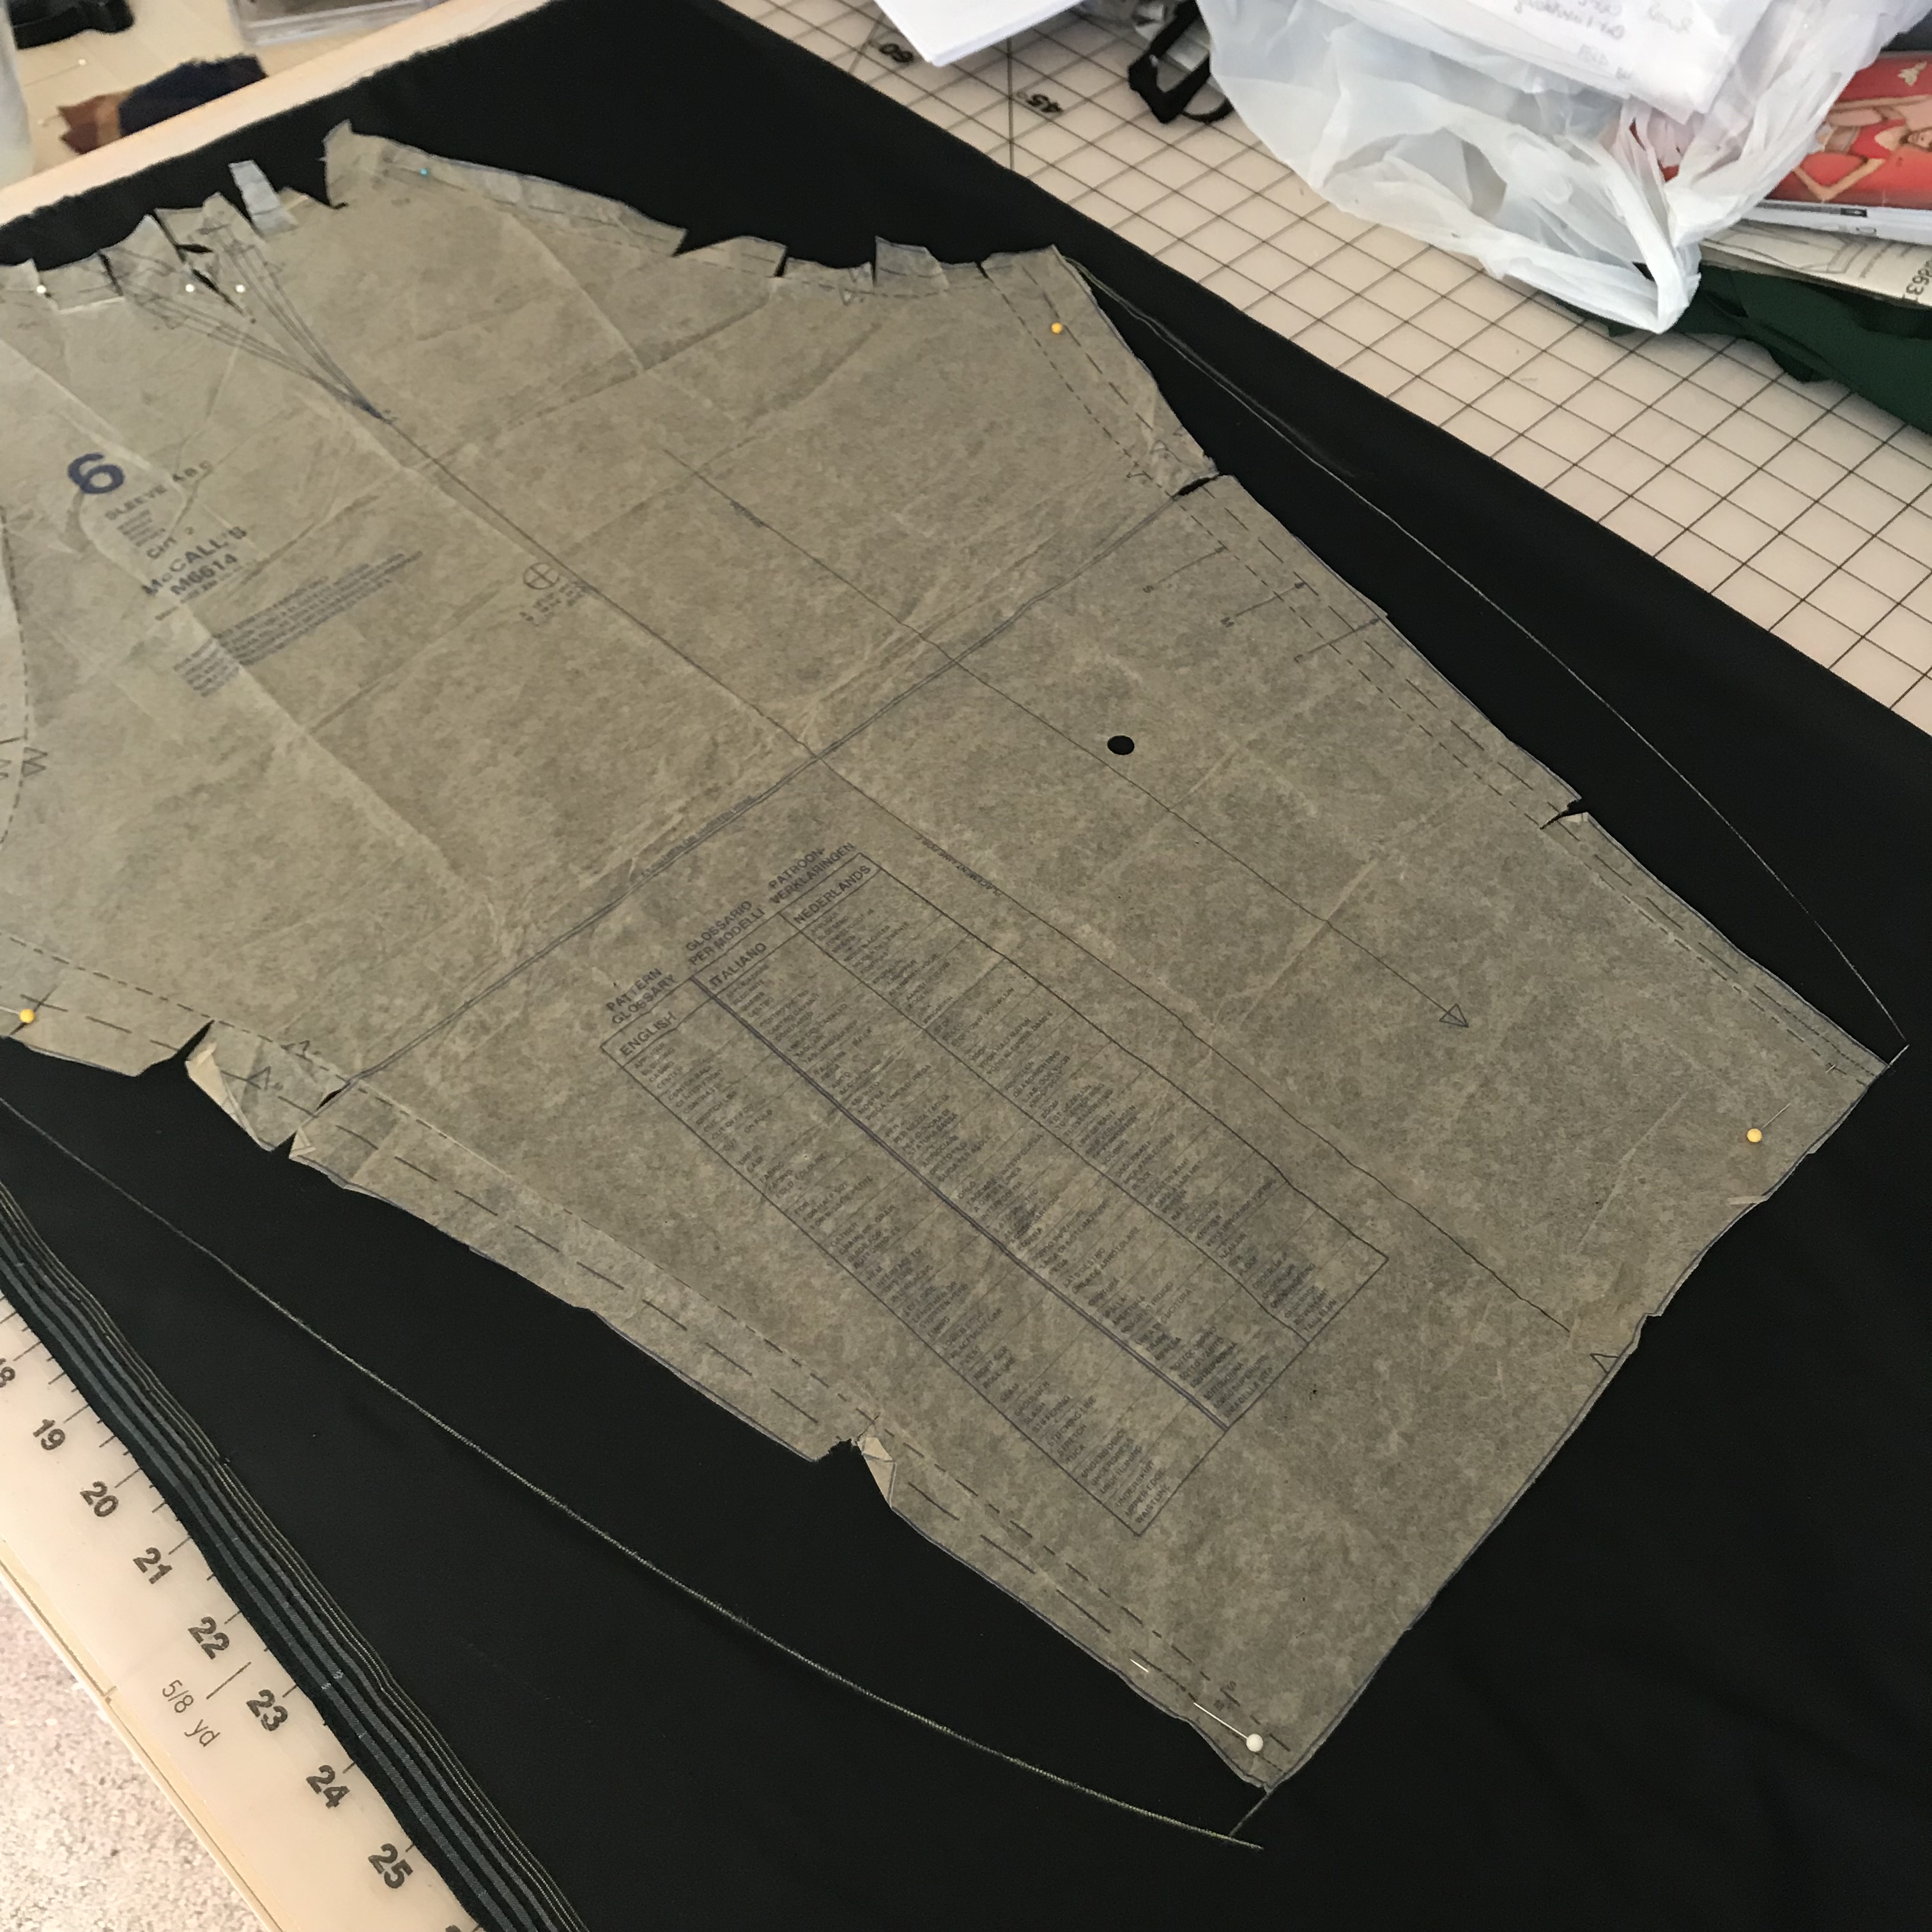
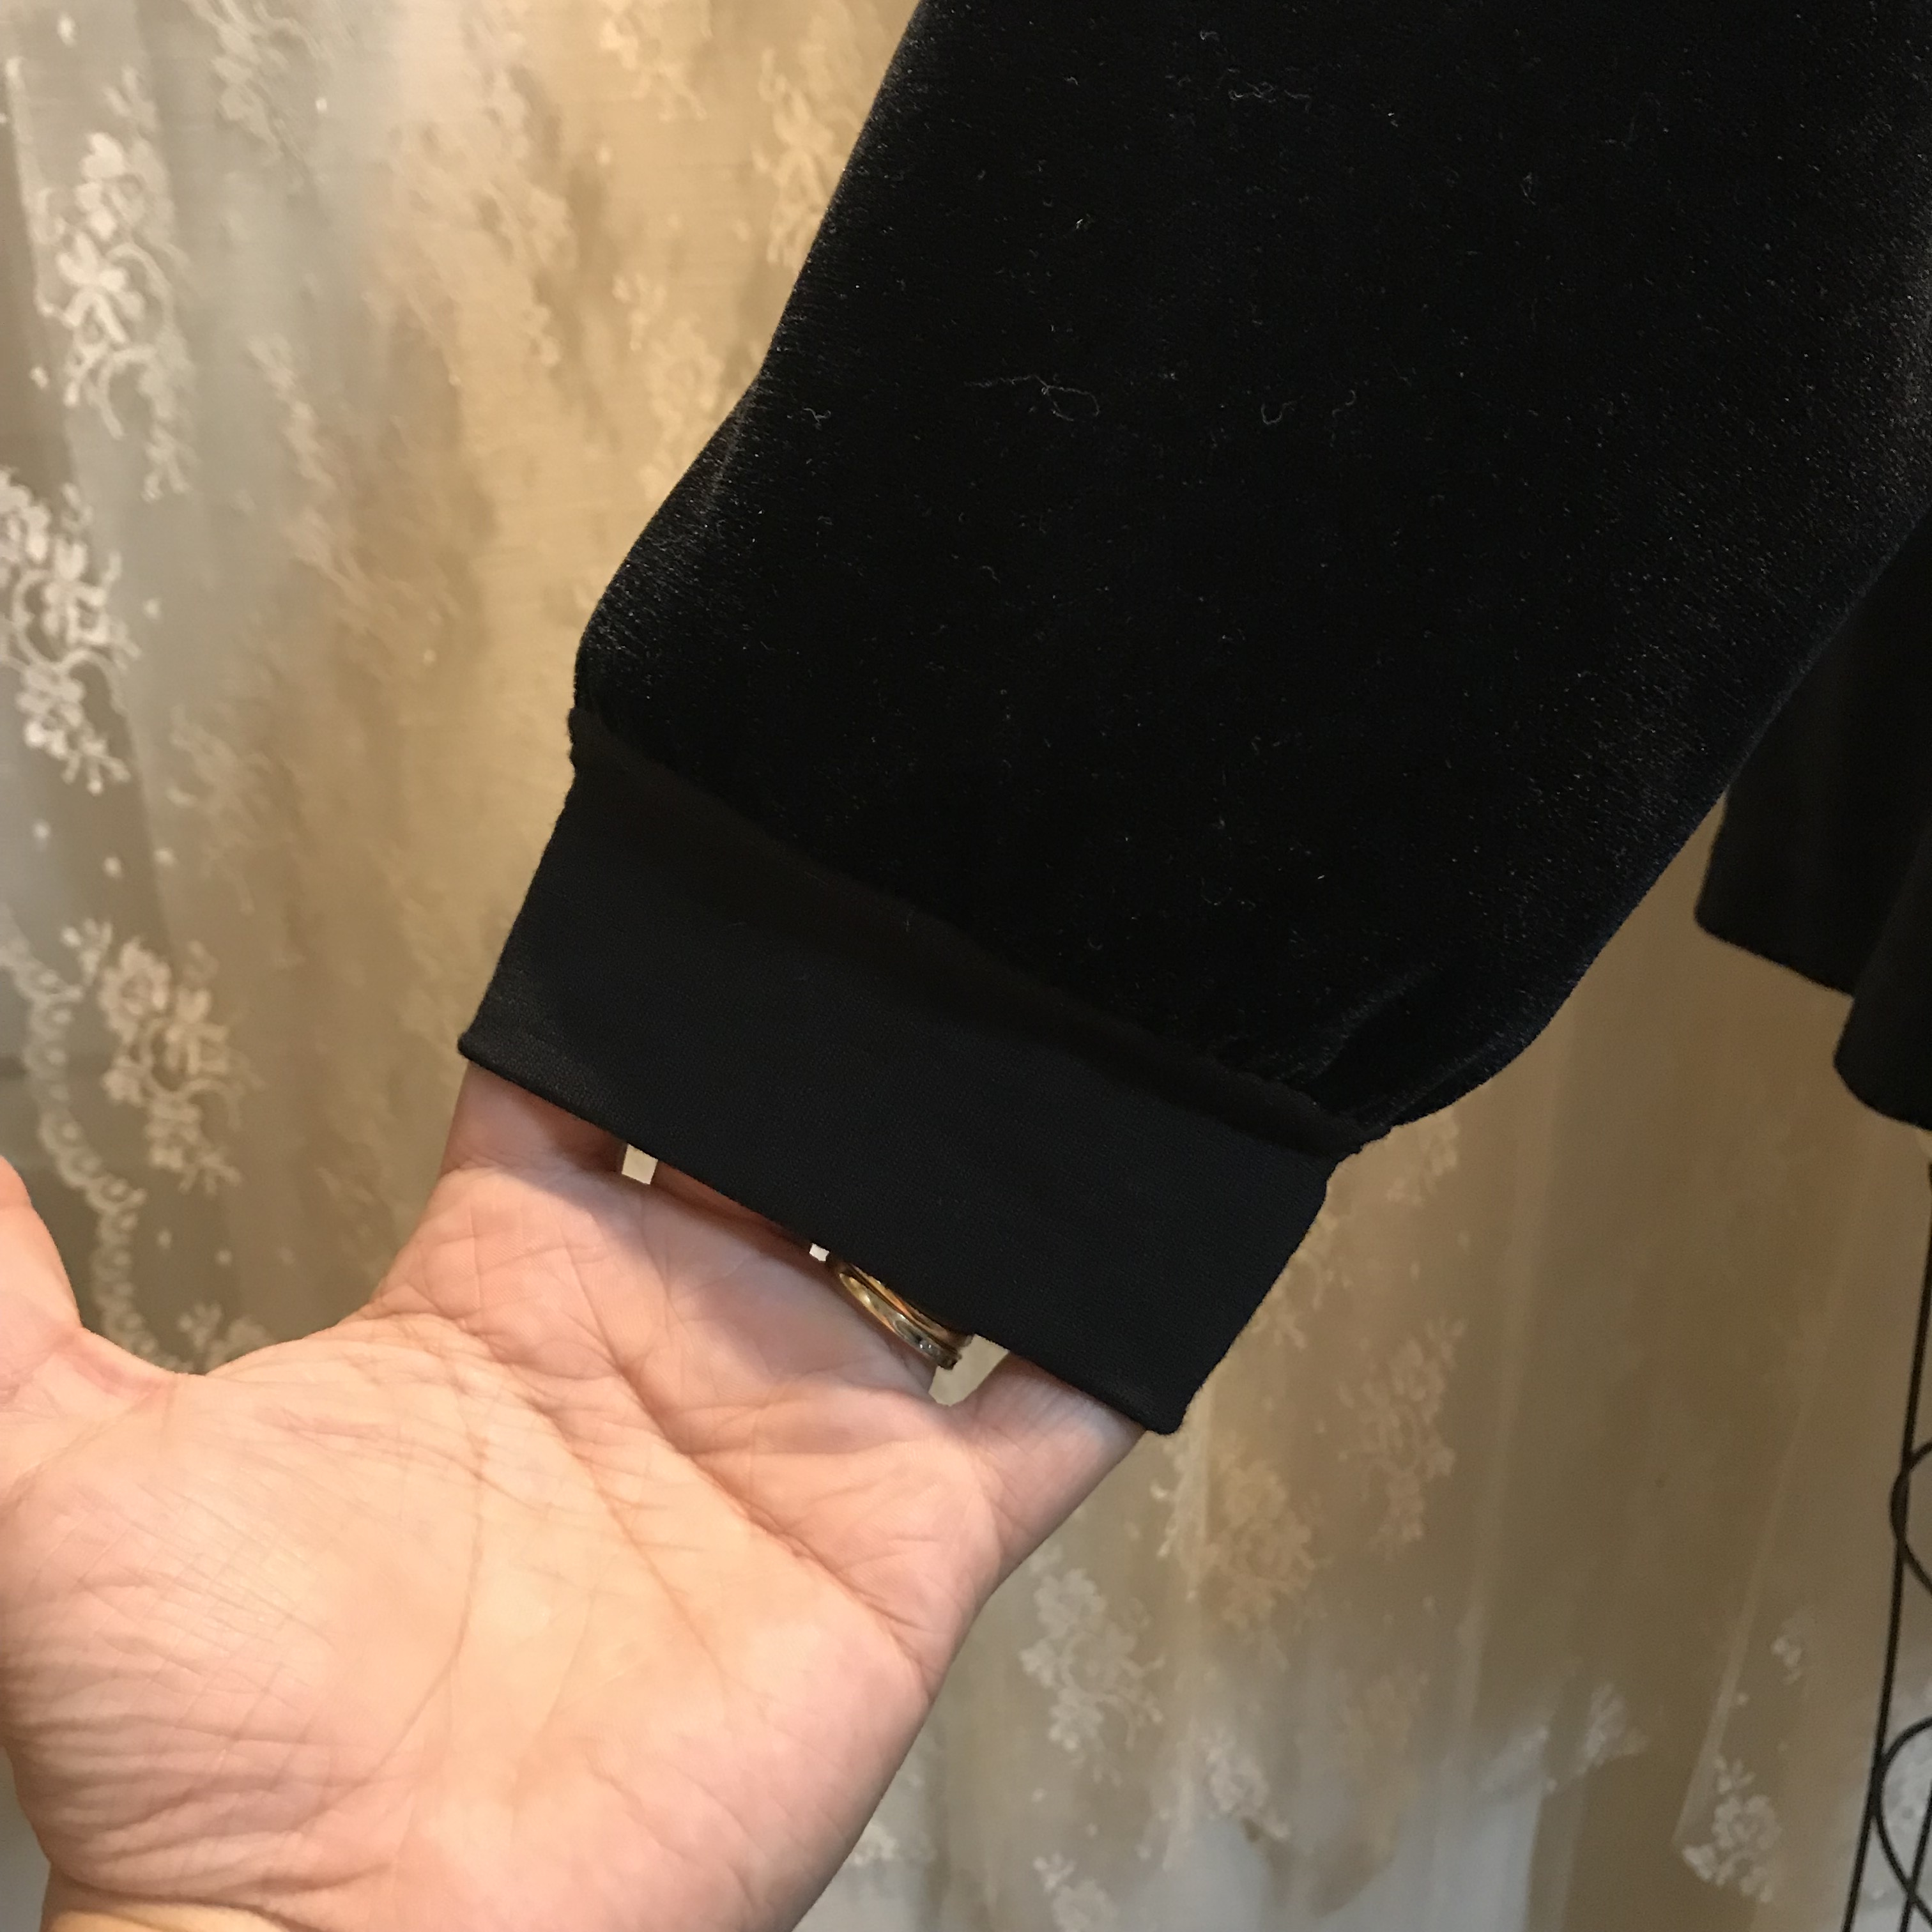
The sleeves on the Anthropologie version are pretty blousy, so I changed the curve and added about an inch at the bottom. I’ll use a gathering stitch to since that in and fit it to the sleeve band.
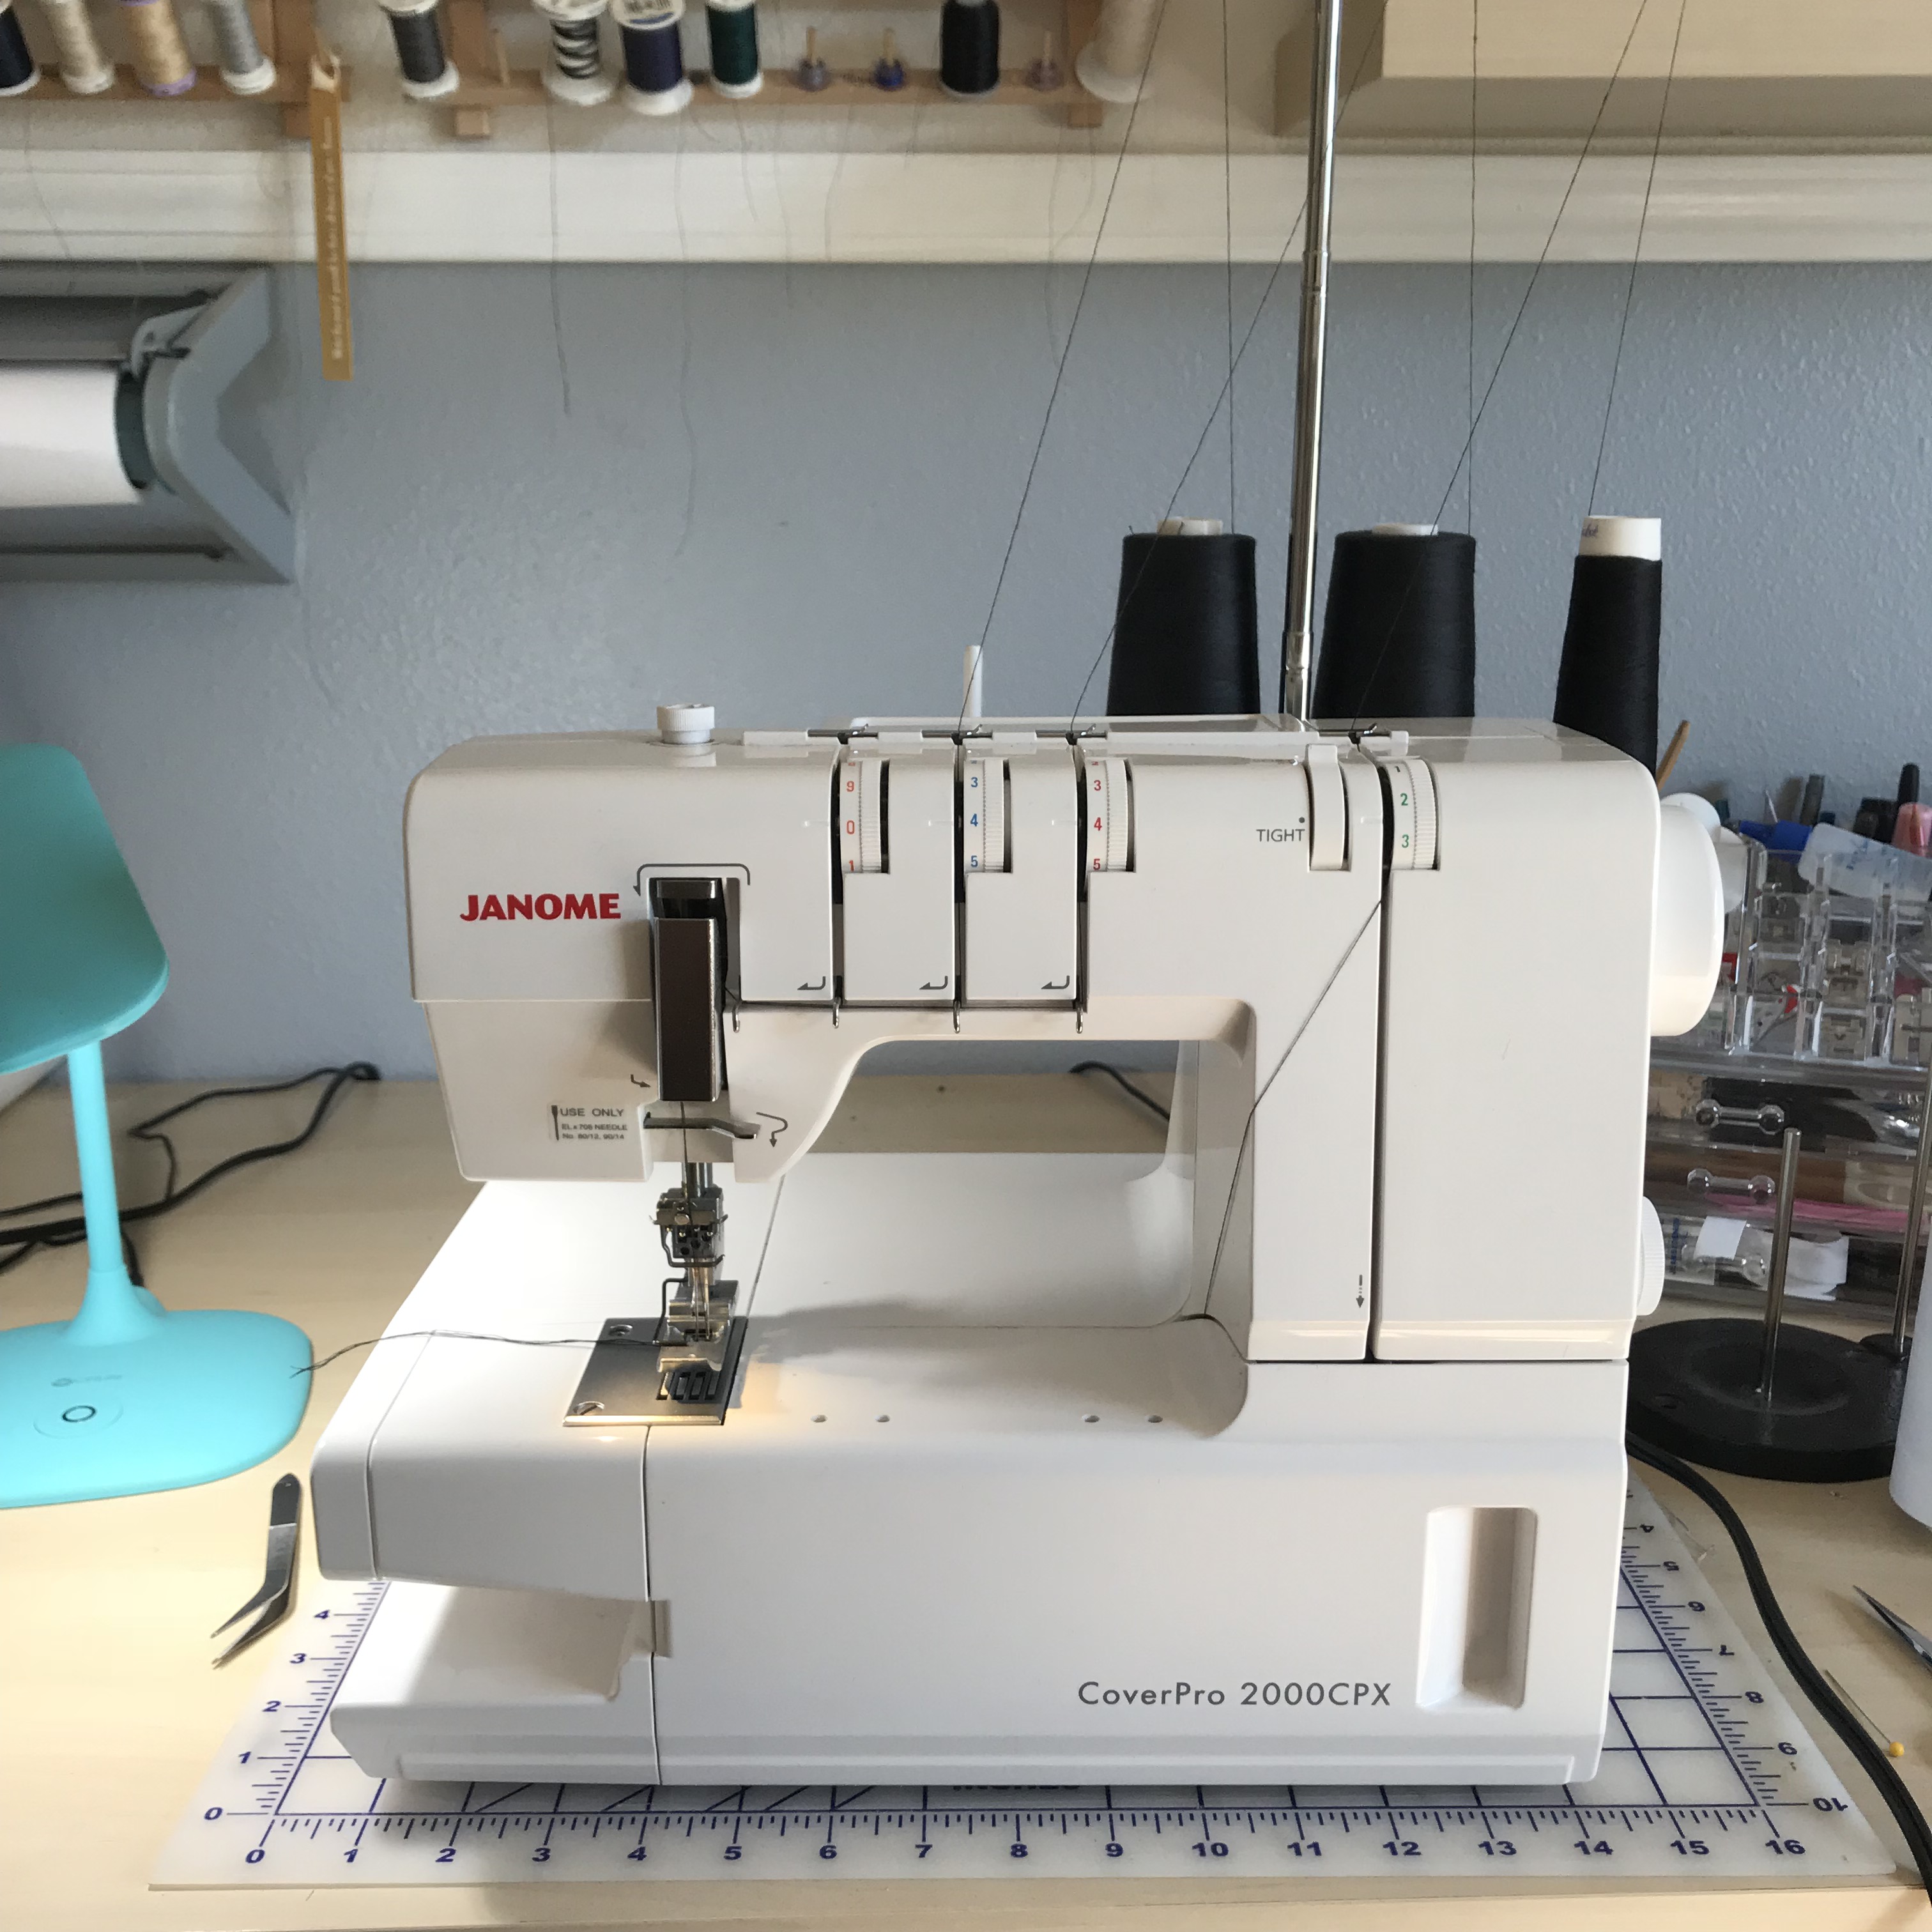
The only part of constructing this garment that I used my regular sewing machine for was the sleeve darts. After those were sewed, I put my sewing machine away and got my serger and cover stitch machines set-up. Pro tip: always clip velvet darts with pinking shears and use a light touch with the iron to iron the darts – this ensures a crisp dart without damaging the velvet and without seeing the outline of the seam through the nap of the pressed velvet.
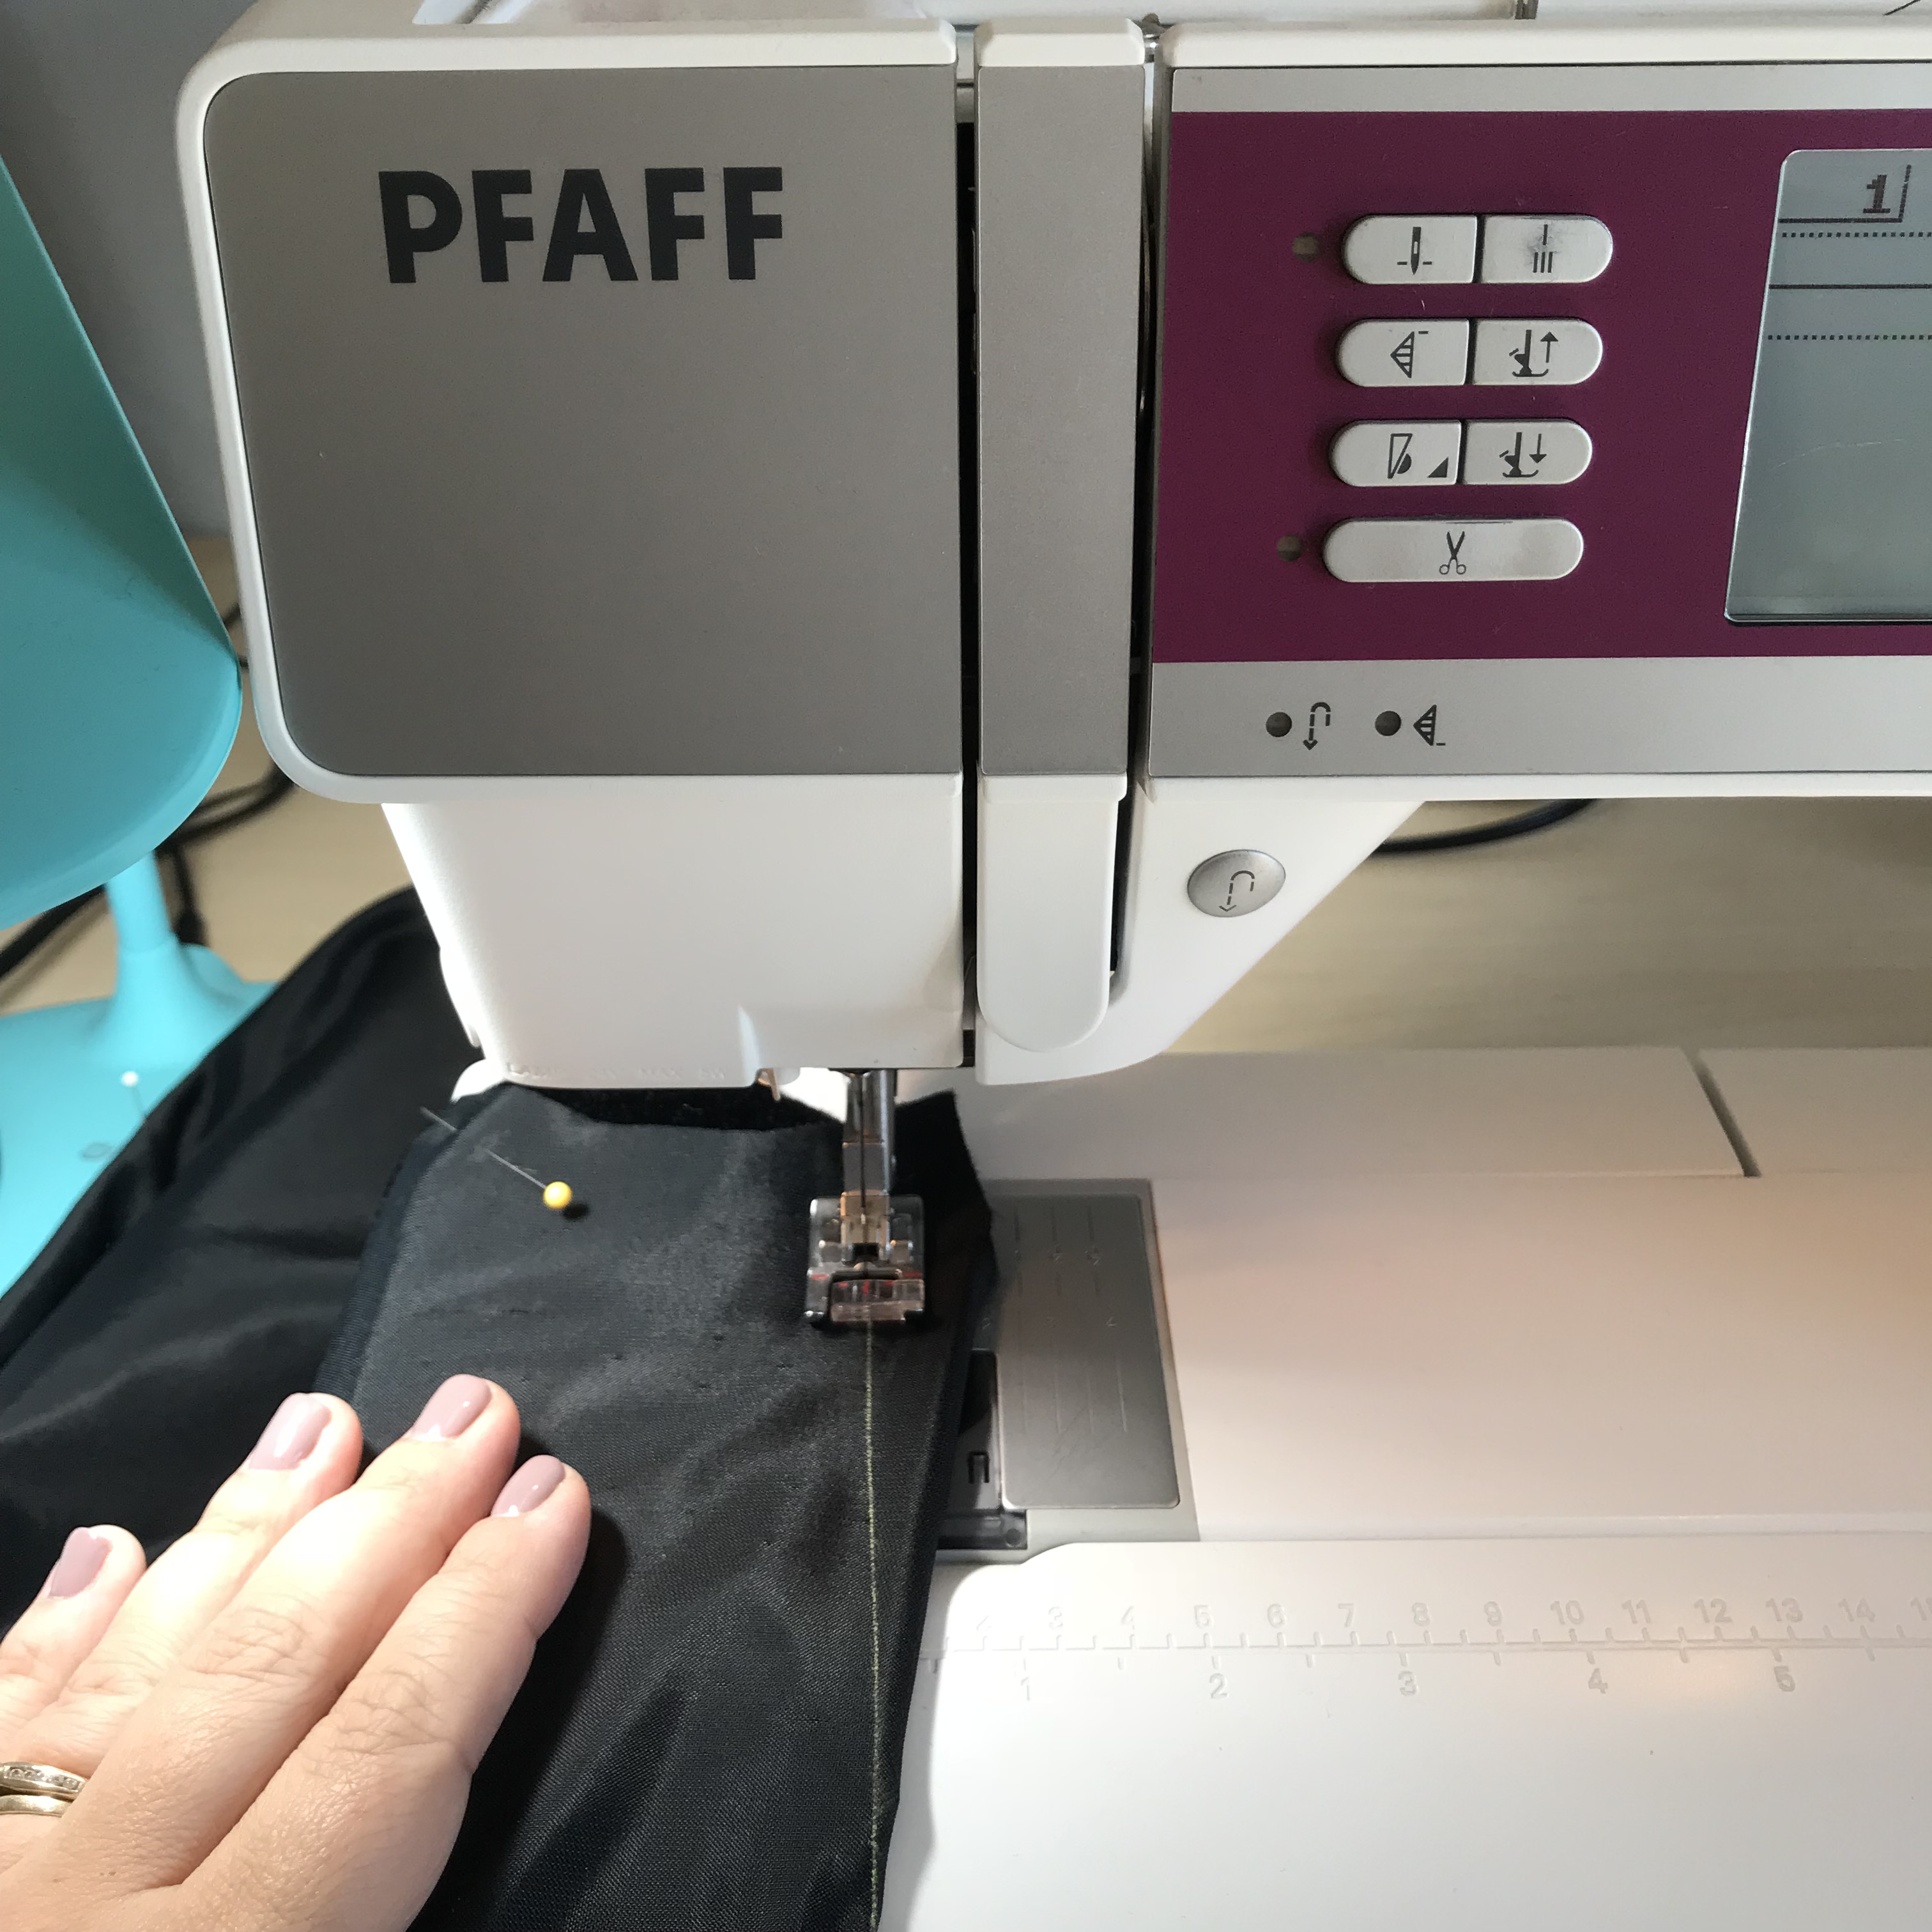
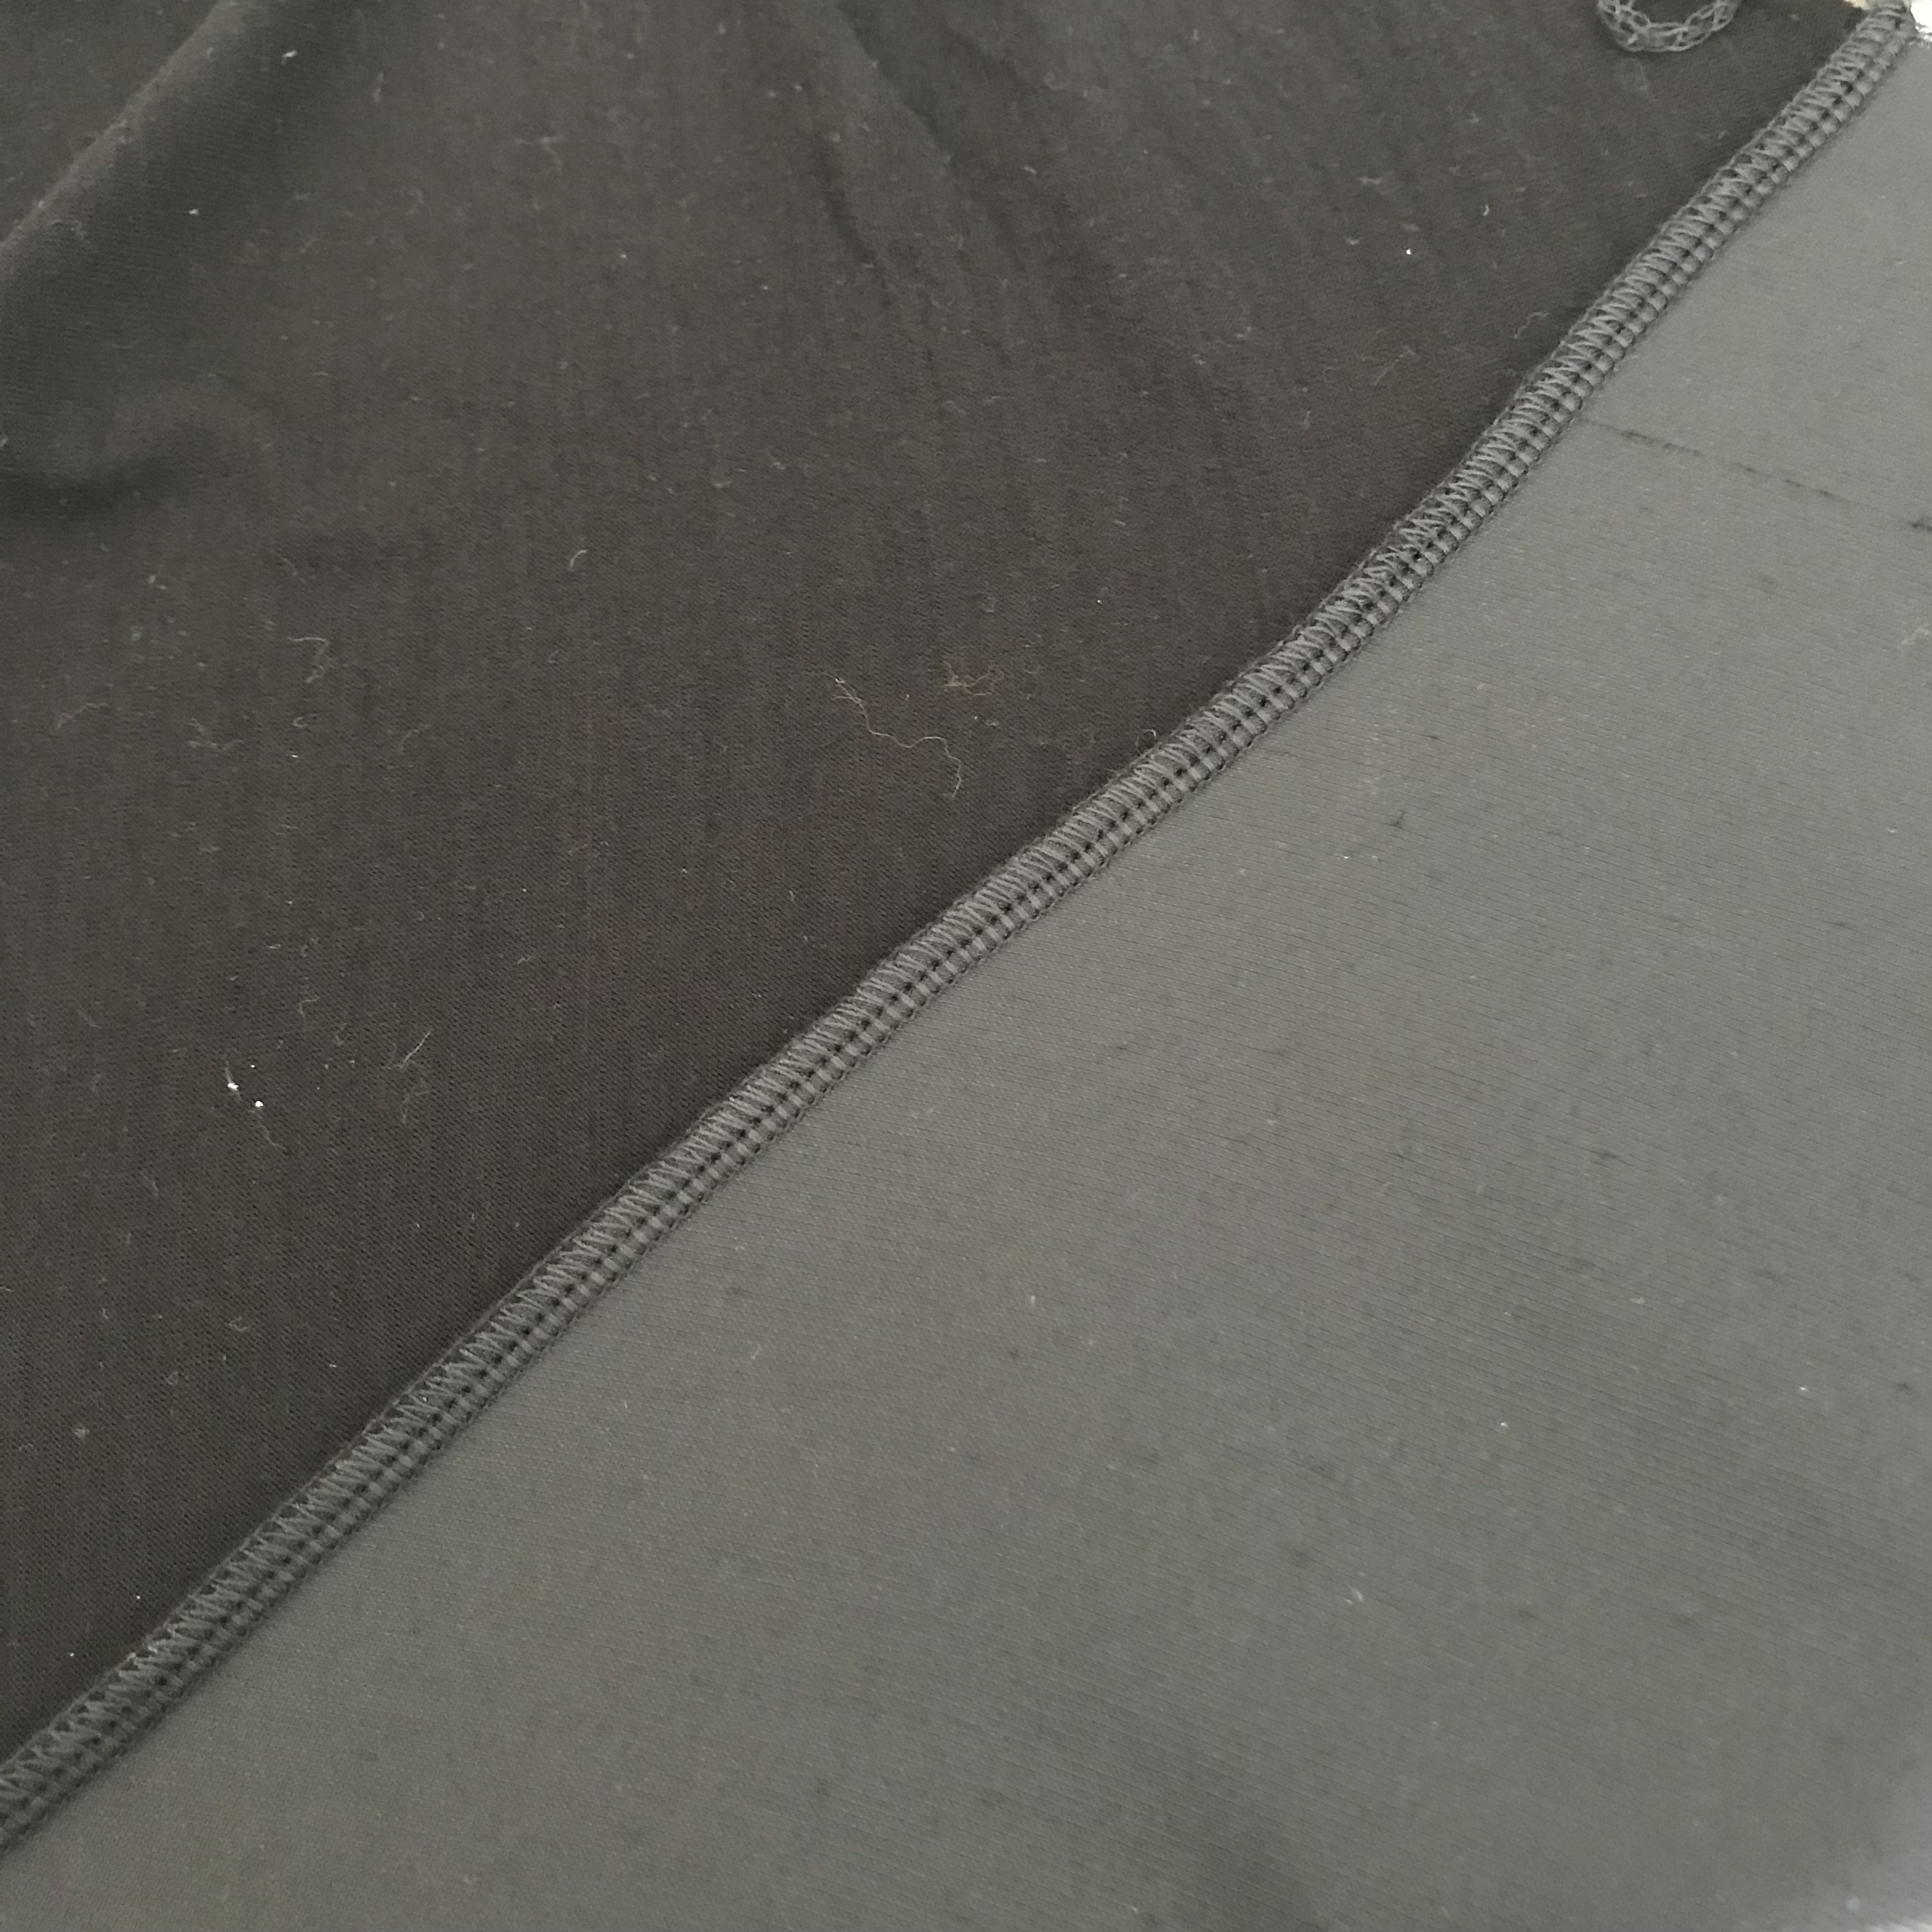
I serged all the seams together, then used the cover stitch machine to top stitch all the seams and also for the hem. When serging I use quilter’s clips to hold the fabrics together rather than pins. I find that I need to use clips any time I’m sewing a woven (the velvet) to a knit (the wool/bamboo jersey). This keeps the fabrics from sliding around and stretching out in odd ways.
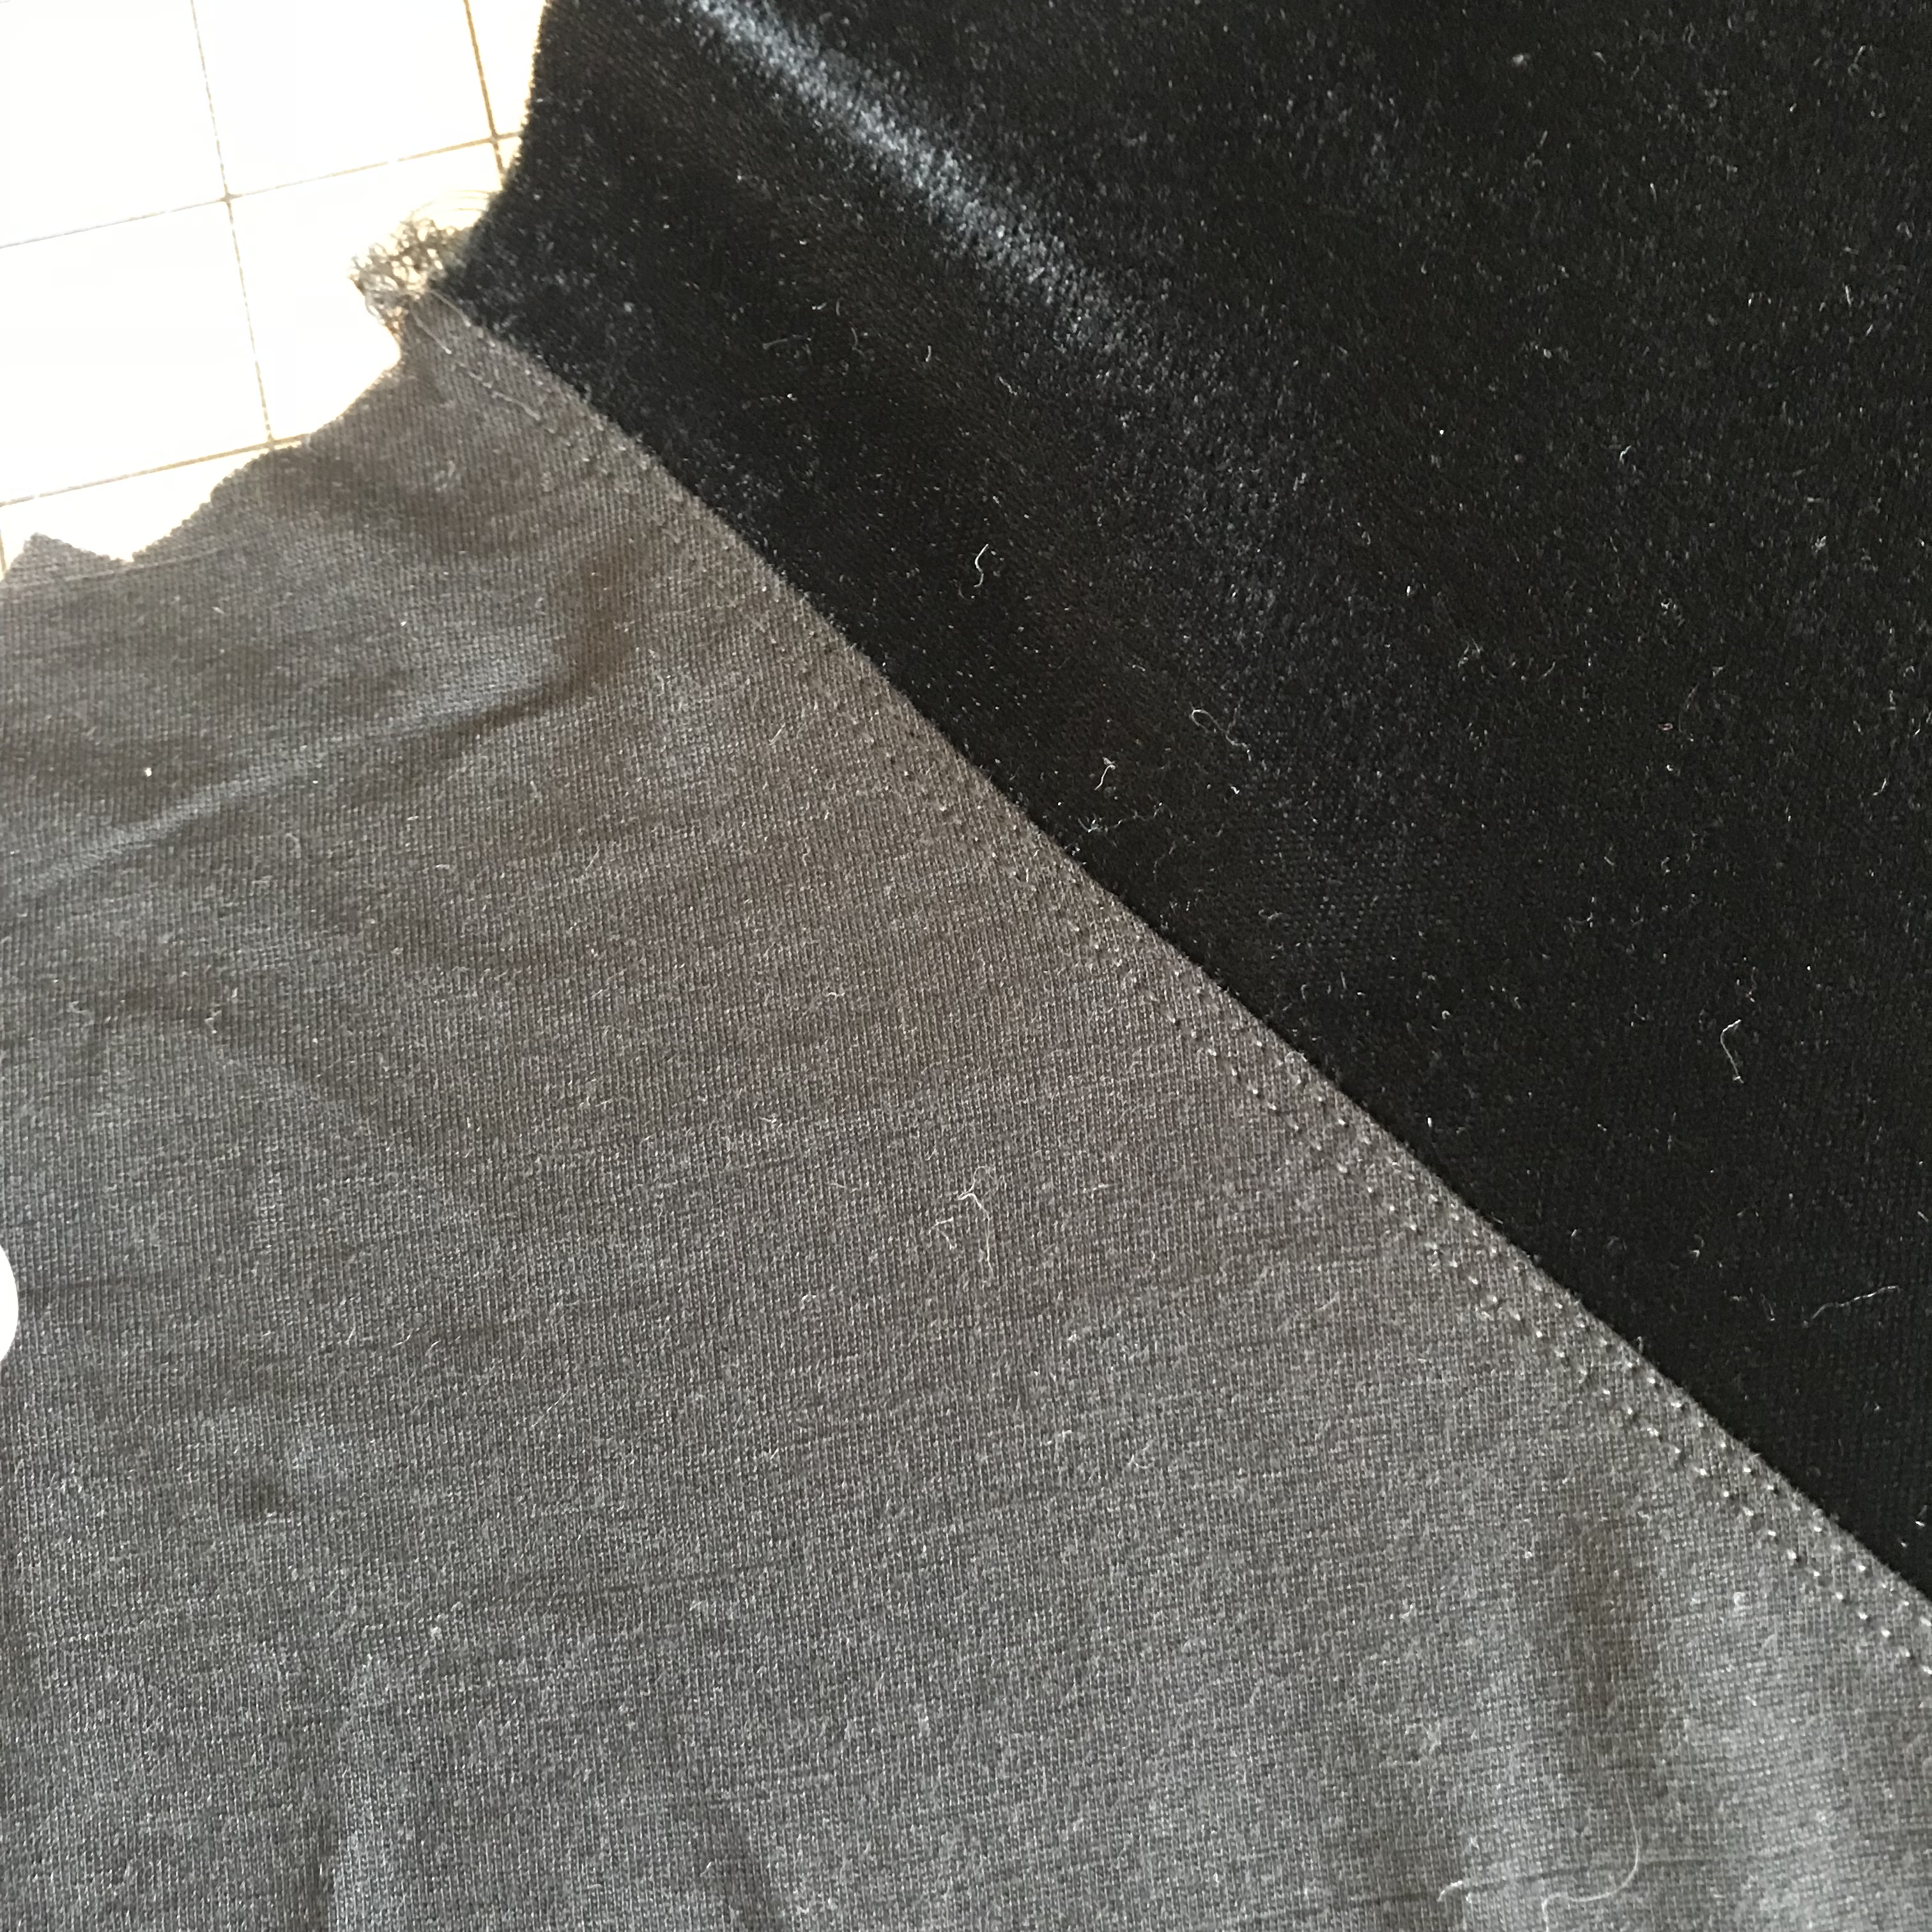
When topstitching, I always pressed the seams towards the jersey and top stitched on the jersey, not the velvet.
This was a pattern hack in which I didn’t use any commercial pattern instructions, because I know the order in which tops hold be sewed. Here’s the order in which I sewed the garment:
Step 1: Stitch sleeves to front and back (with serger). Top stitch with cover stitch.
Step 2: Stitch in neck band with serger and top stitch with cover stitch.
Step 3: Stitch sleeve and side seams in one continuous seam with serger (no topstitching this time).
Step 4: Gather bottom of sleeve, then stitch sleeve band to bottom of sleeve with serger and top stitch with cover stitch.
Step 5: Hem the garment with the cover stitch machine. Pro tip: use a fusible tape made for knits to iron the hem into place before running through the cover stitch. This provides stability and eliminates the need for pins or clips (and saves time).
This project was actually really fast and easy – especially with the cover stitch machine.

What if you don’t have a cover stitch machine? You can still make this garment with a serger and a regular sewing machine – or even, entirely with a regular sewing machine. If you use a regular machine, you simply need to use a stretch stitch or narrow swig zag on the knit seams, and finish all the seams with pinking shears to prevent fraying. With a serger, serge all the seams. When you top stitch, you can use a single row of stitches, or swap out a double needle for the regular single needle in your sewing machine and use a long stitch.
The advantage to a cover stitch over a double needle top stitch is that the cover stitch is made for knits, so it easily stretches and rebounds, which the double needle straight stitch will not.
I was fortunate to find this cover stitch machine used at a local sewing machine dealer. Apparently, its fairly common to find these second hand that have barely been used because people get them and get scared to use them. I think they are amazing and save a ton of time and effort! Worth the investment for sure if you sew knit fabrics often.
In total, the velvet and jersey cost me about $20 in materials. Since the original Anthropologie version is $169, I think I came out ahead on this one… Took about two hours start to finish, so including my time, it costs $80. Anyone want one?
What should I fake next? Have a favorite garment you’re dying to have but can’t afford, or can’t find it in your size? Send me a pic and let’s make it happen! cutstitchpress@gmail.com
Its almost the weekend – what’s on your sewing desk?
I’m working my “day job” this Saturday, producing a concert for the choir I manage. I had high hopes for making a new outfit for this event, but life got in the way… I’ll have to save that outfit for Thanksgiving. Does anyone else dress up for Thanksgiving anymore?
Happy Friday!