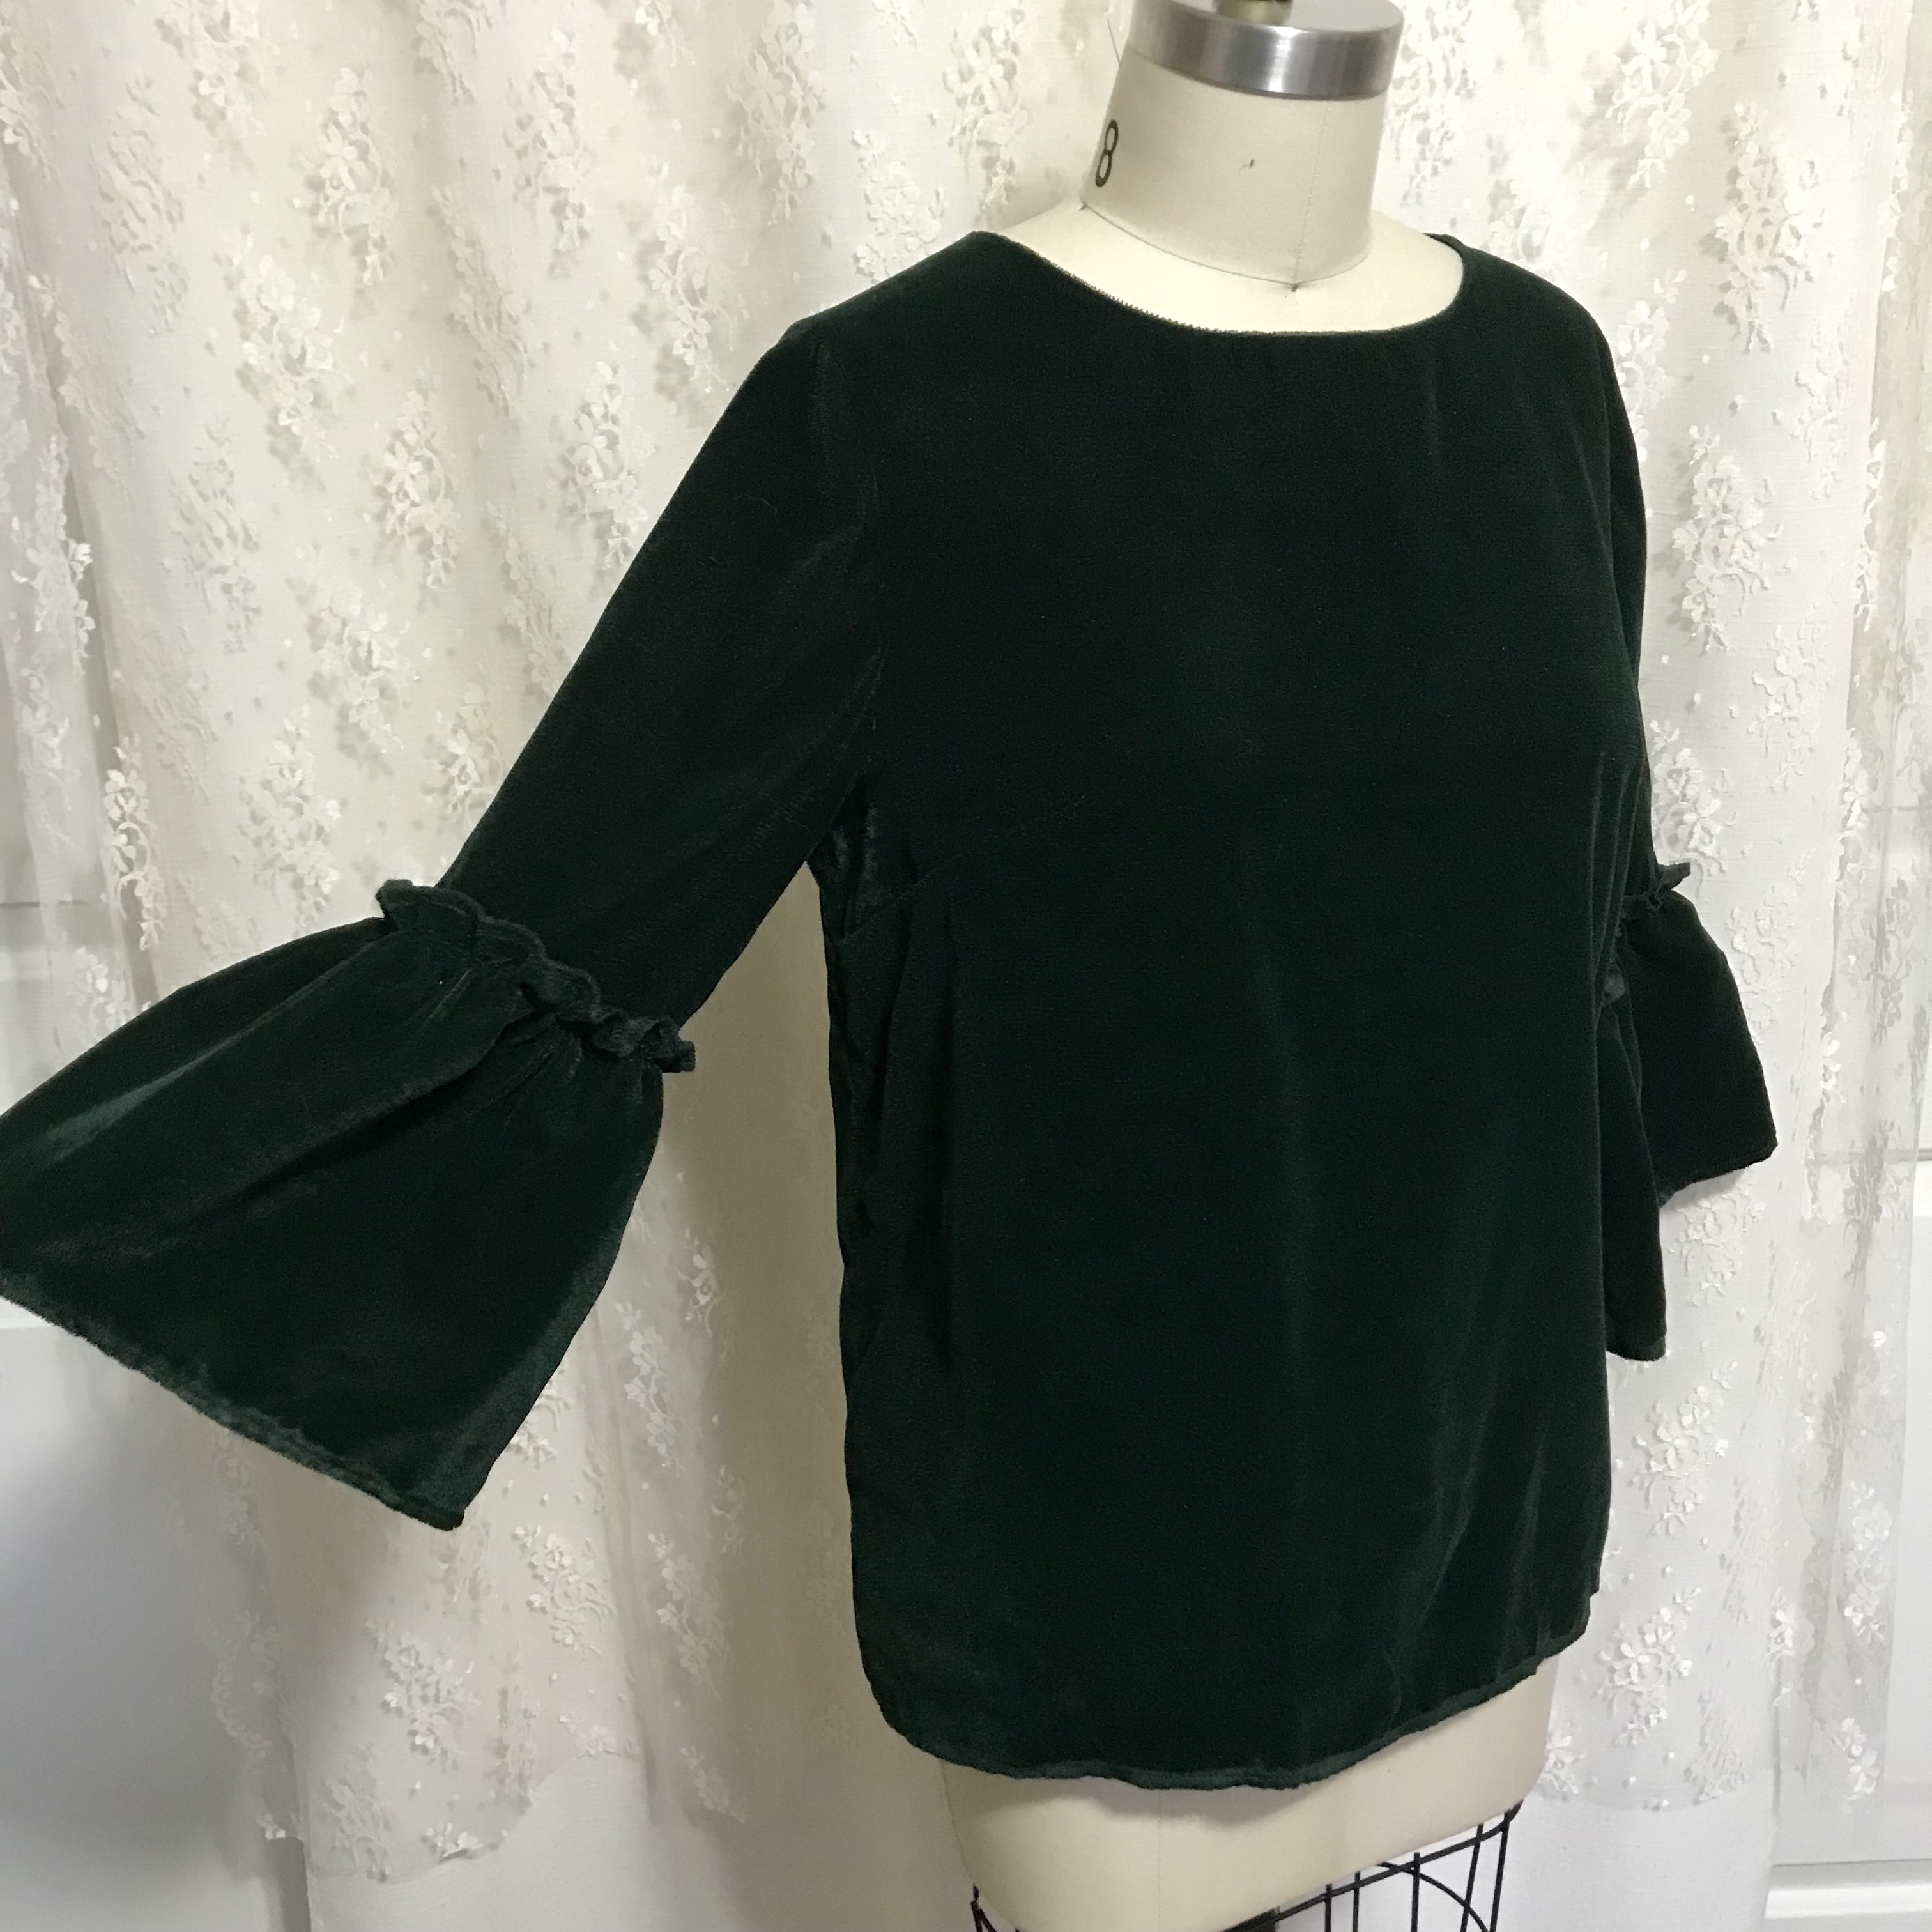
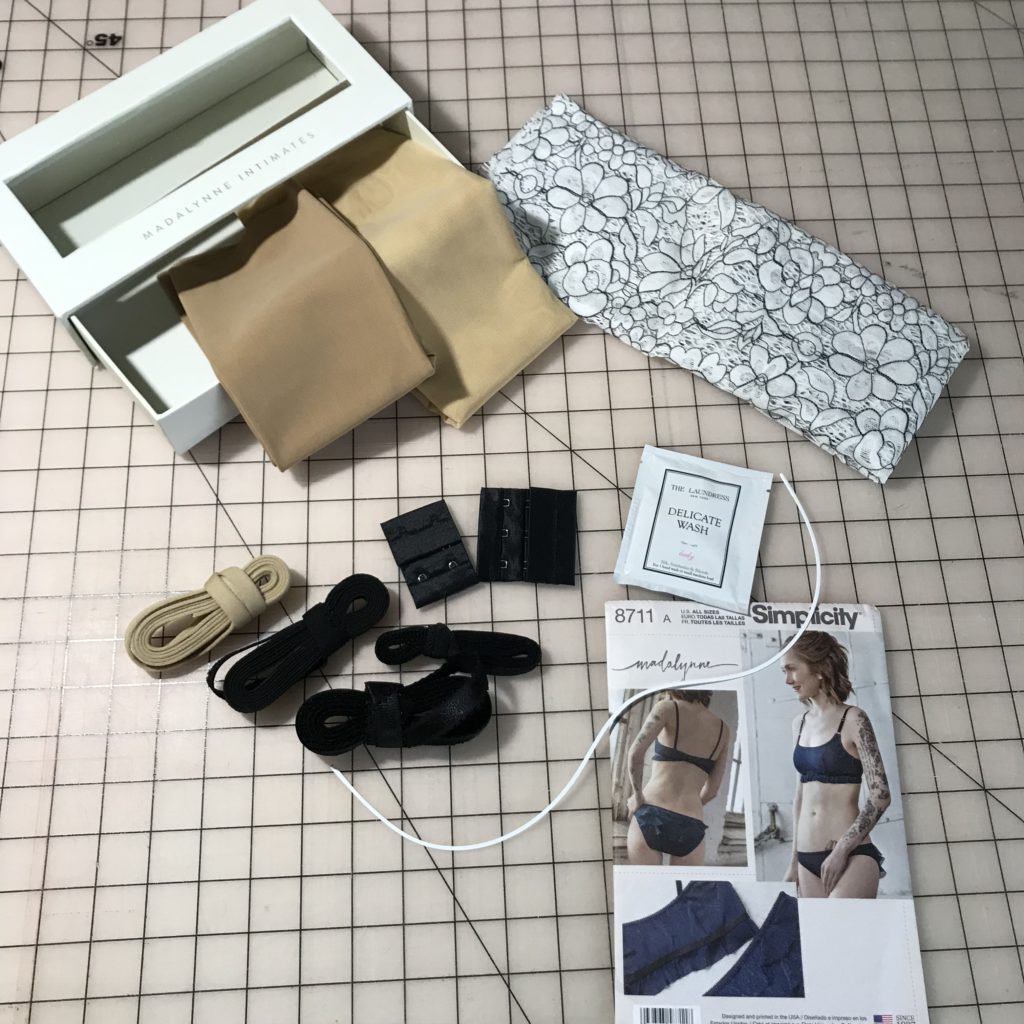
Tonight’s project is a little different than my usual Fake It Friday. Tonight I had a blast making a BRA! Yes! A bra! From a great kit my parents (my mom, really) gave me for my birthday from Madalynne Intimates.
It was so much fun! The pattern is pretty good – I have just a few edits based on my make experience, but overall I found it easy to follow and easy to make.
There are 14 steps to making the bra in the pattern. Based on the fabric in this kit, I did some things out of order to streamline how many times I changed thread color. One other change I made was the type of needle used. The pattern states you should use a ball point needle for everything except the channeling, however, I found that I needed the universal 14 needle (not the ball point) for the strap elastic steps as well.
The project took 3 hours from cutting out the paper pattern and reading through all the direction to completion. I am very happy with the fit! The measurement chart is accurate. I was between sizes and sized down, but I think I’ll try sizing up for the next one I make so see what the difference might be.
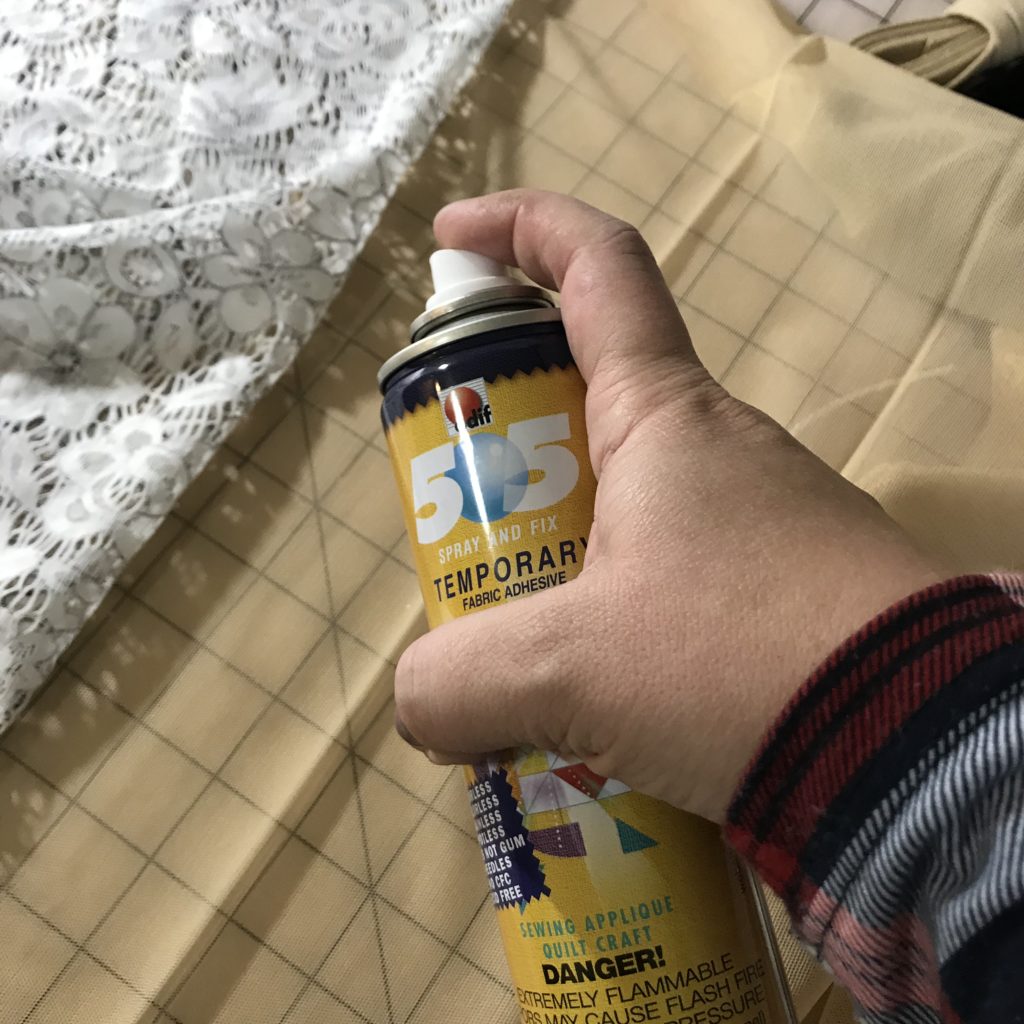
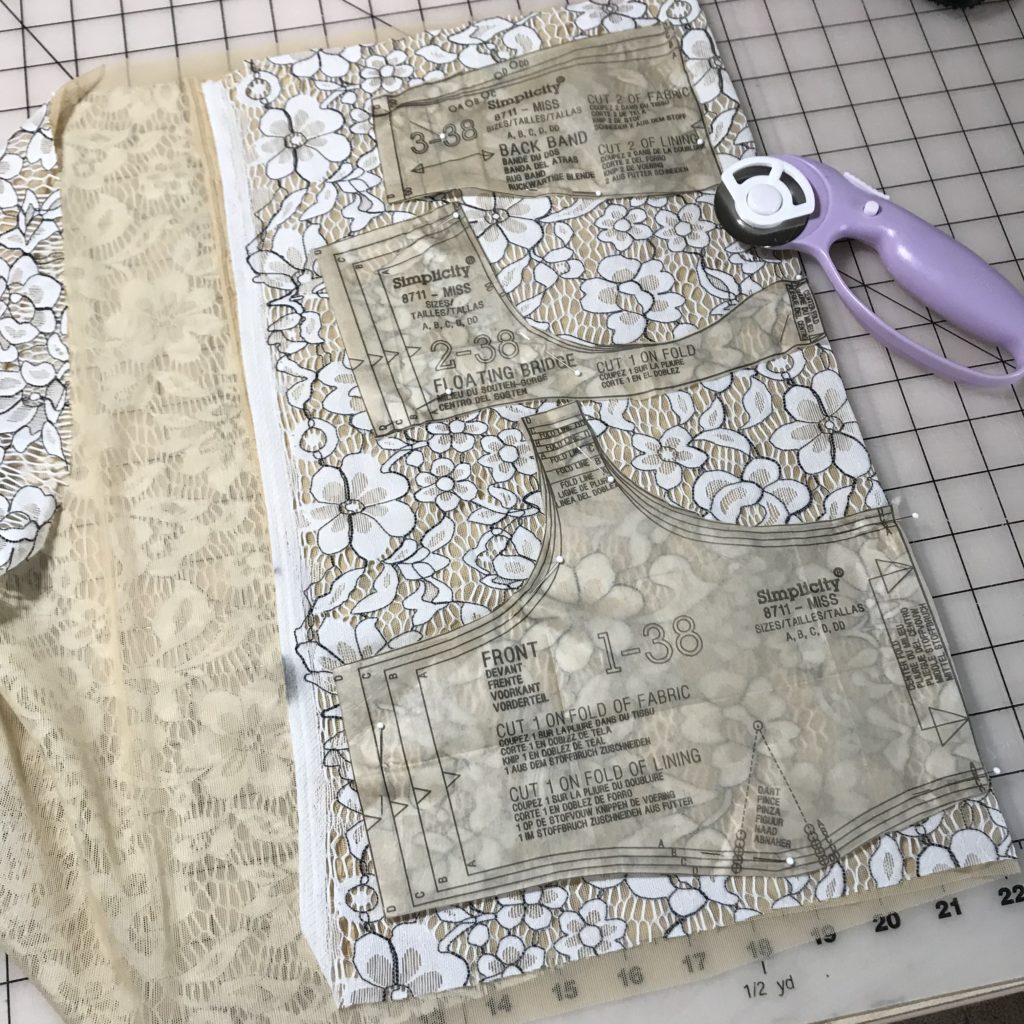
The other thing I did that was different from the pattern instructions is that I used 505 Temporary Spray Baste to “baste” the lining and outer fabrics together. I’m surprised this wasn’t in the instructions because Madalynne uses 505 a lot on her blog…
I appreciate that this kit came with enough fabric for a bra AND underwear!
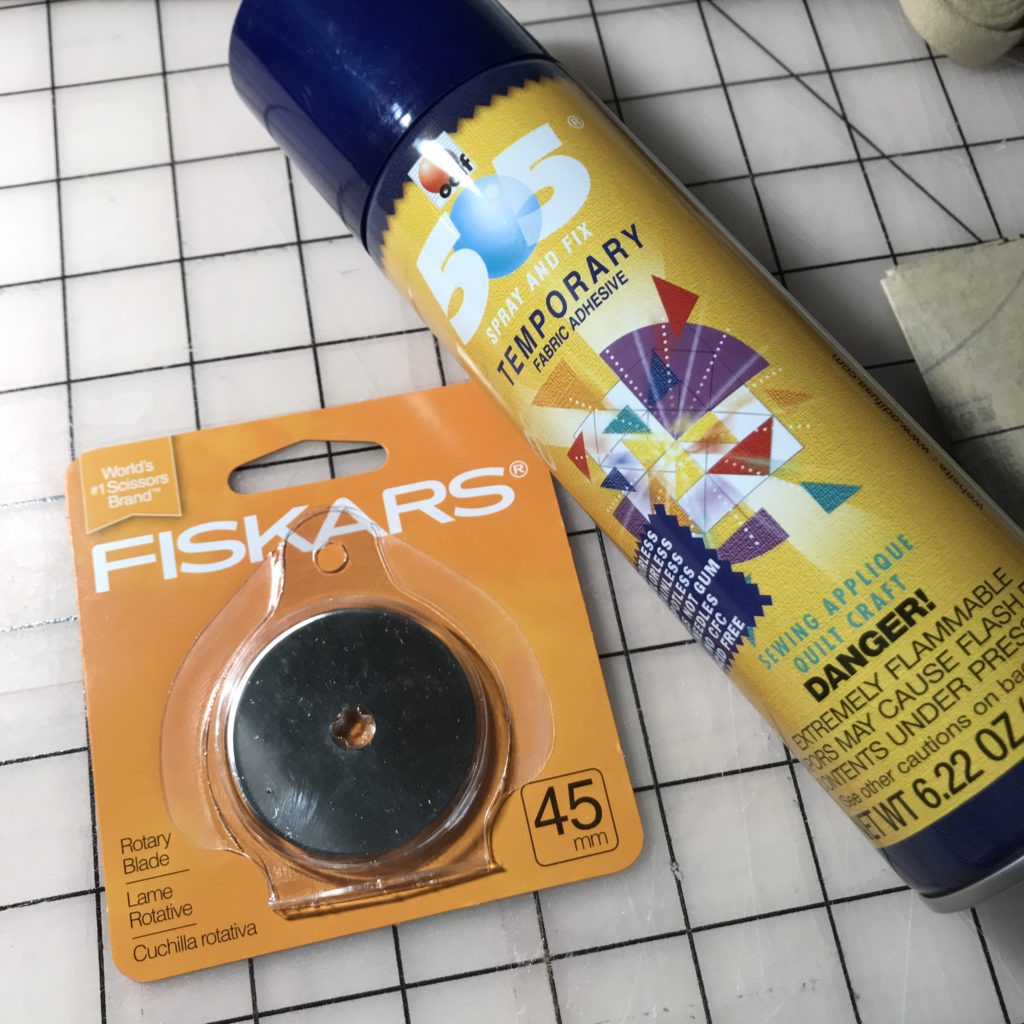
I also made sure to use a new rotary blade for cutting the delicate stretch lace and mesh. I loved making this bra and can’t wait to try another kit in a different style.
Step one: Spray baste the Fabrics together.
Step two: CUT the pattern.
Step three: STITCH the darts. Prep the channeling – I used clips instead of pins.
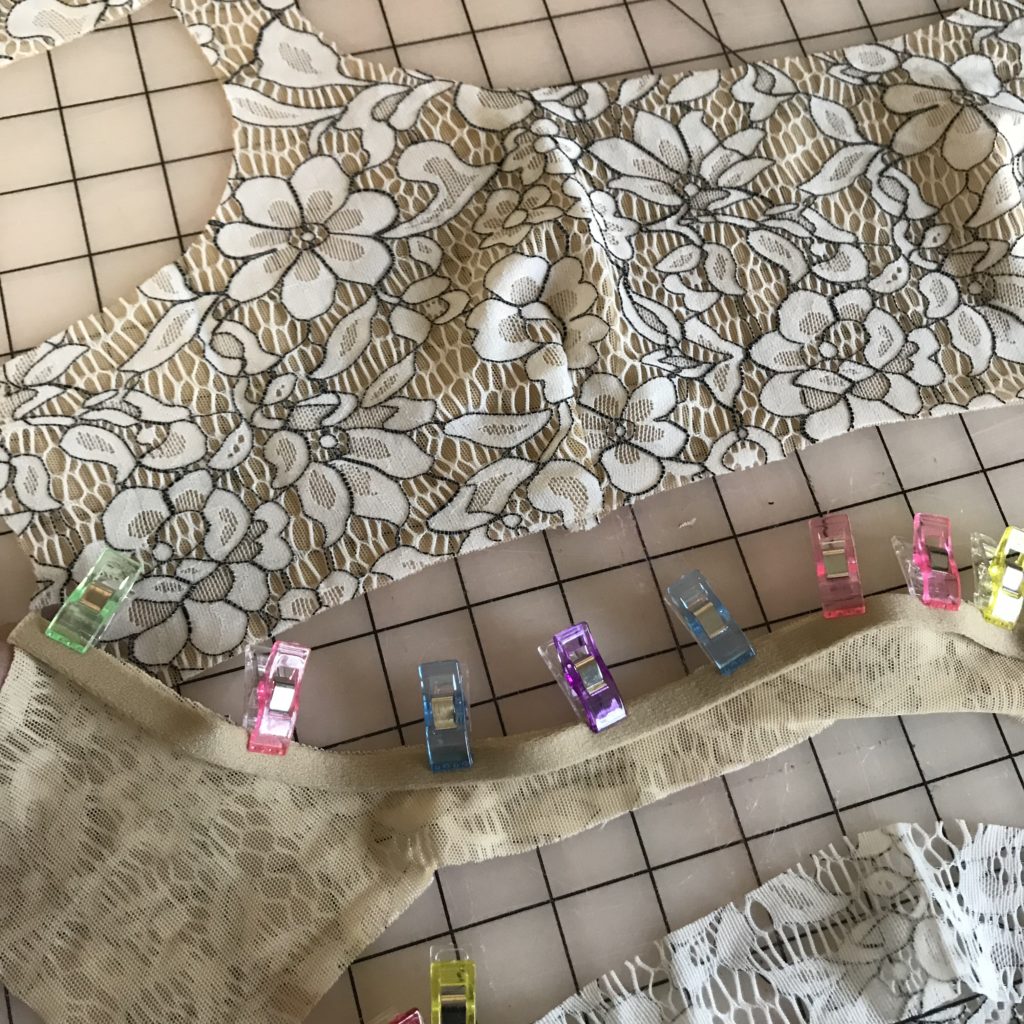
Step four: Change needle to universal 14 and sew channeling.
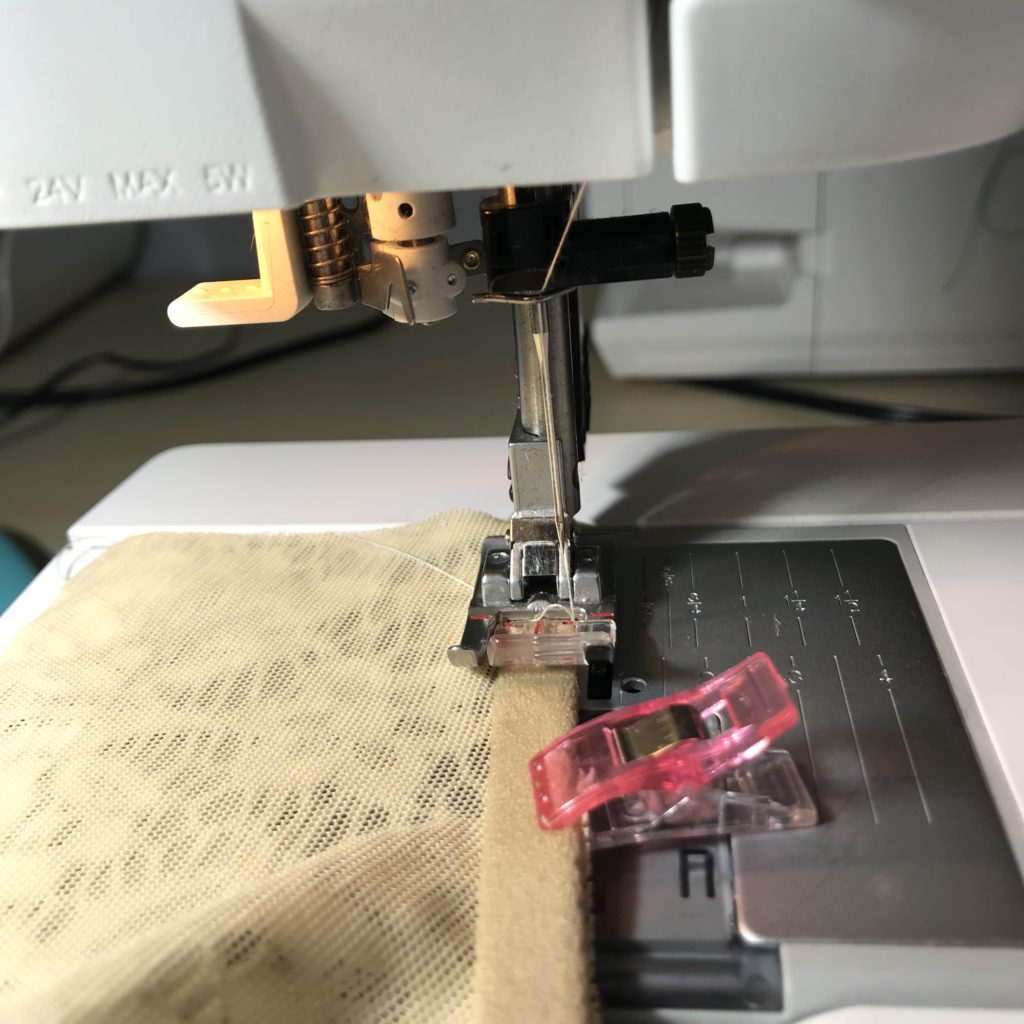
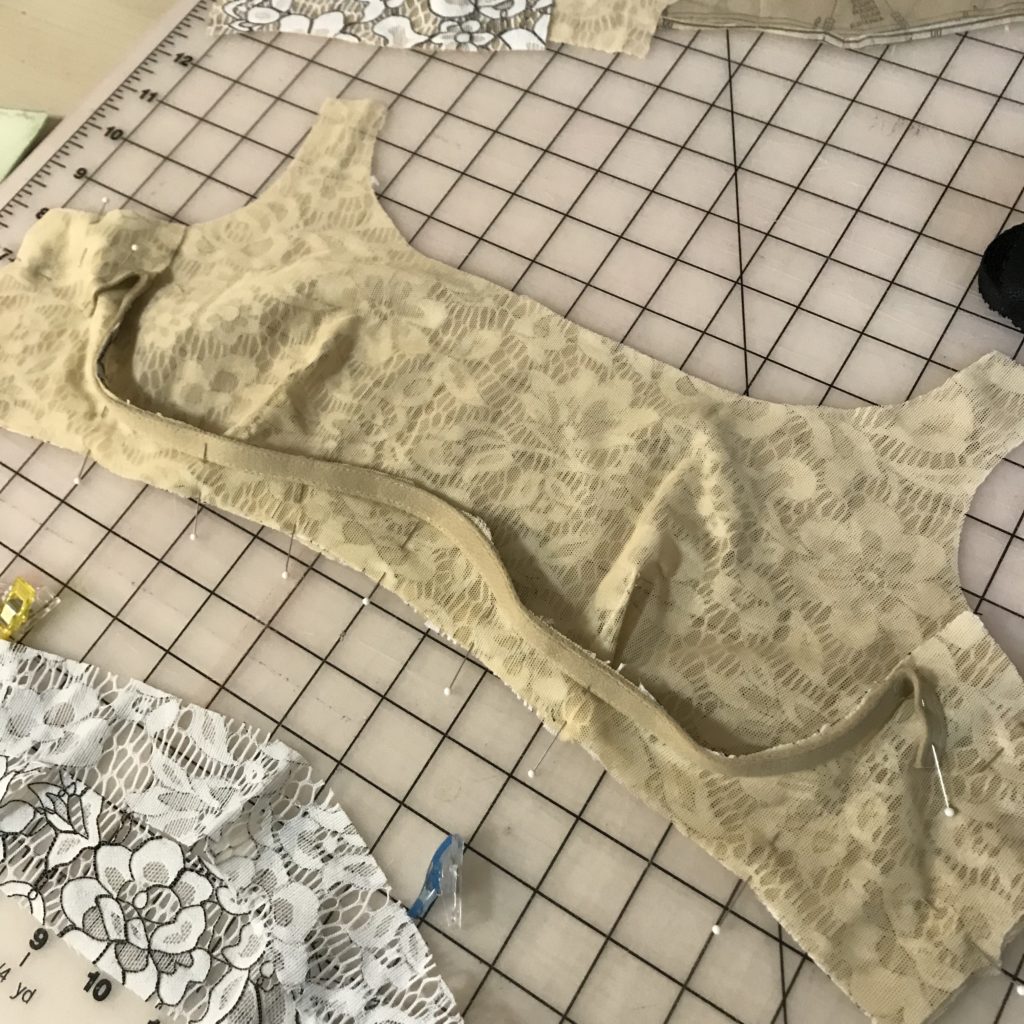
Step five: Change needle back to ball point. STITCH the bridge onto the front. STITCH the backs into the front.
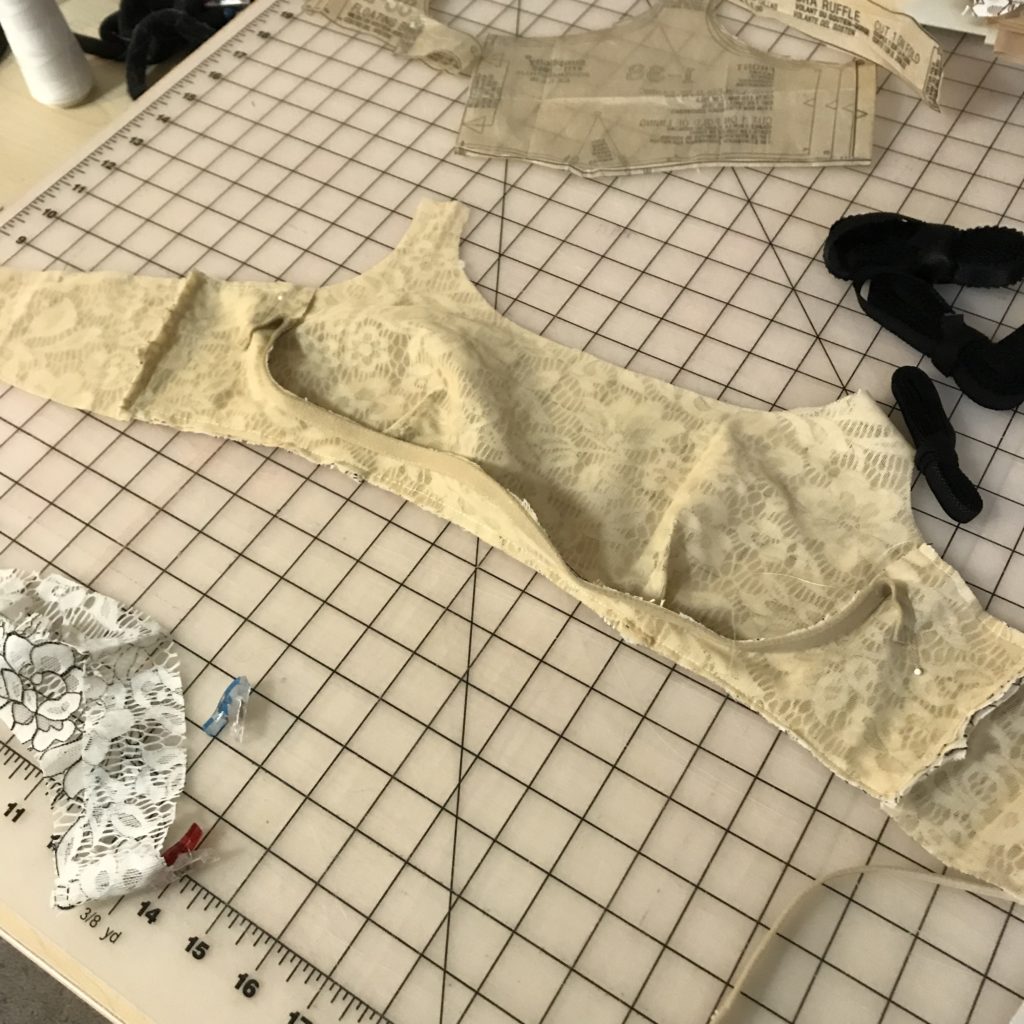
Step six: Change thread from cream to black and STITCH picot trim to entire top, as instructed.
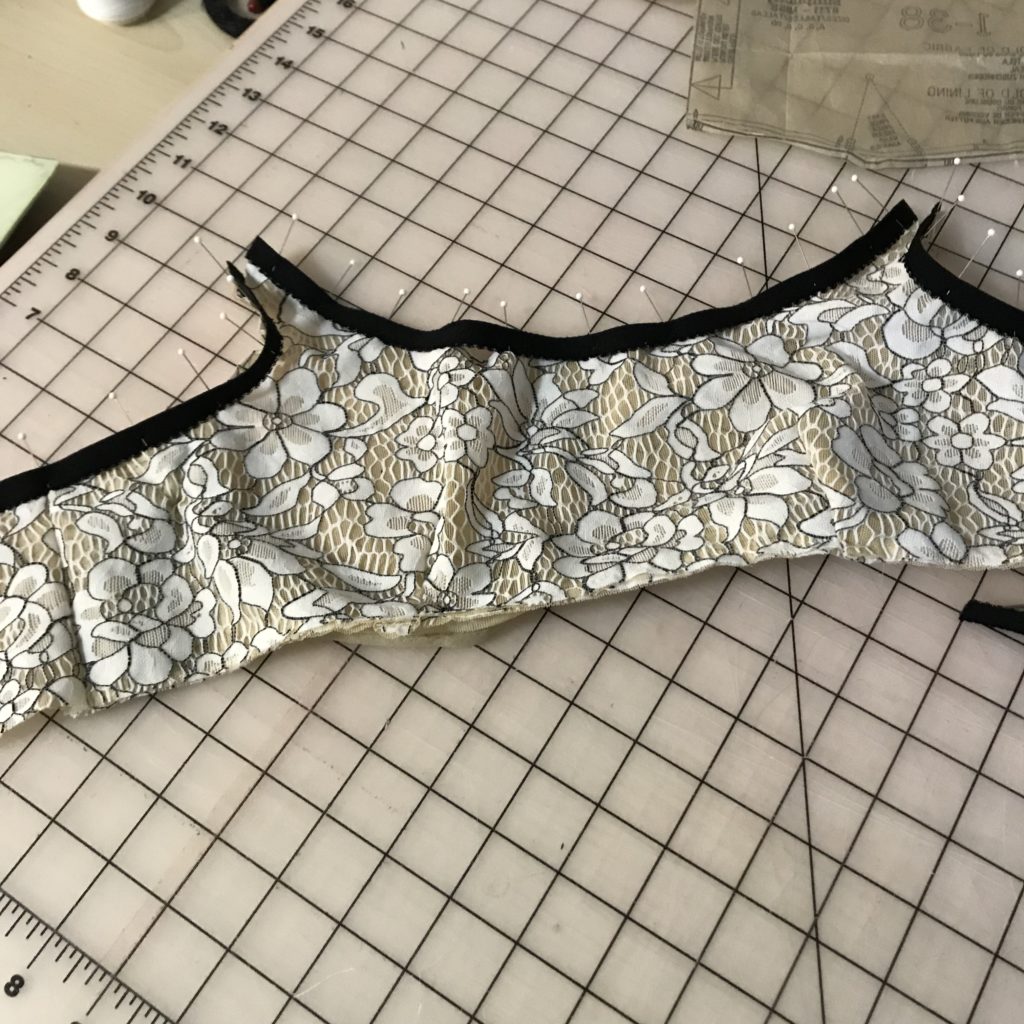
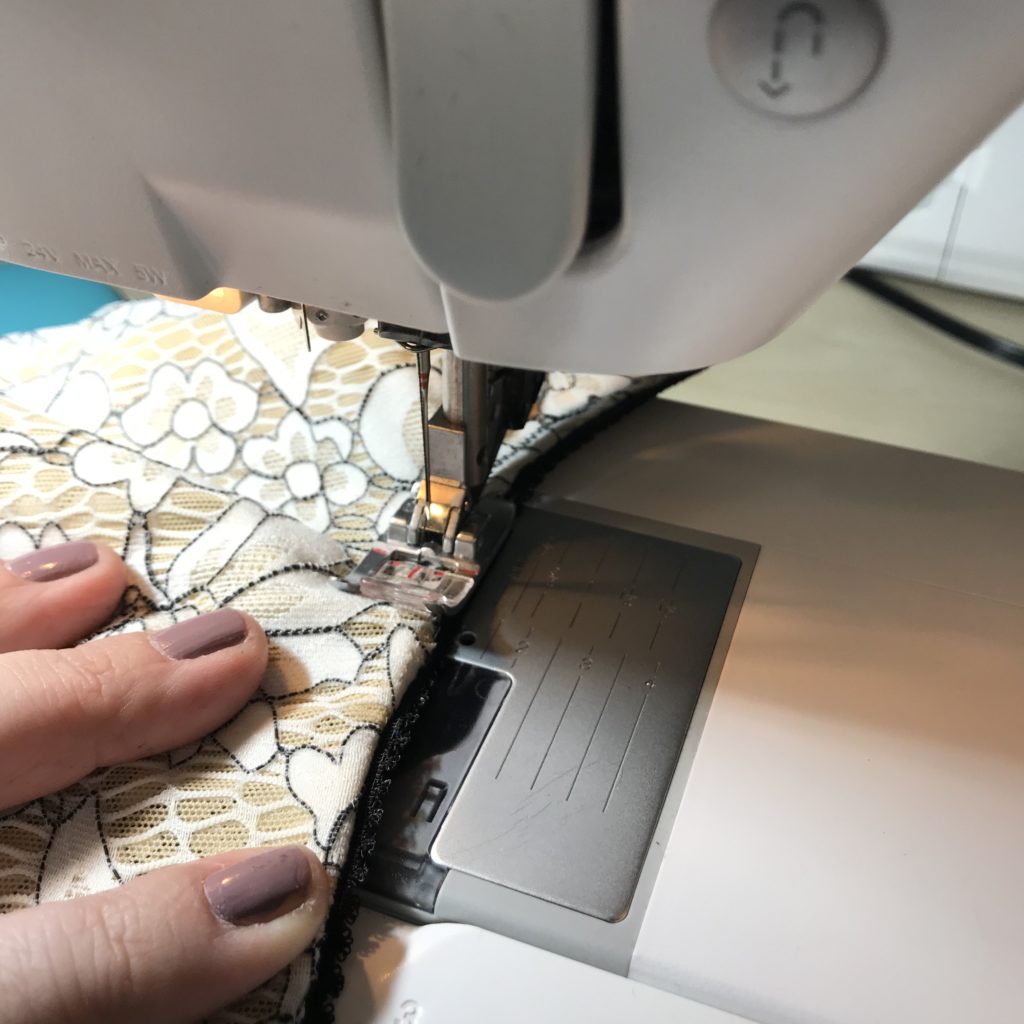
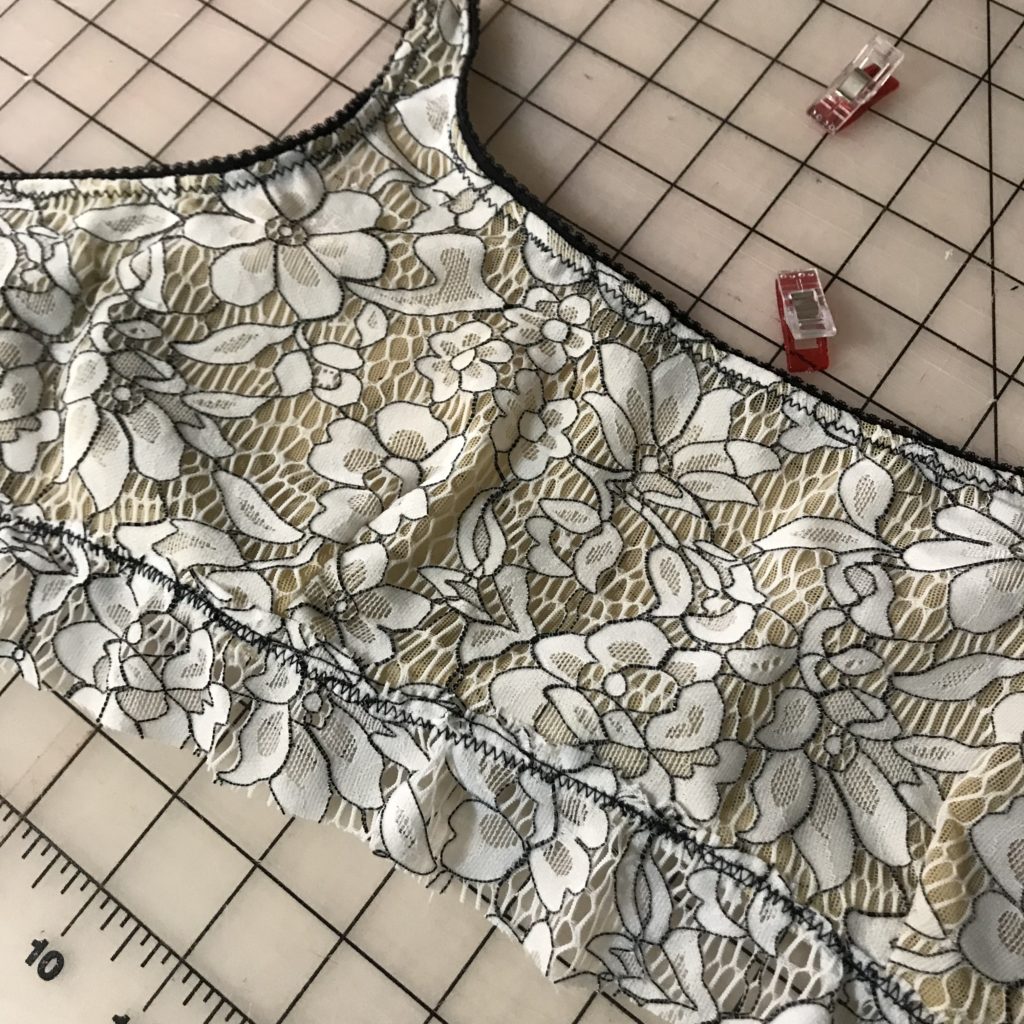
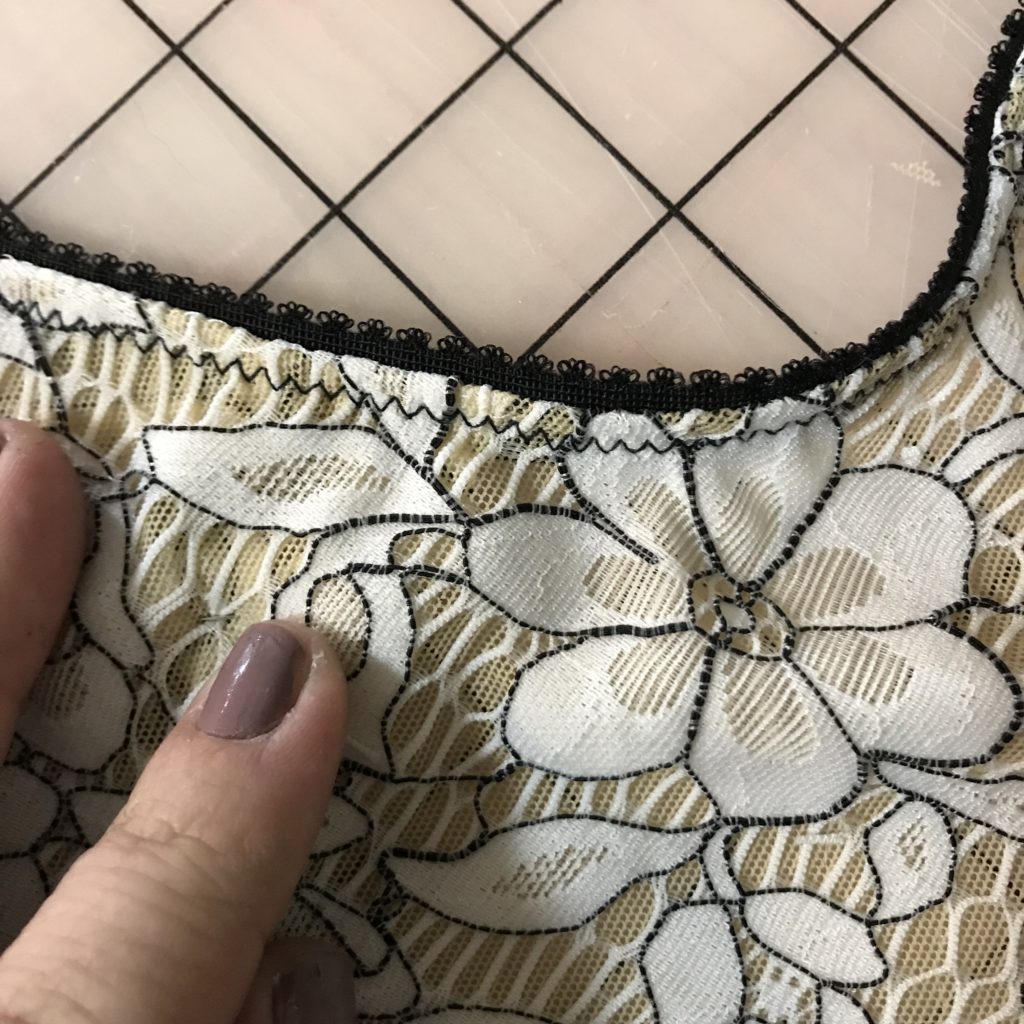
Step seven: STITCH on ruffle overlapping ruffle along bottom edge of bra. Change needle to universal 14 and STITCH on the picot bra strap along the ruffle edge. I used a three step zig zag for this step.
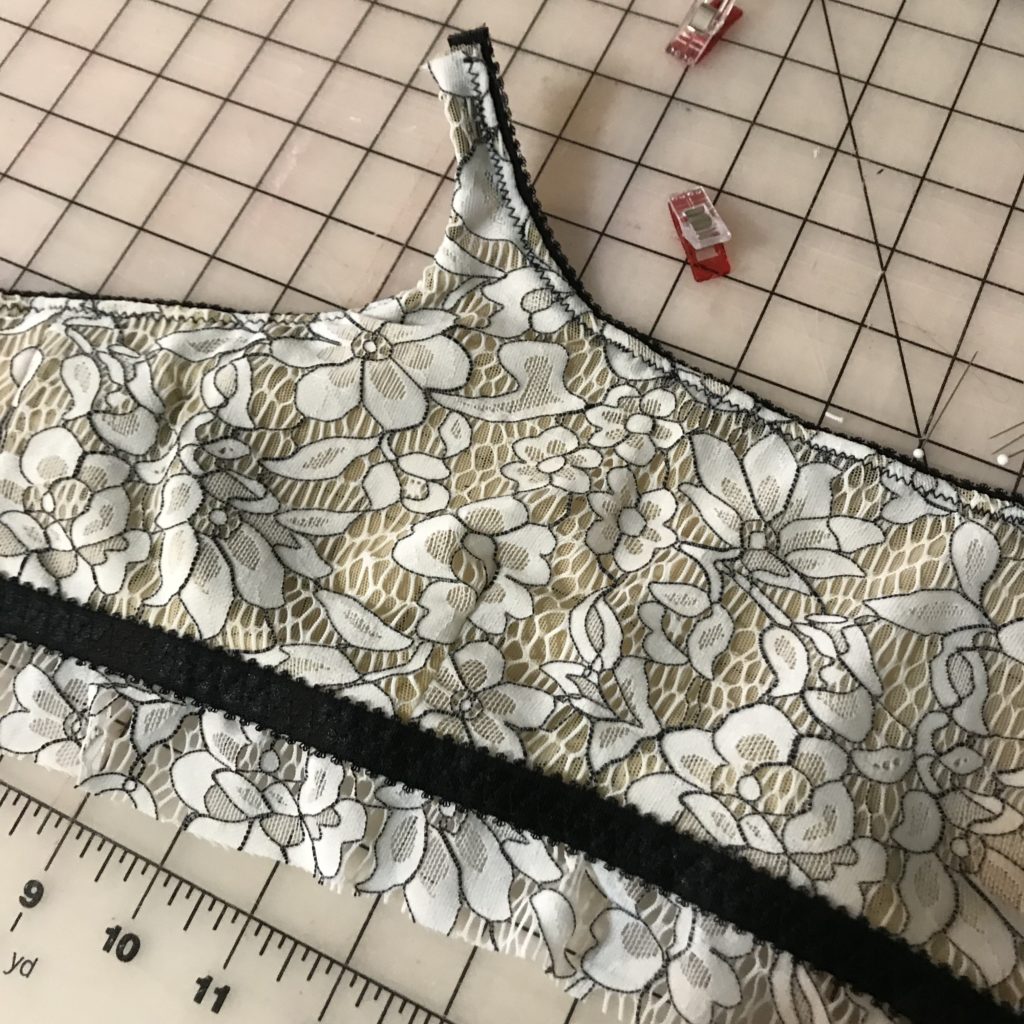
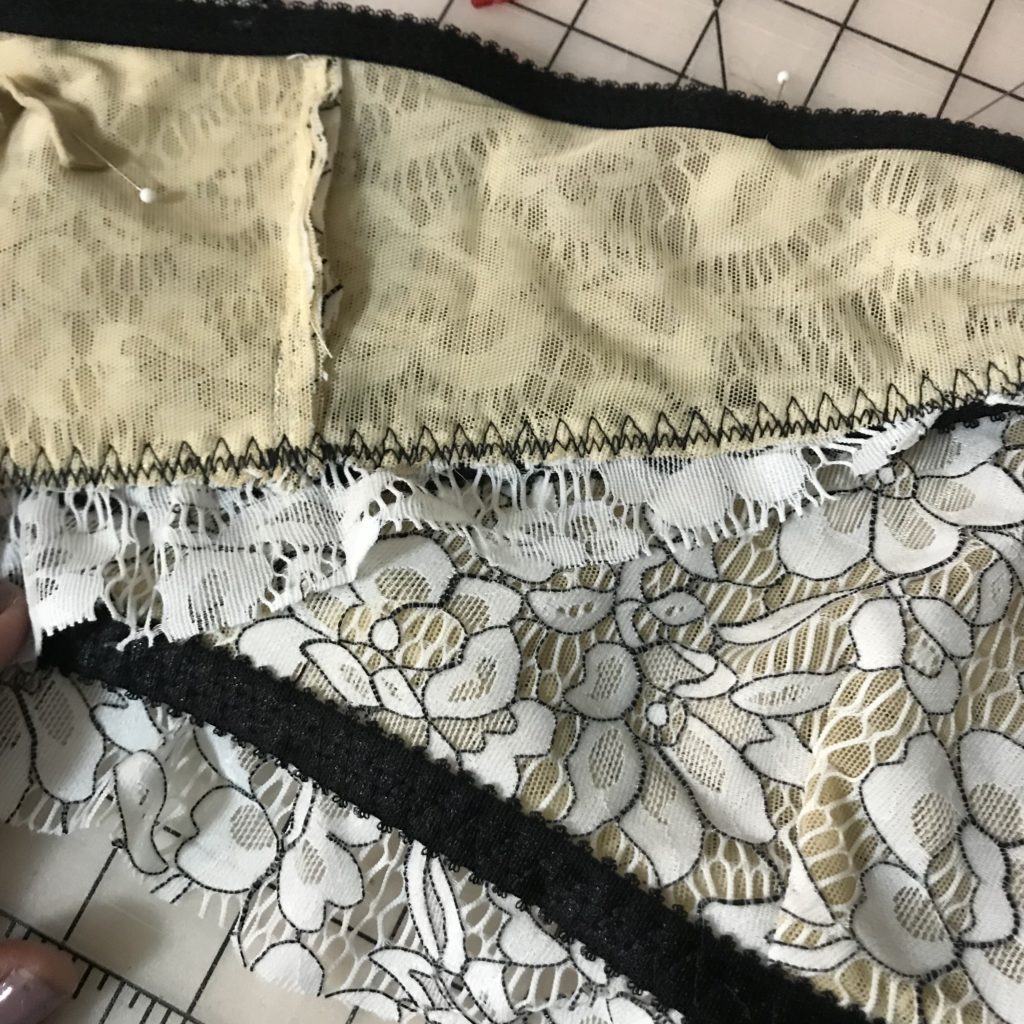
Step eight: Because I didn’t want to change needle and thread again, I diverted from the pattern instructions at this point and STITCHED the hook and loop closures and the straps on.
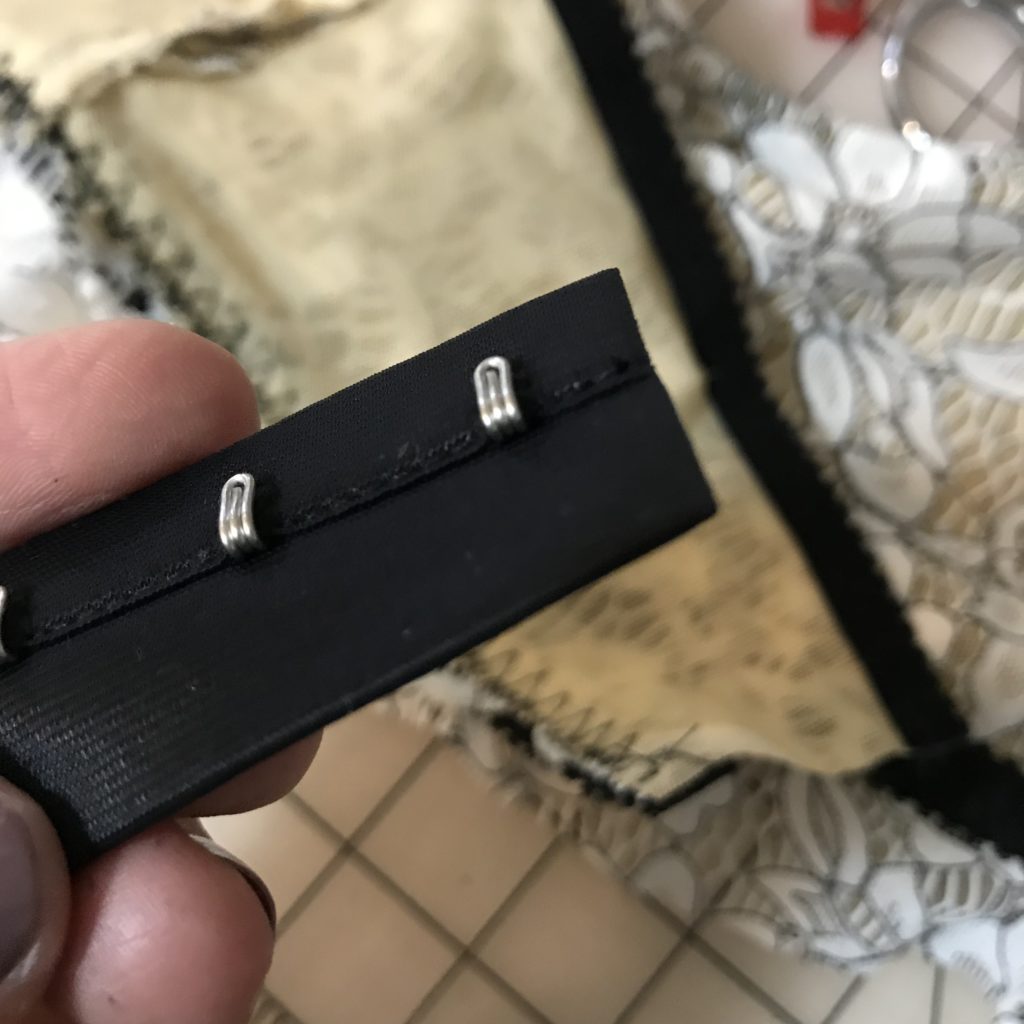
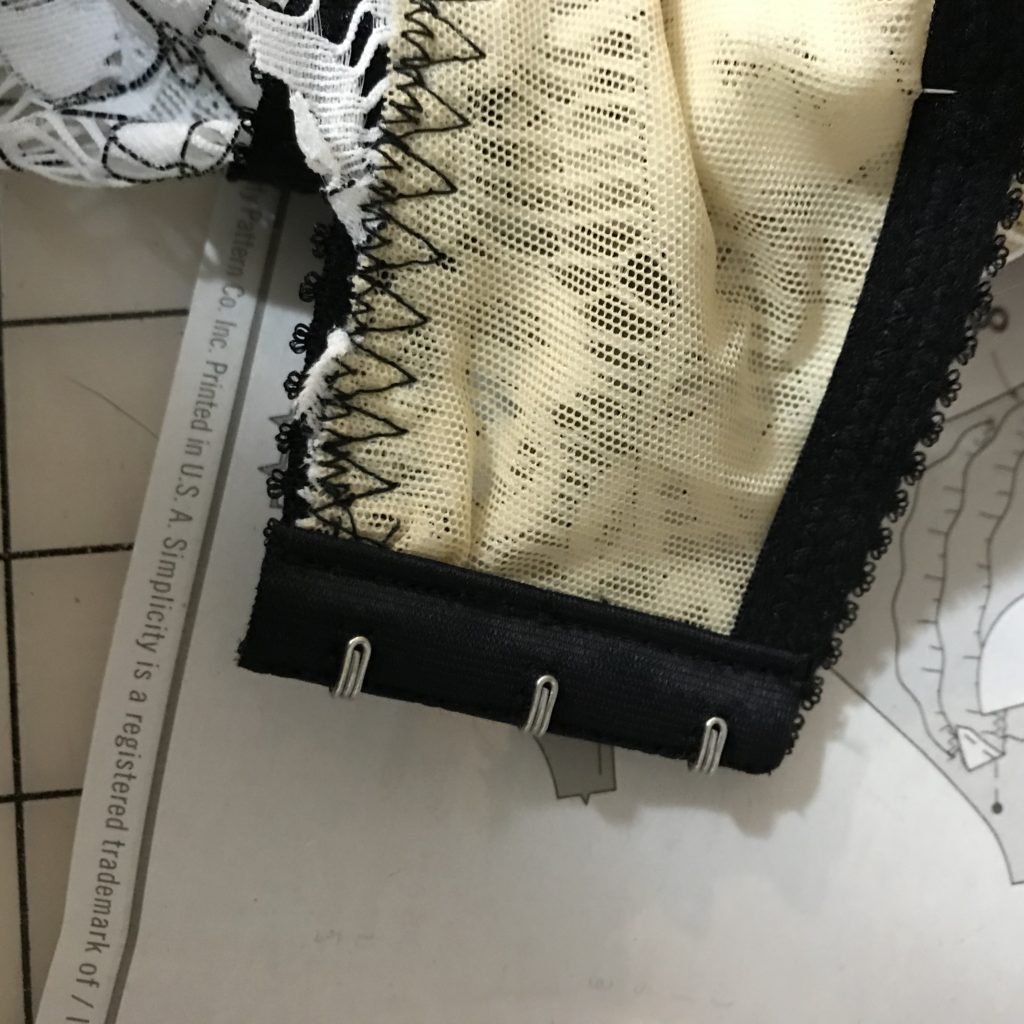
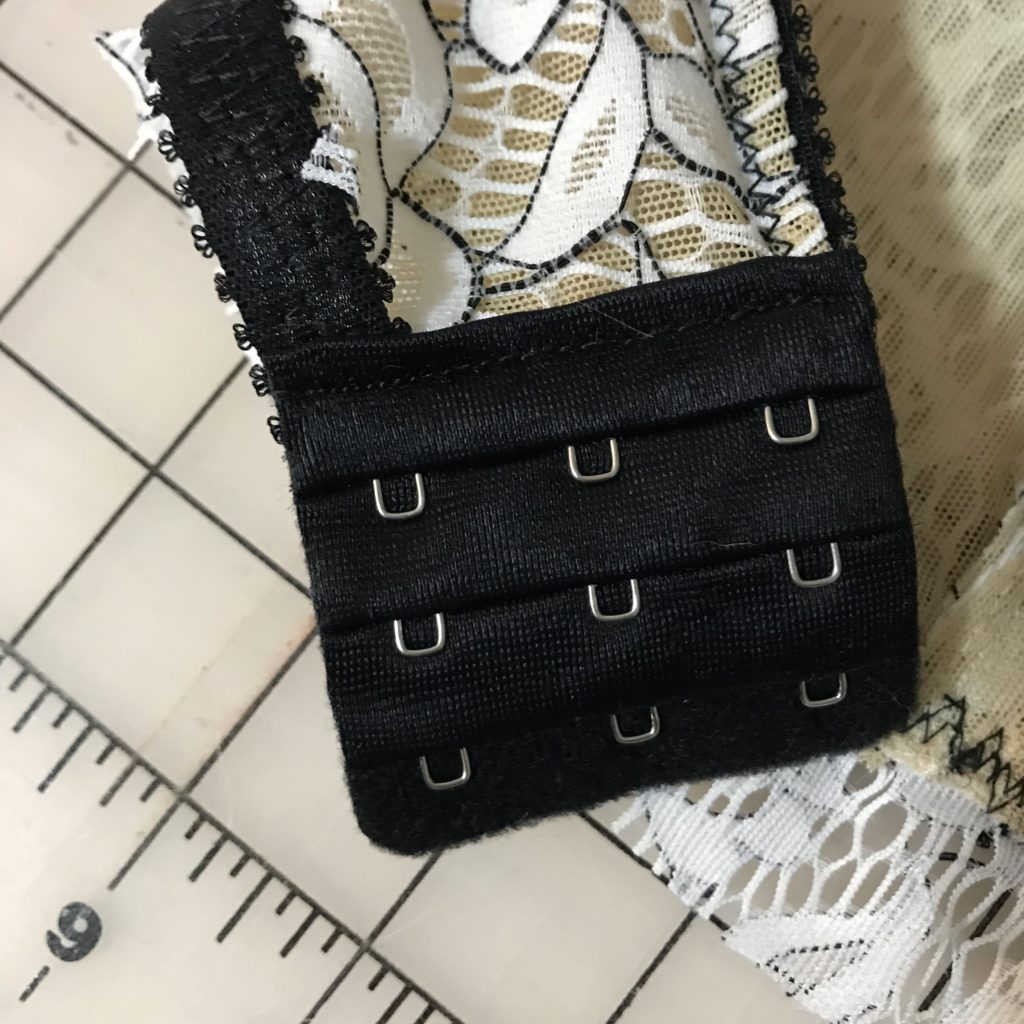
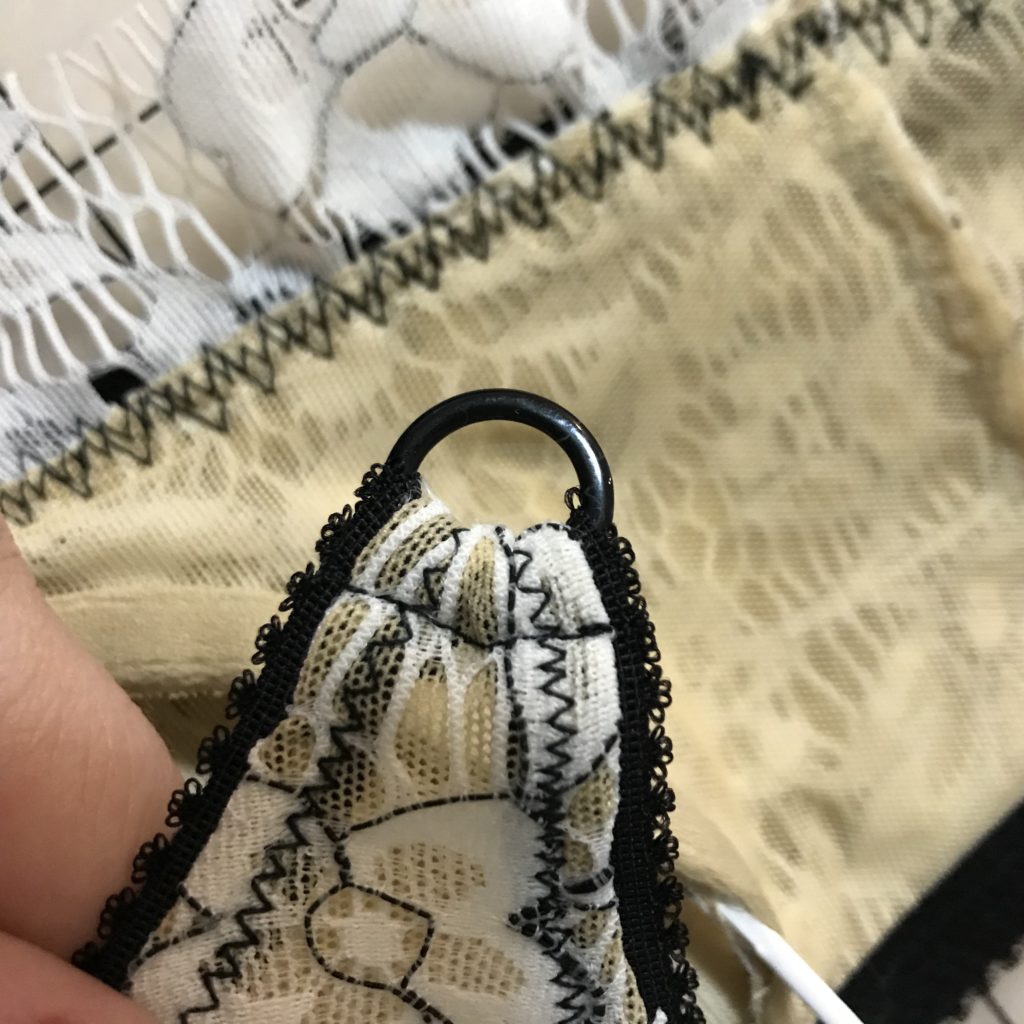
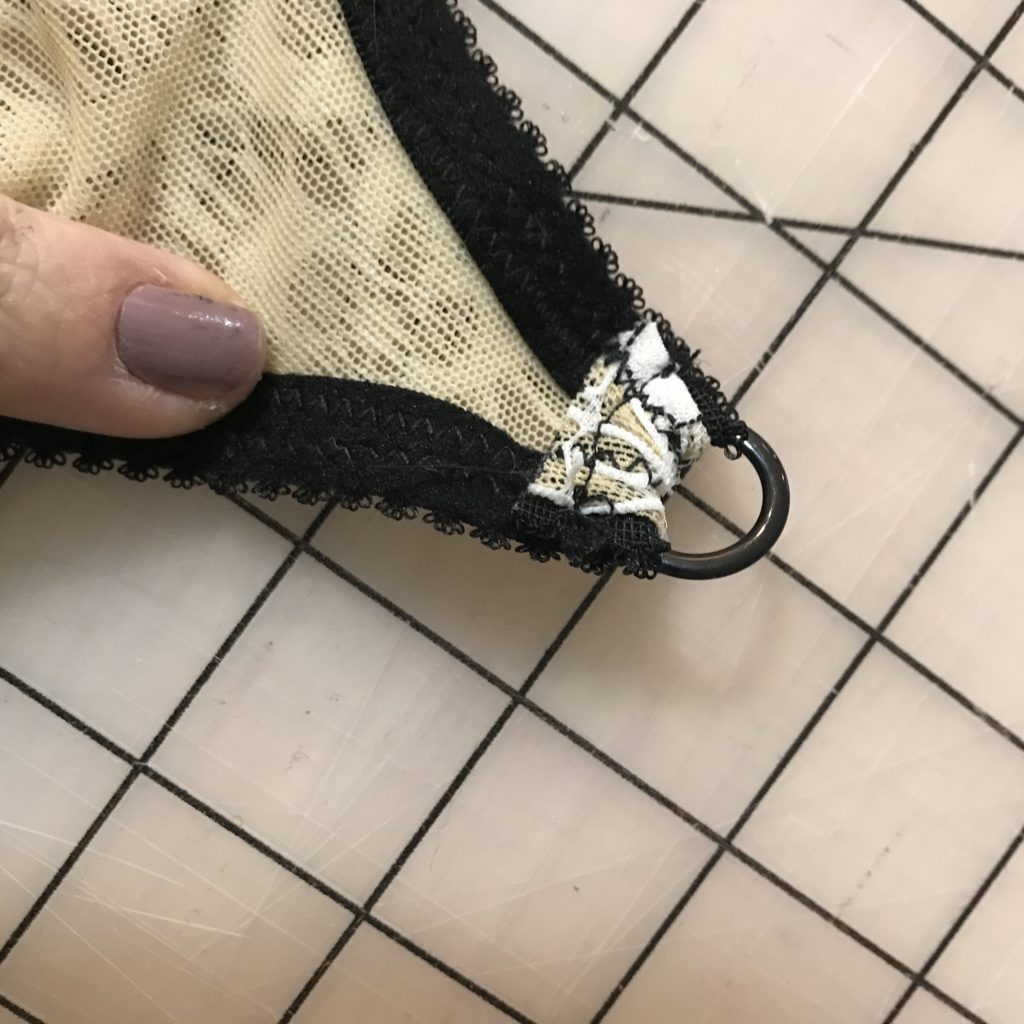
Step nine: Instert the monowire. Change thread to cream and finish stitching the channeling as described in the pattern instructions.
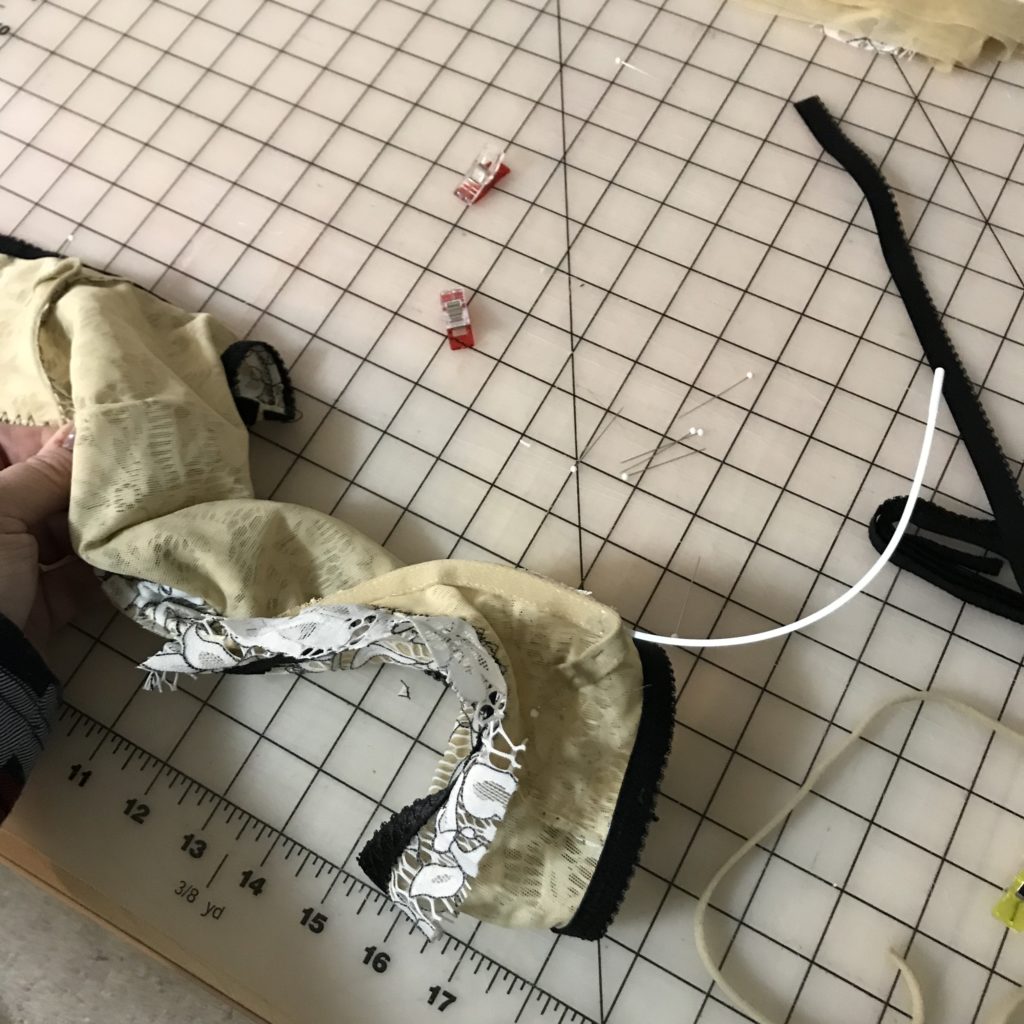
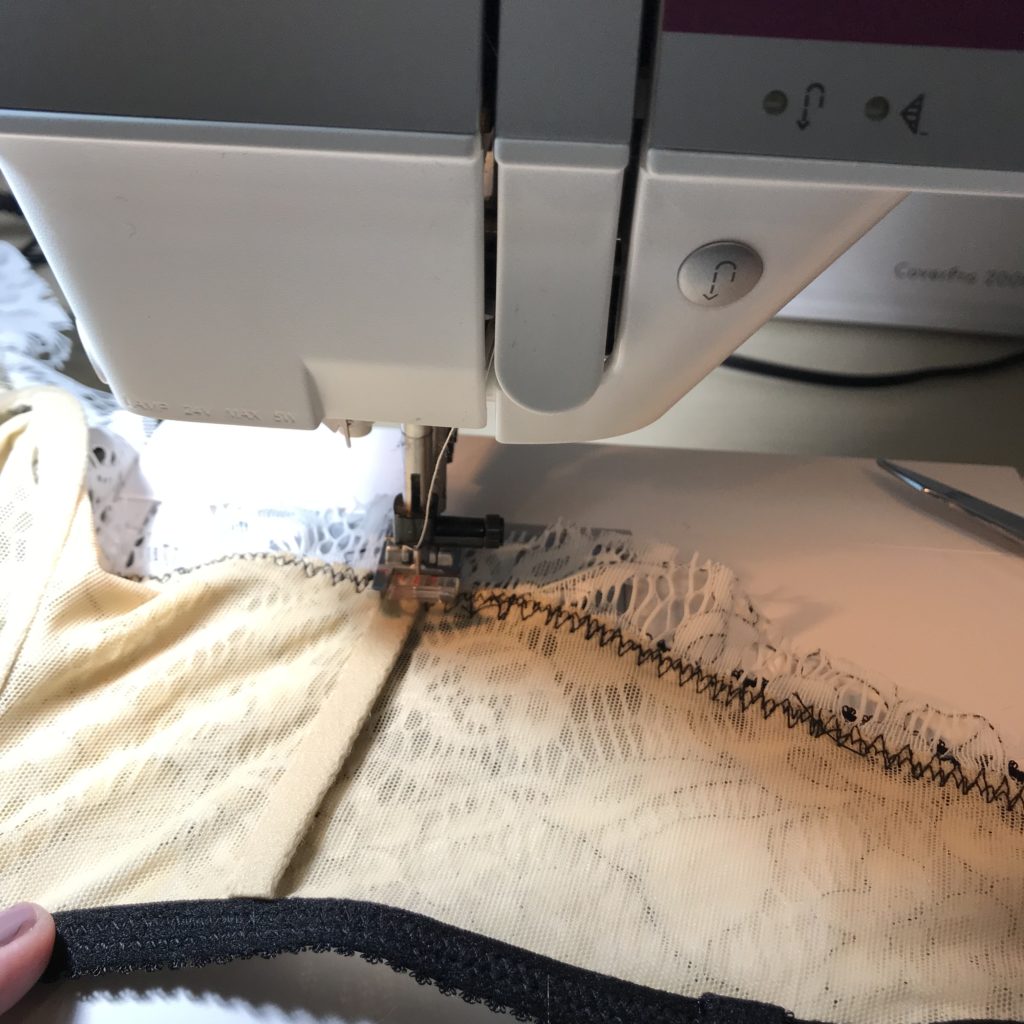
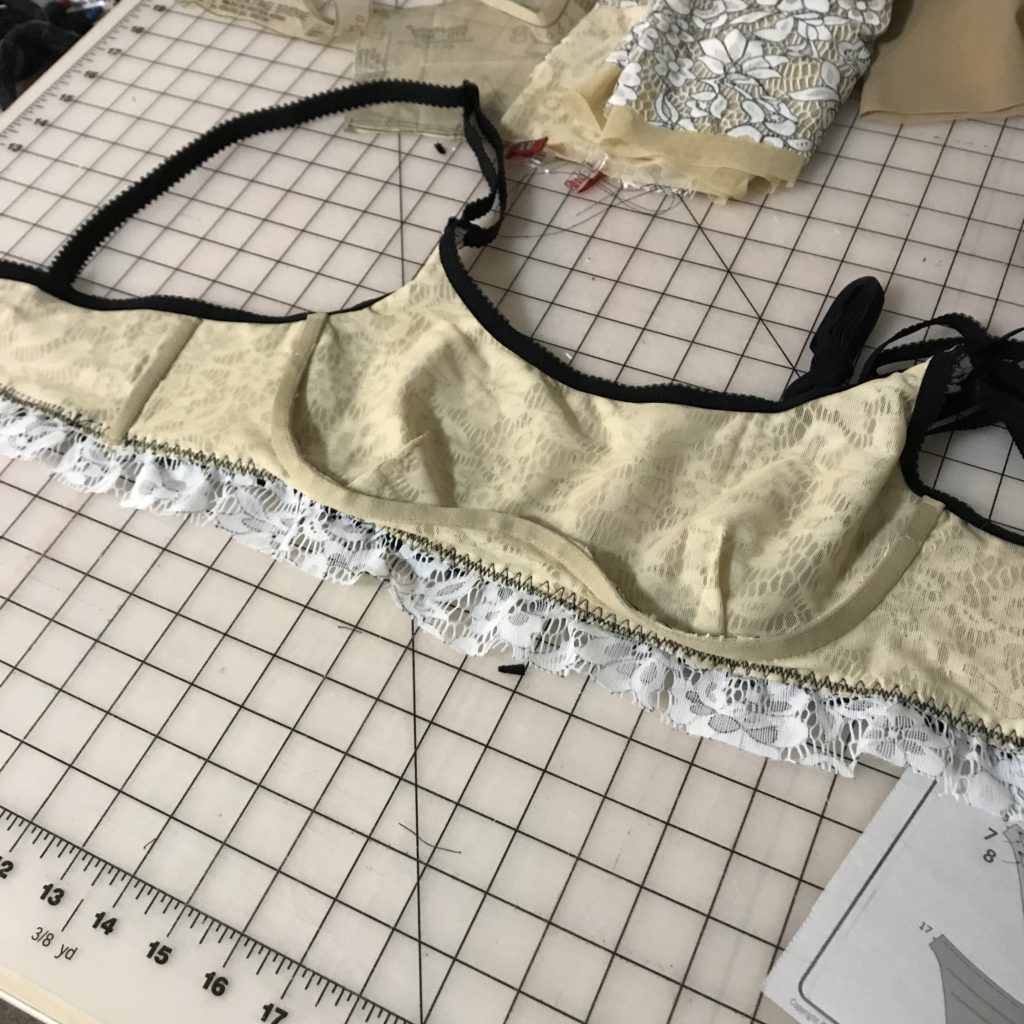
I love the look of this bra! The monowire provides nice support and the style of the bra is soft and comfortable.
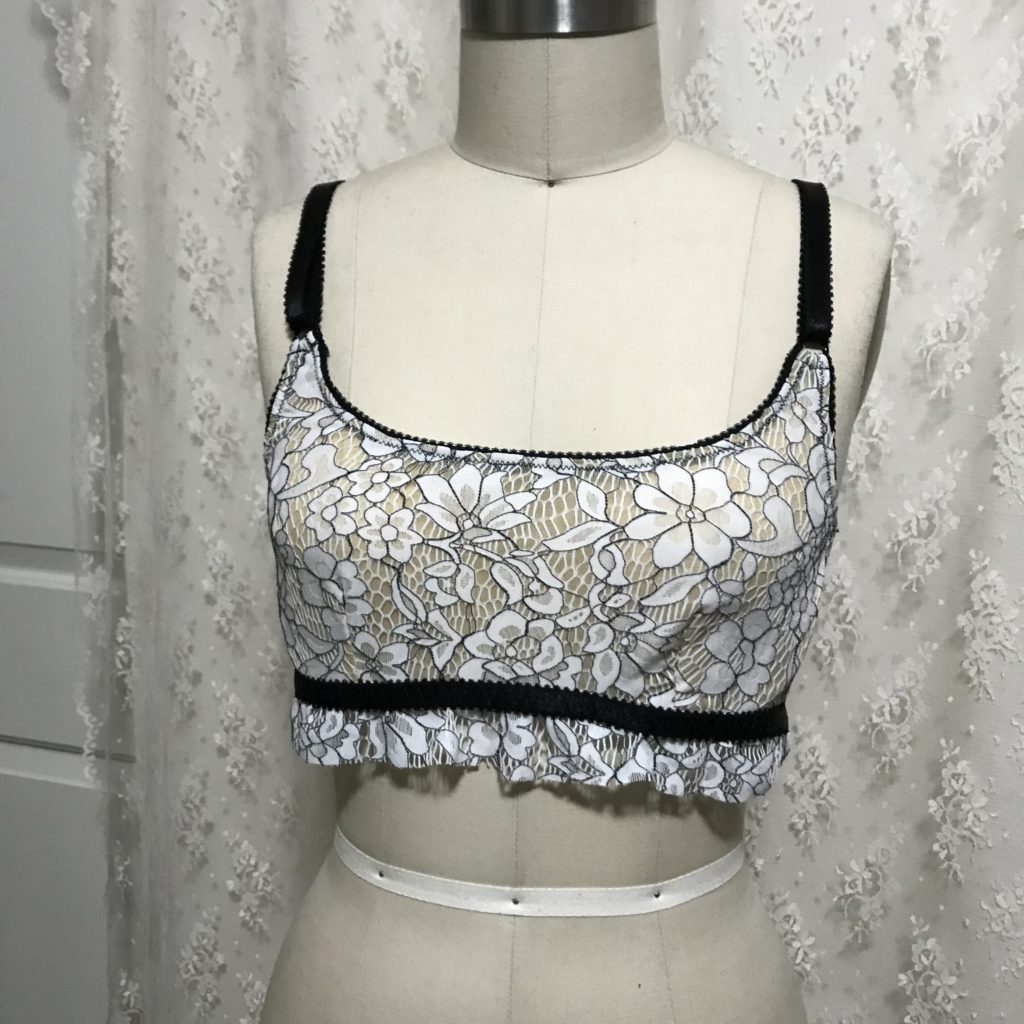
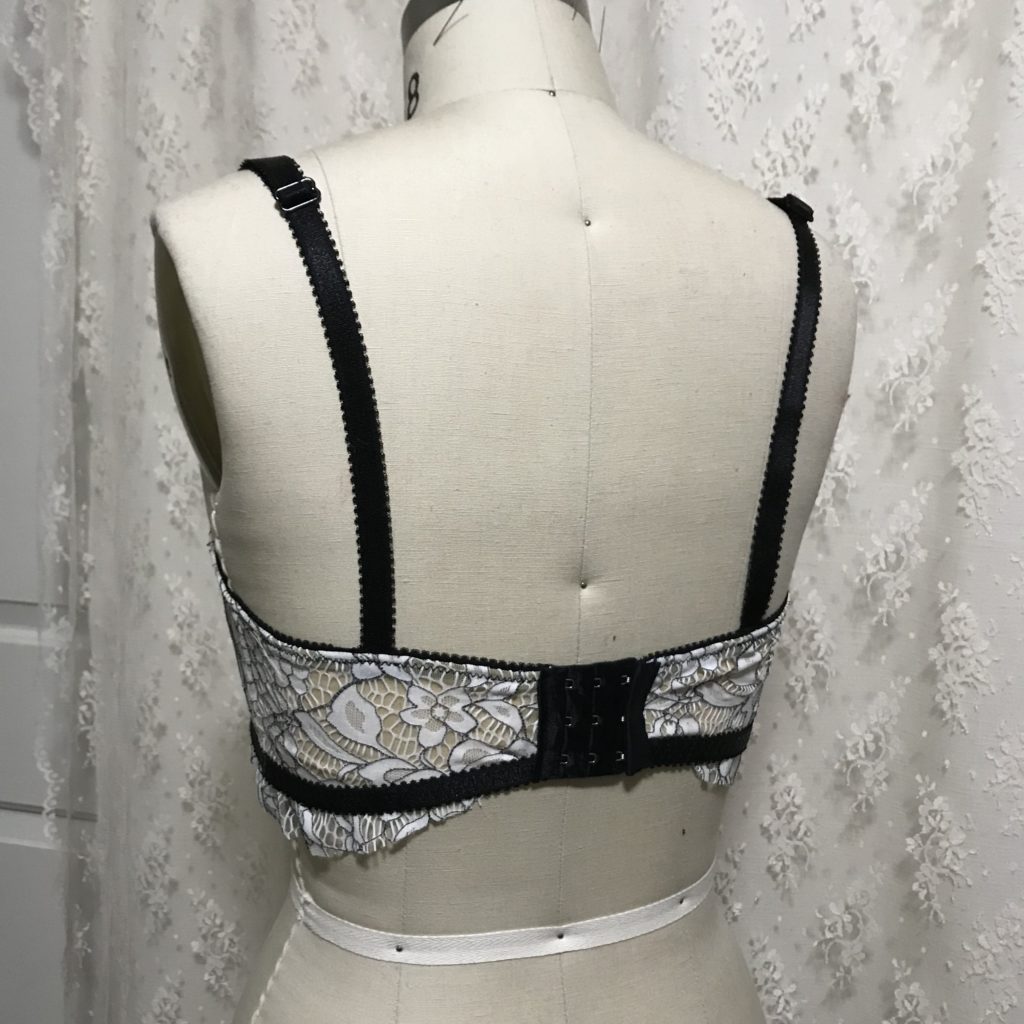
Now I just need to wash it to wash out the spray baste!
Happy Friday Friends! What are you making this weekend?
