I love surprises! And I love surprising my kids the most. So for Scotty’s birthday this year, I got him good!
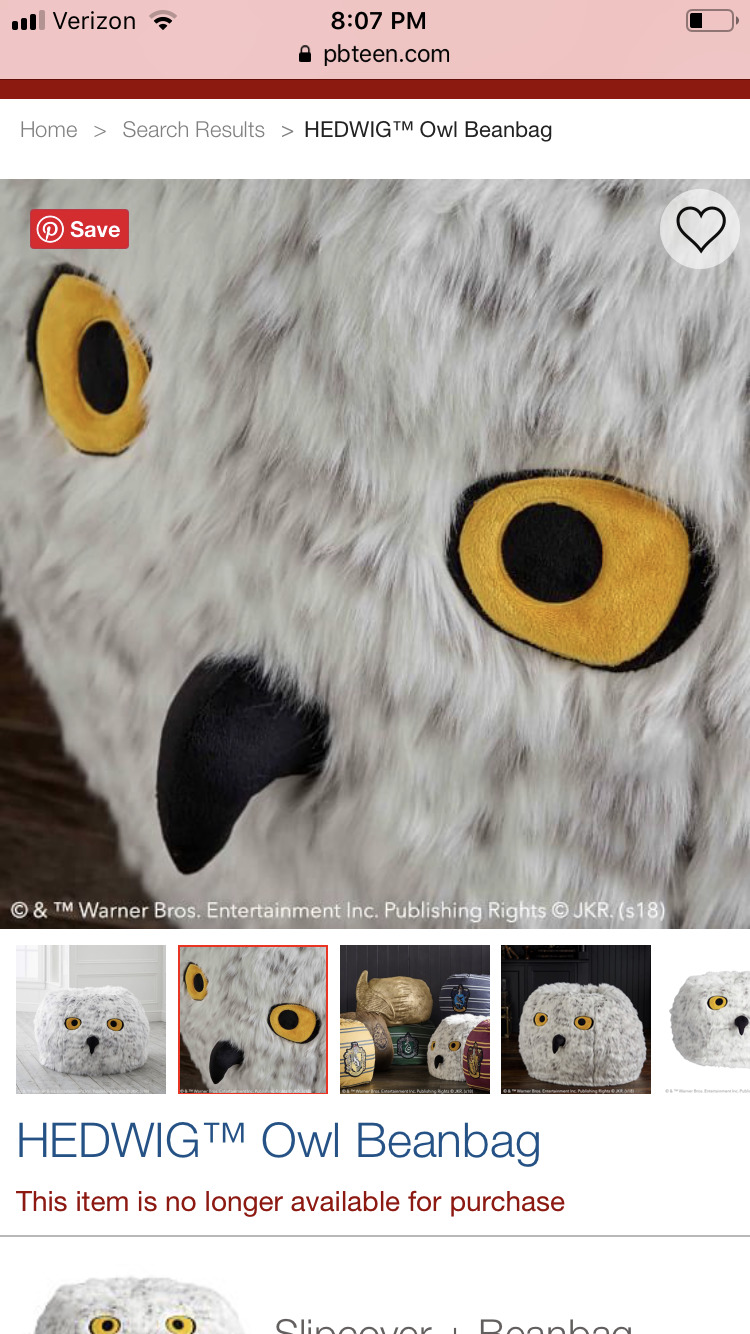
A few weeks ago, we saw this Hedwig Bean Bag at Pottery Barn. It is very cool, but at nearly $300, it was a little out of the budget for us.
So Scott asked if I could make one someday for a “Fake It Friday” project… yes! It would make a great fake it project!
Then I kinda forgot about it for a while. Oops! Scott didn’t… he apparently told Grandma he wished I would make the Hedwig bean bag someday.
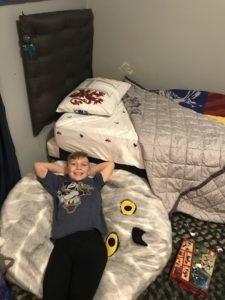
This week was the week! It was Scott’s birthday, so I surprised him with the new Hedwig Fake It when he woke up on his birthday.
This was a surprisingly easy project. The most complicated part was figuring out the pattern for the beak. Here’s how I faked it:
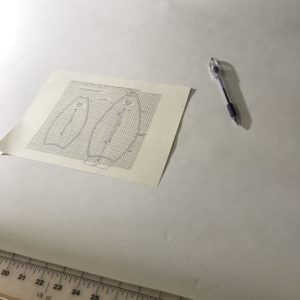
Step one: Find a beanbag cover pattern on Pinterest. This pattern showed how to create pattern using a 1” grid. So I used it as a guide and made my own pattern (slightly different size) based on their measurements.
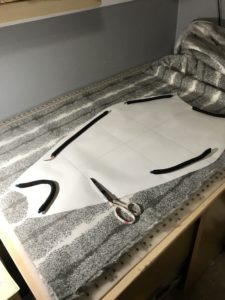
Step two: CUT out the pieces – 6 “side pieces” total.
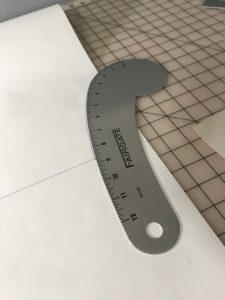
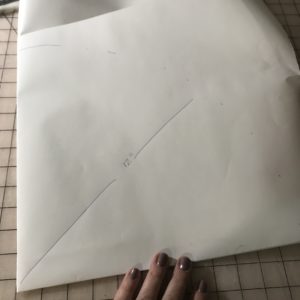
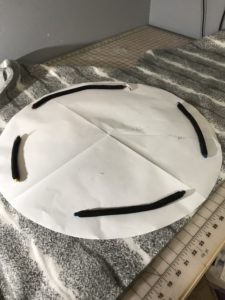
Step three: CUT out the top and bottom pieces. For the bottom, fold a large piece of paper in half and in half once again. At the folded corner, anchor a ruler and measure out an arch at 12”. Cut along the measured arch and unfold to create a circle pattern. For the top, follow the same process to make a circle with an arch that is 5.5”.
Step four: STITCH the side pieces together, leaving the final seam open.
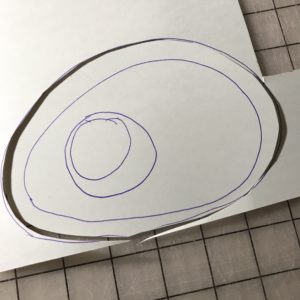
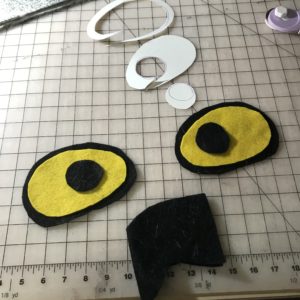
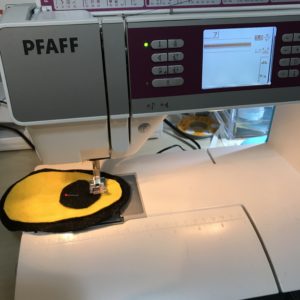
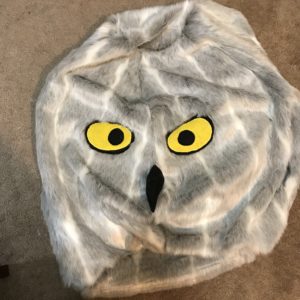
Step five: Create the eyes and beak. For the eyes, I simply drew a pattern and cut it out in pieces starting with the largest part (black) then the middle (yellow) then finally the smallest part – the eyeball – (Black). I used felt for the eyes and beak. I used a satin stitch to attach the layers of the eyes together.
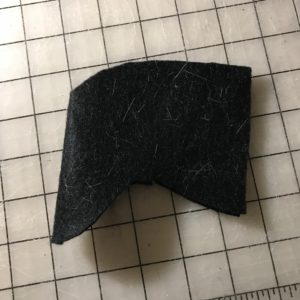
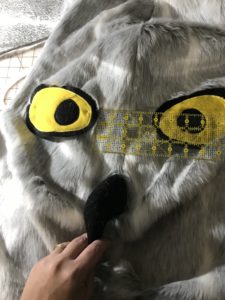
For the beak, I practiced with a few different patterns until I found the right size and shape that I wanted. Then I used the final pattern to make the beak out of black felt.
To insert the beak, I opened the seam inbetween the middle panels , inserted the beak and restitched the seam.
I stitched on the eyes using a statin stitch, careful to pull the fur back on the top of the eyes so it would hang over them “naturally”
Step six: Stitch the last side seam, inserting an invisible zipper in the seam. With the zipper installed, you’ll be able to insert the bean bag (or loose beans).
Step seven: Turn the cover inside out and attach the top and bottom circles. The easiest way to do this is to mark quarters in the circle and the sides, then matching the quarters and pinning it all together evenly.
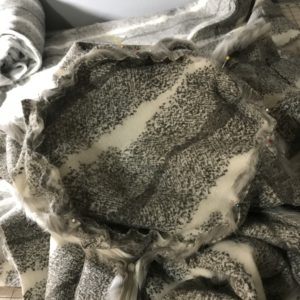 Finally, turn the cover inside out (rightside out) and stuff it! Since I couldn’t find an actual bean bag on short notice, I’ve temporarily stuffed this with blankets (many, many blankets). I’ll have to order a real bean bag now!
Scotty was pretty excited to find I’d put it in his room while he was sleepomg! Waking up to it was a great start to his birthday!


