This weekend I realized my wardrobe no longer reflects my lifestyle. I mostly have the polar opposites. Suits and business dresses from days of working in an office that demanded formal business attire, and workout/super casual/camping clothes. I have a few things that meet in the middle, but I desperately need more layering pieces.
I have a whole wardrobe of fabric I’ve amassed over the years, so instead of going shopping for some basic staples, I’m planning to “shop” my fabric stash and finally make some things for myself!
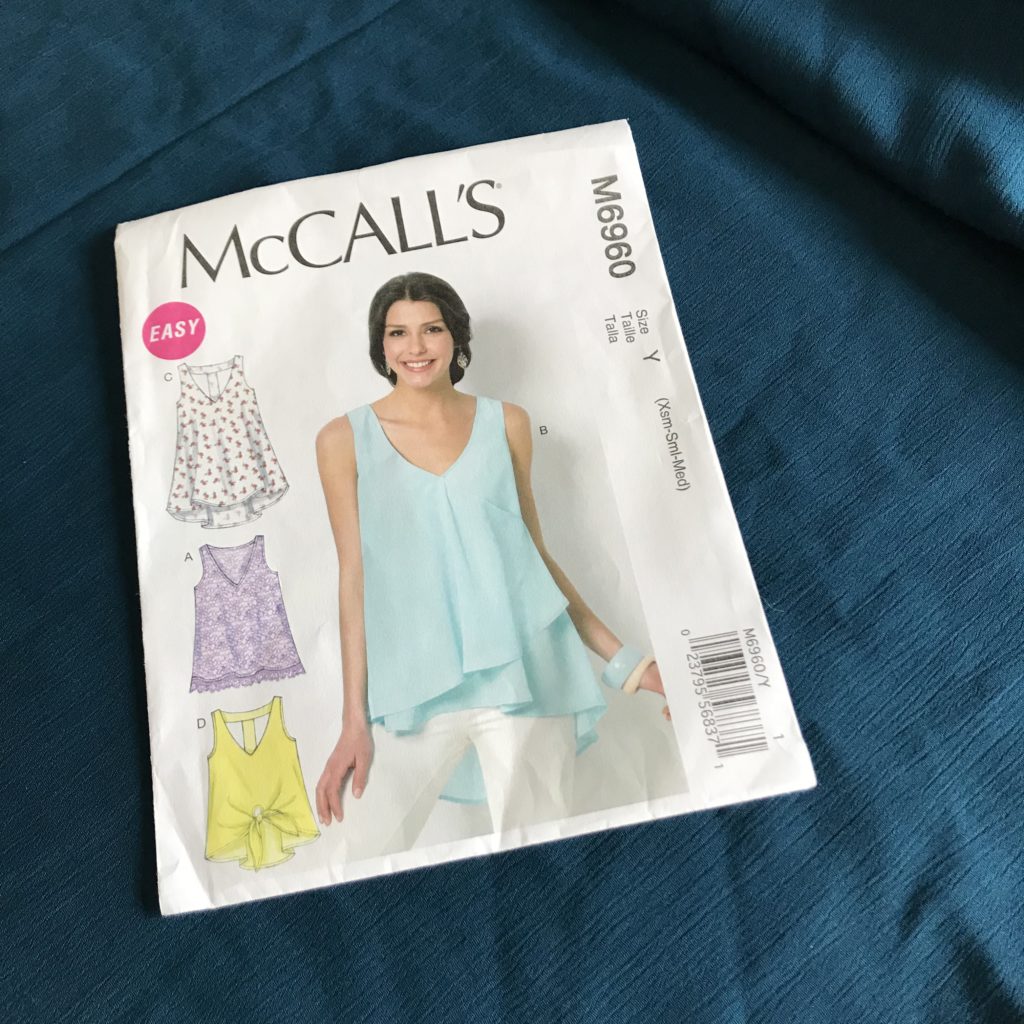
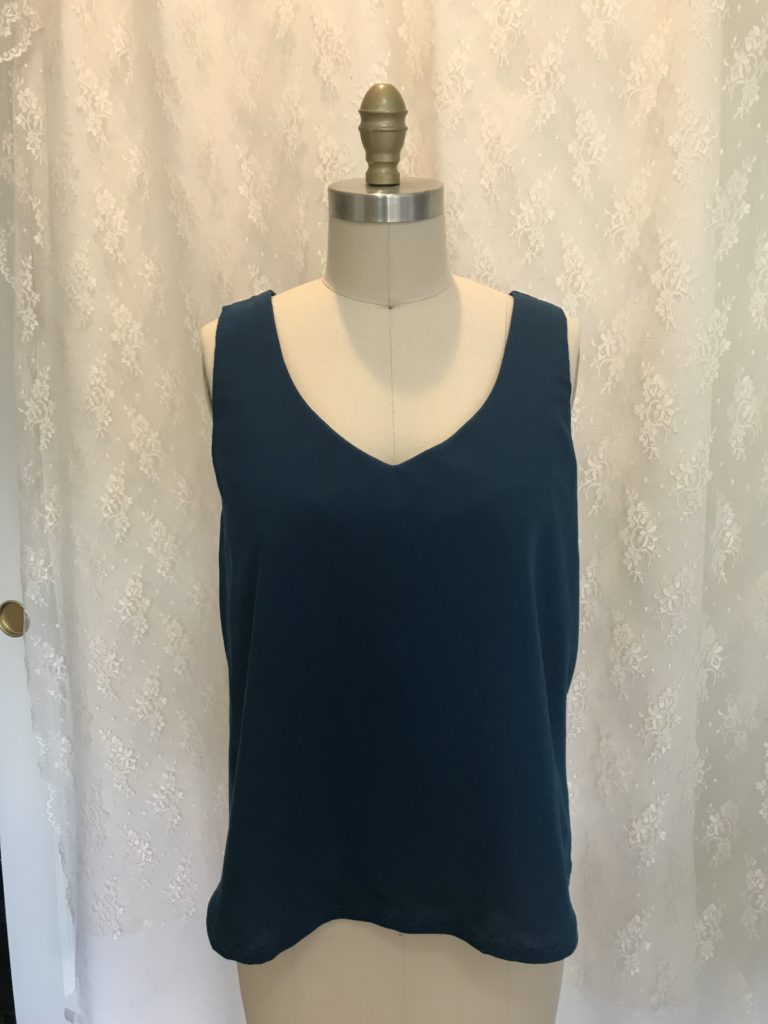
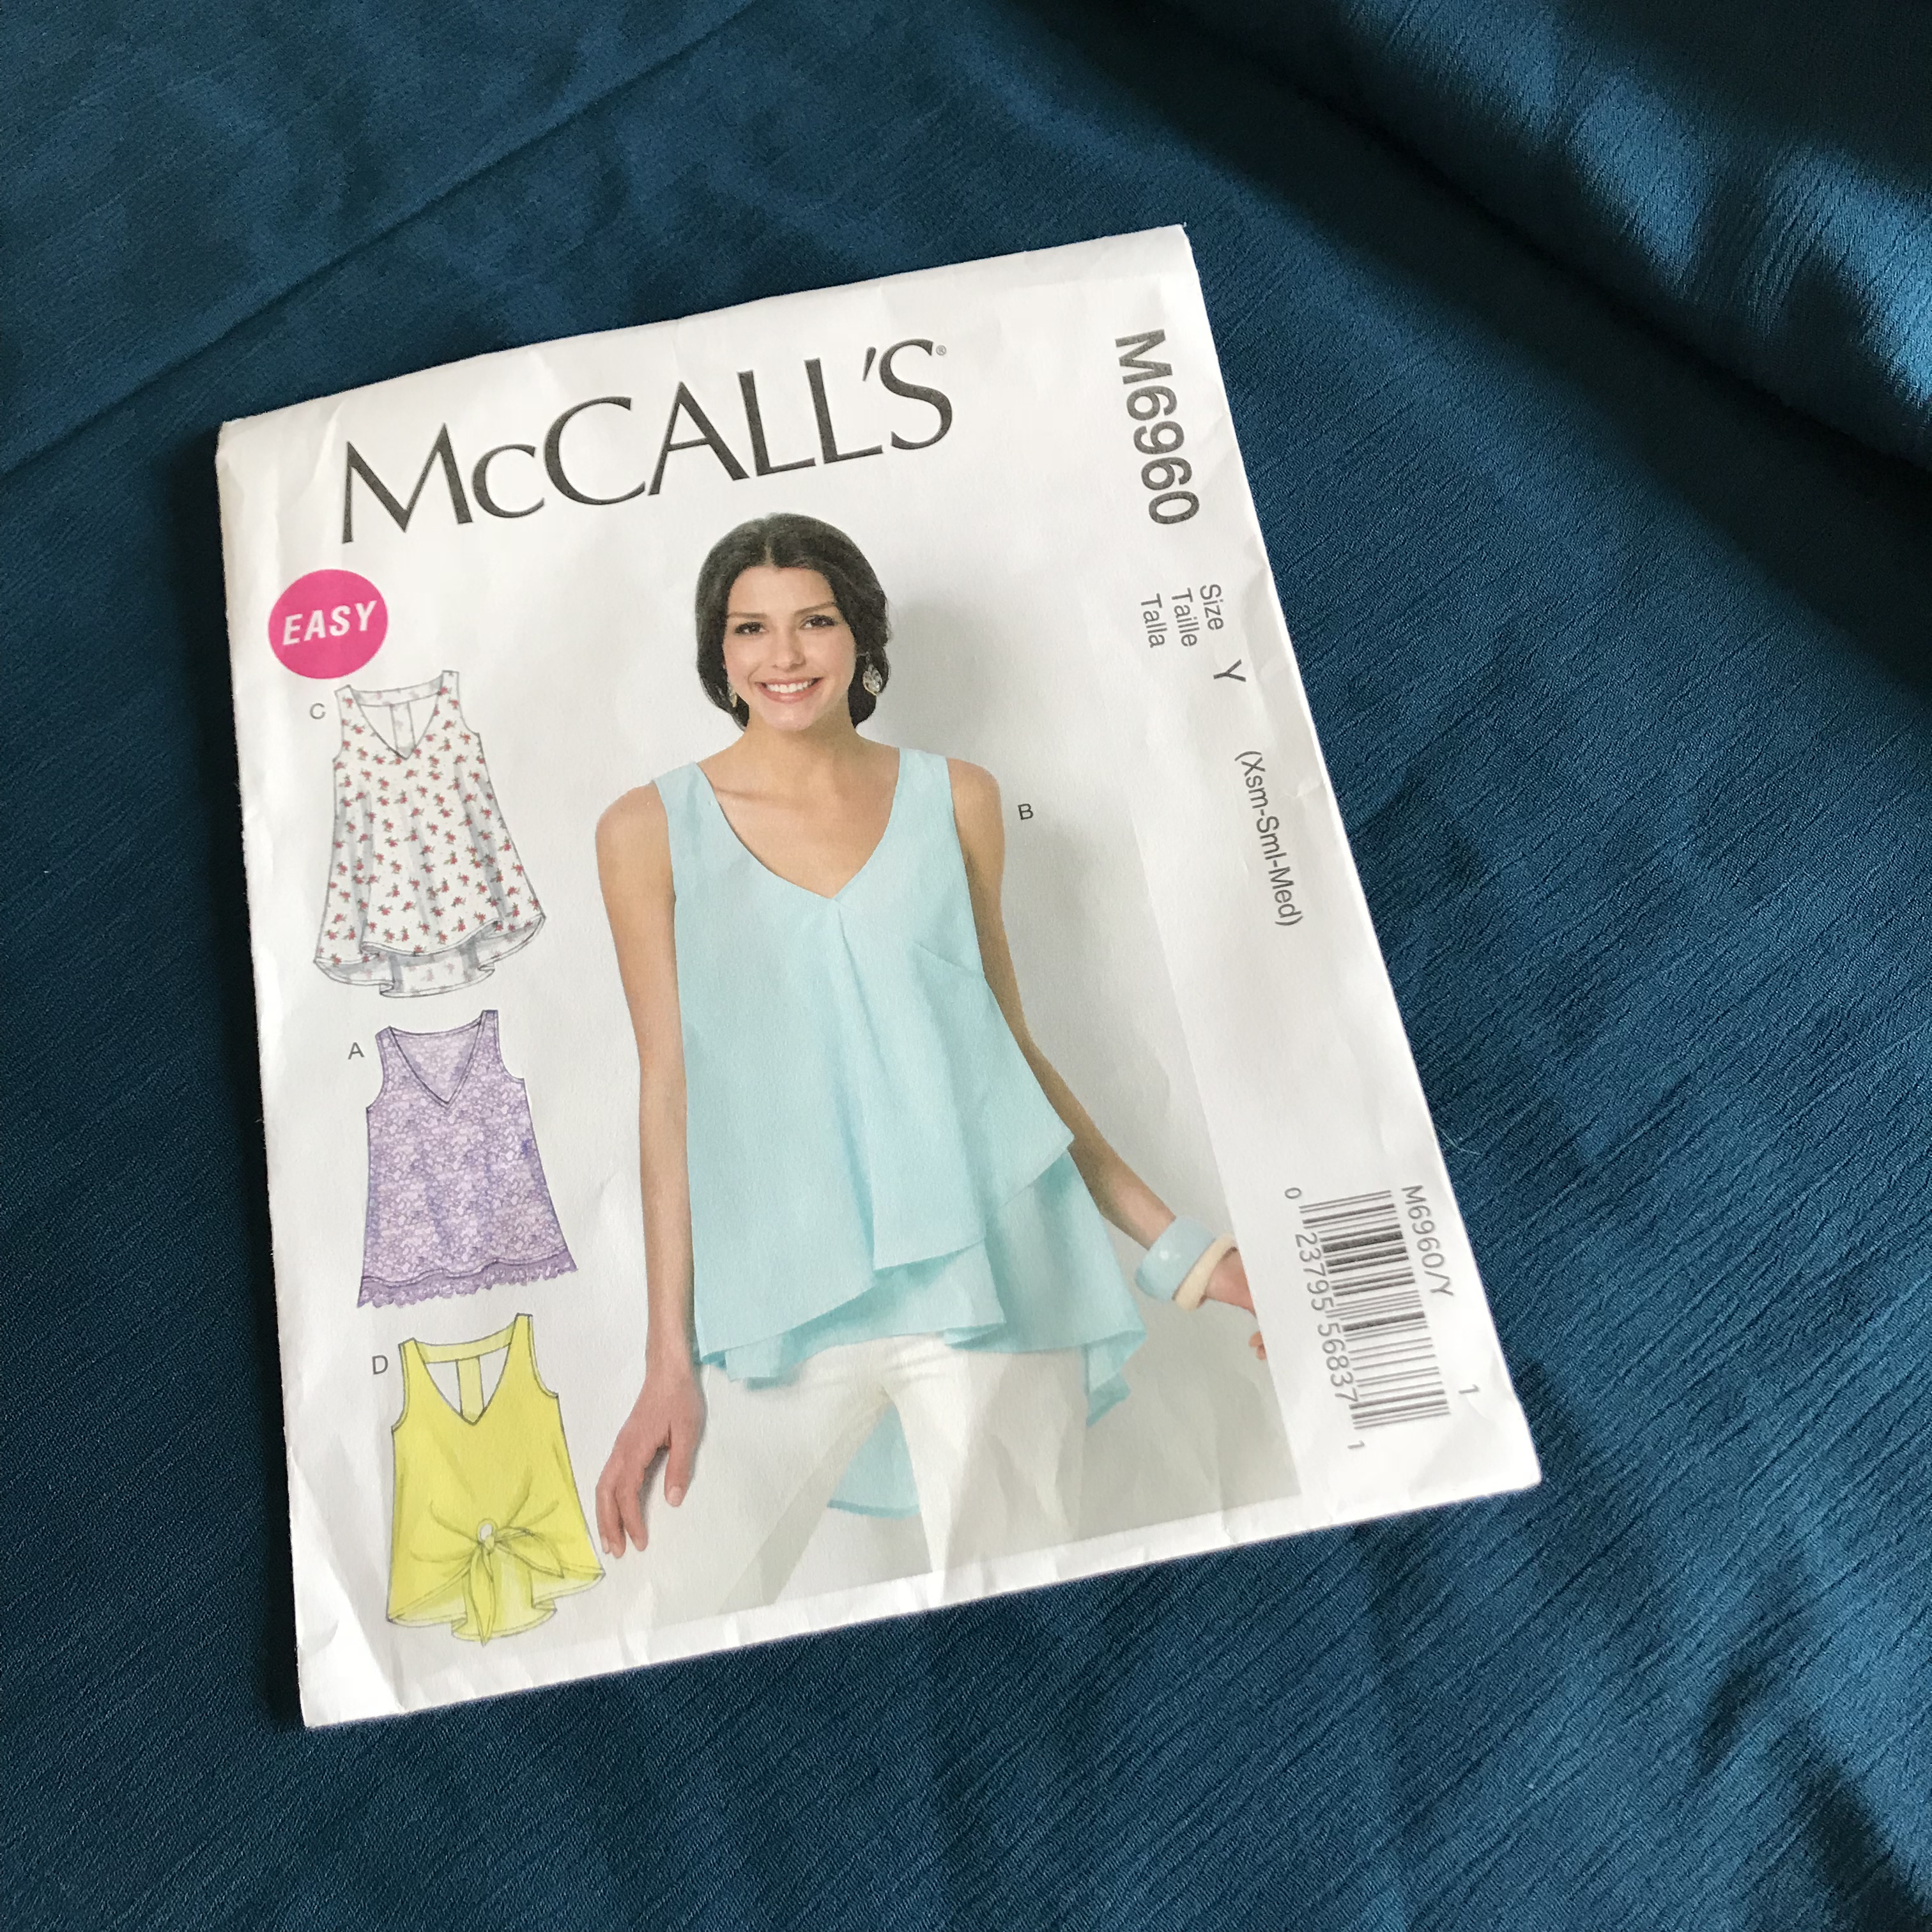
Tonight, I don’t have much time after work, but I do have enough time to make this basic, faced tank. Just four pattern pieces! And because the fit is loose and breezy, there is no button or zipper closure – its a pull on – could not be simpler!
I found this pattern pretty straight forward and easy to follow. I chose to make View A tonight, but rather than add lace at the bottom, I simply finish it with a decorative hem. The one thing that I found lacking in the instruction is finishing the bottom of the facing. I decided to simply turn under the bottom of the facing pieces by about 1/4″ – 3/8″ (roughly) and stitch 1/8″ from the edge to make a nice finished look on the inside. This isn’t totally necessary if you use fabric that won’t fray, but I think having a finished edge just looks more professional.
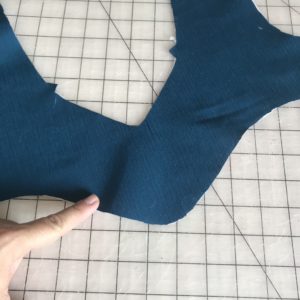
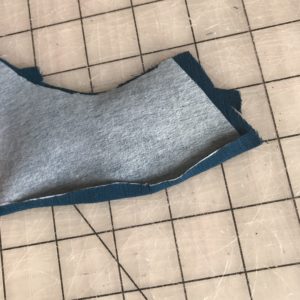
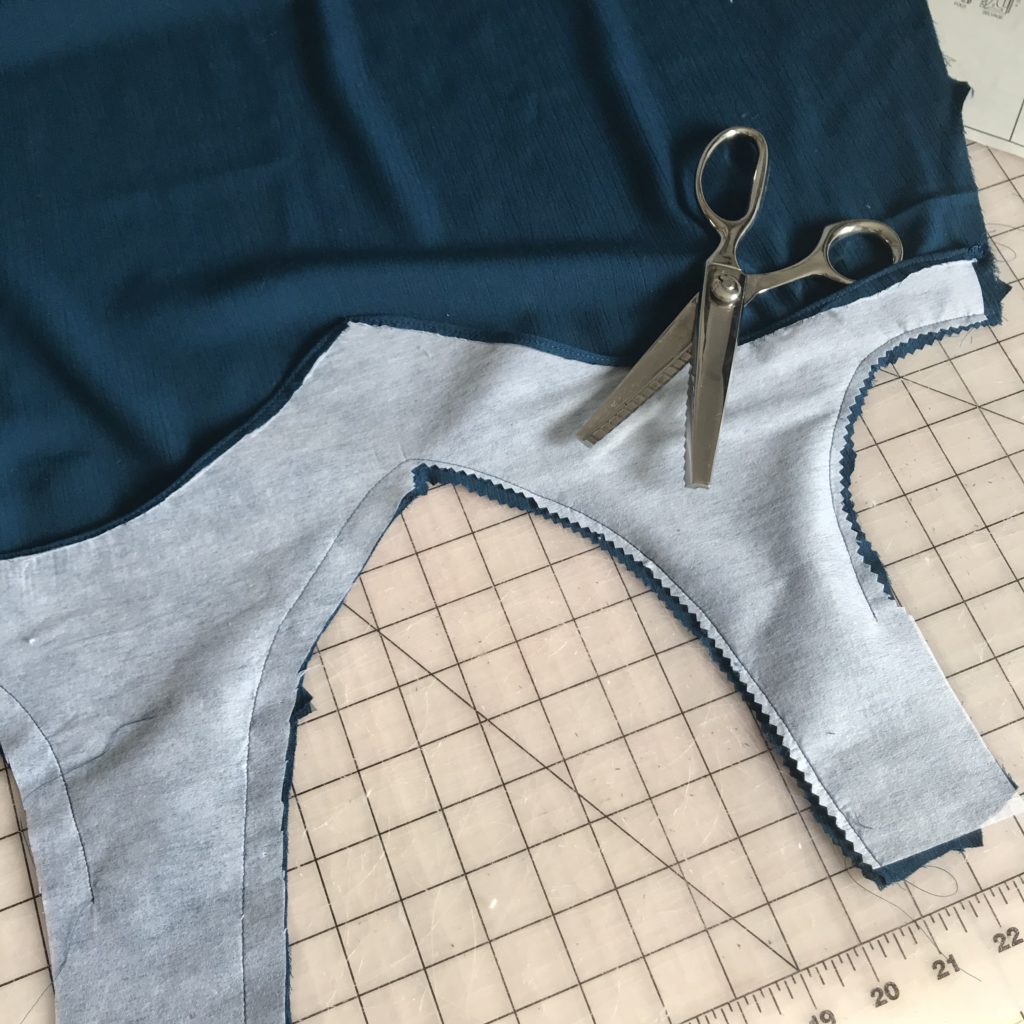
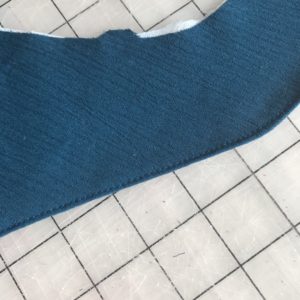 I used a lightweight fusible interfacing on the facing pieces, as the instructions suggest. Using interfacing is slightly more work, but worth it in the end, as it will help your facing pieces hold their shape and keep the neckline seam nice and crisp.
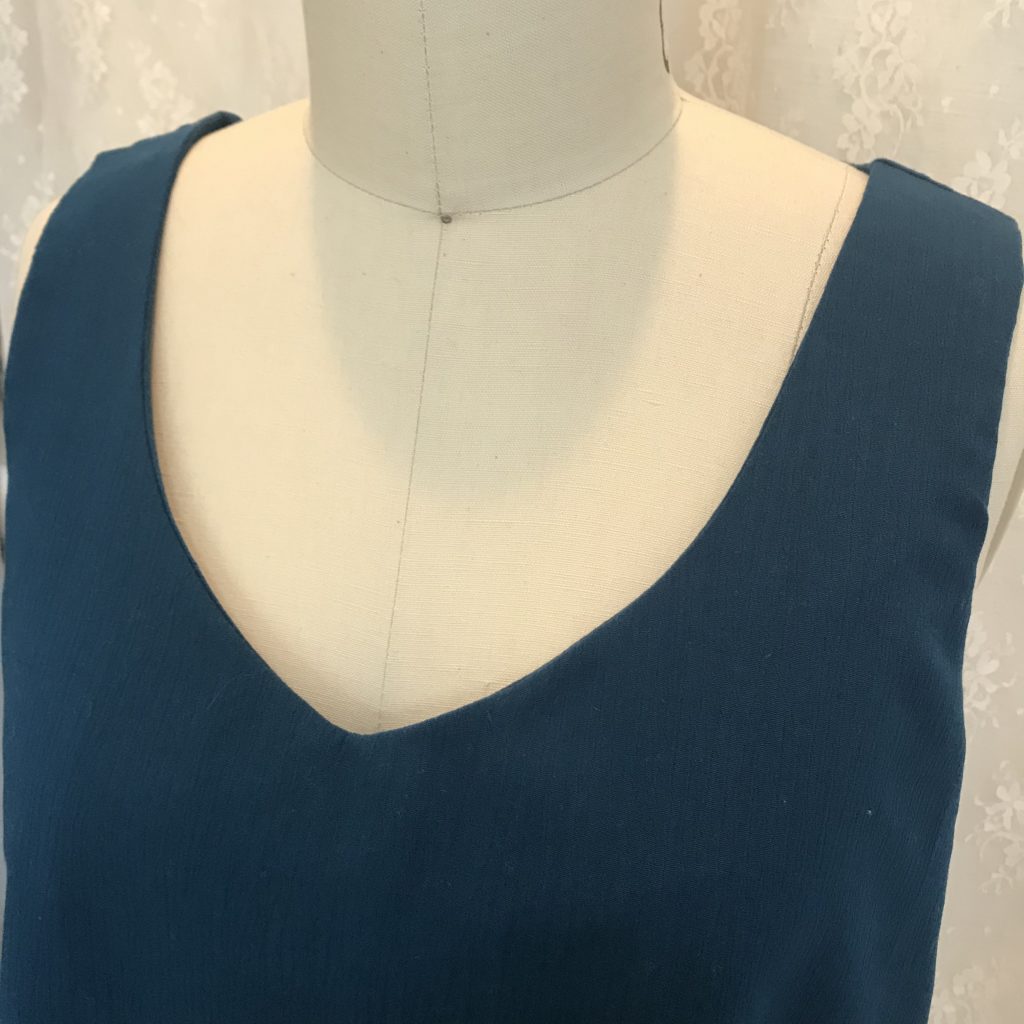
The pattern instructions tell you to clip the neckline curves as needed to have it turn the facing to the inside nicely. I don’t like simply clipping the neckline, as there is often bulk that causes odd bumps in the seam. Instead, to ensure the neckline turns and holds it shape with a crisp fold and no bumps, I grade the curved seams using pinking shears. I use the pinking shears to cut the facing half of the seam allowance closely to the seam, then I cut the outer side of the seam slightly less – making them slightly differently lengths. This method is often used in tailoring because it reduces bulk in the seam. Using pinking sears also eliminates the need to clip into corners.
After grading the seams turn them out a PRESS!!!
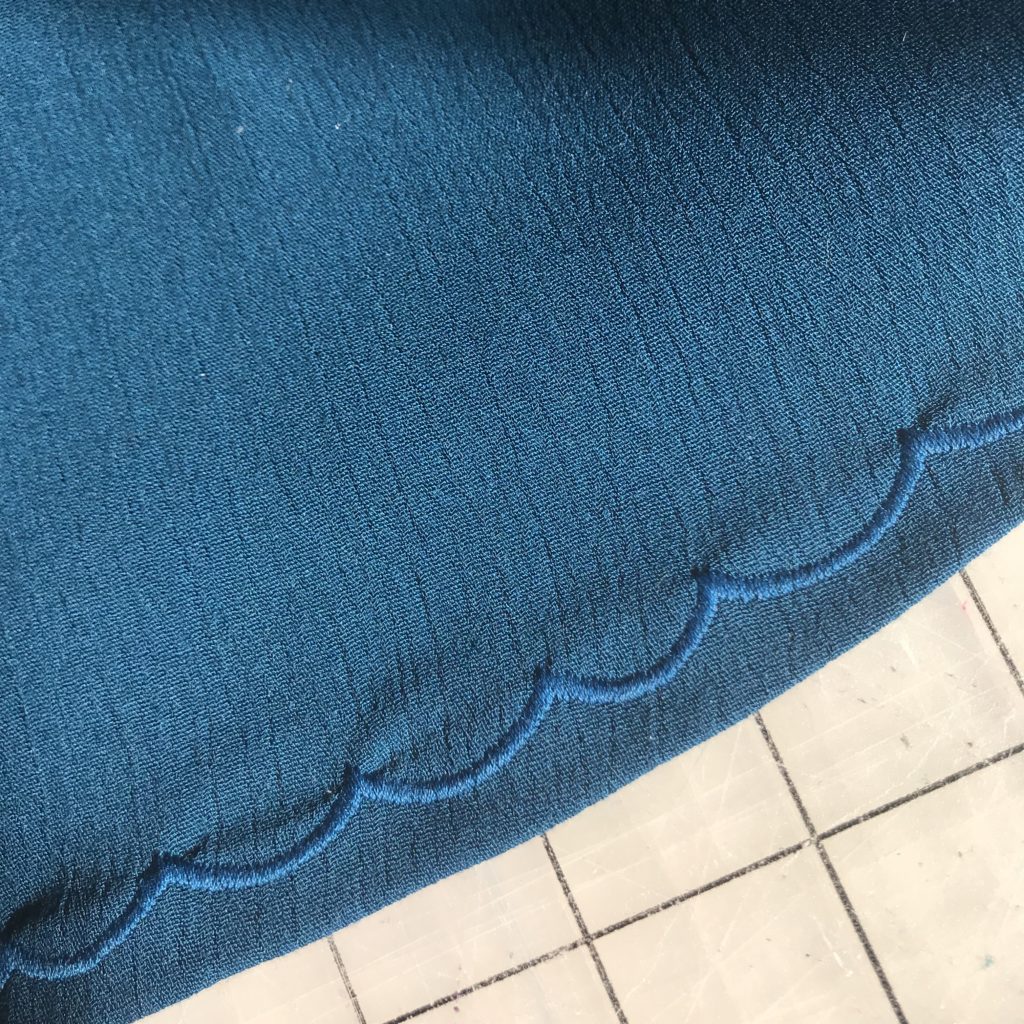
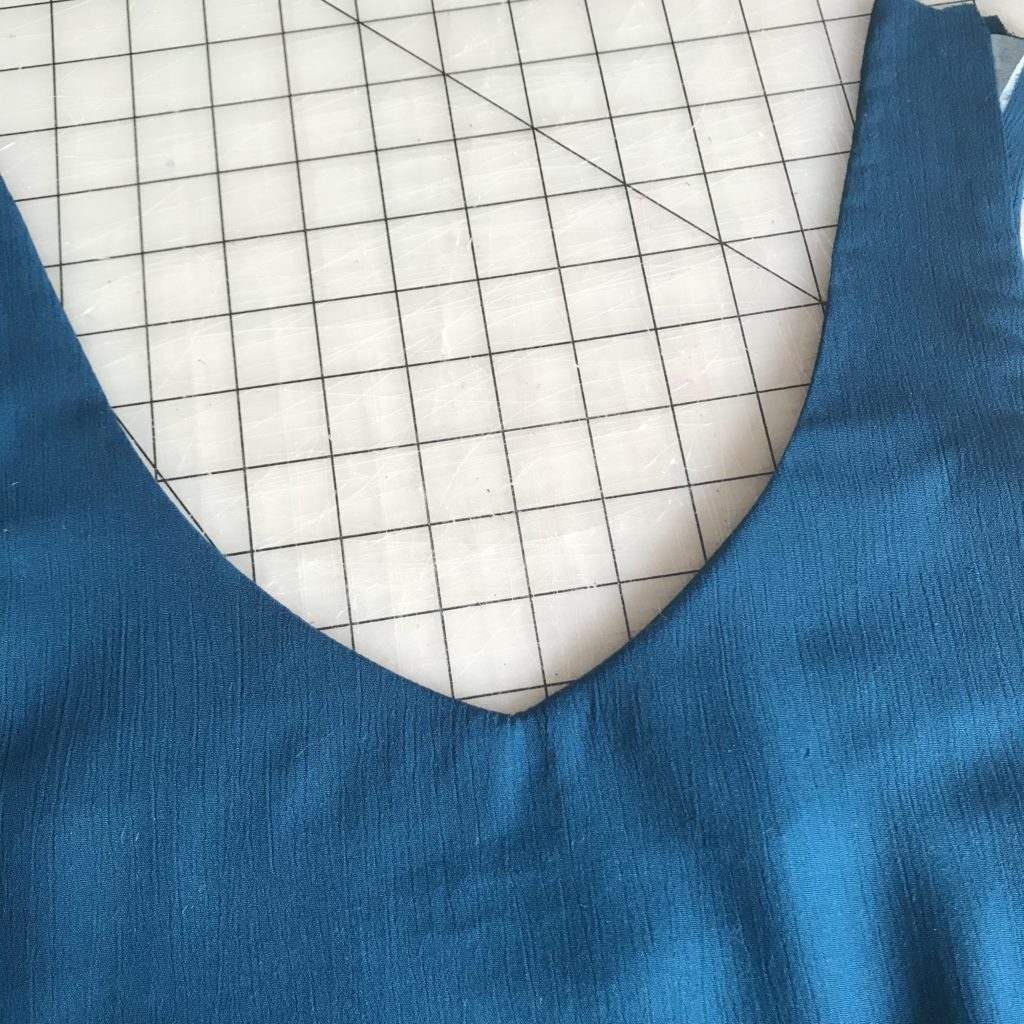 Once the facings were sewn in, the shoulder and side seams are sewn, and all that is left is the hem. Super quick! For the hem, I decided against adding lace, just so that this would be a simpler layering tank. Instead, I used a scalloped decorative stitch. I have so many decorative stitches, and forget to use them most of the time, but I think this one is just the right look for this blousy fall tank.
 Not a bad start to a wardrobe re-do! Now, what to make to layer with it? Sweater jacket? Biker jacket? Kimono? Ah! What are your favorite fall layering pieces?

