Pottery Barn makes some awesome pillows at some not so awesome prices… I mean, I love a good throw pillow, but I’d rather not pay $59 for the pillow cover and another $29 for the 26″ feather pillow insert.
So, today’s Fake it Friday is a Pottery Barn inspired pillow. Here’s the inspiration picture – currently available on the PB website:

Step one: CUT out your fabric to be a 26″x26″ square. This fabric is quite old, but since it is such high quality cotton, it is like new. Once upon a time my mom made some fabric boxes out of this and other coordinating prints – they were lovely. I’ve held onto this print for years because I love it, but never knew quite what to do with it. When I saw the Pottery Barn pillows in an ad, I knew I had to make some pillows.

Pro tip: Cut your fabric to be the exact size as your pillow insert. Then use a 1/2″ seam allowance. This way, the pillow will fill the whole cover without awkward empty space (especially in the corners).
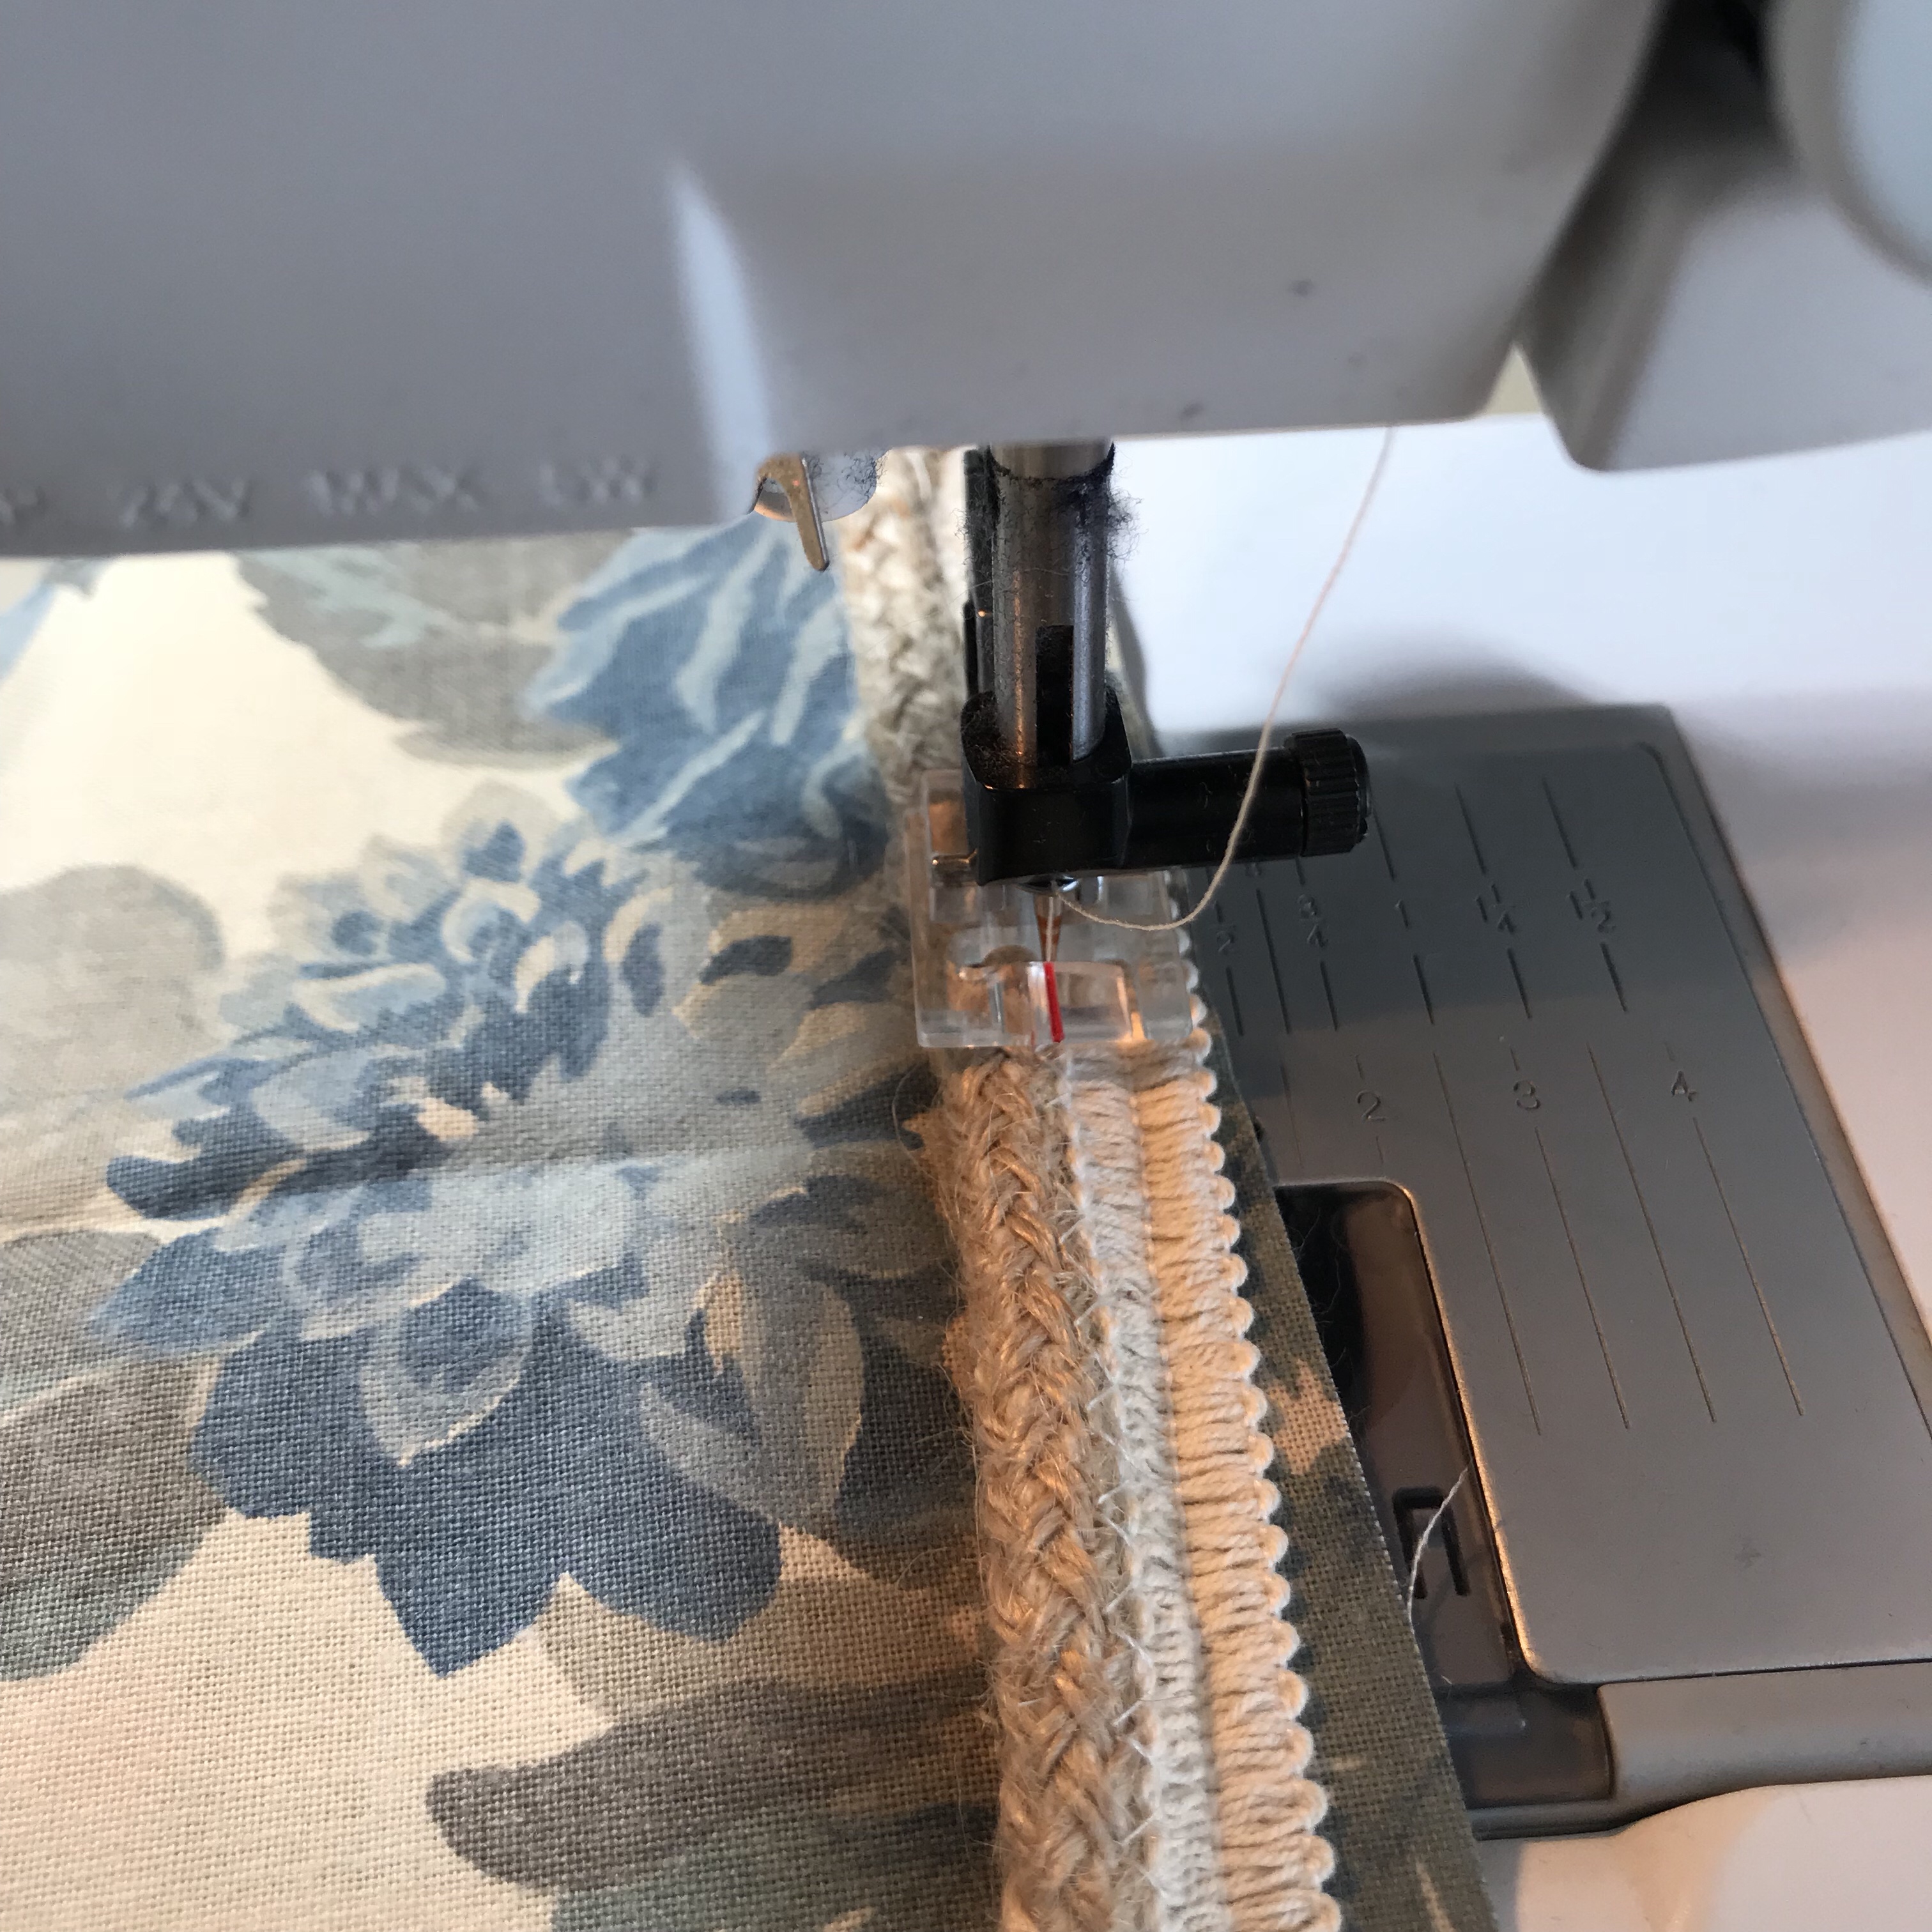
Step two: If you have one, grab your piping foot and put it on your machine. This is my piping foot for my Pfaff:

I love that it is clear and has a nice red line to follow.
Lay your piping trim on top of your fabric, starting just off one edge. Line the red line up with the edge of the piping and STITCH!

Step three: When you come to a corner, don’t panic! Simply CLIP 1/2″ from the corner! Now you can make the piping turn a sharp corner without bunching or pulling. (Don’t clip through the piping, just up next to it.)


Continue stitching and clipping at each corner.
Finish by stitching the piping straight off the last corner, crossing over the start of the piping.
Step four: Insert the invisible zipper! I love these!!! Grab an invisible zipper foot. Most machines use a universal attachment, but my machine has its own, clear foot that make zipper insertion a breeze.

The invisible zipper does not show teeth on the outer side – just on the back side (the side that ends up on the inside of the pillow).

Lay the zipper right side down on right side of fabric and line up the teeth along the piping. STITCH the zipper along the piping. End just before the zipper pull.


Now close the zipper to make sure none of your stitches crossed the zipper teeth. If they did, simply rip out the stitches on the teeth and restitch that area avoiding the zipper teeth.
Lay the second piece of fabric on top of the one you’ve been working on – right sides together. Pin the start and the end of the zipper so that the squares stay lined up correctly.
Unzip the zipper and stitch the zipper to the second square starting and ending at the pins.


Close the zipper and Open up your pillow squares to admire your beautifully interred zipper!


Step five: STITCH the whole pillow together! Make sure the zipper is at least half open so you can turn it out when you are finished. Switch out to your regular presser foot. Start at one end of the zipper and pin as needed to keep your squares lined up around the whole pillow.
Pro tip: Follow the stitching line of the piping, so you make sure you completely enclose all the piping trim and keep the seam allowance consistent around the pillow. This will also help at the corners!


Finally, clip your corners and turn your fake Pottery Barn pillow inside out! Admire your hidden zipper one more time, then give it a good PRESS and insert the pillow form. I use the IKEA 26″ down pillows. They are $14.99 and washable!


Can’t live without this pillow? You can purchase it for $45 including the pillow from my Etsy store: www.slipperie.com
Want to make this pillow cover yourself? I’ve made you a kit! Also available in my Etsy store (link above) for $30.
Have ideas for things you love but refuse to pay for? Leave me a comment! I’ll do my best to come up with a “Fake it Friday” version!
Happy sewing!

