I visited my brother and sister in law this weekend in Park City and just got home. We had a quick and tasty Burgerville dinner and then I snuggled my kiddos and read them stories. Now it’s time to make something!
The reason for my visit was this cutie pie, my new nephew!

He is an awesome baby – so happy and so content. He inspired my quick make this week.
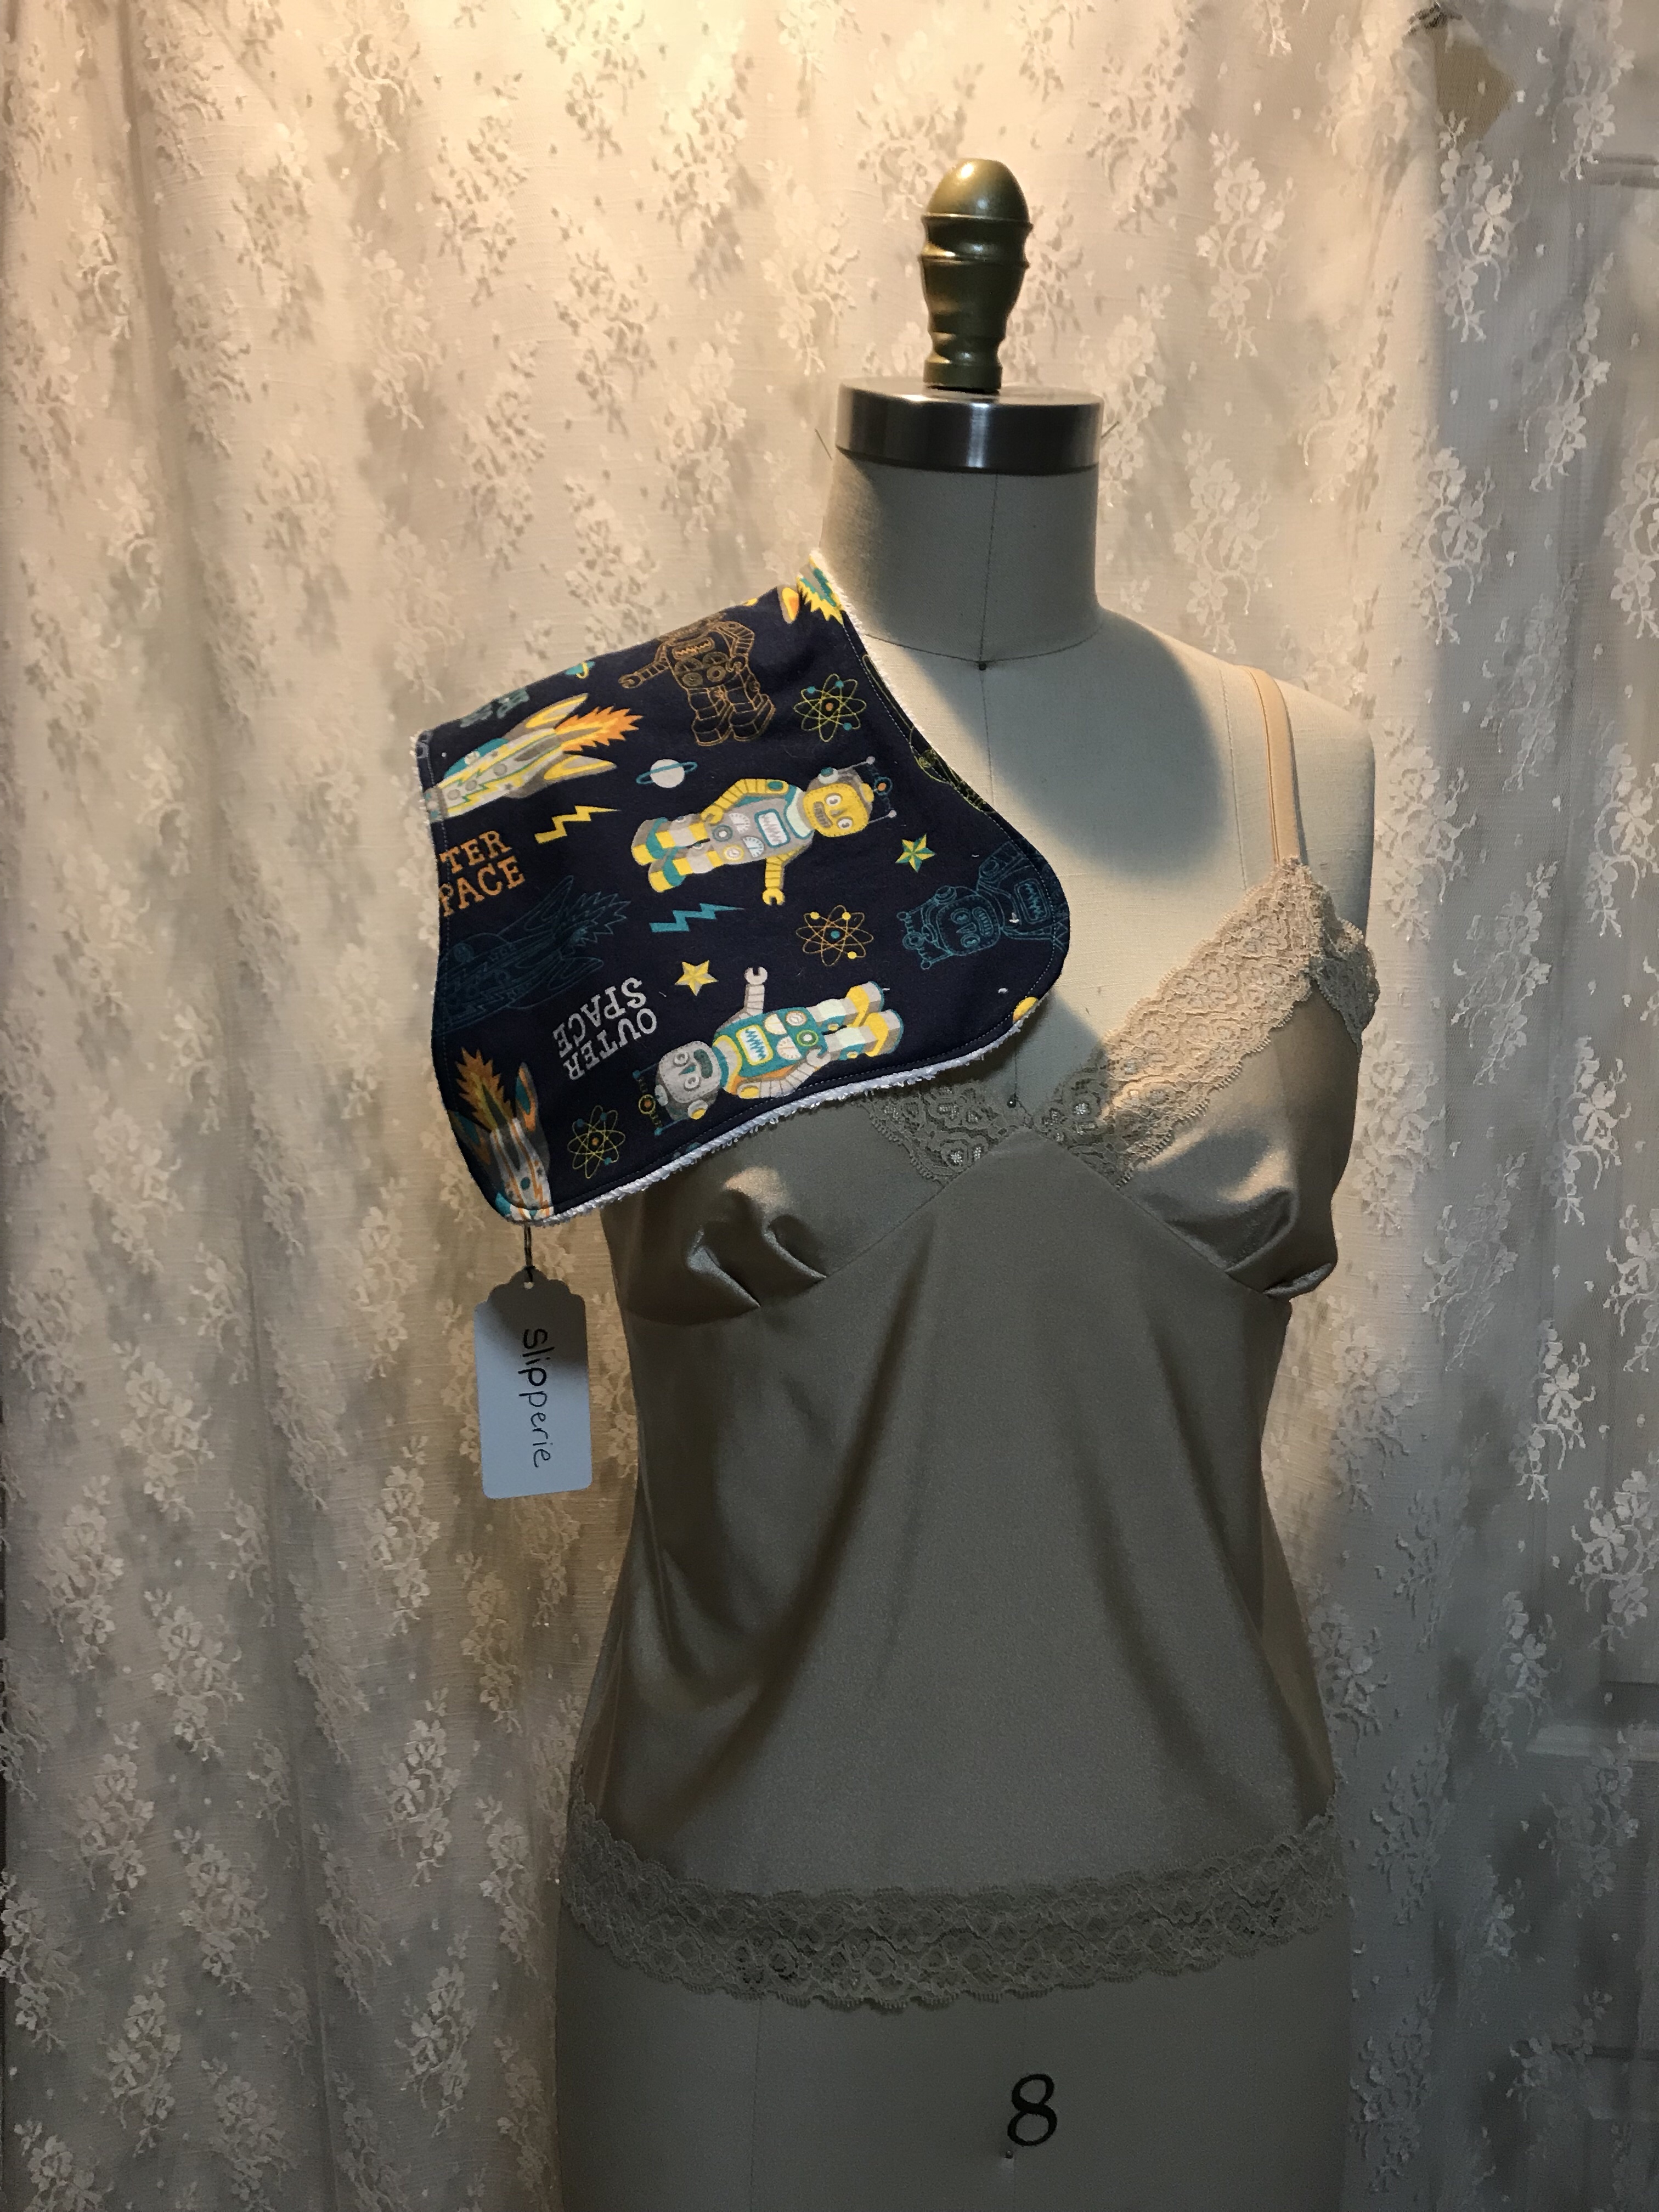
Five years ago when I had my second baby, my friend Rusti made me a great burp cloth that is curved so it fits on your shoulder and then gives more coverage on the front and back. And it worked great for me! I passed that cloth onto my sister in law and she loved it and mentioned burp cloths are hard to find (at least cute ones).
So tonight’s quick make is a simple DIY curved burp cloth!
Step one: draw out a pattern on paper

Step two: CUT it out! I used a soft cotton for one side and an absorbent terry cloth for the other side. You could also use flannel, which would be super soft.

Step three: STITCH the two sides together placing the right side of the patterned fabric down on the right side of the terry cloth. Leave a three inch opening to turn it inside out after it’s stitched.


Step four: PRESS! Turn your burp cloth inside out (trimming the seam allowance if needed around the curves)

Step five: STITCH again! Starting at the opening – hold the opening closed as you top stitch around the entire cloth. This will close the opening and give you a nice finish on both sides.


Step six: PRESS again for a nice crisp finish and enjoy your fun new burp cloth!

Burp cloth shown over a handmade camisole available at www.slipperie.com
This project takes 10-20 minutes depending on your skill level and produces an excellent hand made baby gift!
Leave a comment and let me know if you’d like me to make a PDF pattern for this.

